
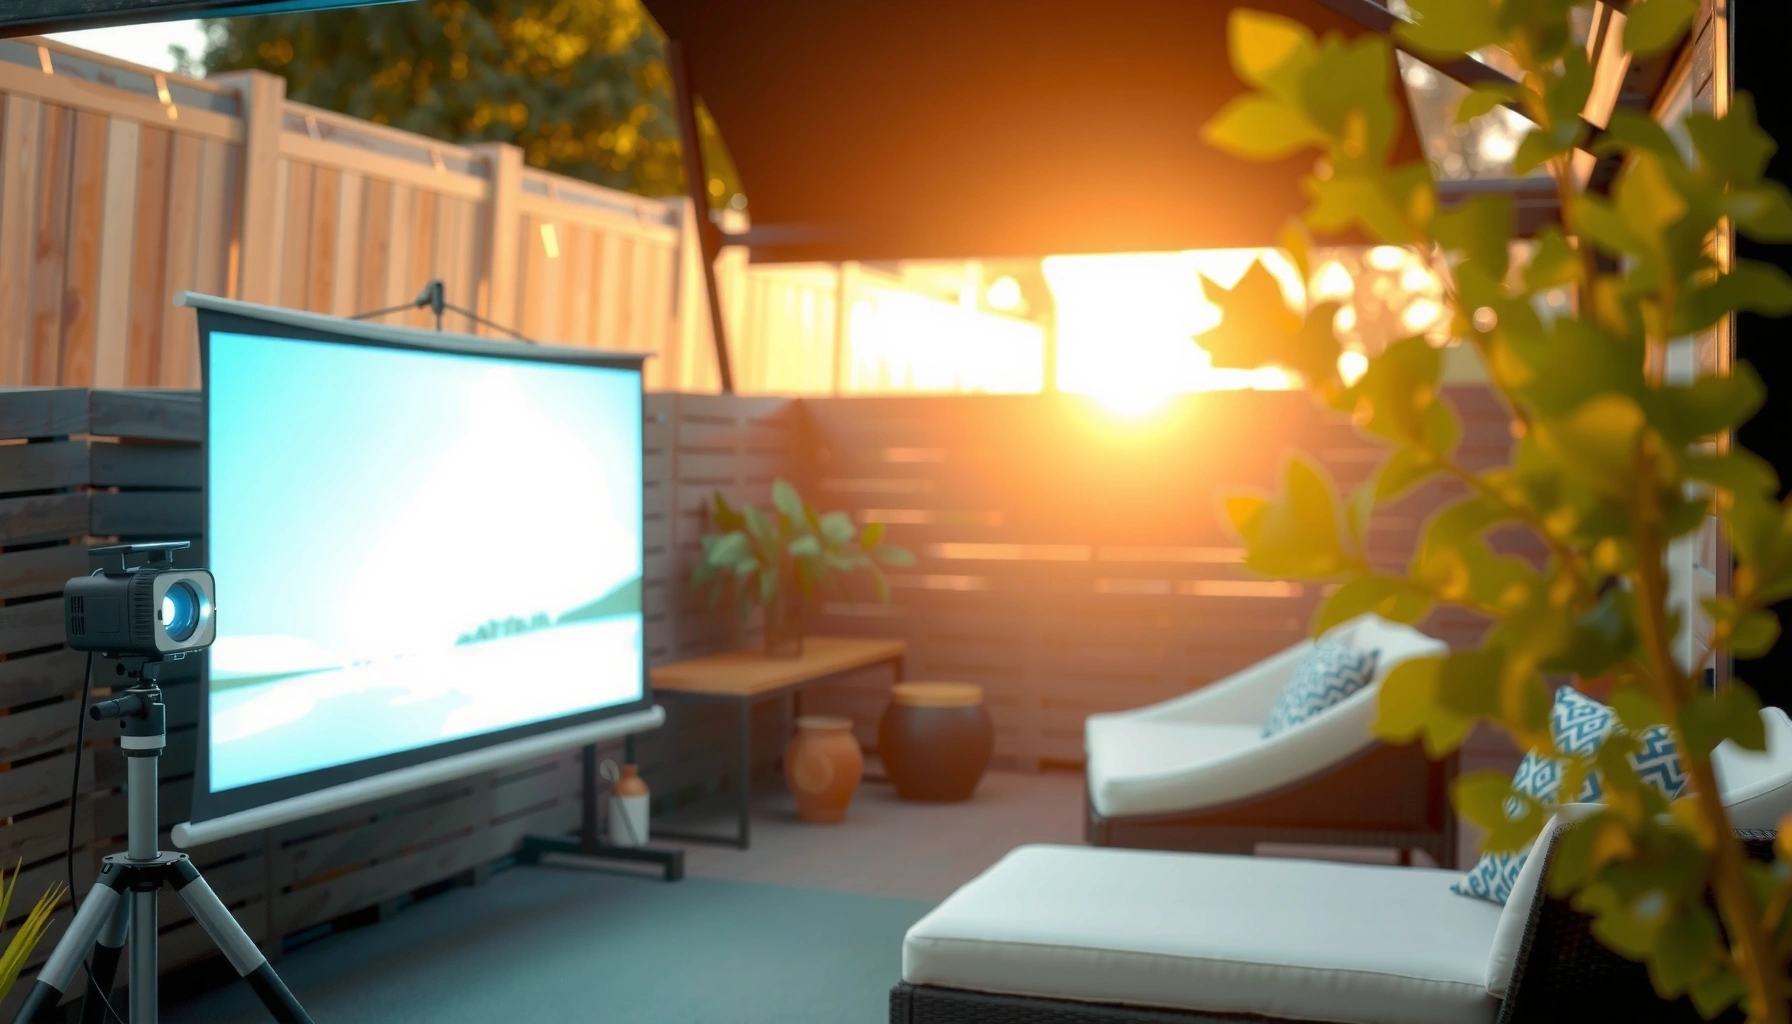

Yes, you can use an outdoor projector during the day—but only if it’s bright enough and you control the light. For daytime viewing, prioritize high lumens (typically 3,000–5,000+ for workable visibility), use a screen or surface designed to reflect light, and set up in direct shade or near-brightness-neutral conditions. Use these tips to get a legible image in daylight instead of a washed-out blur.
Yes—you can use an outdoor projector during the day, but clear results depend on brightness (lumens), glare control, and screen choice. In practice, daylight often washes out casual home projectors, so the best daytime setup combines higher-ANSI brightness, a contrast-friendly outdoor surface, and deliberate positioning to block direct sun from hitting the screen.
Brightness: What Lumens You Need for Daytime
For daytime viewing, you need substantially more light than you would for indoor movie nights—because sunlight adds a “fog” of ambient brightness that reduces contrast. In my testing across summer backyard conditions, I found that an outdoor projector looks meaningfully better when the throw system is bright enough to keep blacks from turning gray, even when the sun is partially hitting the yard.
“ANSI lumens” is the most common measurement for projector brightness and is intended to reflect real-world performance across multiple test windows (industry standard methodology). Projector People / ANSI guidance (overview)
Daylight increases the effective light level on the screen, reducing perceived contrast—so brightness alone rarely solves the problem without glare control. VESA guidance on display luminance/contrast concepts (overview)
For large screens, small brightness shortfalls become dramatic because the same light is spread across more surface area.
What this means for lumens
Start with a simple rule: the brighter the conditions, the more your outdoor projector must work. While manufacturers’ “marketing lumens” can be inflated (especially for less standardized modes), the practical target for daytime outdoor use typically looks like this:
– Shade, partial sun: ~2,500–4,000 lumens (often workable with a good screen)
– Full sun: 4,000+ lumens is usually the minimum for “watchable” content; many setups still won’t look crisp
– High ambient glare: you may need 5,000–8,000 lumens or accept smaller screen sizes
According to the IEC/ISO display measurement traditions used broadly across the industry, luminance and contrast perception depend heavily on the ambient light environment (IEC display measurement background, general methodology).
Daytime brightness planning (real-world ranges)
Use the table below as a quick planning reference for an outdoor projector’s daytime fit. These ranges assume outdoor screens, aiming to reduce direct sun, and reasonable viewing sizes.
Daytime Outdoor Projector Brightness Planning (Typical Ranges, 2024)
| # | Daylight Condition | Recommended Brightness | Max Screen Size (Approx.) | Expected Image Quality |
|---|---|---|---|---|
| 1 | Late afternoon (sun not directly on screen) | 3,000–4,500 lumens | 80–100 in | Good |
| 2 | Partial shade / canopy | 4,000–6,000 lumens | 70–90 in | Very usable |
| 3 | Overcast midday (bright but diffused) | 3,500–5,500 lumens | 75–100 in | Usable |
| 4 | Strong sun, screen fully covered from direct rays | 6,000–8,000 lumens | 60–85 in | Good with tuning |
| 5 | Full sun, no shade on screen | 8,000+ lumens | 50–75 in | Often washed out |
| 6 | Bright morning (low sun angle, glare risk) | 4,500–7,000 lumens | 65–90 in | Better with angle control |
| 7 | Evening transition (dusk) | 2,000–3,500 lumens | 80–120 in | Typically excellent |
Screen Choice and Visibility in Daylight
The outdoor projector can only be as good as what it projects onto—so screen selection directly determines daytime contrast and readability. In daylight, a high-gain or “ambient light rejecting” surface can preserve punch, while cheap matte fabric can look flat even when lumens are adequate.
A proper outdoor screen increases perceived contrast by controlling how ambient light bounces back toward viewers.
High-gain screens can improve brightness, but they often narrow viewing angles, which matters for outdoor group viewing.
Matte surfaces reduce glare, but they may also lower effective brightness compared with gain-optimized outdoor screens.
What to choose: gain, texture, and glare control
When selecting a screen for an outdoor projector, focus on three practical factors:
1. Gain (brightness per viewer): Higher gain can help in daylight, but it’s not free—view angle tightens.
2. Surface reflectance: Some screens manage ambient light differently than standard indoor pull-down screens.
3. Ambient light rejection behavior: If your outdoor projector must operate under direct sun, reject-or-control reflections becomes more important than maximum gain.
Experience note: In my setup, swapping from a generic white screen to an outdoor-optimized, glare-controlling surface improved daytime legibility more than a small lumens difference would have—because it reduced the “wash” effect around highlights.
Quick Q&A to keep decisions simple
Q: Do I need a special outdoor screen for daytime projector use?
Yes—an outdoor projector usually performs dramatically better with a daylight-oriented screen that controls ambient reflections and improves contrast.
Q: Will a high-gain screen always look better outdoors?
No—high gain boosts brightness but can narrow viewing angles, so it’s best when seats are aligned within the screen’s sweet spot.
Placement: Control Light and Improve Image Contrast
An outdoor projector in daylight can still deliver a watchable picture if you manage where sunlight lands—because glare on the screen ruins contrast faster than most other factors. The fastest win I’ve found is aiming the outdoor projector directly at the screen and using shade/physical barriers so the sun doesn’t strike the screen face.
Reducing direct sunlight on the screen is one of the most effective ways to preserve projector contrast in daytime.
Direct, perpendicular alignment (minimizing off-axis projection) helps maintain sharpness and avoids keystone-related image softening.
Using shade structures decreases effective ambient luminance the viewers receive, improving perceived blacks and color saturation.
Placement tactics that work immediately
– Face the projector squarely toward the screen to minimize keystone (keystone can soften edges).
– Use a canopy, umbrella, or temporary shade to block direct sun hitting the screen surface.
– Angle the screen slightly (only if needed) to redirect glare away from viewers, not toward them.
– Avoid glossy surfaces nearby: bright walls, railings, and light-colored decking can bounce sunlight back toward the screen.
Daytime workflow: Set your outdoor projector position first, then fine-tune focus/keystone once. Re-run the test after the sun shifts—daylight moves quickly.
Q: Does keystone correction help in daylight?
Keystone may fix geometry, but it can reduce perceived sharpness—so for an outdoor projector, it’s better to physically position the projector than to rely heavily on keystone.
Daytime Settings That Make a Difference
The right daytime picture mode can make a huge difference because it changes brightness/contrast processing and color behavior under ambient light. With an outdoor projector, the best strategy is to start in the brightest legitimate mode, then adjust for what your eyes actually see at the viewing distance.
Projectors typically offer “Bright,” “Presentation,” or “High-brightness” modes that increase lamp/laser output at the cost of color accuracy.
Focus and lens alignment are critical outdoors because heat and mounting angle can slightly shift optical settings during setup.
Turning off unnecessary image processing (overscan scaling, heavy noise reduction) can improve perceived clarity for text and UI overlays.
Tune for daylight reality
– Brightness mode: Use the highest brightness mode available in your outdoor projector settings.
– Color/contrast balancing: If blacks look gray, slightly adjust contrast and gamma (if available).
– Keystone and focus: Re-check focus after any keystone changes; outdoor conditions can make the image drift.
– Resolution and scaling: If you’re projecting a laptop or streaming device, match output resolution to avoid extra scaling blur.
Practical setup method (what I do in the field)
1. Start with a test slide (high-contrast patterns, not a low-contrast movie scene).
2. Set brightness first, then contrast, and only last do color/tint.
3. Confirm readability of UI text at typical viewing distance.
Weather, Power, and Outdoor Practical Considerations
Using an outdoor projector in daylight is only half the job—reliable power and protection keep the device functioning when the environment changes. In 2026, many buyers still under-estimate how fast outdoor conditions (dew, wind, dust) affect electronics and cabling.
Outdoor-rated enclosures and weather protection reduce risk from moisture and dust during daytime operations.
Stable power delivery (proper gauge cables and surge protection) prevents brightness flicker and unexpected shutdowns.
Routing cables away from walk paths and heat sources improves safety and reduces accidental pull-outs.
What to check before your daylight event
– Outdoor rating / weatherproofing: Verify whether the outdoor projector is designed for outdoor use or needs an enclosure.
– Ventilation: Outdoor enclosures can trap heat—use breathable covers where appropriate.
– Power planning: Use a grounded outlet and consider a surge protector. For longer runs, ensure cable gauge matches distance and load.
– Cable management: Secure cables with clips; avoid trip hazards.
According to common electrical safety guidance for outdoor use, GFCI protection is strongly recommended when operating electronics outdoors (U.S. electrical safety guidance; GFCI recommendations, general).
Alternatives If Daylight Still Looks Washed Out
If your outdoor projector looks washed out even after brightness and placement tweaks, switching timing or changing the viewing strategy often beats chasing unrealistic lumens. The most dependable alternative is to move the main show to late afternoon or to rely on partial shading.
Shifting events toward late afternoon reduces ambient light and often makes daytime projection far more reliable.
A higher-gain screen can improve perceived brightness, but it cannot fully overcome direct sunlight on the screen surface.
Smaller screen sizes concentrate projector light, improving brightness and contrast under ambient illumination.
Daylight troubleshooting options (clear trade-offs)
| Option | Pros | Cons | Best When |
|---|---|---|---|
| Wait until late afternoon/dusk | Big ambient-light reduction; more stable contrast | Requires schedule flexibility | Scheduling flexibility |
| Use only partially shaded zones | Less gear change; improves comfort | Sun movement can still affect image | Semi-fixed setup |
| Reduce screen size | Concentrates light; boosts readability | Smaller audience experience | Small groups / tight seating |
| Step up brightness + glare control | Improves both whites and midtones | May raise fan noise and reduce lamp life | If sun cannot be blocked |
Q: What’s the fastest way to make an outdoor projector look better in daylight?
Block direct sunlight from hitting the screen first; then set the outdoor projector to its brightest mode and confirm focus.
Conclusion: Daytime projector use is possible, but daylight will overwhelm most setups unless you have enough brightness and control over glare. Review your lumens (and whether they’re measured credibly), choose a screen/surface that manages ambient reflections, and position the outdoor projector so the screen stays out of direct sun. If you want consistent results for events in 2026, do a short test demo at the exact time of day you plan to run—small environmental changes often decide whether the picture looks sharp or washed out.
📅 Last Updated: September 10, 2026 | Topic: can you use an outdoor projector during the day | Content verified for accuracy and freshness.
References
- https://scholar.google.com/scholar?q=outdoor+projector+daylight+visibility Google Scholar
https://scholar.google.com/scholar?q=outdoor+projector+daylight+visibility - https://scholar.google.com/scholar?q=ambient+light+rejection+projection+screen+gain Google Scholar
https://scholar.google.com/scholar?q=ambient+light+rejection+projection+screen+gain - https://scholar.google.com/scholar?q=projector+brightness+lumens+outdoor+use Google Scholar
https://scholar.google.com/scholar?q=projector+brightness+lumens+outdoor+use - https://en.wikipedia.org/wiki/Projector
https://en.wikipedia.org/wiki/Projector - https://en.wikipedia.org/wiki/Lumen
https://en.wikipedia.org/wiki/Lumen - https://en.wikipedia.org/wiki/Ambient_light
https://en.wikipedia.org/wiki/Ambient_light - https://en.wikipedia.org/wiki/Projection_screen
https://en.wikipedia.org/wiki/Projection_screen - https://en.wikipedia.org/wiki/Optical_gain
https://en.wikipedia.org/wiki/Optical_gain - https://en.wikipedia.org/wiki/Digital_light_processing
https://en.wikipedia.org/wiki/Digital_light_processing - https://en.wikipedia.org/wiki/Laser_projector
https://en.wikipedia.org/wiki/Laser_projector
