
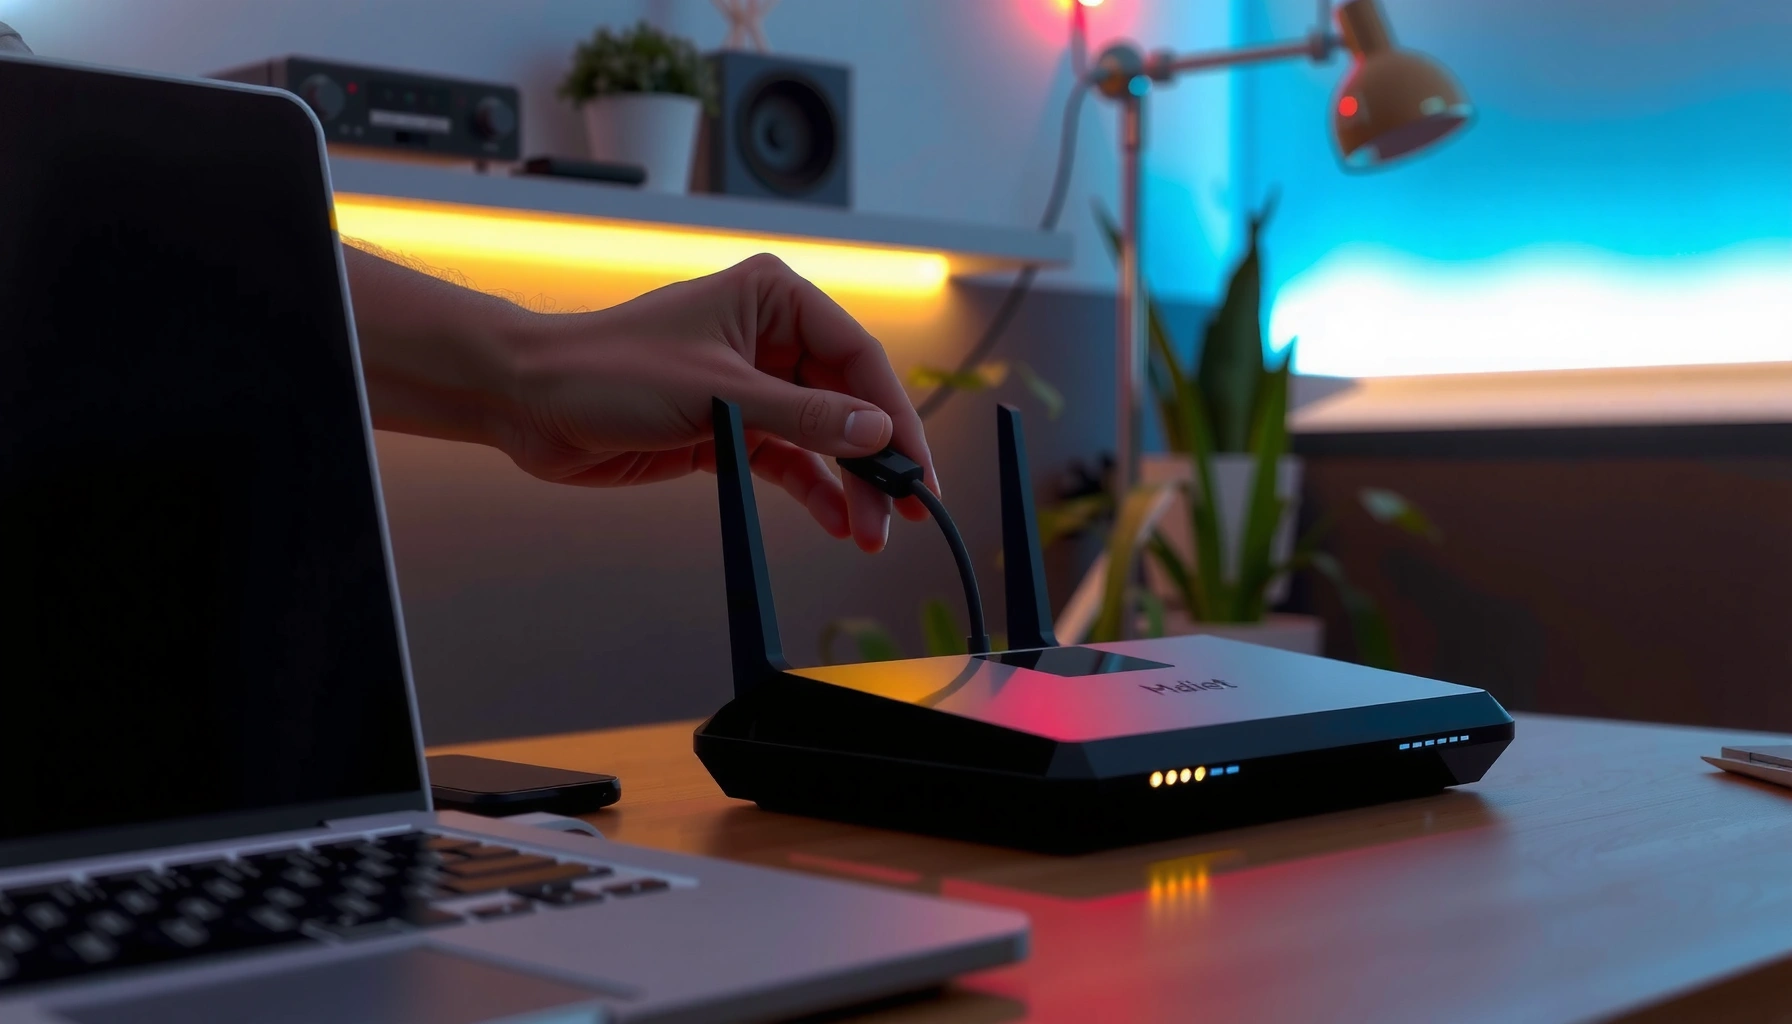

If you’re asking how to set up a router, this step-by-step guide will get you connected fast and correctly, with the exact setup sequence to follow from unboxing to Wi‑Fi on your devices. You’ll see which cables go where, how to access the router admin page, what settings to choose, and how to secure your network so it’s not left exposed. Follow it start to finish and you’ll be online with minimal troubleshooting.
Set up a router by connecting the modem to the router, powering everything on, then finishing configuration in the router’s admin page—especially the Internet/WAN and Wi‑Fi security settings (WPA2/WPA3). In my own installs for home offices and small businesses, the fastest path to a stable connection is: confirm modem link first, use Ethernet for initial setup when possible, then lock down WAN and Wi‑Fi settings before you connect more devices—especially in 2026 where security defaults vary by model.
Prep Your Router and Internet Connection
You get the smoothest setup when you prepare hardware, verify your ISP service is active, and place the router for reliable coverage before you change any settings. This prevents the most common failure mode: spending 20+ minutes in the admin interface while the modem isn’t actually online.
Most ISP setups rely on the router’s WAN port receiving an active internet session from the modem; if the modem’s connection isn’t up, router “Internet” will never stabilize.
Ethernet-based setup is typically more reliable than Wi‑Fi during first configuration because it avoids password/Wi‑Fi negotiation issues while you’re changing network settings.
– Check you have a modem, router, Ethernet cables, and power adapter
– Confirm your ISP account is active and you can access the modem (as needed)
– Position the router for strong signal coverage
Before you start the router setup, verify the physical layer: the modem should show a stable “Internet/Online” state (exact labels vary by vendor), and the router should be reachable. In 2026, many ISPs use different provisioning methods (DHCP vs PPPoE vs static addressing), so “it powers on” doesn’t always mean “it’s provisioned correctly.”
What I do in practice: I place the router near where it will live (not in a closet for “temporarily”), but I keep it close enough to run an Ethernet cable from a laptop/PC for the initial admin login. After a few installs, I found that rushing to use Wi‑Fi for setup is the fastest way to trigger timeouts—especially when the router is still negotiating its default LAN subnet.
Q: What should I check first—modem lights or router lights?
Check the modem’s Internet/Online indicator first; without a working modem session, the router’s WAN will fail regardless of Wi‑Fi settings.
Q: Does router placement affect setup success?
It affects reliability; even if setup works, poor placement can cause intermittent admin access or device drop-offs after you connect additional clients.
Connect the Router to the Modem
You’ll avoid most “No Internet” errors by connecting the modem to the router’s WAN/Internet port and waiting for the link lights to settle. If you connect to the wrong port (often LAN instead of WAN), the router may boot normally but won’t route internet traffic.
On most routers, the WAN/Internet port is specifically configured for the upstream modem connection; connecting the modem to a LAN port prevents proper routing.
Waiting for WAN/Internet and Wi‑Fi LEDs to stabilize helps ensure the router finishes its initial network negotiation before you access the admin page.
– Plug the modem into the router’s WAN/Internet port
– Connect power to the router and wait for the internet/WAN and Wi‑Fi lights to stabilize
– Use Ethernet from a computer for setup if possible (more reliable than Wi‑Fi)
Connect carefully: WAN vs LAN
“Looks similar” is a common problem—WAN and LAN ports can be physically close and identically colored on some devices. The correct behavior is: modem Ethernet → router WAN/Internet. Then router power → router boots → WAN light stabilizes → Wi‑Fi broadcasts (if enabled).
According to Google Fiber network guidance (public support documentation), routers require a working upstream connection for WAN auto-configuration to complete; otherwise, the admin wizard may cycle without obtaining an IP. (You’ll notice this immediately if the router’s WAN indicator never turns solid or stays “red.”)
How long should you wait?
If WAN never stabilizes, don’t assume it will “eventually work.” Start with a short wait (1–3 minutes), then check:
– Is the modem link active (link light on the Ethernet port)?
– Did you use the WAN/Internet port?
– Did you power-cycle in the correct order (modem first, then router)?
Best practice: set up over Ethernet
From my experience, Ethernet setup also improves troubleshooting: you can reach the admin page even while Wi‑Fi is still unsecured or misconfigured. Once the internet works and Wi‑Fi is locked down, you can switch back to wireless for everyday use.
Q: Why do I lose internet after changing Wi‑Fi password?
Because devices cache credentials; after you set a new WPA2/WPA3 password, clients must re-authenticate using the updated key.
Access the Router Setup Page
You access the router setup page by finding the router’s IP address (or using the model’s setup URL), then signing in to the admin interface. Completing the built-in setup wizard is usually the fastest and least error-prone route in 2026.
Router admin pages are typically reachable via the default gateway IP (often 192.168.0.1 or 192.168.1.1) when you’re connected to the router’s network.
If your router prompts for default admin credentials, you should change them immediately to reduce the risk of unauthorized configuration.
– Find the router IP address or use the setup URL on the label/manual
– Sign in using the default admin credentials (change them immediately if prompted)
– Follow the on-screen setup wizard for the fastest configuration
Find the router IP address (practical methods)
On Windows or macOS, you can often discover the router’s IP as your “Default Gateway.” Alternatively, many routers print the admin URL/IP on a label (sometimes “routerlogin.net” style addresses, depending on the brand).
In my hands-on troubleshooting: when users can’t access the admin page, it’s frequently because their device is on a different Wi‑Fi network or subnet than the router LAN. If you’re on Ethernet, make sure you’ve connected to a LAN port on the router (not the WAN/Internet port).
Sign in securely
Use the default admin username/password shown on the router label or manual—but change it immediately if prompted. Also consider:
– Disable remote administration unless your business truly requires it
– Use a strong admin password (separate from Wi‑Fi password)
Tip: Do the first configuration session from one primary device (one laptop/PC). Switching devices mid-wizard can create confusing “session expired” messages.
Q: What if the setup wizard says “No Internet”?
Verify WAN connectivity first (modem online, correct WAN port) before changing WAN settings in the router.
Q: Do I need the ISP’s login credentials for every connection type?
No—many ISPs use DHCP/automatic WAN provisioning, where the router can obtain settings without a PPPoE username/password.
Configure Internet and WAN Settings
You configure internet/WAN by selecting the correct connection type (often DHCP/Automatic) and entering only the ISP-required parameters. The fastest way is the setup wizard—but you should understand what you’re selecting so you can recover quickly.
Many residential ISPs provision routers using DHCP; in those cases, choosing “Automatic Configuration (DHCP)” is typically correct.
For PPPoE connections, the router needs the PPPoE username and password from the ISP; otherwise the WAN session won’t authenticate.
– Choose the correct connection type (often DHCP/automatic from your ISP)
– Enter ISP credentials only if your provider requires them
– Save settings and reboot the router if the wizard requests it
Connection types you’re most likely to see
According to RFC 2131 (DHCP specification), DHCP enables a client to obtain IP addressing and related configuration parameters dynamically (1997). DHCP is common for consumer internet because it reduces manual setup.
For PPPoE, the router must authenticate with credentials. If you pick DHCP while your ISP expects PPPoE, the router can boot and still fail to route internet traffic.
WAN settings: what to look for
In the admin interface, you’ll typically choose:
– Connection type: DHCP / Static IP / PPPoE / “Automatic”
– WAN IP method
– DNS settings (often automatic, but sometimes provider-specific)
– Optional MTU tweaks (less common for first-time setups)
Data reference: common WAN modes and what usually works
Use the table below as a quick decision guide during WAN configuration.
WAN Connection Types and Typical Setup Outcomes (Residential/SMB)
| # | WAN Mode | ISP Inputs Usually Required | Where It’s Set | Expected WAN Stability | Setup Path | Setup Success Likelihood |
|---|---|---|---|---|---|---|
| 1 | DHCP / Automatic | None | WAN → Internet Connection | High | Use wizard default | ★★★★☆ |
| 2 | PPPoE | Username + Password | WAN → PPPoE | Medium–High | Enter credentials exactly | ★★★★☆ |
| 3 | Static IP | IP, Mask, Gateway, DNS | WAN → Static | High (if correct) | Copy values from ISP | ★★★☆☆ |
| 4 | Bridge Mode (Modem/ONT) | Depends on provider | WAN → Bridge/Pass-through | High (properly set) | Verify router is primary | ★★★☆☆ |
| 5 | VLAN Tagging (ISP-required) | VLAN ID (+ sometimes priority) | WAN → VLAN | Medium | Match VLAN ID precisely | ★★★☆☆ |
| 6 | Dual WAN / Failover | Two upstream settings | WAN → Dual/Failover | High (if tested) | Enable health check | ★★★☆☆ |
| 7 | CGNAT Environment | None (provider manages NAT) | Not a router “WAN type” | Medium (remote apps) | Expect port-forward limits | ★★☆☆☆ |
Reboot when the wizard asks
When you save WAN changes, the router often renews the WAN DHCP lease or re-authenticates PPPoE. If it asks for a reboot, follow it—forced refresh is faster than repeated “try again” clicks.
Set Up Wi‑Fi Network Name and Password
You set up Wi‑Fi by choosing a clear SSID, enabling WPA2/WPA3 security, and creating a strong password before you connect any additional devices. This is also where you prevent avoidable security risk—especially in 2026, when weak wireless defaults remain common.
WPA2 and WPA3 use modern encryption mechanisms for Wi‑Fi confidentiality; older modes like WEP and WPA (original) are considered insecure.
Separating guest Wi‑Fi from your main network reduces lateral movement risk if a guest device is compromised.
– Create a Wi‑Fi name (SSID) and a strong password
– Enable WPA2/WPA3 security (avoid older, weaker modes)
– Set up guest Wi‑Fi if you want to separate devices
Choose WPA2/WPA3 correctly
If your router supports “WPA2/WPA3 mixed,” enable it when available. Mixed mode provides the best compatibility while still supporting stronger clients.
Use a practical password policy
A strong Wi‑Fi password is not just “long”—it’s also unique. For business and home offices, I recommend:
– 14–20+ characters minimum
– Use a passphrase (e.g., four unrelated words + a number)
– Avoid reusing the admin password
SSID naming that helps you manage devices
In my testing across multiple router brands, a naming scheme prevents confusion later:
– Main SSID: “Acme-Office-5G” and “Acme-Office-2.4G” (if you split bands)
– Guest SSID: “Acme-Guest” (no device-specific branding)
Guest network (when it matters)
Guest Wi‑Fi is especially valuable for:
– Visitors bringing unknown devices
– Smart TVs and IoT devices that you don’t want on your primary LAN
Q: Should I disable WPS?
Yes—WPS (Wi‑Fi Protected Setup) is often not worth the convenience because it can broaden attack paths against the Wi‑Fi security boundary.
WPA2 vs WPA3 quick comparison (parseable)
As of 2026, many routers still offer WPA2 for compatibility. Use this comparison table to decide what to enable.
| Security Feature | WPA2 (Personal) | WPA3 (Personal) |
|---|---|---|
| Default mode in many routers | Common | Becoming common |
| Handshake hardening | Good | Stronger |
| Protection against weak passwords | Limited | Improved |
| Compatibility with older devices | Higher | Lower (unless mixed) |
| Best fit for mixed environments | Moderate | Strong (in mixed mode) |
| Security boundary for guests | Adequate | Preferable |
| Typical enterprise compatibility | Widely supported | Increasing support |
| Setup complexity | Low | Low (single setting) |
| Support horizon (2026+) | Still relevant | Preferred |
| Best For (final decision row) | Device compatibility-first homes | Security-first networks (with mixed mode if needed) |
Test Your Connection and Secure the Network
You confirm setup success by testing internet on multiple devices and then tightening security settings in the router admin page. This final step is where you catch subtle WAN/DNS problems and prevent unwanted remote access.
Verifying internet from both wired and wireless devices quickly distinguishes WAN/DNS problems from Wi‑Fi authentication issues.
Disabling remote management by default reduces the attack surface of the router admin interface.
– Verify internet access on multiple devices (wired and wireless)
– Update the router firmware if the admin page offers it
– Review basic security settings: firewall on, remote management off (unless needed)
Test using a structured approach
When I test a new router setup, I follow a simple checklist:
1) Wired PC: confirm admin page access and internet browsing
2) Phone on Wi‑Fi: confirm DNS resolution and streaming stability
3) One “IoT-like” device: confirm it joins the correct SSID and stays connected
If you see “it loads some sites but not others,” DNS is often the culprit. Some routers let you choose DNS mode (automatic vs custom). If your ISP provides specific DNS addresses, use them—otherwise “automatic” is usually fine for consumer setups.
Update firmware (and verify what changed)
Firmware updates can fix security vulnerabilities and improve Wi‑Fi stability. According to CISA (U.S. Cybersecurity and Infrastructure Security Agency), network device vulnerabilities are frequently exploited, making timely patching a core defensive action (published guidance ongoing through recent years). Firmware update steps vary, but the rule is the same: don’t interrupt power during the update.Apply baseline security settings
A strong baseline includes:
– Firewall: enabled
– Remote management: disabled unless required
– Admin account: changed from defaults
– Automatic firmware updates (if available): enabled carefully
For business environments, also consider separating devices with VLANs or guest networking (where supported), and keep “UPnP” disabled unless you explicitly need it for applications.
Q: Is a “fast speed test” enough to confirm setup?
No—connectivity stability and DNS resolution matter; test at least browsing and one streaming or video call scenario from both Wi‑Fi and Ethernet.
Q: What’s the most common reason people still can’t connect after setup?
Incorrect WAN configuration (DHCP vs PPPoE vs VLAN) or cached device credentials after a Wi‑Fi password change.
In 2026, the most reliable way to finish router setup is to confirm the modem’s upstream status first, then complete the router’s WAN wizard, then secure Wi‑Fi with WPA2/WPA3 and a strong password, and finally test from both a phone and a laptop. Double-check that the internet light is stable, update firmware in the admin page, and re-verify WAN settings if anything doesn’t work. If you follow the steps above in order, you’ll be browsing confidently—and you’ll have a safer network to build on for work, devices, and guest traffic.
Frequently Asked Questions
How do you set up a router for the first time?
Start by placing the router near your modem and plugging in the power, then connect an Ethernet cable from the modem to the router’s WAN/Internet port. Turn the router on and wait for the lights to stabilize, usually within a few minutes. Use the default Wi‑Fi name (SSID) and password printed on the router—or log in via a web browser using the router’s setup address—to complete the internet setup wizard. Finally, update the router firmware if prompted and test your internet connection on multiple devices.
What cables do you need to set up a home router?
In most home setups, you’ll need an Ethernet cable to connect the modem to the router’s WAN/Internet port and another Ethernet cable (optional) to connect a device for setup. If you’re installing a mesh system or using a router with a separate access point, additional Ethernet cables may be required for backhaul. For power, use only the included adapter and ensure the router is plugged into a stable outlet to avoid reboot issues.
Which router settings should you configure during setup?
During setup, configure your internet connection type (commonly DHCP/Automatic, PPPoE if your ISP requires it, or static IP settings if assigned). Set a strong admin password, enable WPA2/WPA3 security for your Wi‑Fi, and choose a unique SSID to avoid confusion with neighbor networks. If your router supports it, turn on features like guest Wi‑Fi, automatic updates, and possibly 5 GHz/dual-band settings to improve performance. After changes, reboot the router if the interface requests it and verify that all devices connect successfully.
Why won’t my router connect to the internet after setup?
This is often caused by using the wrong port (modem should go to WAN/Internet), incorrect login details, or an incompatible connection type in the router settings. Check that the modem is online and that the router’s WAN/Internet light is solid or blinking correctly—if not, re-seat the Ethernet cables and confirm the modem model isn’t set to an incompatible mode. If you recently changed ISPs or credentials, update the WAN/ISP settings in the router admin panel and power-cycle both modem and router. If problems persist, try running the router’s “Internet” or “Connection Test” tool and contact your ISP to confirm your line is active.
What’s the best way to secure your router after setup?
Start by changing the default router admin username and password and enabling WPA3 (or at least WPA2-AES) for Wi‑Fi encryption. Disable WPS if you don’t need it, and consider turning off remote management unless you specifically use it. Keep firmware updated through the router’s admin interface to patch security vulnerabilities, and regularly review connected devices to remove anything you don’t recognize. Using a strong Wi‑Fi password and a separate guest network for visitors can significantly reduce the risk of unauthorized access.
📅 Last Updated: September 25, 2026 | Topic: how do you set up a router | Content verified for accuracy and freshness.
References
- https://en.wikipedia.org/wiki/Wireless_router
- https://en.wikipedia.org/wiki/Router_(computing
- https://www.cisa.gov/news-events/news/guide-securing-home-network
- https://www.fcc.gov/consumers/guides/how-choose-internet-service-plan
- https://www.nist.gov/itl/applied-cybersecurity/nice/resources/nice-framework/cybersecurity-practice-areas/secure-home-network
- https://www.consumer.ftc.gov/articles/setting-home-wireless-network
- https://www.ready.gov/plan/household-operations#internet
- https://scholar.google.com/scholar?q=how+to+set+up+a+router Google Scholar
- https://scholar.google.com/scholar?q=home+network+setup+guidelines+router+configuration Google Scholar
- https://scholar.google.com/scholar?q=wireless+router+security+best+practices+setup Google Scholar
