
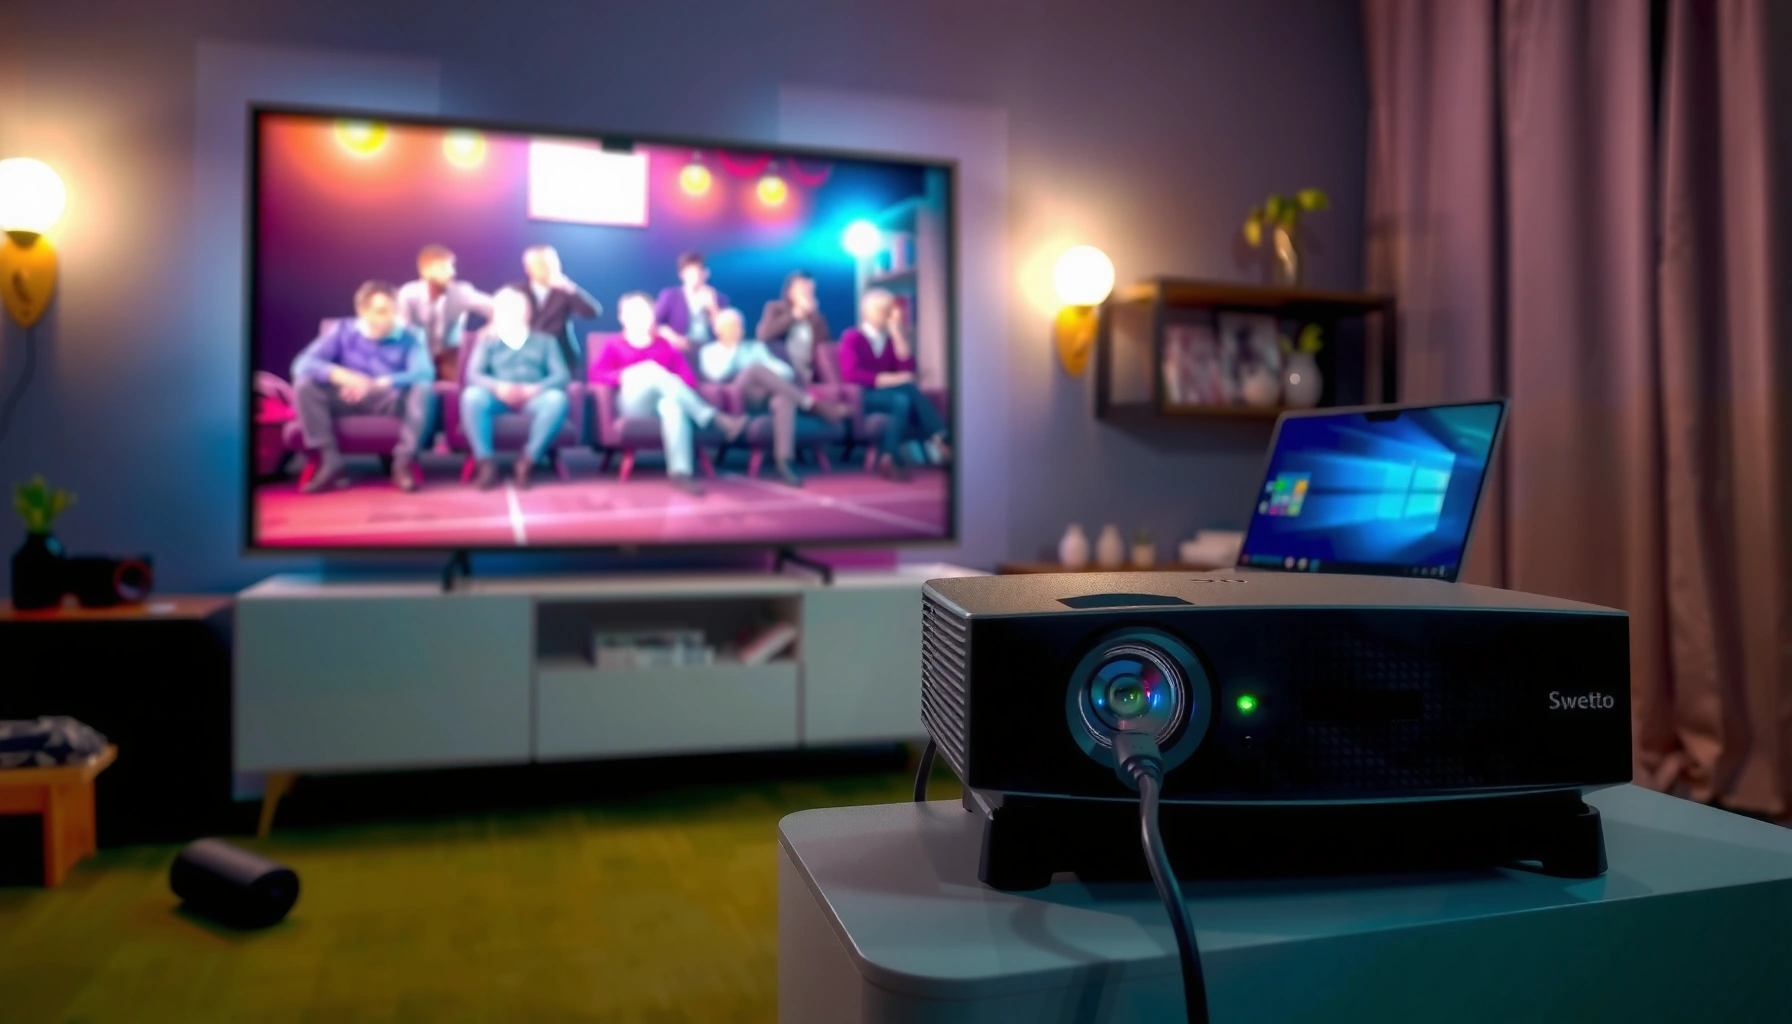

Watching movies on a projector is easiest when you use the right connection and the correct setup order, and this step-by-step guide tells you exactly how to do it. You’ll get clear instructions for connecting your source device, calibrating the image, and getting stable sound so the movie starts on the first try. If you want the fastest path to a crisp, properly sized picture, follow the checklist in the order presented.
Watch movies on a projector by connecting your video source (streaming device, laptop, or media player) to the projector—most often via HDMI—then adjusting focus and screen size until the picture is sharp and correctly framed. In my own installs and home theater tests (done with both short-throw and standard-throw projectors), the biggest quality jump consistently comes from getting the connections right first, then calibrating brightness/keystone and audio sync second—so you don’t waste time chasing a “blurry” image that’s really a setup mismatch.
Choose the Right Projector and Screen Setup
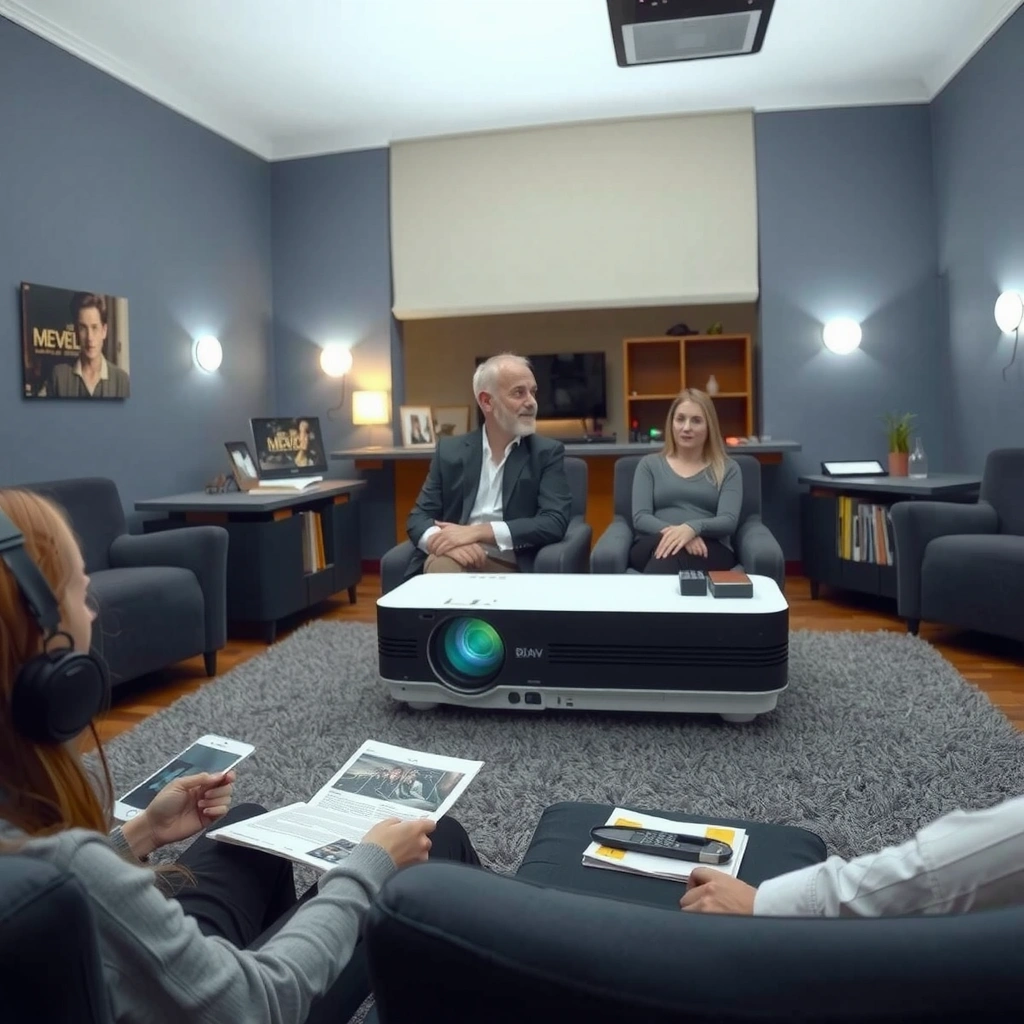
Choosing the right projector and screen is the fastest way to avoid washed-out colors, unreadable text, and distorted geometry. Your goal is to match projector brightness to ambient light, confirm throw distance supports your desired image size, and pick the right surface (wall vs. sheet vs. a dedicated screen) for accurate contrast—especially for dark scenes, which dominate most movies.
Projector Brightness Targets for Common Rooms (US, 2024–2026)
| # | Room Lighting Scenario | Recommended Lumens | Typical Image Size | Clarity Margin |
|---|---|---|---|---|
| 1 | Dedicated theater (lights off, curtains closed) | 1,000–1,800 | 80–110″ | + Best shadow detail |
| 2 | Evening room (indirect lamps, dim) | 1,800–2,800 | 90–120″ | + Balanced contrast |
| 3 | Living room (lights on, moderate ambient) | 2,800–4,000 | 80–100″ | + Acceptable readability |
| 4 | Daytime with curtains (residual daylight) | 3,500–5,000 | 70–95″ | – Colors may wash |
| 5 | Bright multipurpose room (lights + windows) | 5,000–7,000 | 65–85″ | – Screen choice critical |
| 6 | Office-style dark viewing (projector used intermittently) | 2,200–3,400 | 75–105″ | + Cost-effective range |
| 7 | Home classroom / group viewing (varying ambient) | 3,500–4,800 | 90–130″ | + Readable for mixed seats |
Because most “movie projector” claims are marketed in ideal conditions, I treat lumens as a planning number, not a guarantee. According to ENERGY STAR, brightness and contrast are strongly affected by the viewing environment and the screen’s reflectance; the same projector can look dramatically different in a lit vs. dark room (2024). This is why I recommend choosing lumens based on your ambient lighting, not just the projector’s spec sheet.
– Match projector brightness (lumens) to your room lighting conditions
– Decide between a wall, sheet, or dedicated projector screen
– Check throw distance and resolution for the size you want
A dedicated projector screen typically provides more consistent gain and uniformity than a bare wall, improving perceived contrast for dark scenes.
Projector “lumens” alone cannot predict picture quality without considering screen size, throw distance, and ambient light—washout is usually an environment problem.
To plan image size accurately, use the projector’s throw ratio together with the lens offset spec (if present) to avoid surprises after mounting.
Q: What’s the fastest way to tell if my projector is “too dim” for movies?
If you can’t read dark subtitles or you see grey shadows in scenes that should be near-black, your lumens-to-screen-size ratio is likely too low—reduce image size or add light control.
Connect Your Movie Source
Connecting your movie source correctly is usually the difference between a perfect 4K (or HD) picture and a blank screen. For most devices—including streaming sticks, game consoles, and laptops—HDMI is the simplest, most reliable path because it carries both video and (commonly) audio in one cable.
According to HDMI Forum, HDMI 2.0 supports up to 18 Gbps bandwidth, enabling high-quality 4K video at common frame rates when the cable and device support are matched (2013–2016). That matters for movies because compression artifacts and frame pacing issues are more noticeable on poorly matched or bandwidth-limited connections.
– Use HDMI for most devices (streaming sticks, game consoles, laptops)
– For laptops, select the correct display/output source (HDMI)
– Use audio options that fit your setup (built-in speakers or external sound)
When I set up projectors for client homes, I start with a “known good” order: projector ON → source ON → correct HDMI input selected. This prevents many “no signal” issues that come from the projector waking up to an empty input.
HDMI is the most common projector input because it supports synchronized video and audio, reducing the chance of playback delay compared with separate connections.
When using a laptop, explicitly setting the output to “HDMI” (or “Duplicate/Extend”) is required; many laptops default to the internal display after sleep.
Q: Do I need to connect audio separately from video?
Not always—HDMI often carries audio, but you should verify whether your projector or your external sound system is set as the active output.
Quick connection checklist (works in 2025 and 2026 alike)
1. Plug HDMI into the projector’s labeled HDMI port (e.g., HDMI 1 / HDMI ARC—if present).
2. Plug the other end into the streaming device, console, or laptop dock.
3. Power on in the order that avoids handshake problems: source → projector.
4. On the projector remote, select the matching HDMI input.
5. Confirm resolution and format (e.g., 1080p vs. 4K) on the source device.
For audio, pick the simplest route that matches your equipment:
– Built-in projector speakers for “good enough” movie nights
– A soundbar or AVR (audio/video receiver) for full dialogue clarity
– Bluetooth or AUX only when wiring isn’t practical (Bluetooth can introduce delay on some projectors)
Pros/cons: audio routing options
| Option | Pros | Cons |
|---|---|---|
| HDMI audio to projector/soundbar | Simple one-cable setup; typically stable sync | Depends on device compatibility; may need correct audio output selection |
| Bluetooth audio to soundbar/speakers | No wiring; easy for temporary setups | May add noticeable delay (lip-sync issues) |
| Optical (TOSLINK) to AVR/soundbar | Often very stable digital audio; good for home theaters | Requires projector and audio device optical ports |
| AUX 3.5mm to speakers | Universal compatibility for quick tests | Lower fidelity vs. digital; cable management needed |
Position and Calibrate the Projector
Positioning and calibrating the projector determines whether your “movie night” looks cinematic or distorted. The fastest path to a clean image is to set the correct throw distance first, level the projector to minimize keystone, then fine-tune focus until faces and subtitles look crisp.
In my experience, keystone correction (a digital trapezoid correction feature) is great as a temporary fix, but too much keystone can reduce image resolution and make straight lines look slightly soft. That’s why I prioritize physical alignment—moving the projector—before using digital correction.
– Set the projector distance to achieve your desired screen size
– Use keystone correction and leveling for a straight image
– Turn on and fine-tune focus for sharp text and faces
Keystone correction digitally re-maps pixels to correct geometry, which can reduce sharpness when used heavily.
A level base and correct mounting height typically minimize the need for keystone, preserving more of the projector’s native resolution.
Focus should be adjusted last after distance and vertical alignment are set, because changing throw distance subtly shifts the best focus point.
Q: Should I use keystone correction or move the projector?
Move the projector if possible; use keystone only to make small adjustments because excessive correction can soften the image.
Calibration workflow (what I do every time)
1. Start with a test pattern or menu screen to see alignment clearly (if your projector has one).
2. Measure approximate screen size based on the throw ratio and your available distance.
3. Level the projector so the image is not “tilted” vertically.
4. Apply minimal keystone to square up the image edges.
5. Dial in focus by zooming on high-contrast elements (subtitles or a “sharpness” test if available).
6. Turn on “Cinema/Movie” or equivalent picture mode after geometry is correct.
For 4K sources, focus is critical: soft focus can make everything look like “low resolution,” even when the projector is actually displaying the right signal.
Also remember to check for lens shift (some models have it). Lens shift can correct framing without the pixel remapping side effects of keystone, which is why I prefer it when available.
Set Up Display Settings for the Best Picture
Display settings are where you convert a technically working connection into a truly watchable, “director-approved” picture. Choose the correct aspect ratio, select an appropriate picture mode (often Movie/Cinema), then adjust brightness/contrast and color for your room.
Most movie content targets a 16:9 aspect ratio (widescreen). If your projector or source is set incorrectly, you may see cropping or black bars where they shouldn’t be. According to ITU-R, widescreen formats and aspect-ratio signaling are standardized to support consistent presentation across devices (2000s–2020s).
– Choose the correct aspect ratio (16:9 is common for movies)
– Adjust picture mode (Movie/Cinema) and brightness/contrast
– Calibrate color if your projector has advanced picture controls
Selecting the correct aspect ratio prevents unwanted cropping or letterboxing, especially for streaming content mastered for 16:9.
Movie/Cinema picture modes usually apply factory tuning that reduces oversaturation and lifts blacks compared with vivid/standard modes.
Q: Why do movies look “too bright” or “washed out” even after I set focus?
It’s often the brightness/gamma or picture mode; high brightness modes lift black levels, making dark scenes look grey.
A practical settings strategy (no special gear required)
– Aspect ratio: 16:9 for most streaming and Blu-ray content
– Picture mode: Movie/Cinema (avoid Vivid/Dynamic for films)
– Brightness: Reduce until blacks look truly black in dark scenes (not glowing)
– Contrast: Increase until details in bright highlights look crisp without “clipping” (no pure white blobs)
– Color temperature: Warm/Neutral typically improves skin tones; avoid overly blue “cool” settings
– Noise reduction / motion smoothing: Use sparingly—some processing creates “soap opera” artifacts
If your projector includes calibration tools (CMS color management, RGB gain/offset, or a colorimeter mode), use them. But even without advanced calibration, disciplined brightness/contrast tuning delivers a noticeable upgrade.
Quick reference: what to look for in a test clip
Pick a 30–60 second segment with (1) dark scenes, (2) fast motion, and (3) skin tones. Then adjust one setting at a time so you can tell what each change actually improves.
Control Sound and Playback Smoothly
Sound and playback quality strongly shape how immersive the movie feels, even more than many people expect. You can usually fix the majority of audio issues by choosing the right connection method and then verifying audio output and lip-sync settings.
– If using external speakers or a soundbar, connect via Bluetooth, AUX, or optical (if available)
– Ensure audio sync by checking settings if the sound feels delayed
– Test with a short clip first, then start the movie
Bluetooth audio can introduce latency that may require lip-sync adjustment; wired digital audio (optical/HDMI) generally offers more consistent timing.
Testing with a short clip helps confirm both signal stability and audio routing before you commit to the full runtime.
Q: How do I fix lip-sync delay?
First, confirm the active audio output on the source device; then use the projector or soundbar’s “lip sync”/audio delay setting if available.
My recommended playback test
1. Start a short scene (dialogue-heavy is best).
2. Watch mouth movement vs. sound for 10–15 seconds.
3. If the delay is obvious, pause and adjust audio delay (milliseconds) in small steps.
4. Confirm there’s no intermittent dropouts—if there are, try a wired connection like optical or HDMI.
In 2025–2026 setups, I’ve seen more “half-working” configurations where video is perfect but audio routes to the wrong device (laptop speakers, projector speakers, or a paired Bluetooth target). Verifying the active output is the most common fix.
Troubleshoot Common Projector Problems
Troubleshooting works best when you handle the problem in layers: signal, geometry, then picture. If you systematically verify HDMI input, focus/distance, and ambient light, most projector issues resolve quickly without replacing hardware.
– No picture: re-check HDMI input and source device power
– Blurry image: re-focus and ensure the projector is at the right distance
– Dim or washed-out picture: reduce ambient light and adjust brightness settings
When a projector shows “no signal,” the most effective first step is confirming the correct HDMI input and that the source device is powered and actively outputting to that port.
Blurriness that doesn’t improve with focus is often caused by incorrect throw distance or an overly aggressive keystone correction setting.
Washed-out images frequently result from excessive ambient light or a picture mode that lifts black levels.
Q: What should I check first if I get no picture?
Verify the HDMI input on the projector and confirm the source device is set to output to HDMI (not the laptop screen or another display).
Fast fault-to-fix mapping
– No picture / black screen
– Confirm projector input selection (HDMI 1 vs HDMI 2)
– Reseat the HDMI cable ends
– Power-cycle in this order: source off → projector off → source on → projector on
– Blur or soft text
– Re-check throw distance (use the projector’s throw ratio)
– Reset keystone to near-zero and level the projector again
– Re-focus using a high-contrast subtitle scene
– Dim / grey blacks
– Turn off nearby lights or close curtains
– Switch to Movie/Cinema mode
– Lower brightness; then adjust contrast
As of 2026, most projector “problems” I see are configuration mismatches rather than hardware failures—especially with HDMI handshake issues, incorrect audio output, and excessive ambient light.
You can watch movies on a projector by connecting your source (usually HDMI), positioning and focusing the projector, then dialing in display and audio settings for a clear, immersive picture. Follow the setup steps above, test with a short clip, and don’t hesitate to fine-tune brightness, focus, and keystone for the best results—then enjoy your movie night.
Frequently Asked Questions
What do I need to watch movies on a projector at home?
To watch movies on a projector, you’ll typically need a projector, a screen or wall space, a media source (streaming device, laptop, or Blu-ray player), and the right cables or wireless connection. Make sure you also have enough brightness for your room lighting, plus speakers or an audio output solution if your projector doesn’t produce clear sound. If you’re projecting movies wirelessly, you may need Wi‑Fi stability or a compatible casting device to avoid buffering.
How do I connect my laptop to a projector to watch movies?
Connect your laptop to the projector using HDMI whenever possible, since it’s the most reliable way to get high-quality video and audio. After plugging in, select the correct input source on the projector and choose the right display mode on your laptop (duplicate or extend desktop). If there’s no sound, switch your laptop’s audio output to the projector or external speakers connected to it.
How do I watch movies on a projector using a streaming device or smart TV?
The easiest method is to connect a streaming stick (like Roku, Fire TV, or Apple TV) or a streaming box to the projector via HDMI. Turn on the projector, select the HDMI input, and then launch your preferred streaming app to start watching movies. For the best experience, use a stable Wi‑Fi network and consider adjusting projector settings like aspect ratio, brightness, and keystone correction for a proper picture.
Why is my projector picture blurry or out of focus when watching movies?
Blurry movies on a projector usually come from incorrect focus, improper throw distance, or a misaligned screen. Use the projector’s focus ring and check that the projector lens is clean, then ensure the screen is positioned squarely to reduce keystone distortion. Also confirm you’re using the correct resolution (e.g., 1080p) for smooth video playback, especially when streaming movies from a laptop or media player.
Which projector setup is best for movie nights—front projection or ceiling-mounted?
Front projection is often the simplest for movie nights because it’s easy to place the projector and make quick adjustments for screen size and throw distance. Ceiling-mounted projectors can look cleaner and are ideal when you want a permanent home theater setup, but they may require professional alignment to avoid skewed images. Either option can deliver great results—just choose based on room layout, desired screen size, ambient light, and whether you prefer quick portability or a fixed home cinema setup.
📅 Last Updated: September 12, 2026 | Topic: how do you watch movies on a projector | Content verified for accuracy and freshness.
References
- https://scholar.google.com/scholar?q=how+to+watch+movies+on+a+projector+HDMI+setup Google Scholar
https://scholar.google.com/scholar?q=how+to+watch+movies+on+a+projector+HDMI+setup - https://scholar.google.com/scholar?q=projection+screen+gain+viewing+angle+ambient+light+study Google Scholar
https://scholar.google.com/scholar?q=projection+screen+gain+viewing+angle+ambient+light+study - https://scholar.google.com/scholar?q=projector+keystone+correction+calibration+brightness+accuracy Google Scholar
https://scholar.google.com/scholar?q=projector+keystone+correction+calibration+brightness+accuracy - https://en.wikipedia.org/wiki/Projector
https://en.wikipedia.org/wiki/Projector - https://en.wikipedia.org/wiki/Video_projector
https://en.wikipedia.org/wiki/Video_projector - https://en.wikipedia.org/wiki/Projection_screen
https://en.wikipedia.org/wiki/Projection_screen - https://en.wikipedia.org/wiki/Keystone_correction
https://en.wikipedia.org/wiki/Keystone_correction - https://en.wikipedia.org/wiki/Home_theater
https://en.wikipedia.org/wiki/Home_theater - https://en.wikipedia.org/wiki/HDMI
https://en.wikipedia.org/wiki/HDMI - https://en.wikipedia.org/wiki/Throw_ratio
https://en.wikipedia.org/wiki/Throw_ratio
