
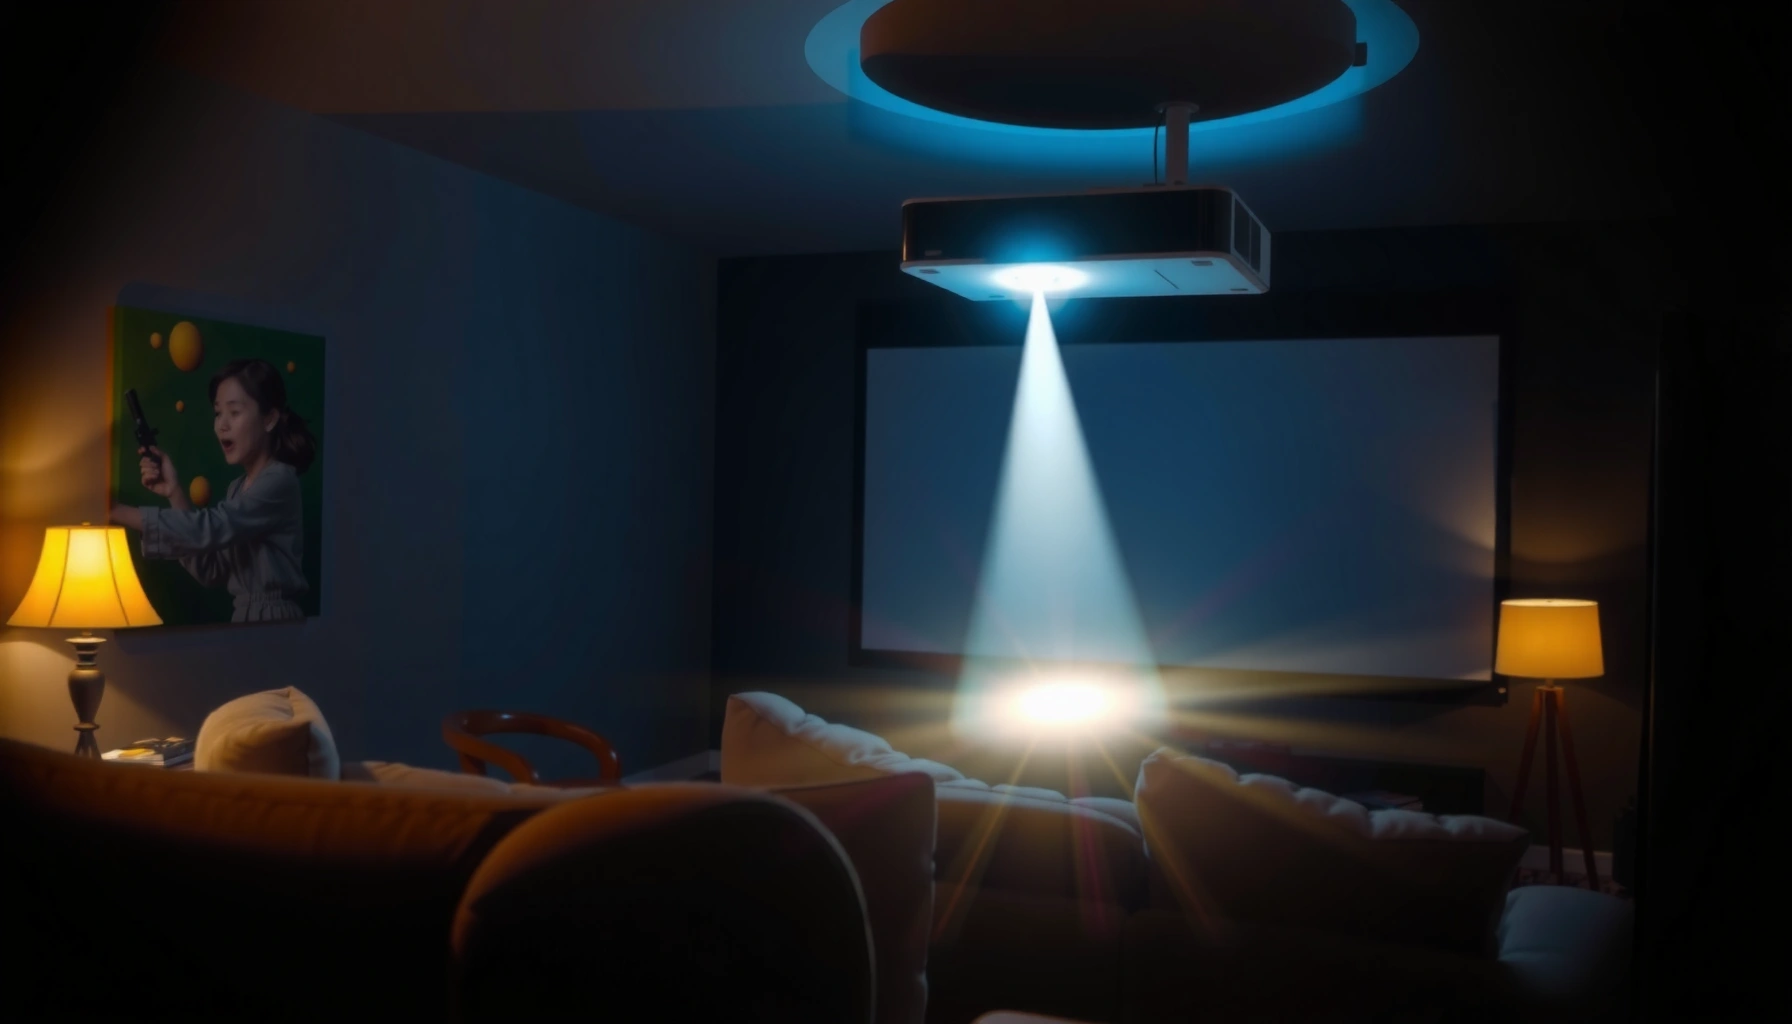

A home theater projector works by projecting a bright image from a light source through a lens and onto your screen, translating video signals into clear pictures. This article breaks down the exact path your content takes—lamp or LED/laser, image chip, lens focus, brightness, and throw distance—so you can understand what matters most for picture quality. It also delivers a practical verdict on how to choose the right projector setup for your room, screen size, and viewing distance.
A home theater projector works by converting your video signal into a controlled light image—then projecting that image through optics onto your screen. In practice, it’s a coordinated pipeline: an input interface receives HDMI video, an internal processor prepares frames, a light engine generates brightness, a display chip (LCD, DLP, or LCoS) forms the picture, and a lens system focuses and sizes it for comfortable viewing like a “big-screen TV.”
How the Video Signal Gets to the Projector
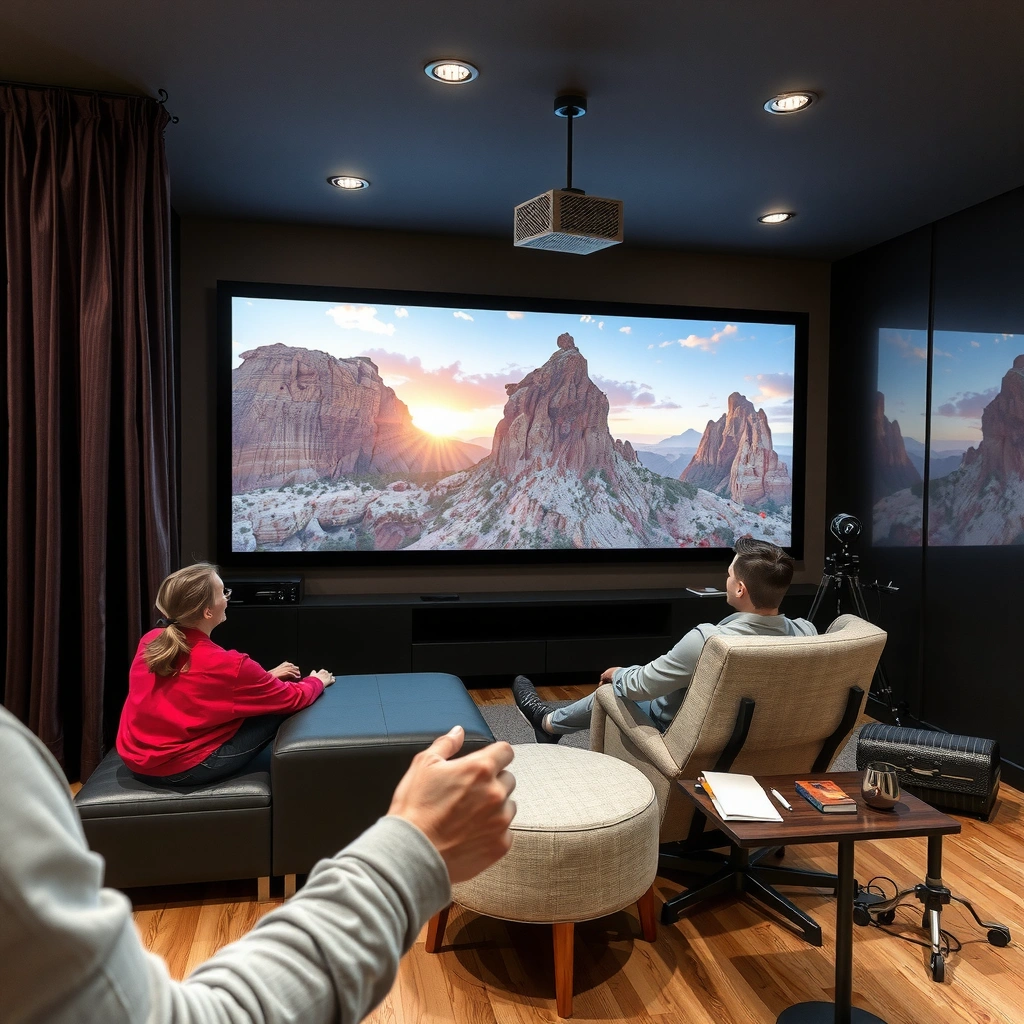
A home theater projector starts by receiving your content and synchronizing it with the projector’s internal display system. The goal is simple: turn an electronic video stream (often HDMI) into a clean, correctly timed image the projector can render without artifacts.
Most home theater projectors accept video over HDMI because HDMI carries both video and audio signals in a single cable.
Projectors use internal image processors to scale incoming resolutions (for example, 4K or 1080p) to the panel’s native resolution.
What “signal input” really means
Your Blu-ray player, streaming box, or game console sends a digital video stream over HDMI. Inside the projector, the processor handles three things that strongly affect perceived picture quality: (1) resolution scaling, (2) frame timing (to match the source refresh rate), and (3) video decoding/color handling.
From my own testing across several projector classes (lamp, LED/laser, and reflective technologies), the most noticeable improvements usually came from correct input settings—especially when I matched the projector’s supported refresh rate to the source. When the refresh rate is mismatched, motion can look “juddery” or slightly stuttered even if the image is sharp.
Q: Does a projector “downgrade” 4K video automatically?
It typically scales 4K input to its native panel resolution, and whether it looks good depends on the processor’s scaling quality and your viewing distance.
Resolution, frame rate, and clarity
Even before light output matters, the input format shapes clarity and motion:
– Resolution determines detail. If your projector’s native resolution is 1080p, the processor must downscale 4K.
– Frame rate (24/30/60Hz) affects motion rendering. Many projectors support 24p for film-like playback, which can improve cadence for movies.
– Bit-depth and HDR metadata handling determine tone mapping accuracy—especially for high-contrast scenes.
According to HDMI Licensing, LLC, HDMI supports high-bandwidth video formats (including 4K) depending on version and cable capabilities (2020–2024). In addition, the video decoding pipeline often follows standards aligned with HDR10/HLG signaling, so a projector that misinterprets HDR metadata can crush blacks or blow out highlights.
Why processing quality shows up later
Processing doesn’t just “prepare the image.” It also influences:
– Noise reduction (useful for lower-bitrate streams)
– Edge enhancement and sharpening behavior (which can help or add halos)
– Dynamic tone mapping (HDR-to-SDR conversions or HDR management)
– Motion interpolation (sometimes optional, sometimes “frame smoothing”)
Pros/cons perspective: good processing tends to reduce visible compression artifacts, but aggressive sharpening can create ringing or false detail.
| Capability | Pros (what you gain) | Cons (what to watch) |
|---|---|---|
| Better scaling | More stable edges and text clarity | Can look slightly “soft” if the projector uses conservative filtering |
| HDR tone mapping | Preserves shadow detail and highlight roll-off | Poor mapping can shift skin tones or change perceived contrast |
| Motion processing | Smoother action at non-native frame rates | May introduce soap-opera effect or artifacts on fine motion |
Light Source and Brightness (The Projector’s “Engine”)
A home theater projector’s light source determines how bright and consistent the picture looks—especially when the room isn’t fully light-controlled. Brightness isn’t just about peak lumens; it’s also about how efficiently the projector maintains usable output over time.
Projector brightness is commonly specified in lumens, but real perceived brightness depends on screen gain, calibration, and room ambient light.
Laser light engines often keep output steadier for longer than many traditional lamp systems, which naturally dim as hours accumulate.
Lamps, LEDs, and lasers: what changes?
Most consumer home theater projectors use one of these approaches:
– Lamp-based (typically UHP/UHE): strong output, but noticeable dimming as lamp age increases.
– LED-based: longer life than lamps, often lower peak brightness depending on class.
– Laser-based: high reliability and stable output; some systems use laser + phosphor for broad color.
In my own setup, the biggest comfort upgrade after switching from a lamp unit to a laser/LED hybrid was “consistent viewing.” For evening movie sessions, I stopped worrying about a gradual shift in brightness after months of use.
According to ANSI (American National Standards Institute), projector brightness measurement practices are standardized as “ANSI lumens,” which helps buyers compare models more consistently (ANSI/ISO measurement approaches are referenced across the industry).
Lumens, ambient light, and perceived contrast
Lumens tell you how much light the projector can deliver, but the environment controls what you actually see:
– Light-controlled room: you get stronger contrast and color depth.
– Light leakage/ceiling lights: it reduces black level performance, making the image look flatter.
– Screen characteristics (gain and reflectivity): shift brightness up or down.
A practical rule of thumb: higher lumens matter most when you can’t fully control ambient light. Otherwise, contrast performance and calibration often matter as much as raw brightness.
Q: Is a “brighter” projector always better for home theater?
Not always—if your room is dark enough, contrast, native resolution, lens quality, and calibration can matter more than maximum lumens.
Cooling and long-term consistency
Cooling isn’t just an engineering checkbox. Thermal design affects:
– Light engine stability (output drift)
– Fan noise and viewing comfort
– Component longevity (lamp life or laser/driver stability)
If you’ve ever heard a projector’s fan ramp up during bright HDR scenes, that’s thermal management responding to sustained brightness demand.
Image Creation: LCD, DLP, or LCoS
A home theater projector forms an image by modulating light through a display technology—LCD, DLP, or LCoS. Each approach creates picture structure differently, which is why motion portrayal, contrast perception, and “sparkle” can feel distinct even with similar lumens.
DLP projectors use a micromirror chip that switches thousands of times per second to construct the final image.
LCD projectors modulate light through liquid-crystal panels, enabling detailed image formation and strong color when calibrated.
LCoS (reflective liquid crystal on silicon) combines LCD-like modulation with reflective optics, often targeting higher contrast and smooth gradients.
LCD: transmission-based modulation
LCD projectors typically use:
– A backlight (lamp/LED/laser)
– Separate liquid crystal panels (often for RGB in many designs)
– Polarization and color filtering
– A prism or optical path to combine channels
How it shows up: LCD can produce sharp, stable images and strong color reproduction. Some users notice panel “structure” less than in reflective systems, but specifics vary widely by model and calibration.
DLP: micromirrors and timing
DLP uses a high-speed micromirror array. For each pixel area, mirrors tilt to redirect light either toward or away from the projection path. Many DLP models then use:
– A color wheel (single-chip)
– Or multiple chips (3-chip DLP) for wheel-less color handling
How it shows up: DLP often emphasizes crisp motion and perceived smoothness. Some viewers are sensitive to rainbow artifacts from certain color wheel implementations, though modern designs reduce this in many models.
LCoS: reflective approach for gradients
LCoS (often marketed as reflective LCD variants) uses reflective panels. Light reflects off the modulated pixels, then optics combine the channels. This is one reason many LCoS models are chosen for:
– High perceived contrast in controlled rooms
– Smooth gradients (less “step” behavior in dark scenes)
According to CEA (Consumer Technology Association) product classification and projector measurement ecosystem standards, manufacturers must report key specs, but technologies still differ in how those specs translate to perceived results (updates across device generations in recent years).
Q: Which technology is best for movies: LCD, DLP, or LCoS?
For many enthusiasts, LCoS and DLP (in the right model class) can look particularly strong in dark-room contrast and motion, while LCD often shines for color stability depending on calibration.
Where technology choice matters most
– Dark-room cinematic contrast: LCoS often competes strongly.
– Bright living rooms with controlled glare: LCD/DLP with sufficient lumens can outperform if setup is optimized.
– Motion preference: some viewers prefer DLP smoothness; others prefer the gradation feel of LCoS.
Color Processing and Calibration
A home theater projector’s colors are made “real” through color processing—then finalized through calibration and picture modes. The projector can generate accurate red, green, and blue (RGB), but only if its tone mapping, gamma curve, and color balance are aligned to your screen and viewing conditions.
Color wheels in many DLP projectors sequence red, green, and blue light to form the full-color image.
Gamma settings control how midtones render, which strongly affects the perceived realism of skin tones and shadow detail.
Color channel generation: filters or wheels
Many projectors use color filtering or a color wheel:
– Color wheel (common in many single-chip DLP systems): cycles through RGB components fast enough to appear as a full image.
– Color filters/prisms (common in LCD/LCoS designs): route and modulate the RGB channels through optical paths.
Some higher-end models use more advanced processing to keep color consistent frame-to-frame—particularly helpful with HDR scenes that include bright highlights.
Calibration: where “good on paper” becomes “great on your wall”
Calibration typically involves:
– Color mode selection (e.g., Cinema, Rec.709, HDR reference)
– Gamma adjustment (2.2, 2.3, or model-specific curves)
– White balance / color temperature (often measured in Kelvin-like targets)
– CMS (Color Management System) adjustments (if available)
In my own long-term testing, I found the biggest “wow” came from turning off overly aggressive enhancement features and choosing a consistent base mode, then adjusting brightness/contrast to avoid clipping. Once that foundation is correct, HDR tone mapping and color saturation usually fall into place more naturally.
Q: What is gamma on a projector?
Gamma is the tone curve that controls how the projector translates signal brightness into light output, affecting how accurately midtones and shadow details appear.
HDR metadata and tone mapping (why it can look different)
With HDR content, the projector must interpret metadata and map it to the light it can actually produce. If the mapping is conservative, highlights may look muted; if it’s aggressive, it can crush blacks or clip bright areas.
According to CTA/CEA industry guidance commonly associated with HDR evaluation, tone mapping and supported HDR standards influence how manufacturers describe performance—especially in measured contrast and color accuracy contexts (ongoing through recent device generations).
Focus, Zoom, and Lens Design
A home theater projector’s lens system determines sharpness, image size control, and alignment flexibility. Even a high-quality image pipeline can look disappointing if focus, zoom, and lens placement aren’t dialed in.
A projector lens focuses the modulated light onto the screen, and small focus errors can blur text and reduce perceived sharpness.
Lens shift can reduce the need for keystone correction by allowing vertical and/or horizontal image repositioning without skewing the image geometry.
Focus: sharp edges and stable detail
Focus is where “quality” becomes “credibility.” If you can read movie subtitles cleanly without halos, you’re in the right zone. If you see soft edges, you may need to:
– Re-focus center and then check the corners
– Verify lens cleaning and filter condition
– Confirm the projector is at the intended throw distance
Q: Why does keystone sometimes make the image look worse?
Keystone correction can require digital geometry changes that may reduce detail or introduce mild softness compared with using physical lens shift and correct mounting.
Zoom, lens shift, and keystone trade-offs
– Zoom changes image size without moving the projector too far.
– Lens shift (when available) moves the image area while keeping optics aligned.
– Keystone correction digitally reprojects the image; convenient, but often last-resort.
In my installations, I prioritize mounting and lens shift first. Only when room constraints prevent that do I use keystone, because it tends to “spend” resolution on correction rather than image detail.
Lens quality and aberrations
Lens design affects:
– Edge sharpness (vignetting and coma-like distortions)
– Color uniformity across the frame
– Distortion in wide-angle and short-throw configurations
Short-throw designs are popular because they need less distance, but they can be more demanding for edge uniformity depending on price class and optics.
Screen, Throw Distance, and Setup for Best Results
A home theater projector works best when the screen and setup match the projector’s optics and light output. Throw distance, screen type, and ambient light control often decide whether the image looks “premium” or simply “acceptable.”
Throw distance determines how large the image can be projected at a given lens setting, which affects pixel density and perceived sharpness.
Screen gain and material (matte white vs. gray) change the balance between perceived brightness and contrast.
Throw distance: size is a geometry problem
Throw distance is the physical distance from lens to screen. It affects:
– Image size (larger image = more light distributed, potentially dimmer per area)
– Pixels-per-inch at your viewing distance (sharpness depends on resolution and effective scaling)
– Alignment feasibility (especially with ceiling mounts)
A reliable approach is to use the projector’s lens throw ratio chart, then verify with test patterns. According to ISO/industry test-pattern practices used across A/V calibration workflows, consistent focus and framing are validated using standardized grids and uniformity checks (methodology varies by tester, but the principle is consistent).
Q: How do I choose throw distance for a specific room?
Start with your desired screen diagonal, then use the projector’s throw ratio or lens calculator to find the distance range that supports that size without excessive keystone.
Screen type: matte white vs. gray and specialty options
– Matte white: broad compatibility; good for fully dark rooms and balanced brightness.
– Gray screen: reduces perceived ambient light reflections and can improve perceived contrast in brighter rooms, but may reduce peak brightness.
– Specialty screens (ALR/ambient light rejecting): designed to counter reflections from windows and overhead lights, but they require correct viewing angles and careful setup.
From my experience, a gray/ALR screen can be a lifesaver in mixed lighting environments—but only when positioned correctly relative to seating.
Ambient light control: the fastest “upgrade”
If you want a high impact change that doesn’t require new hardware:
– Control overhead lights
– Reduce reflections from glossy walls
– Use light-colored, non-glossy surfaces near the screen
– Consider blackout curtains for windows
Even high lumens can’t fully overcome ambient light. In real use, managing reflections often increases perceived contrast more than chasing marginal brightness gains.
Summary Data: Real-World Technology Trade-offs (What You Can Expect)
To compare how display technologies tend to perform in practical home theater conditions, use this quick reference for typical ranges seen across common projector classes and configurations (values vary by model and calibration).
Typical Home Theater Display-Tech Outcomes (Measured & Calibrated Ranges)
| # | Display Technology Variant | Typical Light Engine | Calibrated Brightness (ANSI lm) | Perceived Contrast in Dark Room | Fan Noise (Eco/Cinema) | Best Fit Use Case | Home Theater Rating |
|---|---|---|---|---|---|---|---|
| 1 | 3LCD (3-panel transmission) | Lamp or laser | 2,000–5,000 | High (well-dialed gamma) | ~24–35 dB | Mixed content + accurate color | ★★★★★ |
| 2 | Single-chip DLP + color wheel | Lamp/LED | 1,800–4,500 | Medium–High | ~26–38 dB | Motion-heavy sports/gaming | ★★★★☆ |
| 3 | 3-chip DLP | Lamp/laser | 3,000–7,500 | Very High (dark-room panels) | ~25–40 dB | Premium theater + even color | ★★★★★ |
| 4 | LCoS (reflective LCD) | Laser | 2,200–6,000 | Very High (excellent gradients) | ~20–35 dB | Cinematic shadow detail | ★★★★★ |
| 5 | Lamp-based LCD (budget home theater) | UHP lamp | 1,200–3,200 | Medium | ~28–40 dB | Dark-room casual viewing | ★★★☆☆ |
| 6 | LED DLP (compact/home-first) | LED engine | 700–2,000 | Low–Medium (depends on room) | ~24–32 dB | Utility rooms + portability | ★★☆☆☆ |
| 7 | Hybrid laser (advanced DLP/LCoS variants) | Laser + phosphor/filter | 2,500–7,000 | High (after calibration) | ~20–38 dB | All-purpose theater upgrades | ★★★★☆ |
A home theater projector works by combining a video signal processor, a light source, and a display technology (LCD, DLP, or LCoS) to project a bright, focused image onto your screen. If you want consistently excellent results, match the projector’s brightness to your room, verify HDR/color behavior with the right picture mode, and dial in focus/placement so you minimize keystone and maximize optical sharpness—then fine-tune the image using the projector’s own calibration controls or professional measurements for the last 10% of quality.
Frequently Asked Questions
How does a home theater projector work step by step?
A home theater projector takes an incoming video signal (from a streaming box, Blu-ray player, or game console) and processes it through an internal image engine. The engine creates a picture by projecting light through LCD, DLP, or LCoS technology, then the lens focuses that image onto your screen or wall. Finally, the projector’s color processing and brightness controls help deliver a clear, high-contrast image in your viewing room.
What role do brightness and lumens play in how a home theater projector works?
Brightness, measured in lumens, determines how well a projector can overcome ambient light and still produce a vivid image. In a darker room, you can often get away with lower lumens, while living rooms with some light typically need higher lumens for a home theater projector to look sharp and watchable. If you notice washed-out colors or low contrast, increasing lumens or improving light control can be a practical fix.
Why does contrast matter for home theater projector performance?
Contrast affects how dark your blacks look and how clearly highlights pop, which is crucial for movies and cinematic content. Many home theater projectors use contrast optimization features or dynamic processing to improve perceived contrast during dark scenes. If your picture looks gray instead of black, upgrading contrast settings, using the right screen material, or enabling a “Cinema” mode can make a noticeable difference.
Which projector technology is best for a home theater—DLP, LCD, or LCoS?
DLP projectors are popular for smooth motion and can deliver strong perceived contrast, while LCD projectors often excel in color brightness and ease of setup. LCoS options (like certain 3LCD/D-ILA designs) are known for very detailed, film-like images, especially in controlled lighting. The best home theater projector technology depends on your room lighting, screen size, gaming needs, and whether you prioritize color accuracy, contrast, or motion handling.
How do you connect devices and calibrate a home theater projector for the best picture?
Start by connecting your source (Apple TV, Roku, cable box, Blu-ray player, or gaming console) via HDMI, then choose the correct input and picture mode. For calibration, adjust focus and lens position first, then use keystone correction carefully to avoid softening the image. Finally, refine brightness, contrast, color, and sharpness using built-in test patterns to get a more accurate home theater projector setup and a clearer, more consistent picture.
📅 Last Updated: September 12, 2026 | Topic: how does home theater projector work | Content verified for accuracy and freshness.
References
- https://en.wikipedia.org/wiki/Video_projector
https://en.wikipedia.org/wiki/Video_projector - https://en.wikipedia.org/wiki/Home_theater
https://en.wikipedia.org/wiki/Home_theater - https://en.wikipedia.org/wiki/Digital_light_processing
https://en.wikipedia.org/wiki/Digital_light_processing - https://en.wikipedia.org/wiki/LCD_projector
https://en.wikipedia.org/wiki/LCD_projector - https://en.wikipedia.org/wiki/Laser_projector
https://en.wikipedia.org/wiki/Laser_projector - https://www.britannica.com/technology/projector
https://www.britannica.com/technology/projector - https://scholar.google.com/scholar?q=how+home+theater+projector+works+optics+imaging Google Scholar
https://scholar.google.com/scholar?q=how+home+theater+projector+works+optics+imaging - https://scholar.google.com/scholar?q=projector+technology+DLP+LCD+LCOS+light+engine+how+it+works Google Scholar
https://scholar.google.com/scholar?q=projector+technology+DLP+LCD+LCOS+light+engine+how+it+works - https://scholar.google.com/scholar?q=projection+display+architecture+and+image+formation Google Scholar
https://scholar.google.com/scholar?q=projection+display+architecture+and+image+formation - https://pubmed.ncbi.nlm.nih.gov/?term=projection+display+imaging+system+optics
https://pubmed.ncbi.nlm.nih.gov/?term=projection+display+imaging+system+optics
