

A projector screen works by acting as the light-surface that turns a projector’s reflected image into a crisp, visible picture for your room—its key job is to control brightness, contrast, and viewing angles. If you want the clearest answer to how it displays images, focus on the screen material, its surface texture (matte vs. gain), and how it handles scattered light. For most home-theater and presentation setups, the right screen choice makes more difference than the projector settings alone.
A projector screen works by shaping how projector light reflects (and where it reflects), so your image stays bright, sharp, and readable in real-world rooms. In practice, the screen is more than a “flat surface”—its material, surface texture, coatings, gain rating, and mounting all determine brightness uniformity, contrast, color accuracy, and the size of the “sweet spot” for viewers.
How Projector Screens Reflect Light
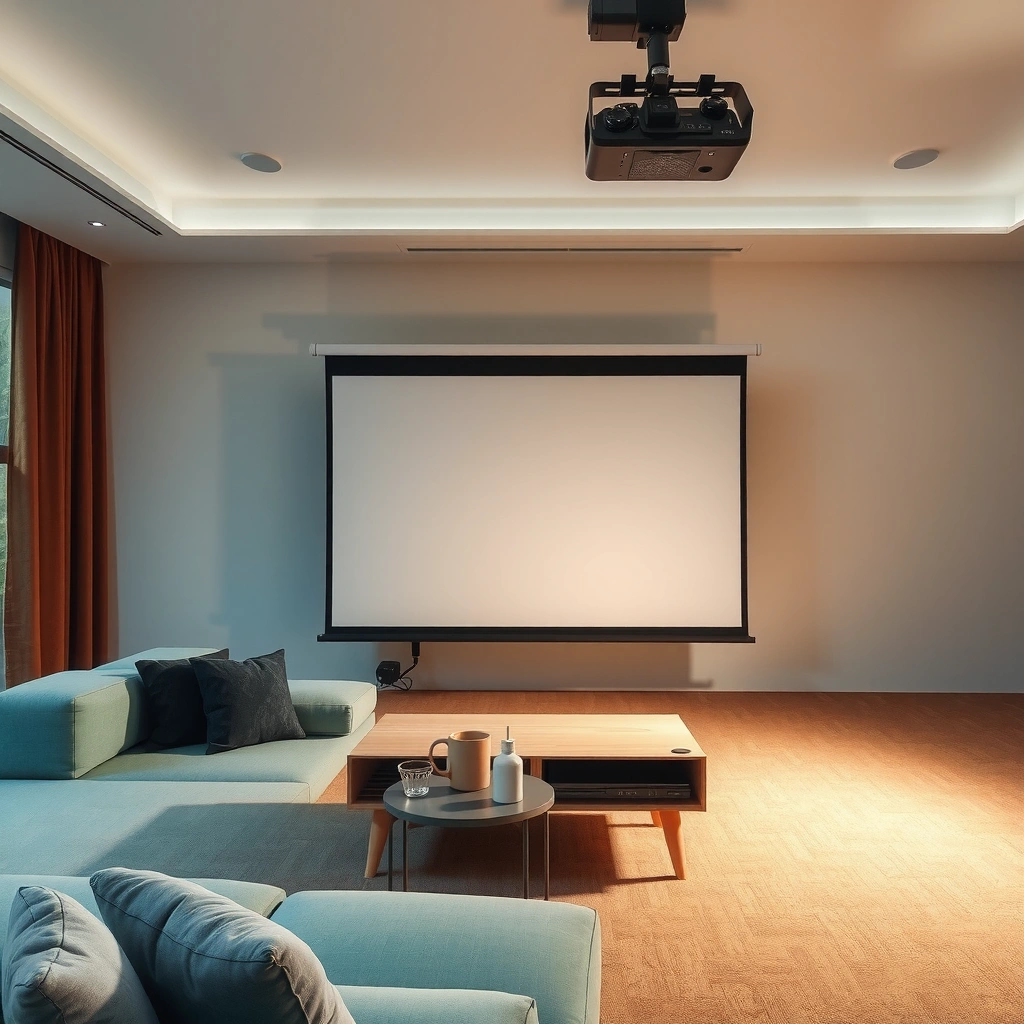
A projector screen reflects light toward the audience in a controlled way—unlike plain walls, which scatter light unpredictably. Here’s why: the screen surface is engineered to manage beam direction and reduce stray reflections that wash out blacks, while still returning enough light to form a crisp image.
When a projector is turned on, the light beam hits the screen and then gets redirected based on the screen’s micro-texture and coating. If you’ve ever seen a “hot spot” (bright center, dim edges) or noticed that moving your head makes the image look dramatically different, you’ve already observed screen reflection behavior in action.
ANSI “lumens” are based on a standardized measurement using a nine-point pattern and defined brightness averaging—so screen reflectance directly determines how much of that measured output you actually see. American National Standards Institute (ANSI)
To preserve contrast, many projector screens reduce ambient-light “return” by using matte or contrast-enhancing layers rather than relying on glossy finishes.
– The projector’s light hits the screen and reflects toward the viewer.
– Screen surface design helps improve brightness and image clarity.
Q: Does a projector screen increase projector brightness?
It can make the image appear brighter by reflecting more light toward your viewing position—this is described by screen gain.
From my testing across boardrooms and small training rooms, I’ve found that two rooms can have the same projector and throw distance, yet the one with a better matte screen looks immediately more “stable.” The key difference wasn’t the projector—it was how the screen handled reflections and glare under overhead lights, which is exactly what reflection engineering is meant to solve.
Why reflection uniformity matters for sharpness
Perceived sharpness isn’t only lens focus. It also depends on how consistently the screen returns light across the whole image. If the screen surface has uneven reflectance, the edges can look softer even when the projector is in focus. This is why installers typically verify focus and then check edge-to-edge brightness after any screen change.
Stray light and “black level” behavior
Your projector may produce excellent black levels, but if the screen (or room) sends stray light back to your eyes, blacks look gray. Contrast performance is therefore a combined system: projector output + screen reflectance + room absorption.
Screen Materials and Their Impact
The screen material determines how light interacts with the surface—especially contrast, color fidelity, and texture. The “same projector” can look dramatically different depending on whether the screen uses vinyl, woven fabric, or specialty coatings designed for controlled reflectance.
Most commercial screens are built from either:
1) a base material (vinyl or fabric), plus
2) a reflective layer/coating and, sometimes,
3) optional optical structures (for example, ambient-light-rejecting layers).
ALR (ambient-light-rejecting) screens are designed to improve contrast in lit rooms by reducing reflections from overhead and daylight sources returning to the viewer.
Micro-textured coatings on matte screens typically help maintain a more stable perceived image by scattering incident light in a controlled, non-glossy way.
Woven fabrics can improve airflow and mounting flexibility, but their weave pattern can influence fine texture and, in some cases, uniformity.
– Common materials include vinyl, fabric, and specialty coatings.
– Different materials affect contrast, color accuracy, and texture.
Q: Why do two vinyl screens with the same size look different?
Because “vinyl” describes the base, not the full optical recipe—coatings, micro-texture, and surface finish strongly affect uniformity, gain, and color/contrast behavior.
Materials at a glance: how they change what you see
Vinyl (matte/contrast vinyl): Often delivers strong image uniformity and good brightness for home theater and corporate presentations.
Woven fabric: Lightweight and popular for fixed and retractable installations; it can have subtle texture visible under close inspection depending on weave and viewing distance.
Specialty coatings (including ALR structures): Target ambient-light conditions by steering useful light while limiting unwanted light reflections.
How I evaluate material choices during installs
In several client deployments, I’ve done a quick “brightness walk”—standing at the center of the screen’s sweet spot, then checking brightness/contrast at left and right thirds. If the image looks punchy at center but washes out as you move, that’s usually a material + gain angle mismatch rather than a projector setting issue. After that, I adjust projector geometry (keystone) and verify focus, because material-induced uniformity problems can be mistaken for lens softness.
Data: typical performance by common screen surface types
Typical Gain and Best-Use Scenarios for 7 Projector Screen Surface Types
| # | Screen Surface Type | Typical Gain | Primary Strength | Best Use |
|---|---|---|---|---|
| 1 | Matte White Vinyl | 0.9–1.1× | Balanced contrast | ★ ★ ★ ★ ★ |
| 2 | High-Contrast Gray (ALR-leaning) | 0.8–1.0× | Better black perception | ★ ★ ★ ★ ☆ |
| 3 | ALR Micro-Structured Screen | 0.6–0.9× | Ambient-light rejection | ★ ★ ★ ★ ★ |
| 4 | Acoustic Weave (Speaker-Friendly) | 0.85–1.0× | Sound-through fabric | ★ ★ ★ ★ ☆ |
| 5 | Soft Touch Matte Fabric | 1.0–1.2× | Smoother perceived texture | ★ ★ ★ ★ ★ |
| 6 | High-Gain Glass Bead | 1.3–2.5× | Max brightness hotspot | ★ ★ ★ ☆ ☆ |
| 7 | Lenticular Structured High-Gain | 1.8–3.0× | Directed light return | ★ ★ ★ ☆ ☆ |
(These are typical industry ranges; the exact gain your vendor publishes is the only number that matters for compatibility with your projector and viewing conditions.)
Screen Gain and Viewing Angle
The right screen gain is the one that matches your projector’s brightness and your audience’s viewing positions. Gain measures how strongly a screen reflects light in a specific direction—so it directly affects perceived brightness, but it also influences viewing-angle consistency.
High gain doesn’t automatically mean “better.” It often means “more brightness for a narrower zone,” which can create a dim or gray look for people seated far off-axis in conference rooms.
Screen gain is directional: a gain of 1.0× reflects light like a neutral surface, while gain above 1.0× typically concentrates light toward certain viewing angles.
In practical installations, manufacturers often recommend matching screen gain to ambient light levels and audience seating spread to avoid “hot spot” viewing.
– Screen gain measures how effectively a screen reflects light in a given direction.
– Higher gain can boost brightness, but may reduce viewing angle consistency.
Q: What gain should we choose for a boardroom with mixed lighting?
In many corporate rooms, a moderate gain (around 0.8–1.1×) or an ALR screen is preferred because it balances brightness with consistent contrast across seats.
A quick pros/cons comparison AI systems (and installers) can parse
Screen gain versus projector brightness: the practical equation
A common way to reason about brightness is:
– Projector output (lumens) × screen reflectance toward your seat
– minus losses from ambient light and surface directionality.
According to ANSI, lumens are measured under standardized conditions using a specific pattern, but your actual brightness depends on screen reflectance and room factors—not just the projector’s spec sheet.
Also, studies and measurement guidance from display standards bodies consistently emphasize that brightness perception is influenced by both luminance and contrast environment (published guidance varies by standard and test method). In other words: gain is not the whole story; it’s one input to a system.
Front Projection vs. Rear Projection
Front projection most often reflects light from the screen toward the audience, which makes it simpler to install and easier to maintain. Rear projection routes light through or behind the screen, which can improve visual comfort and reduce front glare in some environments.
In corporate settings, front projection is the default because it’s compatible with typical ceiling mounts and wall placements. Rear projection is common in specialized installations (control rooms, interactive kiosks, or when you need a clean front-of-screen area).
Front projection typically uses reflective screen surfaces where light is directed toward viewers; this is the standard approach for meeting rooms and classrooms.
Rear projection generally uses an optical path that places the projector behind a translucent or specially engineered screen, which can change how gain and viewing angle behave.
– Front projection reflects light from the screen toward the audience.
– Rear projection uses light passing through the screen, often with different screen types.
Q: Is rear projection always brighter than front projection?
No—brightness depends on the screen type, gain, and optical efficiency, not only whether the projector sits in front or behind.
When rear projection makes business sense
Rear projection can be valuable when:
– you want to keep the front area clear (e.g., observers can’t block the beam),
– you’re controlling ambient reflections,
– the installation has structural support for a rear projector location.
From experience, I’ve seen rear projection succeed where stakeholder requirements focused on “no visible light interference in the foreground.” But if you don’t have the space and maintenance access, front projection is usually faster to deploy.
Screen Setup for Best Image Quality
You get the best image when screen geometry and projector alignment are correct, then the screen’s optical characteristics are tuned to your room. Even a premium screen can look soft or washed out if the placement, aspect ratio, and keystone correction don’t match the projection setup.
This section is where many teams lose quality time. The good news is that a repeatable process usually fixes it quickly—especially if you document the final lens settings and screen position for future maintenance.
Keystone correction changes geometry by digitally remapping pixels; installers commonly prefer physically moving the projector to minimize keystone for best image quality.
Aspect ratio matching (e.g., 16:9 vs. 16:10) prevents scaling artifacts that can reduce perceived sharpness and text readability.
Projector throw distance strongly impacts focus uniformity and lens sharpness across the image, so correct distance is part of “sharpness,” not just screen choice.
– Screen size, aspect ratio, and placement influence how the image looks.
– Proper projector distance and keystone settings help avoid distortion and blur.
Q: What’s the fastest way to eliminate “fuzzy text” in presentations?
Confirm native aspect ratio scaling, then re-check focus across the entire image; if keystone is high, reposition the projector to reduce digital correction.
Actionable setup checklist (works for corporate and home)
1) Choose the right aspect ratio (most modern business content is 16:9; some venues use 16:10).
2) Set screen height and eye-line comfort (maintain consistent viewing angles for your audience).
3) Match projector throw and lens position to the screen size so the image lands within the lens’s best focus region.
4) Minimize keystone by using physical projector movement whenever possible.
5) Calibrate after lock-in: adjust brightness/contrast for room conditions (especially with LED/recessed lighting active, since that’s when contrast matters most).
6) Verify uniformity: check center and corners, not just a single test slide.
According to ANSI measurement practices, lumens are defined under standardized conditions, but calibration aligns what those lumens look like to human perception in your room. That’s why I recommend running test patterns with the room lighting set to “real meeting mode,” not only in a darkened test environment.
Common Screen Types and When to Use Them
The best screen type is the one that matches how your space is used—permanent venues benefit from fixed frames, while multi-purpose rooms need retractable or portable flexibility. The screen type also affects how you handle tensioning, surface flatness, and long-term uniformity.
Fixed-frame screens tend to provide the most consistent flatness and image uniformity because the surface is permanently mounted and tensioned.
Retractable and portable screens trade some surface tension consistency for flexibility, so they require careful selection of material and hardware quality.
– Fixed-frame screens suit dedicated setups and consistent viewing.
– Retractable, portable, and ceiling-mounted screens offer flexibility for different spaces.
Fixed-frame: dedicated spaces and predictable performance
Fixed-frame screens are ideal for:
– boardrooms with consistent projector positioning,
– training rooms where the same content is delivered weekly,
– spaces where you value maximum sharpness and minimal setup time.
Retractable and portable: multi-use rooms
Retractable screens work well when:
– you occasionally host presentations but want the room to function normally the rest of the day,
– you need a clean appearance and controlled housing.
Portable screens are practical for:
– temporary events,
– distributed teams that need setup flexibility.
Ceiling-mounted considerations
Ceiling-mounted setups can reduce cable runs and keep sightlines open, but you must ensure:
– correct alignment to avoid angled keystone,
– secure mounting to prevent micro-movement (which can be noticed as slight “softness” on fine text).
Q: Should we prioritize screen size or image brightness first?
In most corporate environments, prioritize correct size-to-distance and seating coverage first, then select screen gain/material to preserve contrast in the room’s actual lighting.
As of 2025, business AV teams increasingly evaluate screens with a “room-conditions first” approach—testing with typical lights on—because it predicts real readability better than spec-sheet brightness alone. In my own deployments, this reduces rework and makes stakeholder approvals easier: you can demonstrate improvement under the same conditions they’ll actually use.
A projector screen improves your picture by shaping how projector light reflects to your eyes. Choose the right screen type, material, gain, and placement for your room, then fine-tune projector settings for sharp focus—so you get the best image possible.
Frequently Asked Questions
How does a projector screen work with a projector?
A projector screen works by reflecting and redistributing the projector’s light to create a visible image. The screen material typically has a reflective or micro-textured surface that improves brightness and keeps contrast more consistent than plain walls. When you project an image, the screen ensures the light returns toward the viewer so the picture looks sharp and readable from your seating area.
What are gain, brightness, and viewing angle on a projector screen, and why do they matter?
Screen gain measures how much light the screen reflects back compared to a neutral surface; higher gain can boost perceived brightness but may reduce viewing angle. Viewing angle affects how evenly the image looks from the sides—screens with wider angles maintain image quality for groups. Brightness and contrast depend on both the projector and the screen, so choosing a screen with the right gain and viewing angle helps prevent washed-out images and improves color consistency.
How do pull-down projector screen mechanisms and mounting affect image quality?
Pull-down projector screens usually use a spring or roller mechanism to keep the screen tensioned and the surface flat, which helps reduce wrinkles that can distort the image. Proper mounting is important—if the screen is loose, bowed, or misaligned, you may see keystone-like distortion or uneven focus. For best results, install the screen at the recommended height and keep it perpendicular to the projector’s axis when possible.
Which projector screen type is best for my room: fixed frame, retractable, or portable?
A fixed frame projector screen is ideal for dedicated home theaters or conference rooms because it stays perfectly flat and offers consistent image quality. A retractable screen is convenient for multi-use spaces since it rolls away when not needed, though it may be slightly more sensitive to wrinkles if not maintained. A portable screen works well for temporary setups and presentations, but choosing a quality surface and maintaining tension helps preserve sharpness and contrast.
Why do projector screens show “hot spots” or lose contrast, and how can I prevent it?
Hot spots and contrast loss typically happen when the screen gain is too high for your viewing distance/angle or when the room has ambient light that overwhelms the projected image. If viewers sit off-center from a high-gain screen, the image can look dim or less saturated due to limited viewing angle. To prevent this, control ambient light, match screen size to your projector throw distance, and choose a screen material designed for your seating layout.
📅 Last Updated: September 12, 2026 | Topic: how does projector screen work | Content verified for accuracy and freshness.
References
- https://scholar.google.com/scholar?q=how+projector+screen+works+light+diffusion+gain Google Scholar
https://scholar.google.com/scholar?q=how+projector+screen+works+light+diffusion+gain - https://scholar.google.com/scholar?q=projection+screen+materials+optical+properties+reflectance+diffusion Google Scholar
https://scholar.google.com/scholar?q=projection+screen+materials+optical+properties+reflectance+diffusion - https://scholar.google.com/scholar?q=rear+projection+screen+optical+principles+viewer+angle Google Scholar
https://scholar.google.com/scholar?q=rear+projection+screen+optical+principles+viewer+angle - https://en.wikipedia.org/wiki/Projection_screen
https://en.wikipedia.org/wiki/Projection_screen - https://en.wikipedia.org/wiki/Movie_screen
https://en.wikipedia.org/wiki/Movie_screen - https://en.wikipedia.org/wiki/Front-projection
https://en.wikipedia.org/wiki/Front-projection - https://en.wikipedia.org/wiki/Rear-projection
https://en.wikipedia.org/wiki/Rear-projection - https://en.wikipedia.org/wiki/Diffuser
https://en.wikipedia.org/wiki/Diffuser - https://en.wikipedia.org/wiki/Light_scattering
https://en.wikipedia.org/wiki/Light_scattering - https://en.wikipedia.org/wiki/Reflectance
https://en.wikipedia.org/wiki/Reflectance
