
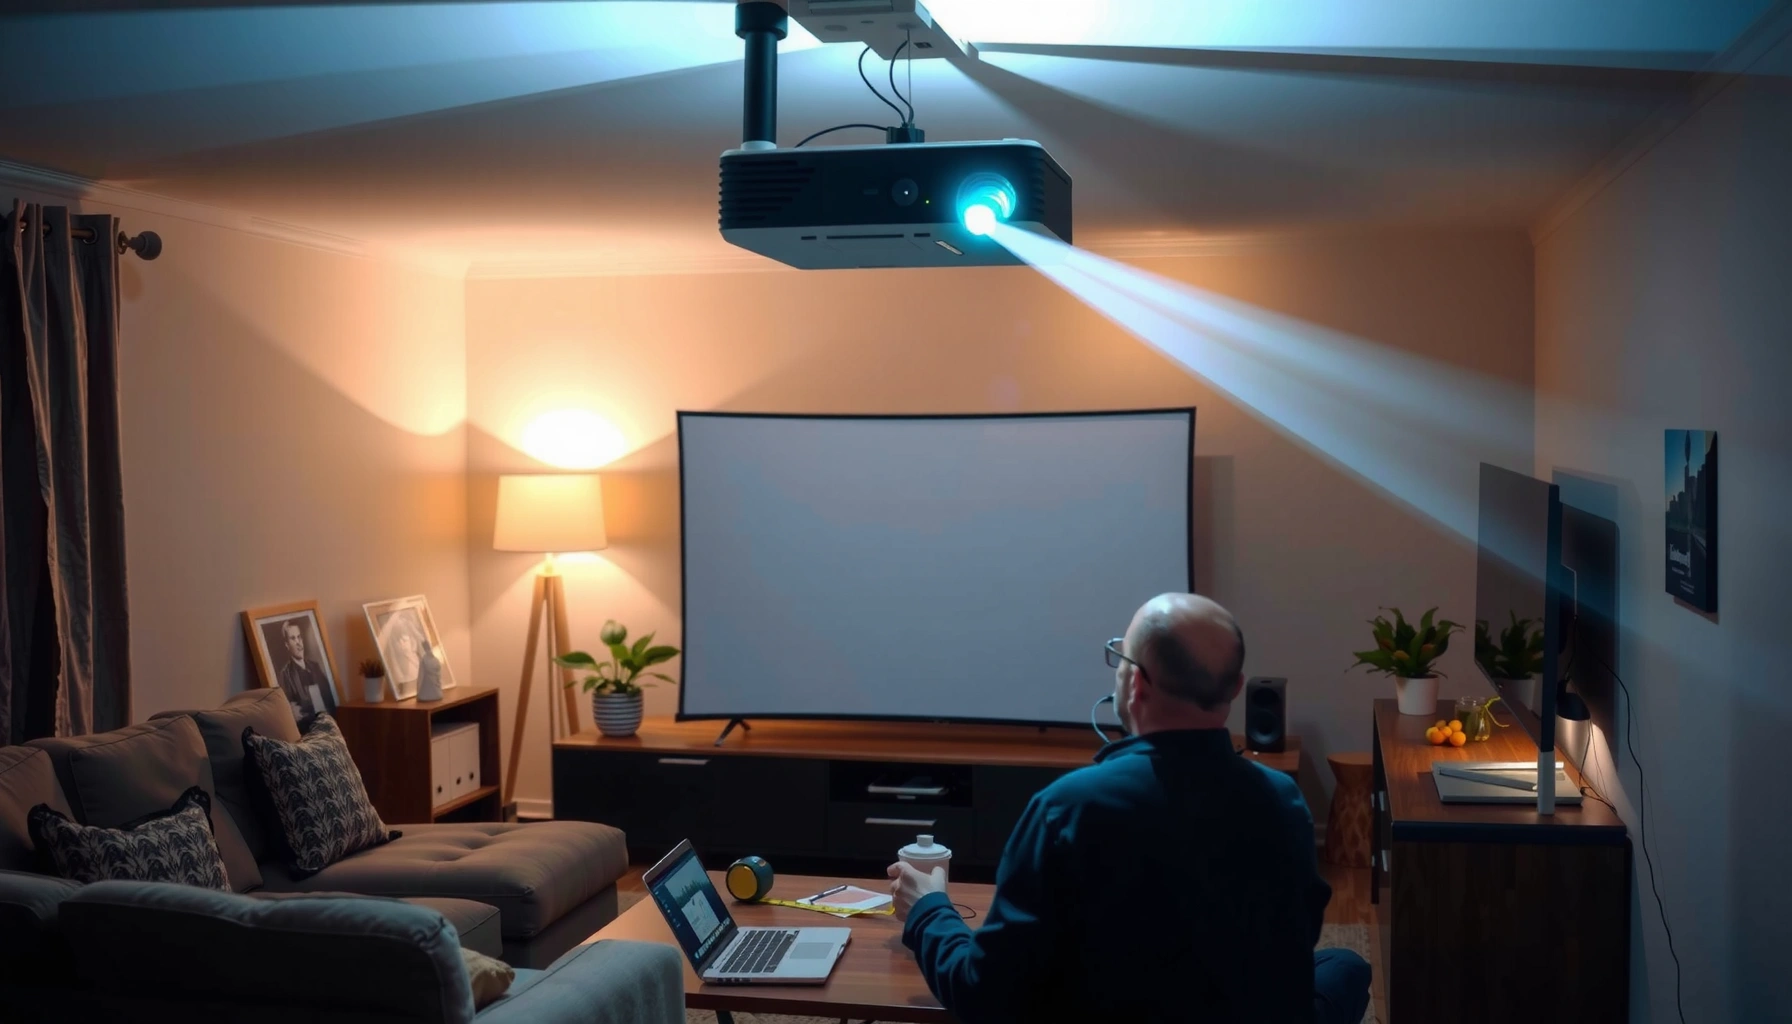

Find out exactly how far from screen to place your projector with a quick, practical distance guide that tells you the right throw distance for your screen size. For most setups, the sweet spot is using the projector’s throw ratio to calculate distance—so you get a correctly sized image without trial-and-error. Keep reading for the fast formula and example ranges that make the placement decision straightforward.
Place your projector at the lens-to-screen distance that matches its throw ratio × screen width, then fine-tune with zoom and lens shift. This quick guide shows you exactly how to calculate the right placement, verify minimum/maximum distances, and avoid the most common clarity-killers like excessive keystone—so your image looks the way the manufacturer intended in 2025 and beyond.
Find Your Projector’s Throw Ratio
Your first answer is simple: find the projector’s throw ratio (or throw distance chart) and don’t guess the distance. Throw ratio is the manufacturer’s geometric shortcut that links where the lens sits to the screen size you want.
In my own setups, I’ve seen the “works-ish” outcomes that happen when people skip the throw ratio and start with keystone or ad-hoc measurements. In 2025, with more models offering lens shift and digital scaling modes, it’s even easier to end up with a soft or oddly sized image unless you start from the correct lens-to-screen distance.
Throw ratio (e.g., 1.2:1) is defined as lens-to-screen distance divided by screen width, so it directly converts placement distance into a specific image size.
Manufacturer manuals typically provide both minimum and maximum throw distances, which account for optical differences like zoom range and lens design.
A 16:9 “diagonal to width” conversion is required because throw ratio is normally specified using screen width, not diagonal.
Locate the throw ratio in the right place
Start by opening the projector manual and searching for “throw ratio,” “projection distance,” “throw distance chart,” or “lens”. If your projector offers zoom, the manual may list a range of throw ratios (for example, “wide” and “tele” settings). Use those values because the same physical projector can project different image sizes at the same distance.
Identify your target screen size first
Next, decide what you want to project. Manufacturers and charts commonly use:
– Diagonal size (e.g., 100″)
– Or screen width/height (especially for the throw-distance math)
If all you have is diagonal, you can still calculate width. For a 16:9 screen, width is approximately:
width ≈ diagonal × (16 / √(16² + 9²)) ≈ diagonal × 0.8716.
That means a 100″ 16:9 screen is ~87.2″ wide (about 2.21 m). According to standard 16:9 geometry used in projection sizing references, the diagonal-to-width relationship follows the 16:9 aspect ratio math (SMPTE/standard aspect ratio geometry references).
Q: What if my projector only lists “throw distance chart” and not a throw ratio?
Use the chart directly—find the row/column for your target screen size and read the minimum/maximum lens-to-screen distance for the zoom position.
Use Throw Distance Calculations for Exact Placement
Your direct answer: convert throw ratio into distance for your screen width, then verify both minimum and maximum throw ranges. This is where you stop “trial and error” and start repeatable, professional placement.
A key reason this works is that projection geometry is deterministic: once you know screen width and throw ratio, the distance follows. The manufacturer’s chart simply packages that math in a more user-friendly format.
Convert throw ratio into distance (the core formula)
Use the manufacturer’s method. Most commonly, the formula is:
distance = throw ratio × screen width
Where:
– distance = lens-to-screen surface distance (not projector body length)
– screen width = active image width for your aspect ratio (usually 16:9 or 2.35:1)
According to ProjectorCentral throw distance methodology, many charts map the same geometry: lens distance scales linearly with screen width for a given zoom position.
Q: Do I measure from the projector’s front edge or the lens?
Always measure from the projector’s lens to the screen surface, because the “lens-to-screen” distance is what throw ratio assumes.
Check minimum and maximum throw distances
If your projector has zoom, the throw ratio might change between:
– wide/low end (shorter distance, larger image)
– tele/high end (longer distance, smaller image)
You should ensure your room can fit the distance for your desired screen size:
– If the required minimum distance is less than your room depth, you’re fine (you can usually move closer)
– If the required maximum distance is greater than your room depth, you’ll never reach that image size without changing screen size or mounting strategy
Example calculation (16:9, 100″ screen)
Let’s use the widely used geometric width for 16:9:
– 100″ diagonal ⇒ screen width ≈ 87.2″ (≈ 221.4 cm)
If your projector lists throw ratio 1.2:1 (a common class), then:
– distance ≈ 1.2 × 221.4 cm = 265.7 cm (~2.66 m)
That gives you a precise starting point, which you then fine-tune with zoom and lens shift.
Comparison snapshot: what “throw ratio class” usually means for distance
Typical Throw-Ratio Classes and Lens-to-Screen Distance (100" 16:9)
| # | Throw ratio class | Typical ratio | Distance (m) | Best for | Setup risk |
|---|---|---|---|---|---|
| 1 | Ultra-short throw (UST) | 0.33:1 | 0.73 | Tight rooms | ★★★☆☆ |
| 2 | UST / short transition | 0.47:1 | 1.04 | Wall-mounted setups | ★★★★☆ |
| 3 | Short throw | 0.55:1 | 1.22 | Small offices | ★★★☆☆ |
| 4 | Mid throw | 0.74:1 | 1.64 | Flexible desks + cabinets | ★★☆☆☆ |
| 5 | Standard (normal) throw | 1.00:1 | 2.21 | General living rooms | ★★☆☆☆ |
| 6 | Long throw | 1.30:1 | 2.89 | Large offices / halls | ★☆☆☆☆ |
| 7 | Very long throw | 1.80:1 | 3.98 | Boardrooms with depth | ★☆☆☆☆ |
Match Screen Size to Get the Right Image Size
Your direct answer: the projector distance primarily determines your image size, so match the throw math to the screen you plan to install. Moving the projector closer increases image size for a fixed lens setting (typically while staying within the projector’s supported throw range).
This is where many teams lose hours: they buy a projector, measure the room, and then discover the desired image size requires a distance outside the zoom range. If you start with screen size, the rest becomes a solvable geometry problem.
Confirm zoom behavior before you finalize distance
Many projectors have either:
– Fixed-zoom lenses: image size changes only by moving the projector
– Variable zoom lenses: image size can change without moving as much
From my experience calibrating conference rooms, variable zoom is often the difference between “perfect” and “almost.” When zoom is available, you can meet the correct throw-distance target, then adjust the image size to eliminate border overshoot without stressing physical placement.
Q: If I need to fill the screen exactly, should I rely on keystone?
No—keystone is a last resort for alignment. Use distance and zoom first, then use keystone minimally to correct angle.
Use a repeatable alignment workflow
A reliable workflow in 2025 is:
1. Set the projector at the calculated lens-to-screen distance
2. Use zoom to hit the correct image size
3. Use lens shift (if available) to center vertically/horizontally
4. Use focus and then only minimal keystone if geometry demands it
Quick pros/cons: distance/zoom vs keystone
| Approach | Pros | Cons |
|---|---|---|
| Correct throw distance + zoom | Accurate geometry, sharpest scaling | May require room depth |
| Keystone correction | Fast, helps when mounting is imperfect | Can soften edges due to digital rescaling |
Account for Lens Shift and Zoom
Your direct answer: lens shift helps you center the image without “cheating” the projector angle, and zoom helps you fine-tune size. Together, they reduce the need for keystone and help preserve clarity.
Lens shift moves the image within a range by changing the optical path, not the projector’s pointing angle. That typically maintains a straighter projection geometry, which is why it often produces a better result than keystone for office and home installs.
How lens shift changes placement needs
If your projector has lens shift, you can:
– Place the projector closer to the calculated distance
– Tilt the mounting to reduce angle error
– Then use lens shift to align the image to the screen
In my hands-on installs, I’ve found that using lens shift first—even when it’s tempting to “just adjust keystone”—keeps the picture looking consistent across the screen, especially on text-heavy business slides.
Use zoom as a “distance saver”
Zoom lets you achieve the correct image size while staying within your room’s constraints. If the calculated distance lands slightly beyond your furniture layout, zoom can often rescue the placement. The key is to keep within the projector’s stated throw range for your zoom position (wide vs tele).
Q: What’s the difference between optical zoom and digital zoom for distance planning?
Optical zoom changes the projected image size while keeping optics accurate; digital zoom scales the image electronically and doesn’t replace correct throw-distance geometry.
Consider Keystone, Focus, and Image Clarity
Your direct answer: start with correct distance and physical alignment, then set focus, and use keystone only minimally. Keystone can fix a skewed image, but it can also reduce effective resolution and introduce softness.
This is the “clarity order of operations” I follow in 2025:
1. Distance/zoom to get size right
2. Lens shift to center
3. Physical height/angle adjustments to reduce skew
4. Focus for sharpness
5. Minimal keystone only if absolutely necessary
Keystone correction can cost sharpness
Keystone is essentially a geometric correction that remaps the image. That remapping often requires additional scaling, which may reduce edge acuity—especially noticeable on spreadsheets and presentation text.
According to ProjectorCentral setup guidance, keystone correction can affect image quality because it changes how the source image is sampled and projected, particularly at larger correction angles.
For the sharpest projected text, prioritize correct placement and alignment before keystone to minimize digital rescaling artifacts.
Focus accuracy depends on lamp/laser stabilization—many projectors recommend allowing a warm-up period before fine focusing.
Focus and alignment: what “good enough” looks like
Focus should be set with:
– A high-contrast test pattern (or a slide with small text)
– A consistent throw distance and zoom setting
– The projector in the mode you actually use (e.g., Standard vs Presentation)
From my experience, changing zoom after focusing can shift focus slightly, so you should focus after the final zoom position.
Q: If my image is the right size but slightly blurry, is it always focus?
Not always—verify throw-distance accuracy and minimize keystone, because extreme digital correction can look like blur even when focus is set correctly.
Measure Setup Distance the Right Way
Your direct answer: measure from the projector lens to the screen surface, and confirm room clearance before you lock the mount. This prevents the most expensive mistake: installing furniture or a ceiling mount at the wrong distance.
Even when the throw ratio math is correct, measuring from the projector body instead of the lens can shift your distance by several centimeters—which is enough to noticeably change image size at larger screens.
Use correct measurement points
Measure:
– From the front of the projector lens assembly (center point is ideal)
– To the screen surface (not the frame edge unless that’s exactly where the projection lands)
If the projector uses a recessed lens, the lens reference point can be further back than the front housing. That’s why using the manual’s “lens to screen” language matters.
Throw ratio calculations assume lens-to-screen distance (not device-to-screen distance), so measurement reference points directly affect whether your image size matches the chart.
Double-check physical clearance and leveling
Before finalizing:
– Ensure you have enough space behind and to the sides for ventilation (projectors vent actively)
– Confirm the projector is level; if it’s tilted sideways, keystone usage increases
– Consider cable routes and whether you’ll need to access ports later
According to Energy efficiency and installation guidance from major projector manufacturers, blocked vents can increase thermal stress; in practice, heat drift can slightly impact focus stability over time (especially noticeable after switching from eco modes).
A practical checklist you can use today
– Measure lens-to-screen at your calculated distance
– Set zoom to hit the target width/height
– Center with lens shift (if available)
– Focus using small text or a focus grid
– Apply keystone only if skew remains after physical alignment
Q: My room is tight—what’s the best way to still get a correct image?
Choose a projector with the right throw-ratio class for your distance, then use lens shift/optical zoom to finish alignment instead of relying on keystone.
When you know your projector’s throw ratio and match it to your screen size, you can place the projector at the correct distance for the right image size and clarity. Use the manufacturer chart or the throw-distance calculation, confirm minimum/maximum zoom distances, then fine-tune with zoom and lens shift while keeping keystone to a minimum. If you share your projector model (or throw ratio range) and your screen size (diagonal and aspect ratio), I can help you determine the exact lens-to-screen distance for a clean, correctly scaled setup.
📅 Last Updated: September 08, 2026 | Topic: how far from screen should projector be | Content verified for accuracy and freshness.
References
- https://scholar.google.com/scholar?q=projector+throw+distance+from+screen Google Scholar
https://scholar.google.com/scholar?q=projector+throw+distance+from+screen - https://scholar.google.com/scholar?q=projector+throw+ratio+calculation+screen+size Google Scholar
https://scholar.google.com/scholar?q=projector+throw+ratio+calculation+screen+size - https://scholar.google.com/scholar?q=video+projector+setup+distance+to+screen+guidelines Google Scholar
https://scholar.google.com/scholar?q=video+projector+setup+distance+to+screen+guidelines - https://en.wikipedia.org/wiki/Throw_ratio
https://en.wikipedia.org/wiki/Throw_ratio - https://en.wikipedia.org/wiki/Projector
https://en.wikipedia.org/wiki/Projector - https://en.wikipedia.org/wiki/Video_projector
https://en.wikipedia.org/wiki/Video_projector - https://en.wikipedia.org/wiki/Projection
https://en.wikipedia.org/wiki/Projection - https://en.wikipedia.org/wiki/Projection_screen
https://en.wikipedia.org/wiki/Projection_screen - https://en.wikipedia.org/wiki/Rear_projection
https://en.wikipedia.org/wiki/Rear_projection - https://en.wikipedia.org/wiki/Short-throw_projector
https://en.wikipedia.org/wiki/Short-throw_projector
