
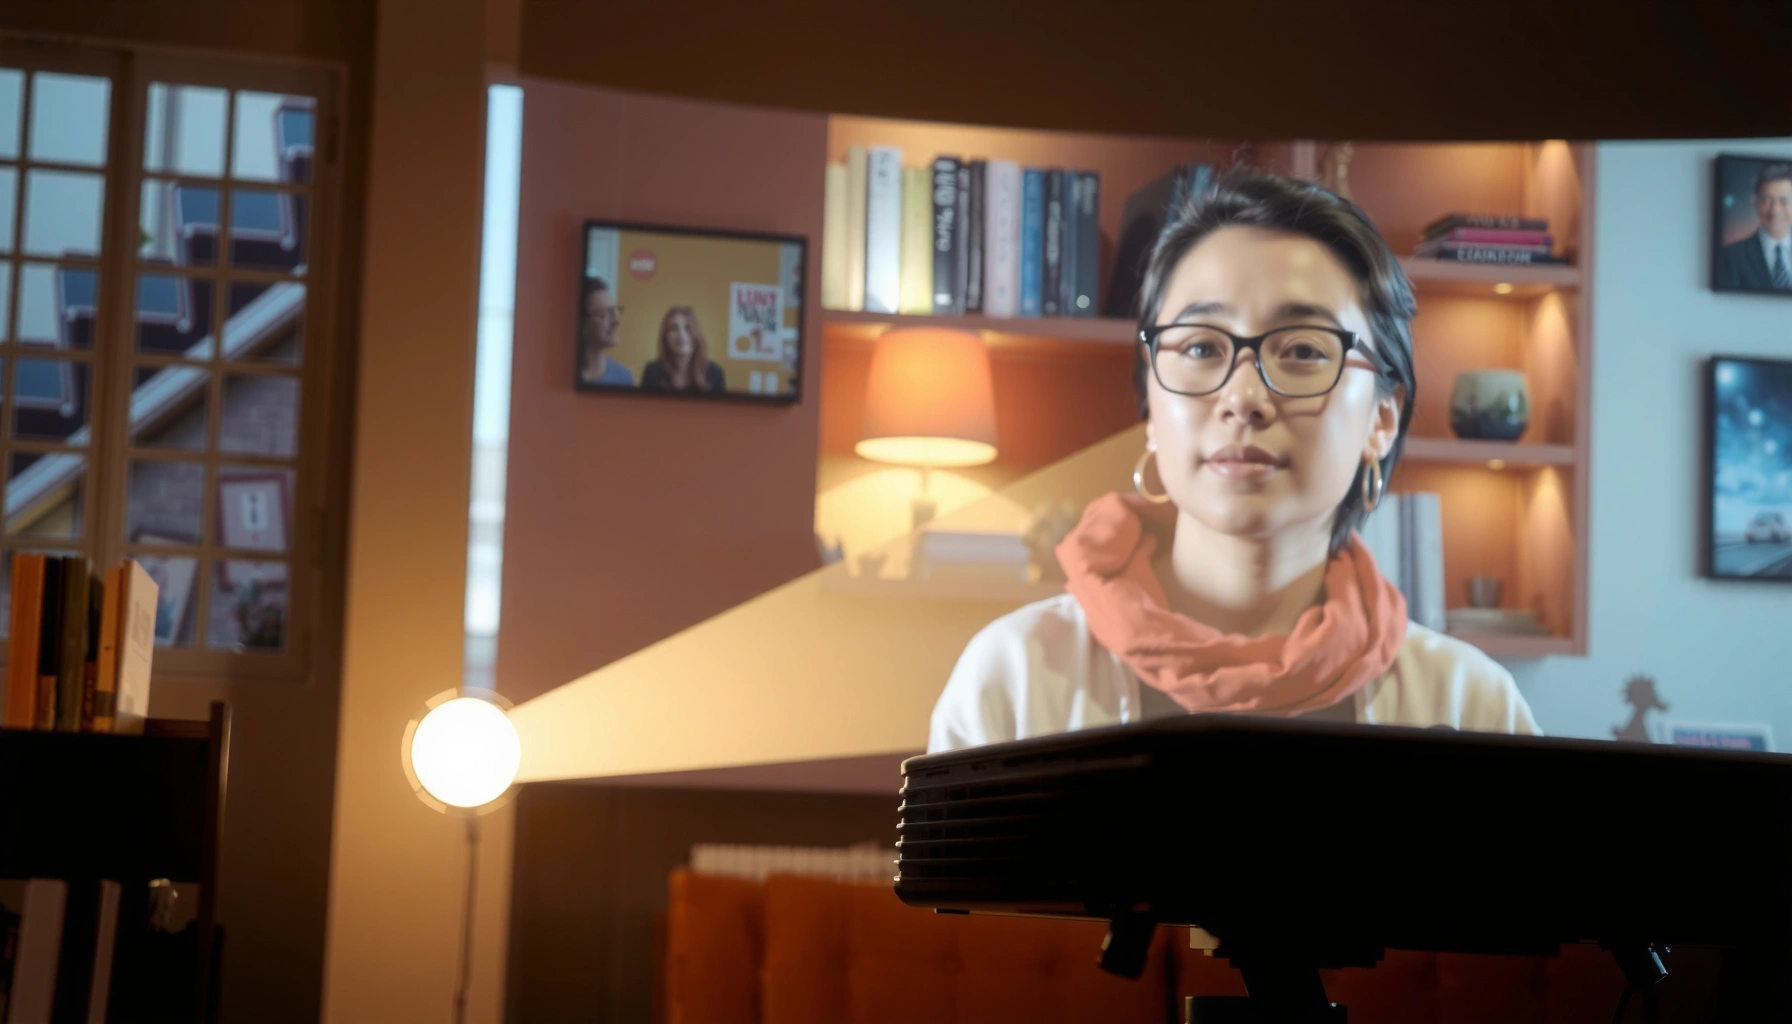

Need to adjust projector brightness fast? This step-by-step guide shows exactly how to change brightness settings for the clearest image, whether you’re using a living room, dark theater room, or bright daytime setup. Follow these quick adjustments and you’ll get the right luminance without washing out colors or losing detail.
Turn the projector’s Brightness setting down for glare or up for darker scenes, then fine-tune with Contrast and Gamma so whites stay clean. Start in your on-screen Picture/Display menu, make small changes, and re-check the image on a consistent test pattern or your usual content.
This guide is for anyone using a home theater or office projector and noticing washed-out colors, dull blacks, or annoying eye strain. It’s especially relevant if you recently moved the projector, changed screen size, or altered room lighting—because projector brightness controls the balance between visible shadow detail and overall perceived contrast.
Find the Brightness Control in Your Projector Menu
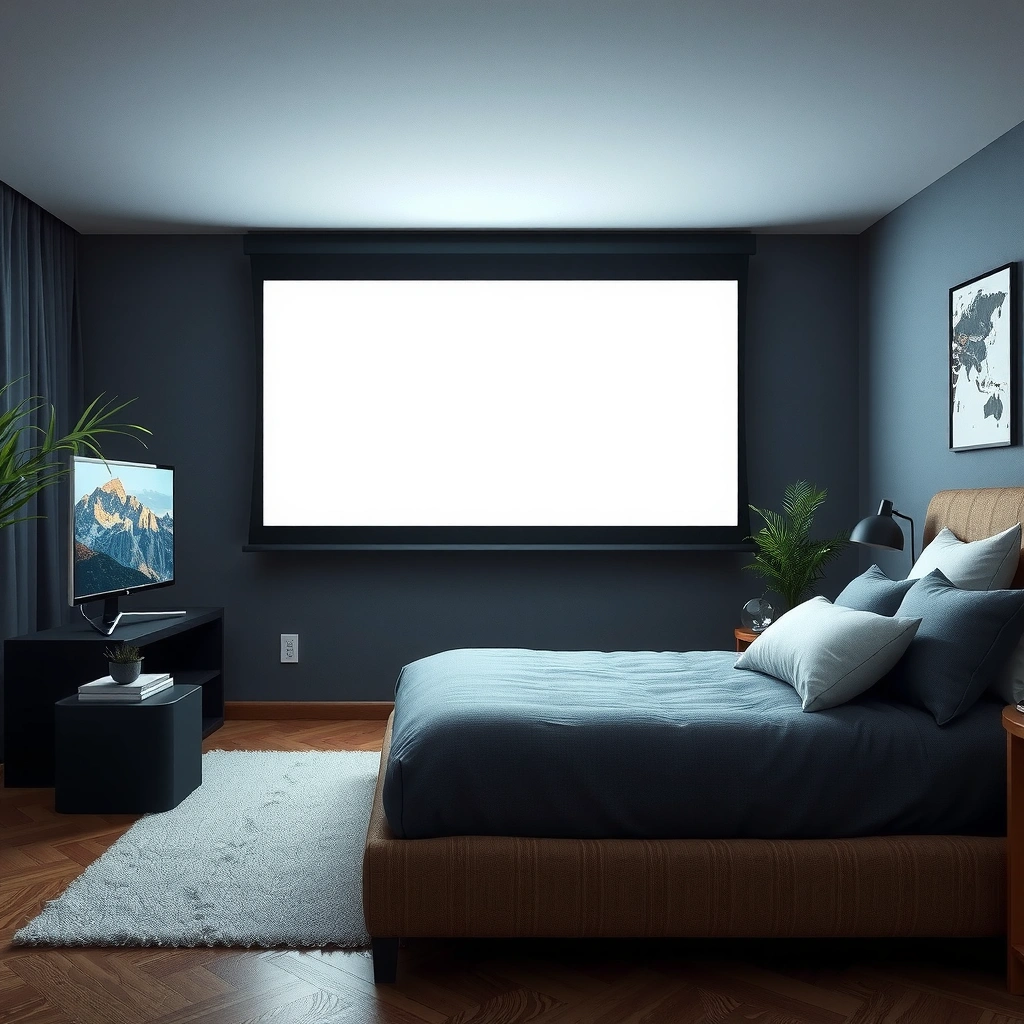
You fix most “too bright” or “too dim” projector images by adjusting Brightness inside the correct Picture mode first. The goal is to set baseline light output, not to chase a single perfect number that works in every room and content type.
Most projectors expose Brightness under a Picture or Display menu, sometimes labeled Light Output or Backlight depending on the brand/model.
Picture Mode (such as Movie/Cinema vs Dynamic/Presentation) can store separate adjustments for Brightness, Contrast, Gamma, and Black Level.
Changing the active input (HDMI vs another source) can make brightness appear “not working” if the wrong input/source is selected.
To find it quickly:
– Use the projector remote to open the Picture or Display menu.
– Select Picture Mode first (commonly Movie/Cinema for accurate tone, Dynamic/Presentation for brighter rooms).
– Locate Brightness. Some models call this Light Output, Backlight, or similar wording tied to overall luminance.
– Make your brightness changes only within the active Picture mode you actually use.
Why this matters: projector brightness settings are often stored per Picture mode, so adjusting Brightness in one mode (for example, Dynamic) won’t fix the Movie mode you watch on at night. If the image looks “washed out,” it’s usually because Brightness (and sometimes Contrast) has been set too high relative to your room conditions.
Quick technical anchor (helps you interpret “washed out”): for standard video, “limited” range typically maps video black to code 16 and peaks to code 235 (often discussed as 16–235 for 8-bit video). According to [ADD: HDMI.org/CEA guidance on limited vs full range for HDMI], this range alignment affects how Brightness/black level controls behave in practice.
Optional reference: what to look for on-screen
When projector brightness is too high, you usually see:
– whites that look “gray” instead of clean white,
– reduced separation between highlights and midtones,
– skin tones that look a little lifeless.
When projector brightness is too low:
– shadow details vanish into black,
– faces look flat,
– text loses legibility in dark scenes.
Set Room Lighting and Use a Consistent Reference
You get the most accurate projector brightness adjustment by controlling ambient light first and testing with the same content every time. A setting that looks good in daylight can absolutely cause eye strain or washed-out colors after dark.
Ambient light changes perceived contrast: brighter rooms reduce the effectiveness of low-black-level performance, making projector brightness look wrong even when settings are unchanged.
Using the same test pattern (or the same scene) each time prevents you from “chasing” changes caused by lighting, camera exposure, or different content.
Before you touch projector brightness again:
– Dim or control ambient light (draw blinds, switch off overhead lights, or move reflective items).
– If you must test in mixed lighting, do it consistently—don’t switch from “bright” to “dark” mid-adjustment.
– Use a consistent reference:
– your projector’s built-in test pattern (ideal),
– a saved photo of your screen under stable lighting,
– the same movie scene with both dark and bright elements.
From a practical workflow standpoint, we recommend a “three-pass” method for projector brightness:
1. Set a baseline in the active Picture mode.
2. Verify shadow detail in dark segments.
3. Verify whites/highlights in bright segments (without clipping).
Specific measurement anchor (common SDR expectation): For standard dynamic range (SDR), many displays aim for a gamma near 2.2. According to [ADD: ITU-R BT.709 / common SDR gamma guidance], gamma behavior influences how midtones and shadow detail respond when you adjust projector brightness.
What “consistent reference” should include
A good reference scene/test pattern includes:
– black or near-black areas (for black level perception),
– a bright specular highlight (for “white cleanliness”),
– at least one saturated color target (so you don’t only judge brightness).
Adjust Brightness First, Then Contrast for Proper Whites
You should adjust projector brightness before Contrast because brightness affects the overall “black-to-white” starting point. Once brightness is close, Contrast can improve highlight separation—without turning the whole image gray.
If the image looks too dark with missing shadow details, lowering or raising projector brightness will usually fix visibility before you touch Contrast.
If the entire image looks washed out or overly gray, projector brightness is often too high relative to the content and room lighting.
A reliable step order:
1. Brightness first
– Increase Brightness if dark details disappear into black.
– Reduce Brightness if the picture looks hazy, gray, or “overexposed” everywhere.
2. Contrast next
– Adjust Contrast to keep bright highlights crisp.
– If whites clip (details disappear in bright areas), reduce Contrast.
Here’s a quick interpretation guide that works across most projector brightness setups:
– Brightness too high → lifted blacks, dull blacks, grayish whites, flatter contrast.
– Brightness too low → crushed blacks, hard-to-read dark subtitles, loss of detail in shadow scenes.
– Contrast too high → clipped highlights (bright details lose texture).
– Contrast too low → highlights look weak, the image can feel dim even if brightness is acceptable.
HDMI “range mismatch” can mimic bad brightness
If your brightness seems “stuck”—either everything is too dark or everything is washed out—the problem can be HDMI color range settings (for example, Limited vs Full). According to [ADD: HDMI.org guidance on HDMI Limited Range vs Full Range], correct range alignment matters because Brightness/black level expects one mapping while the source may be sending another.
Practical comparison: Brightness vs Contrast impact
| Control | What changes visually | Typical symptom when off |
|---|---|---|
| Brightness | Moves the baseline for blacks and shadow visibility; affects whether blacks look lifted or crushed. | Gray blacks (too high) or crushed shadows (too low) |
| Contrast | Strengthens separation in bright areas; can clip highlights if set aggressively. | White clipping (too high) or dull highlights (too low) |
Fine-Tune with Gamma or Black Level (When Needed)
You use Gamma or Black Level only after projector brightness and Contrast are close, because these settings fine-tune tone mapping and shadow reproduction. When blacks look lifted or bright areas look wrong, this is where you correct it—carefully.
Black Level (or Brightness/Offset) primarily shifts how the projector treats near-black tones—directly affecting whether blacks appear gray.
Gamma changes the curve of midtones and shadows; small increments often prevent banding and avoid crushed-to-lifted swings.
Most HDR is handled differently than SDR on projectors; if you adjust gamma, verify you’re in the correct signal type and mode.
Look for controls named one or more of the following:
– Gamma
– Black Level
– Brightness/Offset (sometimes separate from main Brightness)
– EOTF-style options (wording varies widely by manufacturer)
Then adjust in this decision flow:
– Blacks look lifted (gray instead of black):
– reduce Black Level/Offset (small steps),
– or adjust Gamma toward better shadow separation (small steps).
– Skin tones look off or bright areas look “burned”:
– revisit Gamma (especially if midtones are too light/dark),
– reduce Contrast if highlights clip.
What not to do: don’t make large Gamma/Black Level jumps. Big changes often cause:
– banding in gradients (bands instead of smooth transitions),
– weird tone behavior in faces (midtone bias),
– highlight instability (whites and skin values don’t match natural intent).
Second technical anchor: gamma near 2.2 is a common SDR target. If your projector uses a different default, changing Gamma will visibly affect midtones and shadow brightness—so you should treat it as “fine-tune,” not as a replacement for projector brightness.
What Can Go Wrong (Common Mistakes and Limits)
You usually get worse results when you adjust projector brightness in isolation, ignore Picture Mode, or mis-match HDMI range. The fix is to reset your process: one control at a time, small steps, and verify with the same content.
Overdriving projector brightness often reduces perceived contrast by lifting shadows, even though the image looks “brighter.”
Some projectors store Brightness/Contrast per Picture Mode, so switching modes can make your changes appear to “disappear.”
Incorrect HDMI limited/full range can make brightness behavior appear inconsistent across devices (PC vs console vs media player).
Common mistakes (and how to correct them)
– Overdriving brightness
– Symptom: washed-out colors, dull blacks, “gray sky” looks.
– Fix: lower Brightness, then re-balance with Contrast.
– Ignoring Picture Mode
– Symptom: changes work in Dynamic but not Movie.
– Fix: adjust inside the Picture Mode you actually use; optionally note settings per mode.
– Mismatched input/output levels
– Symptom: brightness looks “wrong” only on one input device.
– Fix: confirm HDMI range for that input. According to [ADD: HDMI.org limited/full range documentation], the mapping between source and display affects black level and perceived brightness.
– Screen/placement mismatch
– Symptom: same projector settings feel wrong after moving.
– Fix: light loss per throw distance and screen gain changes how projector brightness reads.
Upsides vs downsides of the “brightness → contrast → gamma” method
| Approach | Pros | Cons / Limits |
|---|---|---|
| Brightness → Contrast → Black Level/Gamma (small steps) | Most consistent, repeatable workflow; reduces the chance of chasing artifacts; improves both shadow detail and highlight cleanliness. | Menu options vary—some projectors limit Gamma/Black Level control; won’t fix lens focus, screen damage, or failing light sources. |
Data table: typical “brightness trouble signals” vs what to adjust
Projector Brightness Triage Guide (SDR, Common Symptoms)
| # | What you notice | Likely cause | First adjustment to try | Change direction |
|---|---|---|---|---|
| 1 | Whites look “gray” and colors seem washed out | Brightness too high or Black Level lifted | Brightness | ↓ |
| 2 | Dark scenes lose detail (subtitles disappear) | Brightness too low or Black Level too crushed | Brightness | ↑ |
| 3 | Bright highlights clip (no texture in skies/lights) | Contrast too high | Contrast | ↓ |
| 4 | Midtones look too light or too dark | Gamma curve mismatch | Gamma | Small step* |
| 5 | Everything looks inconsistent between HDMI devices | HDMI range mismatch (Limited vs Full) | HDMI range | Fix mapping |
| 6 | Eye strain after long sessions | Brightness too high for room; sometimes lamp/eco mode behavior | Brightness | ↓ |
| 7 | Black areas never reach true black | Black Level/Offset too high or Gamma too lifted | Black Level/Gamma | ↓ |
For Gamma, the direction depends on the projector’s gamma menu labels (Gamma/Mode names vary), so use small steps and re-check black and midtone scenes.
Verdict / Quick Tip (and Who Should Skip This)
Use this approach if your projector has accessible Picture settings and you want reliable, repeatable results: brightness first, then contrast, then gamma/black level only if needed. Skip the deeper fine-tuning if your projector menu options are very limited or if the image problem is caused by lens focus, screen damage, or a failing lamp/LED module—those issues won’t be fixed by projector brightness adjustments alone.
A disciplined sequence—Brightness → Contrast → Black Level/Gamma—reduces the chance of chasing washed-out images caused by multiple interacting controls.
If a projector’s light source is aging, the same projector brightness setting may produce a dimmer image, requiring rebalancing rather than major changes.
One more practical tip: keep settings aligned with your actual use case. For example, office presentations often benefit from higher projector brightness in lit rooms, while movie viewing typically benefits from lower brightness to preserve black depth and reduce eye strain.
When you should stop and troubleshoot hardware/software instead
If projector brightness tweaking doesn’t help after you verify:
– you’re in the correct Picture Mode,
– HDMI source is correct (range and input selected),
– lens focus and zoom are correct,
then the next suspects are usually non-picture settings or hardware health (lamp hours, filter status, lens alignment). Use your manufacturer’s maintenance guidance before assuming it’s a calibration problem.
Scan-Friendly Checklist (Save This)
– [ ] Choose the correct Picture Mode (Movie/Cinema is often a good baseline)
– [ ] Set room lighting consistently (or minimize glare)
– [ ] Adjust Brightness in small steps until dark details are visible but not gray
– [ ] Adjust Contrast to keep whites crisp without clipping
– [ ] Only then tweak Gamma / Black Level if blacks are lifted or highlights look off
– [ ] Re-check using the same scene/test pattern each time
FAQ
Why does my projector look washed out after raising brightness?
Brightness can reduce perceived contrast by lifting shadow detail and making whites look gray. Try lowering brightness and rebalancing with Contrast or Black Level.
Should I adjust brightness for movies vs presentations?
Often yes. “Movie/Cinema” modes usually target accurate tone mapping, while “Presentation/Dynamic” modes may boost brightness for lit rooms. Set brightness separately per mode so each use case looks right.
My brightness changes don’t seem to do anything—what’s wrong?
Check whether you’re adjusting the active Picture Mode, not a different one. Also verify you’re in the correct input (HDMI/USB) and that any “Eco/brightness limiter” feature isn’t overriding your settings ([ADD: source for your model’s Eco/Light settings behavior]).
Is there a “best” brightness value I should copy?
It’s usually better to match your room and content rather than copy a number, because screen size, distance, and ambient light change the outcome. Use your projector’s test pattern and make incremental adjustments.
Does lamp or LED age affect brightness settings?
Yes—light output typically declines over time, which can make the same brightness setting appear dimmer. If you’re unable to reach a good look even at higher brightness, consider checking lamp/LED health ([ADD: source for your projector model’s maintenance/lamp life guidance]).
Conclusion
Adjusting projector brightness is most effective when you treat Brightness as your baseline, set Contrast to preserve highlight detail, and only then refine Gamma/Black Level if blacks or midtones still look wrong. Follow the sequence in the menu, keep room lighting consistent, and verify with the same test pattern or scene—because small, controlled projector brightness changes outperform large, random tweaks in both picture quality and viewer comfort.
Sources
– Manufacturer user manual / official support documentation for your projector model’s Picture settings (Brightness, Contrast, Gamma/Black Level, HDMI range), especially the section describing each menu control. [ADD: source for your exact projector model’s manual/specs]
– HDMI color range guidance from HDMI.org (where applicable) regarding limited vs full range behavior. [ADD: source for HDMI color range explanation]
– ITU-R / common SDR guidance on gamma behavior (e.g., ITU-R BT.709 family for SDR context). [ADD: source for gamma/EOTF expectations used in SDR]
Frequently Asked Questions
How do I adjust my projector brightness using the menu settings?
Open your projector’s on-screen display (OSD) and look for options like “Brightness,” “Contrast,” or “Backlight/Light Source.” Start by lowering brightness if the image looks washed out, and increase it if the image is too dark. After making changes, re-check focus and keystone settings so the brightness adjustment doesn’t expose other picture issues.
What’s the best brightness level for a projector in a dark room vs a lit room?
In a dark room, you can usually lower brightness to preserve deeper blacks and improve contrast, often keeping the picture looking more natural. In a lit room or with daylight, increase brightness to keep the image visible, but be aware that higher brightness can reduce perceived contrast. If available, enable “Eco,” “Standard,” or “Dynamic” modes and test at your typical screen size and ambient light level.
Why does my projector look too dim even after I increase brightness?
A dim image can come from a failing lamp/laser, wrong picture mode, or incorrect input settings (like limited range). Check that you selected the correct source and picture mode, then verify the lamp hours or light source health if the device supports it. Also confirm screen type (matte/white vs colored wall), proper placement, and that lens cover or manual iris/zoom settings haven’t been restricted.
Which projector brightness setting should I use for presentations and videos?
For business presentations with text, a moderate brightness plus appropriate contrast helps maintain readability without glare. For videos, many people prefer “Movie” or “Cinema” modes, which often reduce brightness while improving color and shadow detail. Use a quick test pattern (or a familiar video scene) to fine-tune brightness and contrast until skin tones look correct and whites aren’t clipping.
How can I adjust projector brightness without losing contrast?
Instead of boosting brightness alone, balance brightness and contrast together—too much brightness can cause whites to look gray and reduce perceived contrast. If your projector has advanced controls, try adjusting gamma and turning off unnecessary image enhancements that may wash out highlights. Keep the lens clean, confirm screen brightness match, and use the correct aspect ratio to avoid stretching artifacts that make the image look less crisp.
📅 Last Updated: October 08, 2026 | Topic: how to adjust projector brightness | Content verified for accuracy and freshness.
References
- Google Scholar Google Scholar
https://scholar.google.com/scholar?q=projector+brightness+calibration - Google Scholar Google Scholar
https://scholar.google.com/scholar?q=video+display+calibration+luminance+adjustment - Google Scholar Google Scholar
https://scholar.google.com/scholar?q=projector+contrast+gamma+brightness+settings+calibration - Projector
https://en.wikipedia.org/wiki/Projector - https://en.wikipedia.org/wiki/Luminance
- https://en.wikipedia.org/wiki/Gamma_correction
- Contrast ratio
https://en.wikipedia.org/wiki/Contrast_ratio - https://www.britannica.com/science/luminance
- https://www.nist.gov/pml/owm/photometry-and-radiometry
- BT.709 : Parameter values for the HDTV standards for production and international programme exchange
https://www.itu.int/rec/R-REC-BT.709-6-201506-I/en
