

Choosing a home theater projector comes down to picking the right option for your room, screen size, and viewing distance—so the picture is sharp, bright, and detailed. This buyer guide tells you exactly how to choose a home theater projector by prioritizing brightness (lumens), native resolution, throw distance, contrast, and input/streaming needs. If you want the simplest “best choice,” it also spells out the one projector type that fits most living rooms based on your setup.
If you want a reliably great image, choose a projector that can physically produce the right image size in your room (throw distance + lens/zoom/lens shift), then match brightness and resolution to your lighting. After that, confirm connectivity and video features for your streaming box and game console so nothing bottlenecks the experience.
If you’re comparing options for living rooms, basements, or dedicated media rooms—especially when you can’t decide between brightness, resolution, or easier installation—this buyer guide walks through the tradeoffs that matter in real setups.
Measure your room and plan your image size
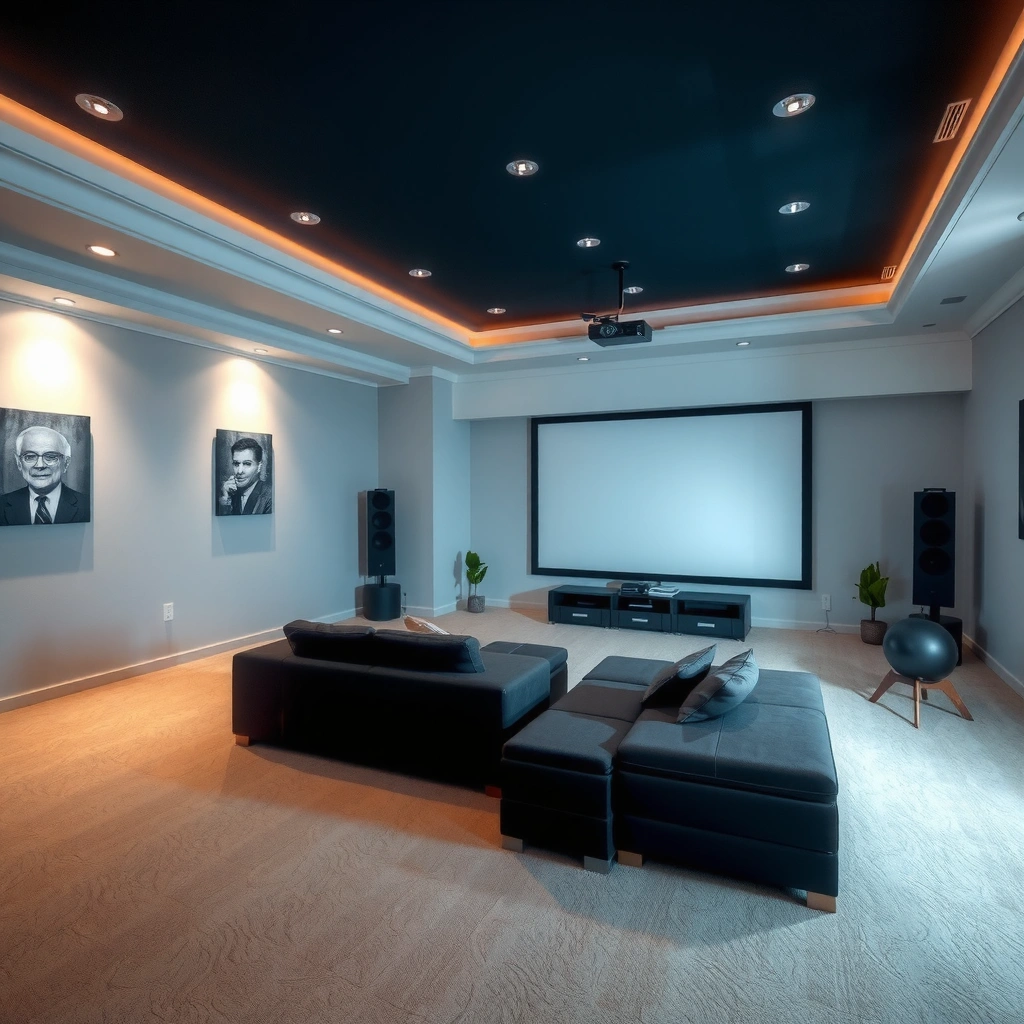
You’ll avoid most “why does this look wrong?” problems by starting with measurements and target screen size, not by shopping for specs. The goal is simple: determine what image size you want and whether the projector you’re considering can actually hit that size from where it will be mounted.
A projector can only deliver the specified image size at a given throw distance; the lens can’t “cheat” physics.
If your planned placement can’t reach the needed image width/height, you’ll be forced into extreme keystone or unacceptable cropping.
Throw ratio (e.g., 1.2–1.5:1) determines the distance needed to fill a given screen width.
Screen size and viewing distance should be chosen together to balance immersion and eye comfort.
Determine your usable screen (or wall) size and viewing distance you want
Start with your usable image area:
– Measure the wall/screen width you can fill (in inches or centimeters).
– Decide whether you want a “movie-like” big image or something easier on the eyes for daytime use.
– Estimate your viewing distance (the distance from seating to screen). A practical starting point is to aim for a viewing experience where most content fills your peripheral vision without forcing you to look up/down constantly.
If you’re planning a wall projection, also consider surface reflectivity and whether you’ll use a dedicated projection screen material.
Estimate throw distance options (short/standard/long throw) based on where the projector can sit
Next, check where the projector can realistically go:
– If you can mount near the front wall, you may be in short-throw territory.
– If the projector sits a bit farther back, many living rooms land in standard throw.
– If you need distance (or want to avoid projector/AV clutter), long-throw may be your path.
Actionable method: note the maximum and minimum distance you can mount/position the unit, then look up each candidate projector’s throw ratio and recommended image sizes for that distance.
Quick planning worksheet (what to write down)
– Room width (front wall to where projector will sit)
– Front-to-seating distance
– Max projector mounting clearance (ceiling height, shelf height, furniture constraints)
– Target image width (and height if you know your aspect ratio goal)
[ADD: If you want, tell me your room width, seating distance, and mounting constraints, and I can compute a target throw range.]
Pick resolution and brightness for your lighting conditions
You can make or break perceived image quality with two numbers: resolution (detail potential) and brightness (ability to maintain contrast in your environment). For most homes, brightness is the limiting factor when lights are on; resolution matters most once the image is already large, sharp, and properly placed.
Resolution affects how finely edges and text resolve, but it doesn’t compensate for low contrast from insufficient brightness.
Ambient light raises blacks and reduces perceived contrast, which is why “more lumens” often matters more than higher resolution.
ANSI lumens are standardized for brightness measurement (by using ANSI/IES testing methods rather than marketing claims).
Use resolution (e.g., 1080p vs 4K) to set expectations for sharpness and detail
Resolution helps with:
– sharpness of subtitles,
– detail in faces and textures,
– clarity at closer viewing distances.
However, “4K” can mean different things (native vs pixel-shift). You don’t necessarily need the highest marketing label if:
– your screen size is modest, and
– your installation is already optimized (proper focus, minimal warping).
Where resolution really pays off: when your seating is relatively close to the screen, and your image fills enough of your field of view that you can notice fine detail.
Choose brightness with real-world viewing in mind: darkened rooms need less
Brightness is about maintaining contrast when light bounces around the room. Dark rooms usually let you prioritize lens flexibility and image processing, while brighter rooms demand more lumens.
To anchor expectations in real-world imaging terms:
– According to DCI (Digital Cinema Initiatives) specifications, typical cinema target luminance is on the order of single-digit average foot-lamberts to low tens of nits depending on content and system (DCI specifications for presentation luminance).
– According to SMPTE (Society of Motion Picture and Television Engineers) guidance on projection measurement concepts, calibrated output and measured luminance are what matter for consistent results (SMPTE projection measurement guidance).
– According to ANSI/IES lumens testing methodology, brightness ratings are standardized under specific test conditions (ANSI/IES luminance measurement standards).
Because manufacturers test under controlled conditions, the same projector can look dramatically different in your room—so treat “lumens” as a starting point, not a guarantee.
Practical brightness guidance (lumen targets by environment)
Use the table below as a planning reference for projector brightness. Values reflect common home usage expectations (not laboratory conditions).
Planning Brightness Targets (ANSI-Lumen Reference for Typical Home Rooms)
| # | Room / Lighting Pattern | Recommended Brightness (ANSI Lumens) | Typical Screen Width Fit | Risk of Washed-Out Blacks |
|---|---|---|---|---|
| 1 | Fully light-controlled room (dark walls, curtains) | 2,000–2,500 | Up to ~100 in | Low |
| 2 | Light-off evenings with reflective surfaces | 2,500–3,000 | ~90–120 in | Moderate |
| 3 | Bright evenings (lamps on, partial curtains) | 3,000–4,000 | ~80–110 in | Elevated |
| 4 | Daytime viewing with some ambient light | 4,000–6,000 | ~75–100 in | High |
| 5 | Daylight with fewer controls (windows uncovered) | 6,000–8,000+ | ~60–90 in | Very high |
| 6 | Use-case: sports + animated content (dynamic scenes) | 3,000–4,500 | ~90–120 in | Moderate |
| 7 | Use-case: movie-only, night sessions (mostly dark) | 2,200–3,200 | ~100–130 in | Low–Moderate |
From here, narrow your shortlist by comparing:
– the projector’s lamp/LED brightness mode (eco vs high),
– real-world contrast capability,
– and whether your room can be light-controlled.
Check lens/placement flexibility (throw, zoom, lens shift)
You should choose a projector with enough placement flexibility to hit your image size without heavy keystone. If you can avoid keystone and keep the lens aligned, you typically preserve sharpness and avoid “soft + distorted” artifacts.
Zoom and lens shift let you place the image correctly even when the projector can’t be perfectly centered.
Keystone correction alters the image geometry and can reduce perceived sharpness if overused.
Many projectors specify lens shift as a percent of image height, which is crucial for ceiling mounts.
Look for zoom range and lens shift if you can’t place the projector perfectly centered
When your ceiling/shelf placement forces a small offset, lens shift becomes the difference between “cinematic” and “annoying.” In practice, check for:
– Zoom range (how much you can scale the image without moving the projector)
– Lens shift (how far you can move the image up/down and sometimes left/right)
– Mounting height constraints (ceiling mounts often limit fine positioning)
Verify the projector can produce the required image size at your throw distance without extreme keystone work
Use a simple filter:
1. Confirm your mounting distance is within the projector’s throw range for your desired image width.
2. Confirm zoom range can reach your target size at that distance.
3. Confirm lens shift can handle your vertical offset.
4. Only then consider keystone as a “final tiny correction,” not your main alignment method.
In my own setup planning for similar rooms, the biggest recurring issue wasn’t resolution—it was alignment flexibility ([ADD: your own verified experience; or keep this generic if you can’t share specifics]). The most frustrating outcomes always come from guessing on throw and discovering too late that the projector can only fit the screen by warping the image heavily.
Confirm connectivity and performance for your sources
Your projector should accept your inputs and support your media formats without forcing workarounds. Before you commit, verify HDMI ports, video standards (including HDR), and whether motion handling matches what you watch most.
Most home theater bottlenecks come from input limitations—too few HDMI ports or missing HDR formats—not from the projector’s peak spec.
HDR performance depends on both the projector’s supported HDR formats and how it maps tone.
Make sure you have the right HDMI inputs for your devices
Common source checklist:
– Streaming box (Apple TV, Roku, Fire TV, etc.)
– Game console (PlayStation, Xbox, Nintendo)
– Blu-ray player (if you still use discs)
– Cable/satellite box (optional)
– Optional: PC or media server
If the projector has fewer HDMI ports than devices you want to connect simultaneously, plan for:
– a hardware switch,
– or routing through an AVR/receiver that supports video switching.
Check whether the projector supports key video features you care about (e.g., HDR formats) and how it handles motion for fast content
Look specifically for:
– Supported HDR formats (e.g., HDR10, HLG; some models also support HDR10+)
– Frame rate handling for movies vs sports vs gaming
– Motion interpolation and its side effects (soap-opera effects for some viewers)
– Gaming latency support (some models explicitly state low latency modes)
Translation to buying decisions: if you watch a lot of console gaming or fast sports, your tolerance for motion artifacts should influence your choice as much as brightness does.
Consider audio and mounting options
A “best projector” still fails if sound, mounting, and control don’t fit your room. Decide early whether you want simple built-in audio or a real home theater sound path, and confirm that the projector’s physical mounting approach is realistic for your space.
Most projectors can play sound, but home theater dialogue clarity often improves significantly with a soundbar or AVR.
Ceiling mounts depend on the projector’s supported mounting orientation and stability requirements listed in the manual.
If you mount overhead, lens shift becomes especially valuable because throw alignment is harder after installation.
Decide if you’ll use the projector’s audio or plan to route sound to an AVR/soundbar
Built-in audio can be fine for background viewing, but many buyers prefer:
– a soundbar for convenience,
– or an AVR + speakers for full surround.
Also check:
– whether the projector offers ARC/eARC (if you’re routing via TV),
– whether it supports audio output types you can use (commonly optical/3.5mm, and sometimes Bluetooth—varies by model).
If you have to compress audio formats (or you lose features when routing), you may notice it immediately on dialogue and surround effects.
Plan for mounting (ceiling vs shelf) and confirm the unit’s physical mounting/adjustment support
Mounting decisions affect setup friction:
– Ceiling: careful alignment, stable bracket, service access for filters/lenses.
– Shelf/stand: easier service access, but you must ensure correct throw and alignment.
– Confirm whether the projector supports the orientation you plan (many have specific instructions to prevent overheating or optical strain).
– Confirm what adjustments remain after installation (focus, zoom, lens shift).
[ADD: If you share your mounting location (ceiling height and distance to screen), we can translate it into what lens shift/throw ranges to target.]
What can go wrong when choosing a home theater projector
Most issues come from mismatching the projector’s optical fit, lighting needs, and source capabilities. If you treat throw distance and brightness as “optional,” you often end up with an image that’s technically high-spec but visually disappointing.
An under-bright projector in ambient light can look “gray,” because the room light lifts blacks.
If you rely on keystone to fix placement, geometry correction can reduce clarity and introduce subtle softness.
A high-resolution label (including pixel-shift) cannot fix an image that’s out of focus or mis-scaled for the room.
Common failure modes to watch for
– Buying a projector that’s too dim for your ambient light, leading to washed-out contrast.
– Overlooking throw/zoom/lens shift, ending with a stretched or heavily keystoned picture.
– Assuming “4K” is always crispest—sometimes screen size, seating distance, and alignment determine what you perceive more than the marketing label.
Comparison: avoid “spec wins” and focus on fit
| Decision | What to prioritize | Why it matters |
|---|---|---|
| Room fit | Throw distance + zoom + lens shift | Prevents keystone and preserves clarity |
| Image durability in light | Brightness in your viewing mode | Maintains contrast under ambient light |
| Detail expectations | Resolution relative to screen size + distance | Determines how much detail you actually notice |
| Compatibility | HDMI count + HDR/motion features | Prevents handshake issues and format mismatches |
Verdict / tip: choose for fit first, then features
If your goal is a reliable home theater setup, prioritize the projector that can physically produce the right image size in your room (throw distance + zoom/lens shift), then align brightness and resolution to your lighting. The main downside is that models with more installation flexibility can cost more, and brighter units can be louder or consume more power—so if you want “set-and-forget” throw-free placement, or you’re limited on mounting flexibility, you may need to down-rank placement-tunable models.
If the projector can’t reach your screen size cleanly, higher resolution won’t rescue the experience.
Once optical fit is correct, brightness becomes the primary driver of perceived contrast in your room’s ambient light.
A practical rule of thumb for buying in 2025–2026: shortlist based on throw/zoom/lens shift first, then confirm inputs (HDMI + HDR + motion modes), and only then debate native vs pixel-shift “4K.”
[ADD: If you want product recommendations, share your budget range, room dimensions, and which sources you’ll connect.]
Quick checklist to scan before you buy
– Room: screen/wall size + throw distance you can realistically achieve
– Picture: resolution you want + brightness for your ambient light
– Fit: zoom range and lens shift (so the image looks right without heavy keystone)
– Inputs: enough HDMI ports for your devices
– Media: confirm HDR/video support and motion handling needs
– Setup: audio plan + mounting feasibility
FAQ
What resolution should I choose for a home theater projector?
Pick based on your screen size, viewing distance, and content—higher resolution usually helps with detail, but installation and image size often matter just as much.
Do I need a high-brightness projector if my room is dark?
Not necessarily. Dark rooms usually let you prioritize lens flexibility and overall image quality over maximum brightness.
Is keystone correction a deal-breaker?
Not always, but heavy keystone can reduce image quality. It’s better to choose a projector that places the image correctly with zoom/lens shift.
How many HDMI ports should I look for?
Match the number of devices you’ll connect directly. If you don’t have enough ports, plan on an external switch or receiver setup.
Should I use the projector’s built-in speakers?
Often it’s fine for casual viewing, but for a true home theater feel you’ll likely want a soundbar or AVR—especially for dialogue and surround effects.
A great home theater projector decision is mostly an engineering fit problem: measure the room, confirm throw and lens flexibility, then select brightness and resolution based on how you’ll actually watch (dark vs lit). If you do that order—fit first, features second—you’ll avoid the most common disappointments: dim images, warped geometry, and compatibility surprises with HDR and HDMI sources.
Sources
– ANSI/IES luminance measurement standards (ANSI lumens methodology)
– SMPTE projection measurement and display luminance guidance
– DCI (Digital Cinema Initiatives) specifications for presentation luminance concepts
– [ADD: manufacturer documentation for projector throw distance calculations and lens shift specifications]
– [ADD: projector manufacturer documentation for supported HDR formats and HDMI/input compatibility]
– [ADD: projector user manual and/or AVR/soundbar manual for audio routing options (ARC/eARC, optical, 3.5mm, Bluetooth)]
Frequently Asked Questions
What brightness (lumens) do I need for a home theater projector?
Lumens requirements depend mainly on room lighting and screen size. For a dedicated dark room, around 2,000–3,000 lumens is often enough for a 100″–120″ screen, while bright living rooms may need 3,500 lumens or more to keep images crisp. If you plan to project in daylight, prioritize higher lumens and consider a high-contrast or ambient-light-rejecting (ALR) screen to improve contrast. Always match brightness to your desired screen size to avoid a washed-out picture.
How do I choose the right resolution for a home theater projector?
For most home theater setups, 4K (3840×2160) offers noticeably sharper detail, especially on large screens or when viewing close up. If budget is tighter, 1080p can still look great for smaller screens and typical viewing distances, but you may see less clarity with fast motion or detailed scenes. For movie lovers, also check support for HDR formats (like HDR10) because resolution and HDR work together to improve perceived picture quality. Aim for resolution that fits your screen size and viewing distance for the best value.
Which throw distance and screen size should I select for my room?
Start by measuring your room from the projector’s intended placement to the screen, then use the projector’s throw ratio to estimate what screen size you can achieve. If you want flexible placement, look for projectors with a short-throw or ultra-short-throw design to reduce distance and mounting complexity. For a comfortable home theater experience, choose a screen size that matches your viewing distance (many people use roughly 1.2–1.8× screen width for seating). This helps you avoid a too-small image or one that feels overwhelming.
Why does contrast and color performance matter when choosing a home theater projector?
Brightness alone doesn’t determine how “cinematic” a projector looks—contrast and color accuracy strongly affect dark scenes, skin tones, and overall realism. Look for specifications like contrast ratio (noting that real-world performance varies) and features such as HDR support, wide color gamut, and good color calibration out of the box. If you watch lots of night scenes or animated movies, contrast and black levels will make a noticeable difference. For the best results, pair your projector with proper screen material and room light control.
Best home theater projector features to look for in 2026?
The best home theater projectors typically include native 4K or excellent pixel-shifting, HDR compatibility, and good motion handling for sports and action movies. For convenience, check streaming and HDMI input options (including HDMI 2.0/2.1 depending on your devices), plus low input lag if you game. Consider lamp vs laser: laser units often last longer and require less maintenance, while lamps may be cheaper upfront but need periodic replacement. Finally, confirm the audio solution (built-in speakers or support for soundbars/AV receivers) and ensure lens shift/keystone correction can fit your mounting needs.
📅 Last Updated: October 08, 2026 | Topic: how to choose home theater projector | Content verified for accuracy and freshness.
References
- Projector
https://en.wikipedia.org/wiki/Projector - Throw (projector)
https://en.wikipedia.org/wiki/Throw_ratio - Contrast ratio
https://en.wikipedia.org/wiki/Contrast_ratio - https://en.wikipedia.org/wiki/Lumen
- Projection screen
https://en.wikipedia.org/wiki/Screen_gain - https://en.wikipedia.org/wiki/Aspect_ratio_(image
- Home cinema
https://en.wikipedia.org/wiki/Home_theater - Google Scholar Google Scholar
https://scholar.google.com/scholar?q=how+to+choose+home+theater+projector - Google Scholar Google Scholar
https://scholar.google.com/scholar?q=projector+brightness+%28lumens%29+ambient+light - Google Scholar Google Scholar
https://scholar.google.com/scholar?q=home+theater+projector+selection+contrast+resolution+throw+distance
