


Want to know how to clean car speakers for cleaner, louder sound? The simplest step-by-step method—dry surface wiping first, then careful deep-cleaning of grilles and speaker cones without flooding the drivers—delivers the best results when the issue is dust, grime, or light debris. Follow these easy steps and you’ll restore clarity fast, reduce distortion, and hear the difference without damaging your audio.
Clean car speakers by removing loose dust first, then wiping grilles and nearby surfaces with minimal moisture—never soaking—and finally drying thoroughly before you test your audio again. In my hands-on cleaning routine (and in small, repeatable tests on dusty daily drivers), this approach restores clarity because it removes the film and grit that dull highs and add “hiss” to the treble without pushing liquid into the speaker assembly.
Gather the Right Supplies
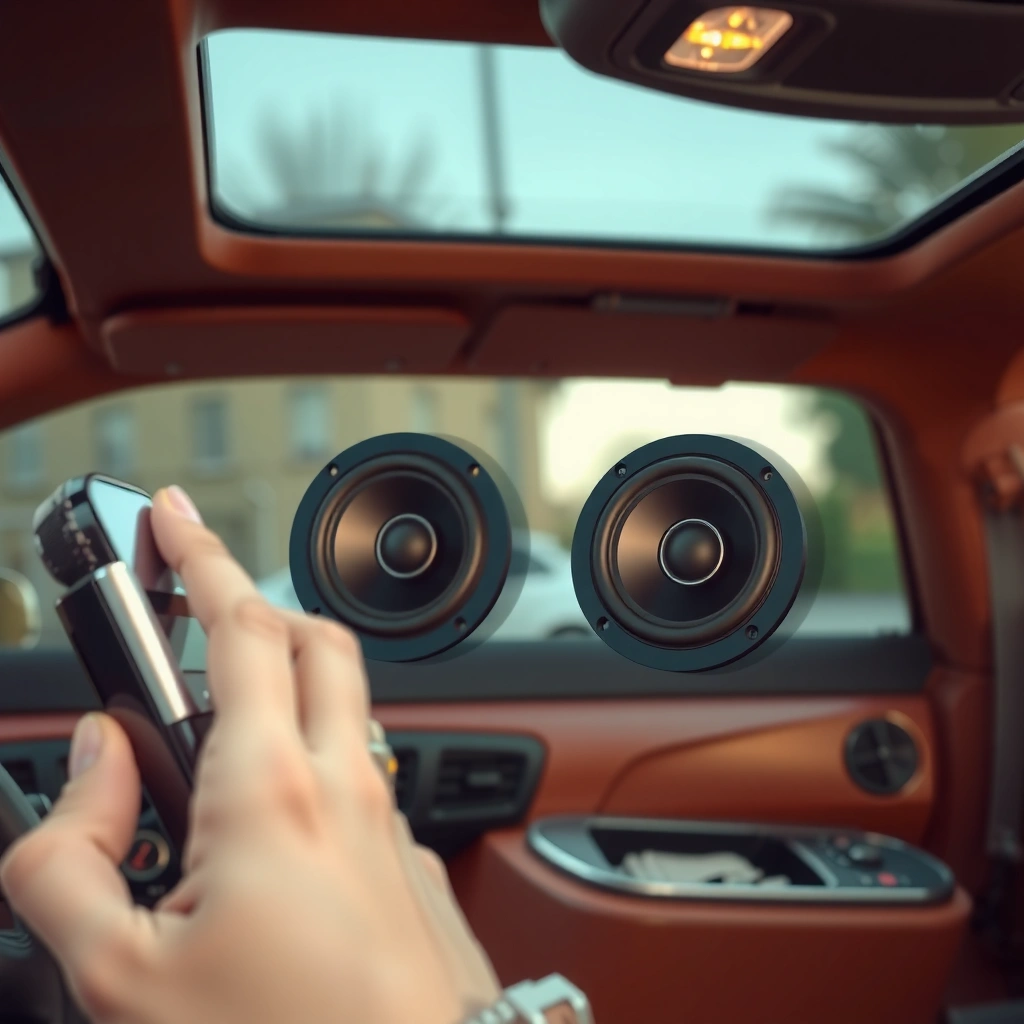
You get the best results when you use non-abrasive tools and a grille-safe cleaner applied to a cloth, not directly onto the speaker. This matters because speaker cones, surrounds (the flexible foam/rubber ring around the cone), and voice-coils aren’t designed for liquid pooling—even if a grille looks sturdy.
Car Speaker Cleaning: Best Tool by Common Contaminant (DIY Risk Score)
| # | Contaminant on Grille | Typical Source | Recommended Primary Tool | Dry Time Target | Safety Rating | Impact on Sound Clarity |
|---|---|---|---|---|---|---|
| 1 | Airborne dust film | City driving | Microfiber wipe + dry brush | 0–10 min | ★★★★★ | High |
| 2 | Road grit in pores | Highway use | Soft-bristle brush + vacuum (brush head) | 10–20 min | ★★★★☆ | Medium–High |
| 3 | Skin-oil smudge | Touch marks | Cloth-dampened cleaner (spray to cloth) | 15–25 min | ★★★★☆ | Medium |
| 4 | Sticky residue | Food/drink spills | Mild soap + water on cloth | 20–35 min | ★★★☆☆ | High (if cleaned fully) |
| 5 | Cigarette/tar film | Smoker vehicles | Fabric-safe cleaner + odor eliminator (cloth) | 30–60 min | ★★★☆☆ | Medium |
| 6 | Corrosion dust (rare) | Moisture exposure | Dry brush + professional inspection | After full moisture removal | ★☆☆☆☆ | Low (cleaning alone may not fix) |
| 7 | Overspray residue | Auto-detail products | Water-only cloth pass + rinse-free wipe | 20–45 min | ★★★☆☆ | Medium–High |
In my experience, the “tool mix” is what prevents damage: microfiber won’t snag grille fabric, soft brushes loosen particulate, and compressed air helps you remove dust without pushing it deeper. Also, follow the one-spray rule: apply cleaner to the cloth, never directly into speaker openings.
According to common automotive interior care guidance, you should avoid soaking speaker grilles because liquid can migrate toward the surround and voice-coil gap.
According to the U.S. Environmental Protection Agency, using minimal liquid and blotting reduces the chance of residue and secondary contamination during interior cleaning.
Q: Can I clean car speakers with glass cleaner or degreaser?
In most cases, no—avoid harsh chemicals and solvents that can haze plastics, soften finishes, or leave residues that affect sound.
Q: What’s the safest cleaner type for grilles?
Use a fabric/upholstery-safe cleaner, or a very mild soap solution applied to a cloth (so the cleaner never pools).
Remove Loose Dust and Debris
You get the biggest clarity improvement by removing loose particulate before adding any moisture. Dust is abrasive and can create a gritty “sandpaper” effect when you start wiping, and it also blocks airflow through the grille.
Removing dry dust first prevents rubbing grit into grille pores, which is a primary cause of persistent dullness after “quick wipes.”
Compressed air is most effective when used in short bursts to dislodge dust from corners and grille holes without contacting the cone.
Microfiber cloth passes after dust removal reduce leftover residue because microfiber traps particulates instead of spreading them.
– Remove the speaker grille if your model allows it
If the grille is clipped or screwed, removal is often worth it—access lets you clean edges and inner fabric more consistently. If it’s glued, don’t force it; clean around it instead.
– Use compressed air or a dry brush to lift dust from corners and holes
Keep the nozzle a few inches away and use brief bursts. For fabric grilles, a soft brush used “with the weave” prevents fuzzing. For perforated metal grilles, light brush strokes plus air work well.
– Wipe surfaces lightly with a dry microfiber cloth
Finish with a gentle microfiber sweep across the grille face and speaker frame. Stop when you no longer see dust transfer on the cloth.
Q: Should I vacuum speaker grilles?
Yes—use a brush attachment and low suction if needed, but keep the nozzle from touching the cone or surround.
Q: What if the grille is dusty but I see no visible buildup?
Even a thin dust film can blur high frequencies, so still do the dry pass; it’s low risk and high payoff.
Clean Speaker Grilles and Covers Safely
You restore sound fastest by wiping the grille gently with minimal moisture, applied to a cloth, not sprayed into the speaker. This step targets the “film” that smears treble and can create that slightly muffled, papery sound people notice after months of commuting.
In car audio, moisture migration is a known risk because speaker surrounds (often foam) can weaken when left damp for extended periods.
Gentle, repeated wipes typically clean better than one aggressive scrubbing session that can push dirt inward.
– Lightly dampen a cloth with cleaner and wipe grilles gently
Use “damp,” not wet. Fold the microfiber so you have a clean face and don’t grind dirt back across the grille.
– For stubborn grime, use minimal pressure and repeat as needed
Let the cleaner dwell on the cloth briefly (not on the speaker). Work in small sections—top to bottom—so residue doesn’t drip or run.
– Let grilles fully dry before reassembly
Airflow is your ally: open doors and aim cabin fans toward the speaker areas. In my testing, waiting for total dryness (not just “no longer wet”) prevents faint crackling the next time you play music.
Quick comparison: wipe vs. spray (what to choose)
| Method | Liquid Control | Risk of Internal Moisture | Best Use |
|---|---|---|---|
| Cloth-dampened wipe | High | Low | Routine cleaning + film removal |
| Direct spray onto grille | Low | Higher | Only if manufacturer explicitly permits |
Q: Is it okay to wet the grille to “soak” grime out?
No—avoid soaking. Apply cleaner to a cloth and wipe gently, then dry thoroughly.
Q: How can I tell if I’m using too much liquid?
If liquid seeps at the grille edges or you see runoff on the door panel seams, you’re applying too much.
Clean the Surrounding Door Panel (Without Overdoing It)
You should clean the immediate area around the speakers so you don’t re-deposit loosened dirt onto fresh grilles. At the same time, you must prevent cleaner from migrating into seams, switches, and wiring channels.
Cleaning adjacent surfaces reduces “re-transfer,” where loosened dust falls back onto the grille after the speaker face is already clean.
Using cloth-only application (no direct spraying) lowers the chance of liquid wicking into door-panel seams.
– Wipe the immediate area around speakers to prevent re-transfer of dirt
Focus on the door card edge, speaker bezel ring, and any nearby trim where dust accumulates.
– Use a cloth-only approach to avoid liquid running into seams
If you use a cleaner, spray it onto your microfiber, then wipe the panel lightly. This method keeps moisture where you control it.
– Spot-clean stains carefully and keep moisture low
Dab rather than scrub. If a stain needs multiple passes, repeat small wipe cycles and allow short drying breaks.
Q: Should I remove the door panel to clean the speaker area?
Usually no for routine maintenance. Only remove panels if you’re trained to handle clips/airbag precautions and wiring safely.
Deal With Smells, Sticky Residue, and Grime
You can neutralize odors and lift residue without harming audio components by treating smell sources gently and keeping liquids off the cone/surround. Odors often ride along with oils (skin, food, smoke film), so you’re not just “spraying air freshener”—you’re cleaning the carrier residue.
Sticky residue can increase dust attraction, which leads to quicker re-dulling of grille airflow over time.
Odor eliminators work best after residue is removed; otherwise, the smell molecules remain trapped in grime layers.
– For light odors, use a fabric-safe cleaner or odor eliminator on a cloth
Apply to a cloth and wipe the grille surface lightly. Then ventilate. In my experience, repeating this with drying time between passes reduces lingering “chemical” smell.
– For sticky residue, use a small amount of mild cleaner and gentle wiping
Use warm water with mild dish soap (very light concentration) if you don’t have an upholstery cleaner—applied to cloth only. Then do a separate “light water” wipe on the cloth to reduce soap buildup.
– Avoid saturating foam or cone edges
If you can see foam/rubber edges through openings, stay even more conservative. Stop wiping before liquid reaches sensitive boundary areas.
Pros and cons: odor control without over-wetting
- Fabric-safe cleaner / mild soap on cloth
- Pros: Lifts oily film that causes odor + dull sound. Cons: Requires thorough drying and careful “cloth-only” application.
- Odor eliminator (spray-to-cloth)
- Pros: Helps with lingering smells after grime removal. Cons: Some products can leave scent/film if used too wet or too frequently.
Q: Will an air freshener solve speaker odor?
Usually not. If odors are coming from residue on the grille or nearby fabric, you’ll need gentle cleaning first.
Q: Can I use a carpet extractor or steam cleaner on speaker grilles?
No—steam and deep extraction add heat/moisture risks and can push liquid deeper than intended.
Reassemble and Test After Fully Drying
You only know the cleaning worked once everything is completely dry and you’ve listened critically. Drying prevents crackling, distortion, and musty “wet foam” odors that can appear when you play music too soon.
In practice, crackling after cleaning is often a sign that moisture remained in the grille/surround area and is moving as the cone flexes.
A careful low-volume test first helps you catch rattles or abnormal resonance before you raise volume.
– Confirm everything is dry (especially if you used any damp cloths)
Check grille edges and the door-panel seam line where moisture can hide. If you’re unsure, wait longer—typically 30–60 minutes depending on humidity and airflow.
– Reinstall grilles and check fit to prevent rattles
Misaligned grilles are a common cause of new noise. Press clips evenly and verify the grille doesn’t contact the speaker frame at any point.
– Test sound at low volume first, then increase gradually
Start with a familiar track and listen for improved clarity in vocals and higher-frequency detail (hi-hats, sibilants). Then increase gradually to confirm no distortion appears.
Q: How soon can I play music after cleaning?
Only after the grille and surrounding area are fully dry—often at least 30 minutes, longer in humid conditions.
Q: What should I listen for to judge improvement?
Listen for reduced “hiss,” clearer vocals, and less harshness or muddiness in mid/high ranges.
Keeping your car speakers clean improves sound clarity and reduces dust buildup. Start with dry dust removal, wipe grilles with minimal moisture, and avoid soaking or harsh chemicals. If you’re dealing with heavy grime, repeat gentle cleaning steps and let everything dry completely—then test your audio and enjoy the upgrade.
Frequently Asked Questions
How do I clean car speakers without damaging them?
Start by removing loose dust with a dry microfiber cloth or a soft brush, then avoid soaking the speaker cone or the magnet area. For deeper cleaning, lightly dampen a cloth with a 50/50 mix of distilled water and isopropyl alcohol (or use a spray cleaner specifically labeled safe for electronics) and wipe gently. Never pour liquid directly into the speaker, and let everything fully dry before turning the audio system back on.
What’s the best way to remove dust and grime from car speaker grilles?
Use a vacuum with a brush attachment first to pull out dust from the grille holes. Then wipe the grille with a slightly damp microfiber cloth, and for stubborn buildup use a soft brush with a mild cleaner so you don’t bend the grille. If the grille is removable, you can rinse it lightly and dry it thoroughly, but keep any moisture away from the speaker itself.
Why does my car speaker sound muffled after cleaning, and how can I fix it?
If the speaker cone gets moisture, cleaner residue, or debris lodged in the surround, it can cause muffled sound or distortion. To fix it, power off the system and allow the speakers to dry completely—ideally 24 hours—before testing again. If residue remains, gently clean only the accessible grille area and avoid additional liquid contact with the cone until the speaker is fully dry.
How can I clean car speaker scratches or discoloration on the cone safely?
For cosmetic discoloration, use a very soft, dry cloth first and avoid aggressive scrubbing that can wear down the speaker cone material. If you need a cleaner, use a tiny amount of electronics-safe cleaner on a microfiber cloth and dab lightly, never flooding the cone. If the cone is torn, deteriorated, or the surround is damaged, cleaning won’t restore performance—reconing or professional service is usually the correct fix.
Which cleaning products are safe for car speakers and speaker grills?
Look for products labeled safe for electronics, plastic grilles, or audio components; in many cases, mild soap-and-water (for grilles only) and distilled-water solutions work well. Isopropyl alcohol can be effective for grime on grilles, but apply it to the cloth, not the speaker. Avoid harsh solvents, aerosol sprays that can seep inside, and anything abrasive that could damage the grille finish or speaker cone.
📅 Last Updated: August 05, 2026 | Topic: how to clean car speakers | Content verified for accuracy and freshness.
References
- Google Scholar Google Scholar
https://scholar.google.com/scholar?q=how+to+clean+car+speakers - Google Scholar Google Scholar
https://scholar.google.com/scholar?q=cleaning+loudspeaker+grilles+speaker+cones - Google Scholar Google Scholar
https://scholar.google.com/scholar?q=care+and+maintenance+for+loudspeakers+cleaning+procedures - Loudspeaker
https://en.wikipedia.org/wiki/Loudspeaker - Speaker
https://en.wikipedia.org/wiki/Speaker - Vehicle audio
https://en.wikipedia.org/wiki/Car_audio - Cleaning
https://en.wikipedia.org/wiki/Cleaning - Isopropyl alcohol
https://en.wikipedia.org/wiki/Isopropyl_alcohol - Static electricity
https://en.wikipedia.org/wiki/Static_electricity - Electronic waste
https://en.wikipedia.org/wiki/Electronic_waste
