To clean earwax from your earbuds, gather a soft, lint-free cloth, a small brush, and cotton swabs. Start by gently removing the ear tips and inspecting them for dirt or damage. Use the brush to scrub the earbud mesh and a damp cloth for stubborn grime. Wipe down the entire surface with a dry microfiber cloth, then reassemble your earbuds and test the sound quality. There’s more to keeping your earbuds in top condition, so let’s explore further.
Gather Your Cleaning Supplies
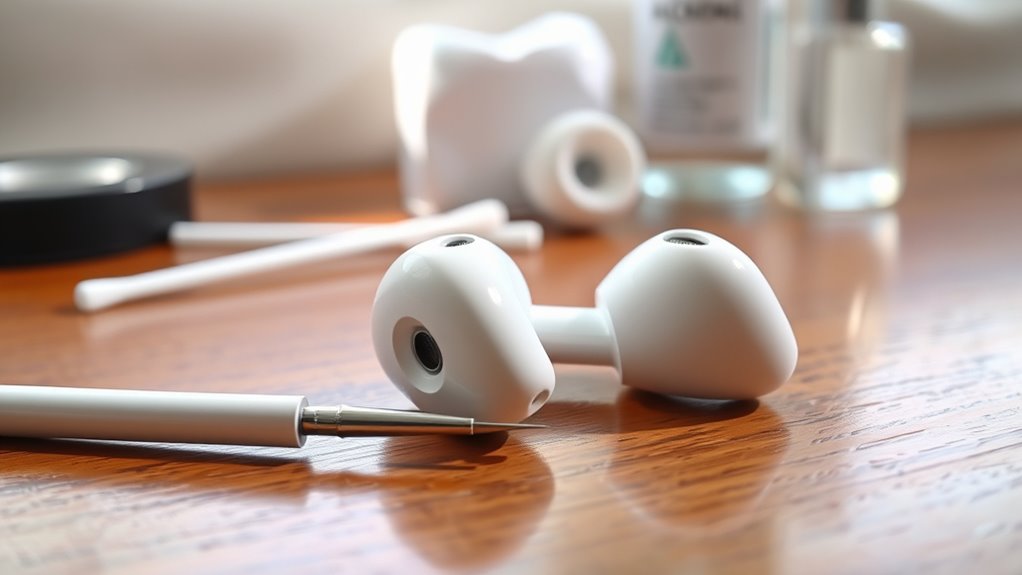
Before you plunge into cleaning your earbuds, it’s essential to gather the right supplies. Start by collecting some cleaning tools: a soft, lint-free cloth, a small brush (like a toothbrush), and a cotton swab. You might also want a solution of isopropyl alcohol or mild soap for deeper cleans. These items will help you effectively remove dirt and grime without damaging your earbuds.
As for maintenance tips, consider setting aside time each week for a quick clean to prevent buildup. This not only keeps your earbuds looking fresh but also enhances sound quality. With the right supplies in hand, you’ll be well-equipped to keep your earbuds in top condition, ensuring your listening experience remains enjoyable and liberating.
Remove Ear Tips and Inspect
Start by carefully removing the ear tips from your earbuds. Depending on the ear tip materials—like silicone, foam, or rubber—this process might require a gentle tug or twist. Once you’ve removed them, take a moment to inspect each tip closely. Look for any signs of wear, tear, or accumulated earwax that could affect sound quality or hygiene. Use inspection techniques like holding them up to the light to spot any build-up. If you notice any significant damage or dirt, it might be time to replace them. Ensuring your ear tips are in good condition will not only enhance your listening experience but also keep your earbuds functioning at their best.
Clean the Earbud Mesh
After inspecting the ear tips, the next step is to clean the earbud mesh. This part often traps dirt and earwax, impacting sound quality. Using a soft-bristled brush or a dry toothbrush, gently scrub the mesh to dislodge any buildup. Be careful; you don’t want to push debris further in. For tougher grime, a slightly damp cloth with water can work wonders—just be cautious not to let moisture seep into the earbuds. Regular earbud maintenance, including this cleaning technique, guarantees your audio experience remains first-rate. You’ll notice clearer sound and longer-lasting earbuds. Keep your gear in great shape, and enjoy the freedom of crisp audio without the distractions of unwanted buildup!
Wipe Down the Earbuds
Next, it’s essential to wipe down the earbuds to remove any remaining dirt and oils from your fingers. Regular cleaning not only improves hygiene but also enhances your listening experience. Here are some effective wipe techniques:
- Microfiber Cloth: Use a dry microfiber cloth to gently wipe the surfaces, ensuring you capture all the oils.
- Disinfectant Wipe: For deeper cleaning, use a disinfectant wipe, making sure it’s not too wet to avoid damage.
- Cotton Swab: Go around the edges and crevices with a cotton swab dipped in rubbing alcohol to remove stubborn grime.
Aim for a cleaning frequency of at least once a week to keep your earbuds in top shape. Happy listening!
Reassemble and Test Sound Quality
Once your earbuds are clean and free of dirt and oils, it’s time to reassemble them and confirm they’re functioning properly. Follow these reassembly techniques to make sure everything fits snugly. Once reassembled, plug them in and perform a sound quality assessment.
| Step | Action | Result |
|---|---|---|
| Reassemble | Align components | Confirm a secure fit |
| Plug in | Connect to device | Check if they power on |
| Test sound | Play audio | Evaluate audio quality |
Listen for clarity and balance in bass and treble. If you notice any issues, you might need to disassemble and check for misalignment. Enjoy your refreshed earbuds!
Frequently Asked Questions
How Often Should I Clean My Earbuds?
You might think your earbuds can go forever without a scrub, but you should clean them weekly for ideal ear hygiene. Regular cleaning frequency keeps sound clear and helps avoid pesky infections. Freedom starts with clean ears!
Can I Use Alcohol to Clean My Earbuds?
Yes, you can use alcohol to clean your earbuds, but be cautious. It’s often better to contemplate alcohol alternatives like mild soap or vinegar solutions to avoid potential damage while still effectively removing dirt and grime.
What if My Earbuds Are Water-Resistant?
If your earbuds have water-resistant features, you can rinse them gently. But don’t forget cleaning precautions! Avoid harsh chemicals, and make certain they’re completely dry before using to maintain their performance and longevity. Why risk damage?
Is There a Special Tool for Cleaning Earbuds?
Yes, there are special tools for earbud maintenance. You can use soft brushes, microfiber cloths, or cleaning sticks designed for electronics. These cleaning techniques help keep your earbuds in top shape without damaging them.
Can Earwax Damage My Earbuds Permanently?
Earwax buildup can certainly make your earbuds go south if left unchecked. Using proper cleaning techniques can prevent permanent damage, ensuring your sound stays crystal clear and you keep enjoying your favorite tunes without a hitch.
