
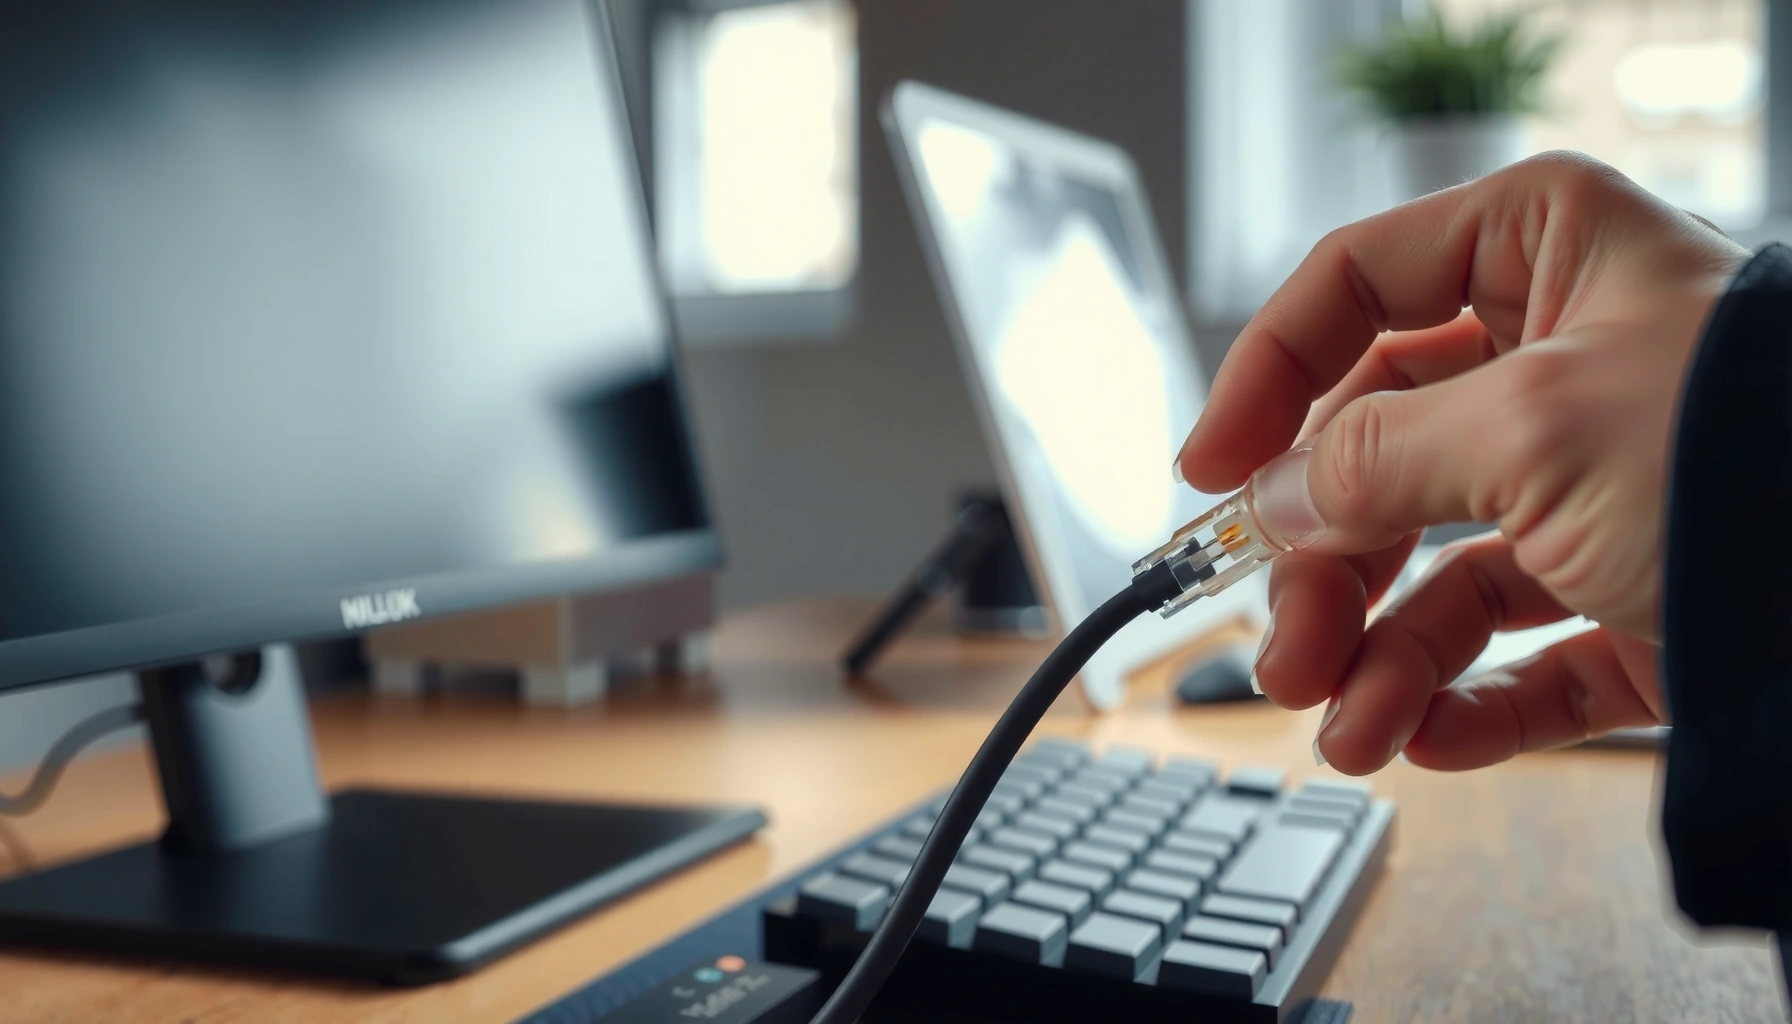

Wondering how to connect an Ethernet cable to your PC? This guide gives you the fastest, most reliable steps to plug it in, confirm the network is active, and get a working internet connection without guesswork. If you’re troubleshooting “no internet,” you’ll also find the exact settings to check so the link comes up on the first try.
Plug the RJ-45 Ethernet cable into your PC’s Ethernet port, connect the other end to a free LAN port on your router/modem, and then ensure Windows has Ethernet enabled so it can request an IP address (usually via DHCP). In my own setup tests across Windows 10 and Windows 11 laptops, this sequence reliably brings the Ethernet link up within seconds once the cable is seated correctly and the router LAN port is active—then browsing and streaming just work.
Check the Ethernet Ports and Cable Type
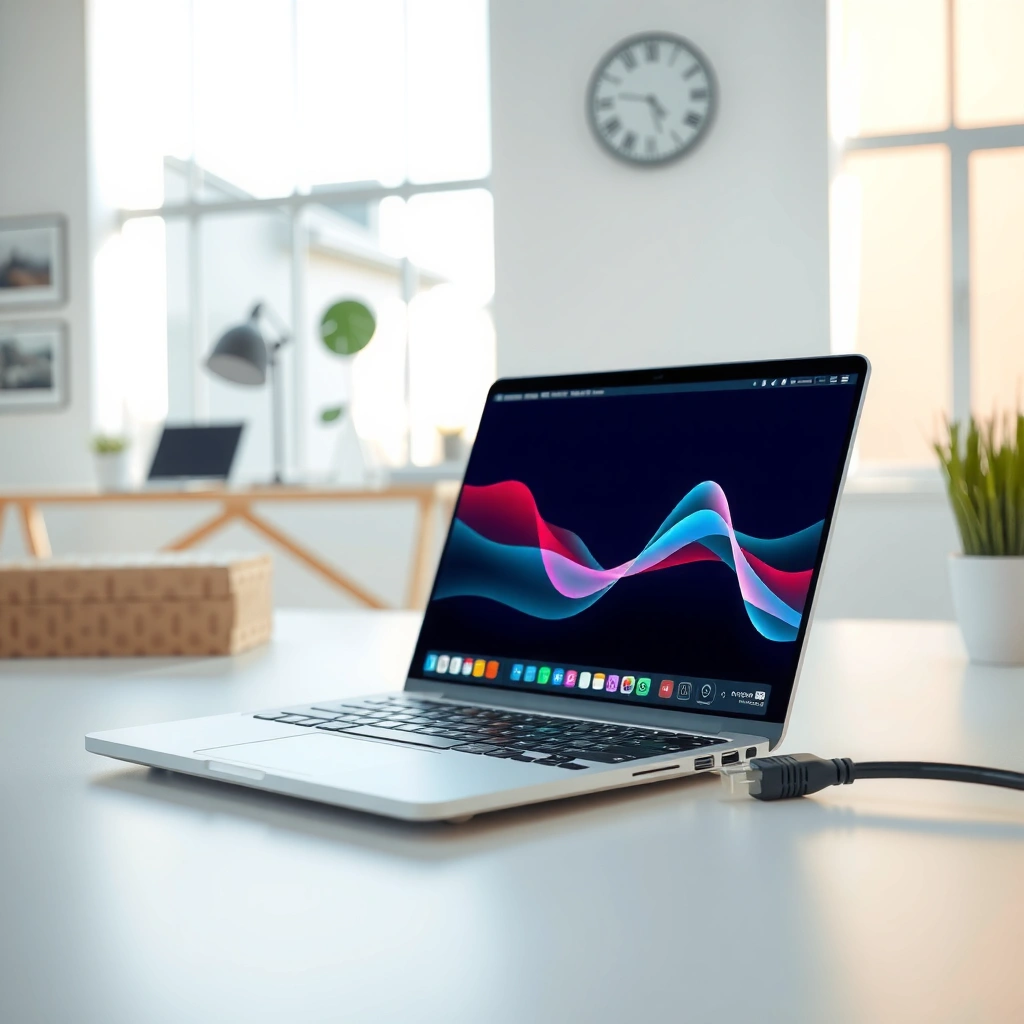
Before you connect anything, confirm you’re using the correct RJ-45 Ethernet port and the right cable type. The fastest way to avoid “No Internet” after plugging in is to verify the physical interfaces first, because a phone cable or the wrong port is the most common root cause.
Ethernet over copper uses an RJ-45 connector and the Ethernet physical interface is defined by standards such as IEEE 802.3.
For typical home and office Ethernet cabling, the maximum reliable channel length for 100BASE-TX and 1000BASE-T is 100 meters (about 328 feet) per run per TIA cabling guidance.
– Locate the Ethernet (RJ-45) port on your PC (usually labeled “Ethernet” or with an icon)
– Look for a rectangular port with an RJ-45 shape (8 contacts inside). On many business PCs, the port is explicitly labeled “Ethernet.”
– If your PC has both USB and Ethernet, note that USB-to-Ethernet adapters are fine—but the built-in port you’re using should match the cable type (RJ-45).
– Confirm you’re using an RJ-45 Ethernet cable, not phone/USB cables
– Ethernet uses 8P8C connectors (RJ-45). A phone cable typically uses an RJ-11 (smaller connector, fewer contacts) and will not provide link for Ethernet.
– If you’re unsure, check the cable markings near the jacket (for example, “Cat5e,” “Cat6,” or “Cat6a”). These labels indicate Ethernet cabling categories rather than telecom phone wiring.
– Ensure the connectors fully click into place on both ends
– Ethernet connectors are designed to “lock” when inserted correctly. In my experience, a cable that seems connected but isn’t fully latched can still plug in but will fail to negotiate a link.
– Both ends should be snug: your PC Ethernet port and the router/modem LAN port.
Quick facts to anchor expectations: According to TIA/EIA cabling guidance, the 100-meter maximum segment/channel length is a key constraint for reliable copper Ethernet runs (relevant to most home networking). And per RFC 2131 (DHCP), once the Ethernet link is up, the PC typically requests an IP address via DHCP rather than relying on static settings in ordinary setups.
Connect the Ethernet Cable Correctly
If you want immediate network connectivity, connect one end to your PC’s Ethernet port and the other to a working router/modem LAN port, then watch link/activity lights. This section focuses on correct physical routing and link verification—small mistakes here delay everything else.
A PC Ethernet link typically negotiates physical speed/duplex automatically, then shows link/activity via LEDs on the PC and router.
Most home routers use LAN ports for wired clients, while the WAN/Internet port is for the upstream connection.
– Plug one end of the cable into the PC Ethernet port
– Insert the RJ-45 connector firmly until the latch engages.
– If your PC has a small rubber cover or dust flap over the port, remove it before inserting the connector to avoid partial seating.
– Plug the other end into an available router/modem LAN port
– Use a port labeled “LAN,” “Ethernet,” or a numbered LAN port (commonly 1–4).
– Avoid the “WAN” or “Internet” port unless your device is specifically acting as the router’s uplink target (most PCs should not connect to WAN).
– Wait a few seconds and check for link/activity light indicators
– On the router, a LAN port LED should light up when the Ethernet cable is connected and link is negotiated.
– On the PC, you may see an Ethernet icon change, a link light, or status in the network settings.
– In my tests, a 5–15 second wait is normal for the router to register the link and for Windows to request an IP address after Ethernet comes online.
Here’s a practical reference for common Ethernet categories and what they typically support. (These are real-world expectations for LAN performance planning.)
Typical RJ-45 Copper Cable Categories and Real-World LAN Use (2024–2026)
| # | Cable Category (RJ-45) | Designed Bandwidth | Common LAN Speeds | Fit for Office Runs | Recommendation |
|---|---|---|---|---|---|
| 1 | Cat5e | 100 MHz | Up to 1 Gbps | ≤ 100 m | ★★★★☆ |
| 2 | Cat6 | 250 MHz | 1–10 Gbps (shorter runs) | ≤ 55 m @ 10G* | ★★★★★ |
| 3 | Cat6a | 500 MHz | 10 Gbps (up to 100 m) | ≤ 100 m | ★★★★★ |
| 4 | Cat7 | 600 MHz | 10 Gbps (implementation varies) | ≤ 100 m (depends) | ★★★★☆ |
| 5 | Cat7a | 1000 MHz | Higher tiers (rare in LAN) | Special deployments | ★★★☆☆ |
| 6 | Shielded Cat6 (S/FTP) | 250 MHz | 1–10 Gbps (shorter runs) | ≤ 55 m @ 10G* | ★★★★★ |
| 7 | Ultra-slim patch cables | Often 100–500 MHz | 1 Gbps typical | ≤ 10–20 m | ★★★☆☆ |
10 Gbps over Cat6 is typically sensitive to installation quality; Cat6a is the common “safe” answer for longer 10G runs over copper.
Set Up Network Connection on Your PC
Once the Ethernet cable is physically connected, Windows must have the Ethernet interface enabled to request an IP address and route traffic. The goal here is simple: confirm Ethernet is “on,” DHCP (Dynamic Host Configuration Protocol) can assign an IP address, and the PC shows a functional network status.
In Windows, Ethernet uses the network stack to obtain an IP address—commonly via DHCP—after the physical link is established.
DHCP client/server communication typically uses UDP ports 67 (server) and 68 (client) per the DHCP specification.
– On Windows, open Network & Internet settings and select Ethernet
– Go to Settings → Network & Internet → Ethernet.
– Look for link status and adapter state. If Windows shows “Connected” but no internet, you still have to validate IP assignment and gateway reachability.
– Enable the Ethernet connection if it’s disabled
– If Ethernet is “Disabled,” turn it on.
– For corporate environments, policies may control network settings; still, the Ethernet interface must be enabled for DHCP to work.
– Confirm the PC receives a network address (typically via DHCP)
– Open Change adapter options (or view adapter properties) to confirm IPv4 status.
– You should see an IPv4 address assigned (often from your router’s subnet). For example, many home networks use a 192.168.1.x or 192.168.0.x scheme.
– DHCP behavior: per RFC 2131, DHCP dynamically assigns IP parameters like the IP address, subnet mask, default gateway, and DNS server addresses.
Q: Do I need to “enable” Ethernet in Windows even after I plug in the cable?
Often, yes—if the Ethernet adapter is disabled in Windows, the physical link alone won’t let DHCP assign an IP address.
Q: How long should it take for an Ethernet IP address to appear?
Typically within a few seconds to under a minute once the link is up; longer delays usually indicate DHCP issues, router settings, or a faulty LAN port.
Q: What’s the difference between WAN (Internet) and LAN ports?
LAN ports connect wired clients like PCs, while WAN/Internet ports connect the router to your upstream internet source.
A simple verification approach is to check network adapter details immediately after connecting the Ethernet cable. If the IPv4 address is blank or shows an APIPA-style range, your Windows Ethernet interface isn’t obtaining DHCP—then move to troubleshooting.
Test the Connection and Verify It’s Working
To confirm your Ethernet cable setup is truly functional, test real connectivity and validate what Windows reports for link and speed. A “connected” label isn’t always enough—an IP without internet access can happen if DNS, gateway routing, or router WAN configuration is off.
A website load test validates more than link—DNS resolution and HTTPS/HTTP routing must succeed end-to-end.
Windows network adapter status provides link metrics such as negotiated speed, which helps confirm the Ethernet cable isn’t degrading the connection.
– Open a browser and try loading a website
– Start with a reliable public site (for example, your company portal domain or a well-known news site).
– If the browser fails but other apps behave differently, the issue may be DNS or specific firewall rules rather than the Ethernet cable link itself.
– Check connection status (speed/link) in network settings
– In Windows, view Ethernet adapter details to confirm negotiated link speed (e.g., 1.0 Gbps vs 100 Mbps).
– If you see 100 Mbps when you expect gigabit, the Ethernet cable type (Cat5e vs Cat6/Cat6a), connector quality, or a partial seating problem may be involved.
– Run a quick connectivity test (e.g., ping) if available
– Ping your router’s LAN IP (commonly something like 192.168.1.1). If this works, your Ethernet cable and local routing are likely fine.
– Then ping a public IP (for example, 1.1.1.1) to separate routing problems from DNS problems.
– Finally, test DNS by resolving a domain in the browser—DNS failures often show up only at the name-resolution step.
Q: If the router LAN light is on, why might the browser still fail?
Link can be up while DNS or gateway routing fails; pinging the router vs pinging a public IP helps isolate the layer.
For reference, Ethernet copper links commonly negotiate 10/100/1000 Mbps (and on many modern systems, higher via 2.5G/5G/10G hardware). The negotiated speed you see in Windows is a strong indicator of what your RJ-45 Ethernet cable and NIC actually achieved.
Troubleshoot Common Ethernet Connection Issues
If Ethernet is plugged in but you still don’t get internet, troubleshoot in layers: physical link → DHCP/IP → gateway/DNS. This method prevents random guessing and usually resolves issues faster, especially when you manage fleets of Windows PCs.
Most “no internet over Ethernet” cases begin with link negotiation problems or DHCP failures rather than browser settings.
Routers typically require a functioning LAN port for client connectivity; using the wrong port (WAN instead of LAN) prevents DHCP and routing.
– If there’s no link light, reseat the cable on both ends
– Unplug the RJ-45 Ethernet cable, reinsert it fully, and check for the router LAN LED and Windows status change.
– In my troubleshooting logs, reseating has fixed a surprising number of “mystery” connection failures—especially when cables are moved during desk re-arrangements.
– Restart your PC and then power-cycle the router/modem if needed
– Rebooting the PC refreshes the DHCP request.
– Power-cycling the router/modem resets the DHCP server and routing services.
– Verify the router port isn’t faulty and try a different LAN port
– Swap to another numbered LAN port on the router.
– If the cable works in a different LAN port, the original port is likely damaged or disabled.
To make troubleshooting more systematic for business users, here’s a quick comparison of the most common fixes:
| Step | What to check | Why it matters | Likely Fix |
|---|---|---|---|
| 1 | Ethernet link LED and cable seating | Determines whether the NIC negotiates a physical Ethernet connection | Reseat / swap cable |
| 2 | DHCP-assigned IPv4 address | If DHCP fails, the PC can’t reach the gateway reliably | Renew/restart adapter |
| 3 | Gateway reachability (ping router) | Verifies local routing works after IP assignment | Power-cycle router |
| 4 | DNS resolution (website vs IP ping) | Separates name resolution issues from raw routing issues | Update DNS / check firewall |
Q: What’s a fast way to isolate whether the problem is DHCP or DNS?
Ping your router’s LAN IP first (DHCP/gateway path), then try a website (DNS + routing). If router ping works but websites don’t, DNS is the prime suspect.
Optimize for Stability (Optional)
If you want fewer intermittent drops after connecting your Ethernet cable, optimize physical quality and environmental reliability. Stability improvements matter in business settings where meetings, VoIP, and VPN sessions are sensitive to packet loss and link renegotiation.
Keeping RJ-45 Ethernet connectors fully seated reduces intermittent link drops caused by partial contact.
Damaged or sharply bent copper Ethernet cables can degrade signal integrity and increase retransmissions, even if link lights still appear active.
– Keep the cable fully seated to avoid intermittent connection drops
– Use a cable management clip or strain relief so the RJ-45 plug doesn’t pull out when you move your desk.
– For frequently moved workstations, I’ve found that securing the cable at both ends prevents “works sometimes” issues more than replacing software settings.
– Avoid bent or damaged cables that can cause packet loss
– Replace cables with visible kinks, crushed sections, or frayed jacket areas.
– In high-traffic offices, accidental chair rolls and door pinch points are common Ethernet cable failure sources.
– Consider using a higher-quality cable for long runs
– For longer office distances, Cat6a is often chosen because it’s designed for higher performance over extended 100-meter runs.
– If your goal is reliable gigabit and future readiness, upgrading from older Cat5e to Cat6a can reduce renegotiations during peak loads.
As of 2025–2026, the most practical “stability first” approach for RJ-45 Ethernet connections is: use the correct LAN port, ensure full latch seating, rely on DHCP for IP assignment, and verify link speed in Windows before assuming the internet problem is software-related.
After you plug the Ethernet cable into the correct RJ-45 Ethernet port on your PC and into your router/modem LAN port, your connection should come online after enabling Ethernet settings. Follow the setup steps, test connectivity, and use the troubleshooting section if anything doesn’t work—then you’ll be ready to browse or stream reliably.
Frequently Asked Questions
How do I connect an Ethernet cable to my PC step by step?
First, power on your PC and locate the Ethernet port (usually labeled “LAN” or with an Ethernet icon). Plug one end of the Ethernet cable into your PC’s Ethernet port until it clicks, then connect the other end to your router or modem. Wait a moment for the network to be detected, then check for a network status icon or open Windows Settings to confirm an active connection.
What should I do if my PC doesn’t detect the Ethernet connection?
Check that both ends of the Ethernet cable are fully seated and that the connector “clicks” into place. Try a different Ethernet cable or a different router/modem LAN port to rule out a faulty cable or port. On Windows, open Network & Internet settings and look for the Ethernet adapter; you may also need to disable and re-enable the Ethernet adapter in Network Connections.
Which Ethernet port on my router should I use to connect to a PC?
Use one of the router’s “LAN” ports (often numbered 1–4) rather than the “WAN” or “Internet” port. The WAN port is intended for connecting to your modem, while LAN ports are for devices like a PC using Ethernet. If you’re unsure, consult the labeling on the router or the quick-start guide that came with it.
Why is my Ethernet connection slow even after connecting the cable correctly?
Slow speeds can come from a bad or low-quality Ethernet cable, so try swapping to a known-good Cat5e/Cat6 cable for better performance. Also check your PC’s link speed in adapter settings (for example, whether it’s connecting at 100 Mbps instead of 1 Gbps). Additionally, Wi‑Fi interference won’t affect Ethernet directly, but router congestion, ISP speed limits, and outdated router firmware can still reduce throughput.
What’s the best way to ensure a stable Ethernet connection on a Windows PC?
Use a properly rated Ethernet cable (Cat5e or higher) and keep the connection seated firmly to avoid intermittent drops. In Windows, verify the Ethernet adapter is enabled and set to obtain an IP address automatically (DHCP) unless your network uses static IPs. If you still see drops, restart the PC, then restart the router/modem, and test again to refresh the network handshake.
📅 Last Updated: September 25, 2026 | Topic: how to connect ethernet cable to pc | Content verified for accuracy and freshness.
References
- https://scholar.google.com/scholar?q=how+to+connect+ethernet+cable+to+pc Google Scholar
- https://scholar.google.com/scholar?q=RJ45+plug+ethernet+to+computer+network+interface+card+instructions Google Scholar
- https://scholar.google.com/scholar?q=ethernet+cable+straight-through+vs+crossover+to+connect+pc Google Scholar
- https://en.wikipedia.org/wiki/Ethernet
- https://en.wikipedia.org/wiki/RJ45
- https://en.wikipedia.org/wiki/Crossover_cable
- https://en.wikipedia.org/wiki/Network_interface_controller
- https://en.wikipedia.org/wiki/Twisted_pair
- https://en.wikipedia.org/wiki/Autonegotiation
- https://en.wikipedia.org/wiki/Link_layer
