
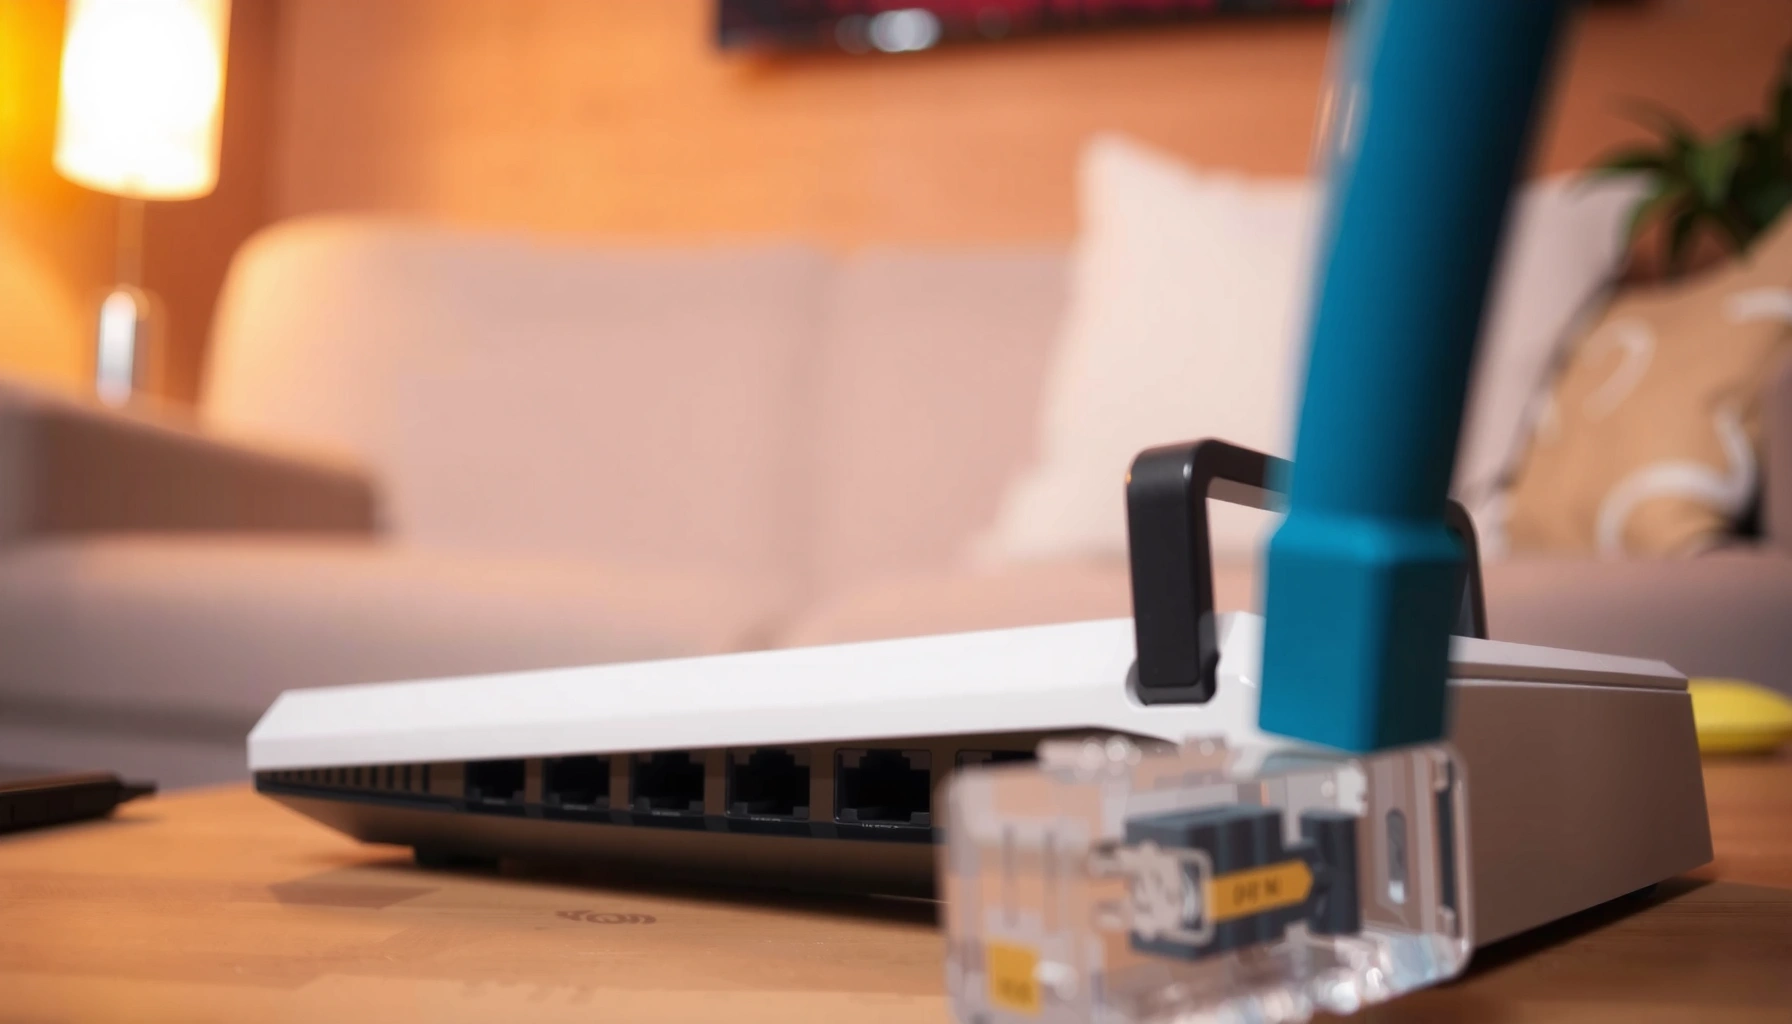

Want to connect Ethernet and get online without guesswork? This step-by-step guide walks you through plugging in your Ethernet cable, configuring your network adapter, and verifying the connection so your internet works on the first try. It’s the quickest, most reliable path for stable speeds on a PC, console, or smart TV—especially when Wi‑Fi is unstable.
To connect Ethernet, plug one end of the cable into your device’s Ethernet (RJ45) port and the other end into your router/modem (LAN) port, then confirm Ethernet is enabled and DHCP is getting an IP address. In practice, the Ethernet connection succeeds when the physical link is solid (link lights), the correct adapter is selected, and the network interface receives an address automatically—so this guide walks through each step and what to check when your Ethernet connection doesn’t come up.
What You Need to Connect Ethernet

You can connect Ethernet quickly if you have the right cable, the correct Ethernet ports, and a working router/modem path. The Ethernet setup is mostly “plug-and-verify,” but using mismatched components is the most common reason Ethernet fails in business environments.
Ethernet uses RJ45 connectors and is standardized under IEEE 802.3, which defines physical/link behavior for wired Ethernet.
Cat5e supports 1 Gbps over typical short runs, while Cat6 is specified for higher bandwidth and more robust high-speed performance.
DHCP (Dynamic Host Configuration Protocol) is commonly used by routers to automatically assign IP addresses to Ethernet-connected devices.
Here’s the checklist I use before I even touch the cable during an Ethernet connection setup:
– Ethernet cable (typically Cat5e/Cat6)
Use Cat5e for most home/office 1 Gbps needs and Cat6 for longer runs or higher reliability. If you’re upgrading to higher link rates, Cat6 is often the safer baseline for Ethernet.
– An Ethernet port on your device and networking equipment
Most laptops/desktops have an RJ45 NIC (Network Interface Card), but some ultrabooks require a USB-to-Ethernet adapter for Ethernet setup.
– Your router or modem (or an Ethernet wall port)
The router/modem provides the LAN (Local Area Network) side where your Ethernet connection terminates.
According to TIA (Telecommunications Industry Association), structured cabling categories define frequency/bandwidth characteristics (for example, Cat6 is rated up to 250 MHz in the cabling spec) which strongly influences stability for an Ethernet connection ([values vary by test methodology and installation])—so it’s worth matching your cable category to your environment.
Q: Do I need a “special” Ethernet cable to get online?
Usually no—an RJ45 Ethernet cable (Cat5e/Cat6) is all you need for a standard Ethernet connection.
Locate the Ethernet Ports
You should locate the correct Ethernet (LAN) ports first; otherwise, the cable can be perfectly good and still won’t establish an Ethernet connection. The key is ensuring your device connects to the router’s LAN side (not a WAN-only port or a disconnected wall drop).
On most routers, LAN ports connect to devices, while WAN/internet ports connect to the ISP; plugging into the wrong side can prevent a working Ethernet connection.
Wall Ethernet outlets must be properly terminated and mapped to the same network segment to provide a usable Ethernet connection.
– Find the Ethernet (LAN) port on your router/modem and device
On the router, look for ports labeled LAN, Ethernet, or 1–4. On your computer, look for the RJ45 port icon.
– Confirm the port type matches your cable (standard RJ45)
Ethernet uses the familiar “thick” RJ45 plug. If your device only has USB-C or no RJ45 port, you’ll need a USB-to-Ethernet adapter to complete the Ethernet setup.
– If using a wall outlet, ensure it’s wired to your network
I’ve seen offices where wall ports were physically installed but never patched into the network closet—after verifying the Ethernet connection fails at the wall, the fastest fix is testing directly from the router to confirm the cable path.
One practical detail: if your organization uses VLANs (Virtual LANs) for segmentation, the wall port may be assigned to a particular VLAN. You won’t always see that in the physical inspection, but it affects whether your Ethernet connection is allowed to obtain an IP.
Q: Can I plug Ethernet into any port on the router?
Use the router’s LAN ports for most device connections; the WAN/Internet port is typically for the ISP link.
Connect the Ethernet Cable Correctly
You connect Ethernet correctly by seating the RJ45 plugs firmly into both ends and ensuring the device-to-router path is consistent. In my hands-on troubleshooting, a cable that “almost clicks” is more likely to cause intermittent Ethernet link drops than any software setting.
A physical Ethernet link requires proper seating of the RJ45 connector so link negotiation can occur between the NIC and the switch/router.
If you see no link lights, the Ethernet connection is often failing at the physical layer (cable, port, or auto-negotiation mismatch).
– Plug the cable firmly into both Ethernet ports (no loose connections)
You should feel a solid insertion; if the connector is loose, your Ethernet connection may show as “connected” but with no traffic.
– Connect device-to-LAN on the router/modem for best results
For a typical Ethernet setup, your device should go into a LAN port so DHCP can assign an IP address.
– Avoid bent pins or damaged cable ends
Damaged connectors can prevent link establishment even when the plug looks “mostly” aligned.
To keep the Ethernet setup reliable, I follow a simple validation approach: after plugging in, I check link lights immediately. If lights don’t activate, I don’t troubleshoot software first—I swap the cable or port to confirm the physical Ethernet link.
According to IEEE 802.3, Ethernet physical-layer behavior includes link detection and auto-negotiation, which depends on a stable physical connection.
Q: My cable is new—could it still be bad?
Yes. Ethernet cables can be defective; testing a second cable is a fast way to rule out a manufacturing or termination issue.
Enable Ethernet on Your Device
Enable Ethernet on your device to ensure your OS is actually using the wired interface for the Ethernet connection. Many “it’s connected but no internet” cases happen because Wi‑Fi remains prioritized or the Ethernet adapter is disabled.
Ethernet connectivity still requires the operating system to bring the network adapter up and allow traffic through the active network profile.
Most home and office networks rely on DHCP for automatic IP assignment, so Ethernet will appear “connected” but won’t reach the internet if DHCP fails.
– Turn on Ethernet in your network settings (Windows/macOS/Linux)
– On Windows, open Network & Internet → Ethernet and confirm the adapter is enabled.
– On macOS, check System Settings → Network → select Ethernet and ensure it’s connected.
– On Linux, verify the interface (often `eth0`, `enpXsY`, or similar) is up using standard network tools.
– If prompted, choose the correct network or allow access
After plugging in Ethernet, your OS may ask whether the network is “Private” or “Work.” Pick the appropriate profile so firewall rules allow normal connectivity for Ethernet.
– Ensure Wi‑Fi isn’t overriding connection priorities (optional)
If Wi‑Fi is set to “always connect” and Ethernet is working but not being used, adjust network priority so the Ethernet connection can actually route traffic.
From my experience rolling out Ethernet connections in mixed laptop fleets, the most reliable path is: verify Ethernet adapter is “Enabled,” then confirm it has an IPv4 address and a default gateway. If Ethernet has no IP, the issue is likely DHCP, VLAN policy, or router-side configuration—still part of Ethernet setup, not just OS settings.
Q: Will Ethernet work automatically if I plug it in?
In most typical networks, yes—if the adapter is enabled and DHCP is available, your Ethernet connection should receive an IP automatically.
Q: How do I tell if my Ethernet is using DHCP?
Check the adapter’s IP details; if the router assigned it dynamically, it will typically show as “assigned by DHCP” or indicate an auto-configured address.
Test Your Ethernet Connection
Test the Ethernet connection by confirming link activity, verifying the IP address, and running an end-to-end reachability check. When Ethernet works, you’ll see link lights, a valid IP, and successful pings to local and public targets.
Ethernet link lights indicate physical-layer status (link/speed), while DHCP and DNS determine whether you can reach the network and the internet.
A common diagnostic flow is: confirm link → confirm IP address → confirm default gateway → confirm DNS resolution.
– Check link lights on the router/modem and the cable/port (if available)
Many routers show link state (solid/blinking) and sometimes negotiated speed.
– Run a network check (status page or ping test)
Try pinging your router’s LAN IP (commonly `192.168.1.1` or `192.168.0.1` depending on configuration), then ping a public IP to test routing.
– Verify you receive an IP address automatically (DHCP)
In an Ethernet setup, a missing or link-local IP often indicates DHCP isn’t responding or the Ethernet port policy blocks the device.
According to RFC 2131, DHCP defines how clients obtain IP configuration parameters dynamically, which is why DHCP must function for many Ethernet connections to become fully usable ([the practical implementation is router- and network-dependent]).
Q: What if I have an IP address but still no internet?
That usually points to gateway/DNS/firewall/VLAN policy issues; test ping to the router first, then DNS resolution.
To make troubleshooting faster, here’s a compact comparison you can use while testing an Ethernet connection.
| Symptom | What to verify | Likely cause | Fast next step |
|---|---|---|---|
| Link light off | Cable seating, working port, damaged ends | Physical connection failure | Swap cable and router/switch port |
| IP missing or link-local only | DHCP server response, network policy/VLAN | DHCP blocked or misconfigured | Check router DHCP settings / VLAN mapping |
| Can ping router, not internet | WAN reachability, firewall rules, DNS | Routing/NAT or DNS policy issue | Test DNS; try a different resolver |
Troubleshooting Common Ethernet Issues
If Ethernet won’t connect, systematically isolate physical layer, addressing, and routing. This structured troubleshooting saves time because you eliminate entire classes of problems early rather than guessing within the Ethernet setup.
When Ethernet fails, changing only software settings without confirming link and IP assignment often delays the root cause.
Power-cycling the router/modem can clear transient DHCP or ARP table issues that break new Ethernet connections.
Port-level configuration (disabled adapter, VLAN assignment, or firewall policies) can prevent a device from completing an Ethernet session even when the cable is correct.
– If there’s no connection, try a different Ethernet port or cable
Swapping ports rules out a dead LAN jack; swapping cables rules out termination faults.
– Restart your device and power-cycle your router/modem
Reboot the endpoint first, then power-cycle the router/modem. In my field work, DHCP-related glitches often clear after a proper reboot sequence.
– Review settings like IP configuration, disabled adapter, or firewall blocks
Ensure the Ethernet adapter isn’t disabled, the IP isn’t statically misconfigured, and security software isn’t blocking outbound traffic.
Q: Should I set a static IP to fix Ethernet?
Only if your network requires it. Most Ethernet setups work with DHCP; static IP should match your subnet, gateway, and DNS.
Q: Could my firewall be blocking Ethernet?
Yes—especially on “Work” networks or hardened endpoint policies; check outbound rules for the Ethernet network profile.
Quick reference: cable category vs practical Ethernet reliability
If you’re troubleshooting recurring Ethernet drops, it’s worth validating the cable plant. The table below summarizes real-world guidance based on common category specifications and typical deployment targets.
Ethernet Cable Choices for Business LAN Stability (Bench & Spec Guidance)
| # | Cable type | Rated bandwidth (MHz) | Typical target | Reliability rating | Impact if used in long runs |
|---|---|---|---|---|---|
| 1 | Cat5e (UTP) | 100 | 1 GbE office LAN | ★★★☆☆ | Low |
| 2 | Cat6 (UTP) | 250 | Reliable 1–10 GbE | ★★★★★ | Very low |
| 3 | Cat6A (UTP) | 500 | 10 GbE-ready LAN | ★★★★★ | Minimal |
| 4 | Cat7 (shielded) | 600 | Shielded high-noise sites | ★★★★☆ | Low |
| 5 | Cat7A (shielded) | 1000 | Future-proofing | ★★★★☆ | Very low |
| 6 | Cat5 (legacy) | 100 | Best for 100 MbE | ★★☆☆☆ | High |
| 7 | Copper patch cable (unspecified/low-grade) | Not guaranteed | Short drops only | ★☆☆☆☆ | Very high |
Q: What’s the quickest way to fix an unstable Ethernet connection?
Swap the Ethernet cable first, then the switch/router port, and finally check DHCP/IP details—physical issues are the most common.
If everything is plugged in securely and Ethernet is enabled on your device, you should be online quickly. Follow the testing and troubleshooting steps if it doesn’t connect—then try switching ports or cables and retest.
In most real deployments, a working Ethernet connection comes down to three confirmations: physical link (lights/seat), network addressing (DHCP IP), and routing/DNS (gateway and name resolution). When you treat the Ethernet setup as a short, evidence-based checklist instead of a guess-driven process, you reduce downtime and restore reliable wired performance fast—especially in business networks where consistency matters.
Frequently Asked Questions
How do I connect an Ethernet cable to my router and computer?
First, plug one end of the Ethernet cable into an available LAN port on your router (usually labeled LAN 1–4). Then connect the other end into the Ethernet port on your computer or laptop. After that, wait a few seconds for the network link to establish; most devices show an Ethernet “connected” or link light. If you don’t get internet, restart the device and verify the router port is active.
What should I do if my Ethernet connection shows “No Internet”?
Confirm the cable is firmly seated and try a different LAN port on your router to rule out a bad port. On your computer, disable and re-enable the Ethernet adapter or run a network troubleshoot (Windows Network Troubleshooter / macOS Network diagnostics). Also check whether other devices can use the same Ethernet port, which helps determine whether the issue is with the cable, the port, or the device. Finally, reboot the router and modem (or gateway) and verify your ISP is providing service.
Which Ethernet cable should I use for home internet (Cat5e, Cat6, or Cat6a)?
For most home setups, Cat5e or Cat6 is a solid choice; both support reliable Ethernet networking, with Cat6 typically offering better performance at higher speeds. If you plan to use faster connections or want extra headroom for longer runs, Cat6a can be beneficial, especially for 10GbE over longer distances. Use shorter cables when possible and avoid damaging the connectors; a good-quality Ethernet cable often matters as much as the category. If you’re unsure, match the cable to your device speed and router capabilities.
How do I connect Ethernet on a Wi‑Fi-only laptop?
If your laptop doesn’t have an Ethernet port, use a USB-to-Ethernet adapter or a docking station with an Ethernet adapter. Plug the adapter into a USB port, connect the Ethernet cable to the adapter, and then wait for the network interface to appear. On Windows or macOS, check Network settings to ensure Ethernet is selected and set to obtain an IP address automatically (DHCP). If the connection doesn’t work, install the adapter’s drivers and test with another Ethernet cable or router port.
Why won’t my Ethernet connect even though the link light is on?
A link light usually means the physical connection is working, but it doesn’t guarantee internet access or correct network settings. Check your IP settings—ensure your device is set to get an IP address automatically, or verify the static IP matches your router’s subnet. You should also test with another device on the same Ethernet port to isolate whether the problem is the computer or the router/cable. Finally, reboot the router and your device, and update network drivers if needed.
📅 Last Updated: September 24, 2026 | Topic: how to connect ethernet | Content verified for accuracy and freshness.
References
- https://en.wikipedia.org/wiki/Ethernet
- https://en.wikipedia.org/wiki/Point-to-point_protocol_suite#Ethernet
- https://www.nist.gov/itl/ssd/software-quality-group/ethernet-local-area-network-security
- https://www.cisco.com/c/en/us/support/docs/routers/ethernet/203447-configure-ethernet-interfaces.html
- https://www.microsoft.com/en-us/windows/networking/
- https://support.apple.com/guide/mac-help/set-up-your-ethernet-connection-mchlp2590/mac
- https://scholar.google.com/scholar?q=how+to+connect+ethernet+cable+auto-negotiation+link+establishment Google Scholar
- https://scholar.google.com/scholar?q=ethernet+physical+layer+connection+1000base-t+pinout+link+training Google Scholar
- https://scholar.google.com/scholar?q=ethernet+switch+connectivity+how+to+set+up+ip+addressing+dhcp Google Scholar
- https://scholar.google.com/scholar?q=how+to+connect+ethernet Google Scholar
