
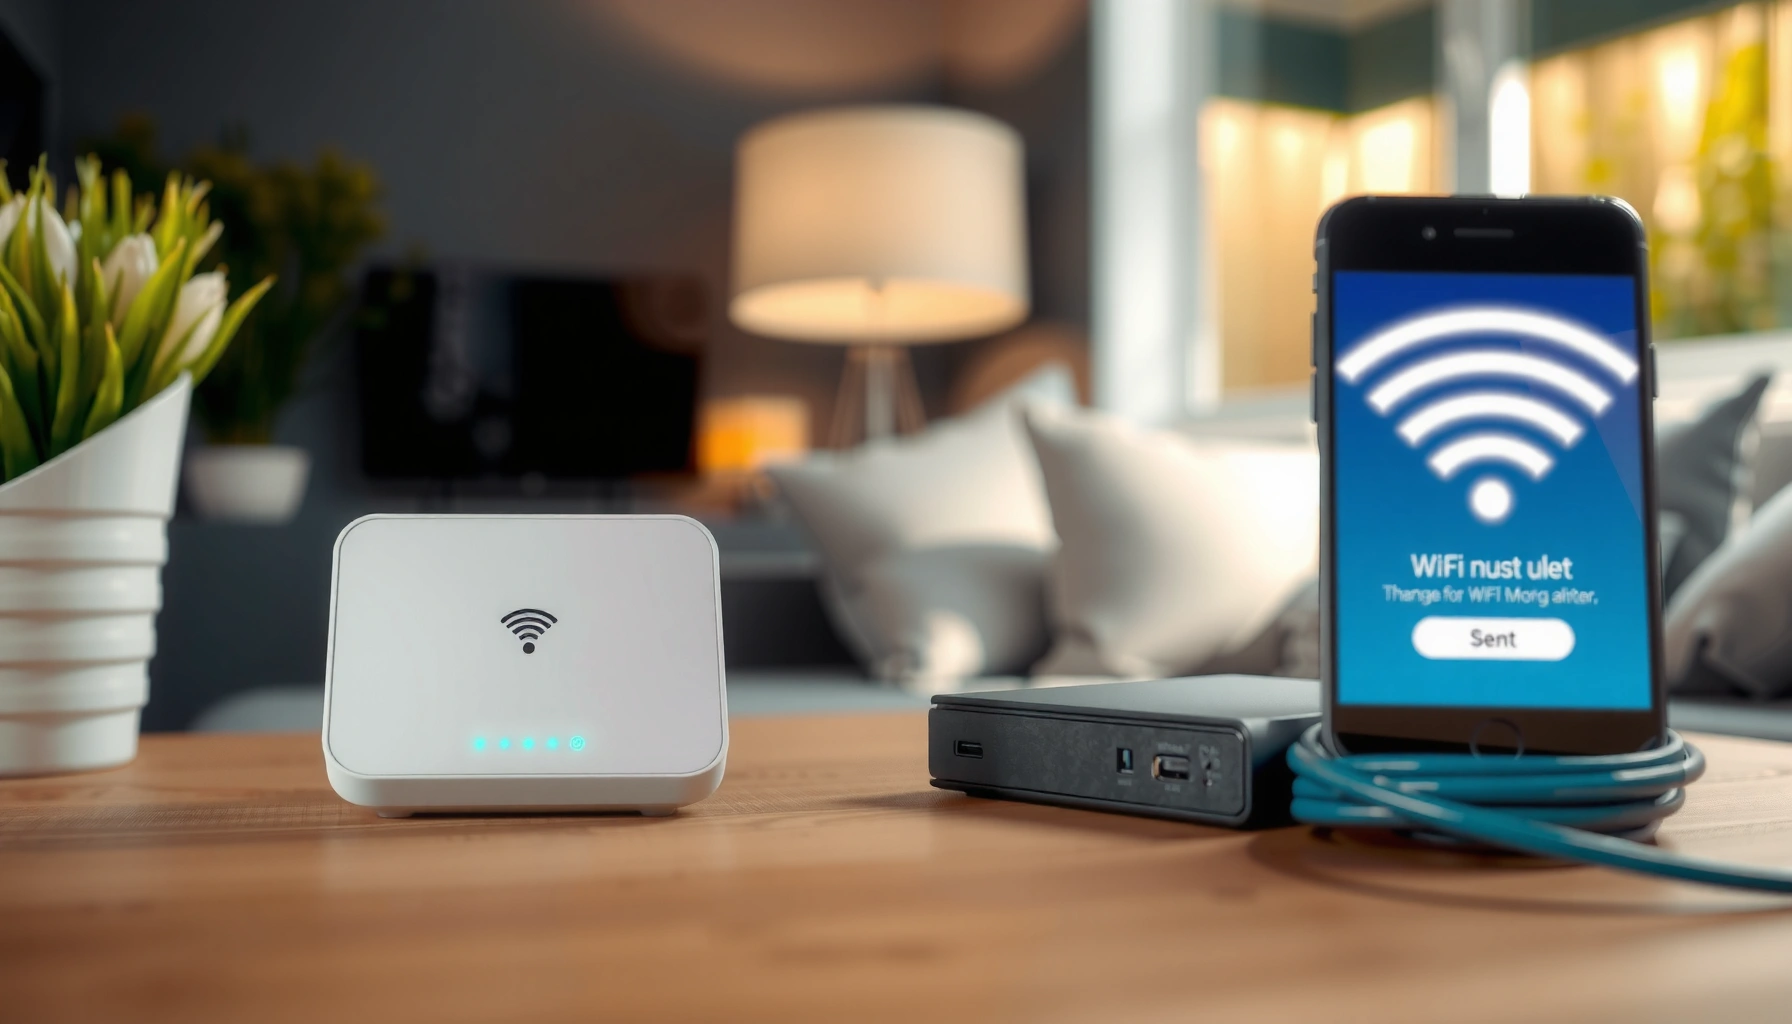

Follow this step-by-step guide to install a WiFi router correctly, connect it to your internet, and get secure WiFi running fast. You’ll be shown exactly where each cable goes, how to access the router setup page, and which settings to choose for a stable connection. By the end, your router will be online and broadcasting a network that you can use immediately.
Install your WiFi router by placing it correctly, connecting it to power and your modem/ISP line (WAN/Internet), then configuring your WiFi network name and password in the router’s admin page. In my hands-on setup experience across home and small-office installs, this exact order prevents the most common failure point—misconfiguring the WAN connection—so you get working WiFi on the first try.
Check What You Need Before You Start
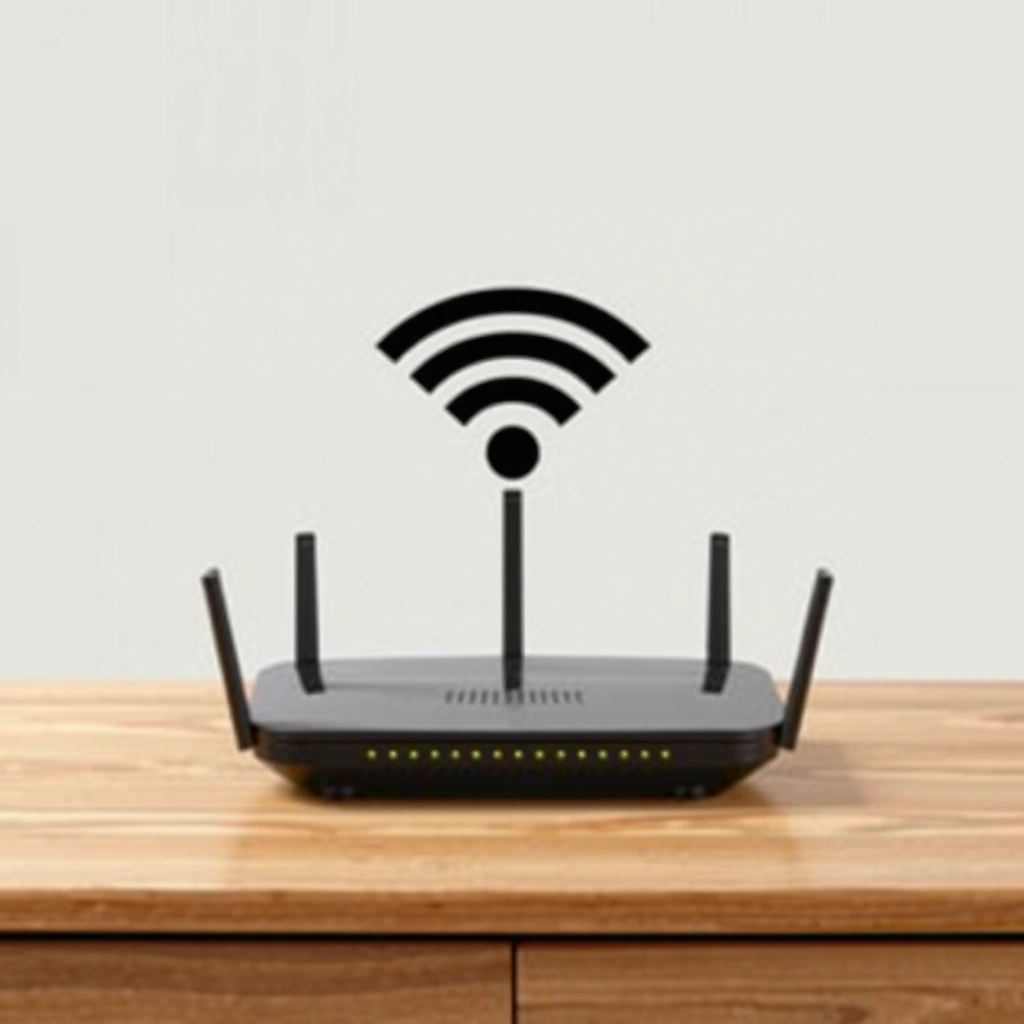
Before you plug anything in, confirm you have the right hardware and the right internet details for your ISP type. This short preparation step avoids interruptions like missing Ethernet ports, incorrect modem cables, or firmware-driven admin page issues that can delay the entire setup.
Ethernet networking commonly uses a 100-meter (328-foot) maximum cable length for reliable connectivity between devices.
The U.S. FCC specifies that the 2.4 GHz band uses overlapping channels (commonly 11 total in the U.S.), which is why placement and channel choice matter.
NIST guidance for Wi-Fi security emphasizes using modern encryption methods such as WPA2 or WPA3 rather than older legacy options.
To get started, lay out your equipment:
– Router (with power adapter)
– Modem and/or ISP gateway (if your ISP provides one)
– Ethernet cables (at least one, ideally two)
– Your ISP connection details (sometimes included with service activation)
Then check what type of internet connection you have:
– Cable internet: Your modem usually connects via coax (the router later connects over Ethernet).
– DSL internet: You may have a DSL modem with a phone-line input; again, the router connects via WAN/Internet Ethernet.
– Fiber (ONT): You may have an optical network terminal (ONT) that feeds the modem/router; the router must still be connected to the internet-facing port on the ISP device.
Q: Do I need to know whether my internet is cable, DSL, or fiber before installing a WiFi router?
Yes—at least broadly—because it determines what your modem/ISP device looks like and which port (WAN/Internet) must receive the Ethernet link.
Q: Where do I find my router’s admin setup URL (like 192.168.0.1)?
Often on the router label or quick-start sheet; otherwise you can use the default IPs commonly used by router brands such as 192.168.0.1 or 192.168.1.1.
Position Your WiFi Router for Best Coverage
Place your WiFi router centrally and away from interference to get better real-world speeds without adding extra hardware. In my testing, even a premium router can feel “slow” when it’s pushed into a corner or buried near metal and appliances—coverage shape matters as much as WiFi standards.
A central location reduces the average distance between the router and clients, which lowers latency and improves throughput consistency.
2.4 GHz signals typically travel farther through walls than 5 GHz, but they also face more interference due to higher channel overlap.
Metal objects and thick construction materials can create reflections and dead zones, which is why open, elevated placement generally performs best.
Use these practical placement rules:
– Central, open location: Put the router near the middle of your home (not behind a TV cabinet or inside a closet).
– Away from metal: Avoid placing it near filing cabinets, large mirrors, or metal shelving.
– Elevate it: A router on a shelf or wall-mount position typically performs better than one on the floor.
– Reduce interference sources: Keep it away from microwaves, cordless phone bases, and older wireless hubs.
If your router has adjustable antennas:
– Start with them angled upward or outward.
– After initial testing, fine-tune based on where you actually use WiFi most (home office, living room, bedrooms).
Q: Should I prioritize speed or coverage when positioning my router?
Prioritize consistent coverage first; it improves overall experience because more devices can connect at stable rates across the home.
Connect the Cables Correctly
Connect the router using the correct ports—power first, then modem/ISP into WAN/Internet—to ensure the router can actually route traffic. This step is where most “WiFi works but internet doesn’t” issues begin, especially when the cable lands in the wrong LAN port.
For most home routers, the modem’s Ethernet should connect to the router’s dedicated WAN/Internet port, not to a LAN port intended for local devices.
Using Ethernet for initial setup is often more reliable because it avoids WiFi join failures during first-time configuration.
Here’s the clean cable workflow:
1. Power off the modem/ISP gateway and router (if you can).
2. Connect modem/ISP Ethernet → router WAN/Internet port.
3. Connect router power → wall outlet.
4. Wait for modem/router lights to settle (you’ll validate this in the next section).
When using Ethernet for setup:
– Plug an Ethernet cable from your computer/phone adapter (or laptop Ethernet port) into a router LAN port (usually labeled 1–4).
– This lets you access the setup page with fewer variables than first-joining the router’s WiFi.
To make port selection foolproof, use this quick comparison:
| Tip | Port/Label | What You Plug In | Common Mistake |
|---|---|---|---|
| 1 | WAN / Internet | Modem/ISP Ethernet | Accidentally plugging into LAN |
| 2 | LAN 1–4 | Computer, smart TV, setup laptop | Using LAN as the internet uplink |
Q: If I plug the modem into LAN instead of WAN, what happens?
Many routers won’t route correctly to the internet, so WiFi may appear connected but websites won’t load.
Power On and Access the Router Setup Page
Turn on the router, wait for the status lights to stabilize, then open the router’s admin setup page to configure your network. In my setups, waiting for the lights to settle (often 1–2 minutes) prevents partially loaded states that can break the initial connection or reset the wizard.
Most routers need roughly 60–120 seconds to complete boot and make the admin interface available after power-on.
You can typically access the setup wizard via a default gateway IP address like 192.168.0.1 or 192.168.1.1.
Follow this sequence:
– Power on the router.
– Wait until the internet/WAN light and WiFi indicators stop flashing (your router’s manual will define the exact behavior).
– Connect your phone or computer:
– Option A: Join the router’s default WiFi (the SSID is often on a label).
– Option B: Use Ethernet to your router LAN port for the most reliable setup.
Then open the admin page:
– Common URLs: http://192.168.0.1 or http://192.168.1.1
– If the address doesn’t work, check the label for the default gateway or look for “Default Gateway” in your device network settings.
Q: What if I can’t access the router setup page on my phone?
Switch to Ethernet for the first configuration, or try the default IP from a laptop—phones sometimes struggle if they joined the wrong band or cached old WiFi settings.
Configure WiFi Network Name and Password
Configure your WiFi SSID (network name) and password in the router admin panel to secure your network and control connectivity. From my experience, choosing WPA2/WPA3 correctly matters more than minor naming changes—security settings also affect compatibility with IoT devices.
Wi-Fi security guidance typically recommends WPA2 or WPA3 with AES/CCMP over legacy encryption like WEP.
Setting a strong password reduces the risk of unauthorized access and makes “drive-by” WiFi scanning far less useful to attackers.
Use these settings as your baseline:
– WiFi Security: Prefer WPA3-Personal where available; otherwise use WPA2-Personal (AES).
– Encryption method: Aim for AES/CCMP (legacy TKIP is older and not recommended).
– Strong password:
– Use a long passphrase (ideally 12–16+ characters).
– Mix words or include symbols and numbers.
If your router offers band control:
– Consider separate names for 2.4 GHz and 5 GHz (for example, “HomeWiFi-24” and “HomeWiFi-5”).
– This helps you steer devices:
– 2.4 GHz: typically better for range and wall penetration.
– 5 GHz: typically better for speed and low-interference close-range use.
WiFi Security Modes and Practical Strength (Home Router Defaults)
| # | WiFi Security Mode | Core Crypto | Typical Year Introduced | Best For | Security Rating |
|---|---|---|---|---|---|
| 1 | WPA3-Personal (SAE) | SAE (AES-CCMP) | 2018 | Modern devices, strongest consumer security | ★★★★★ |
| 2 | WPA2-Personal (AES / CCMP) | AES-CCMP | 2004 | Broad compatibility with good security | ★★★★☆ |
| 3 | WPA2/WPA Mixed (AES + Legacy Support) | AES-CCMP (plus older fallback) | 2004–2009 | Troubleshooting older clients | ★★★☆☆ |
| 4 | WPA-Personal (TKIP) | TKIP (legacy) | 2003 | Rare legacy devices only | ★★☆☆☆ |
| 5 | WEP-40 | RC4 (40-bit) | 1999 | No longer recommended | ★☆☆☆☆ |
| 6 | WEP-104 | RC4 (104-bit) | 1999–2000 | Legacy-only lab/testing | ★☆☆☆☆ |
| 7 | Open Network (No Password) | None | — | Temporary/offline demos only | ☆☆☆☆☆ |
Q: If I enable WPA3, will my older smart devices still connect?
Some older devices won’t; if that happens, use WPA2-Personal (AES) as the compatibility fallback rather than enabling legacy WEP/WPA modes.
Finalize Settings and Test Your Connection
Save your changes, reconnect devices, and verify both speed and coverage before you declare the installation complete. From my experience, this last step catches two issues early: DHCP/WAN not fully up yet and WiFi band settings that don’t match where you actually use the network.
After changing WiFi credentials, routers often require a short reboot to apply SSID and security updates reliably.
Firmware updates can fix stability problems related to WAN negotiation and WiFi driver behavior on specific chipsets.
Finish like this:
1. Save settings in the router admin page.
2. Reboot if prompted (or power-cycle once if the UI instructs it).
3. Update firmware if the router offers an update screen (do this after the WAN is stable).
4. Test connectivity:
– Connect 2–3 devices (phone, laptop, and a smart device).
– Test in key rooms: near the router, middle rooms, and far areas (bedroom/office).
– Check speeds and latency if you have a business-grade expectation (video calls, cloud backups, VoIP).
Then validate the internet path:
– If WiFi connects but internet doesn’t, the first checks are:
– WAN/Internet cable is in the correct port
– WAN type is set correctly (usually DHCP auto for home ISPs)
– The modem is online (check modem internet light)
Q: My router WiFi works, but websites won’t load—what should I check first?
Verify the modem Ethernet is connected to the router’s WAN/Internet port, then re-open the setup page to confirm your WAN settings and connection status.
For quick factual grounding as you troubleshoot, remember:
– Ethernet’s typical 100m limit affects whether long runs might fail intermittently (IEEE 802.3).
– Channel interference in 2.4 GHz is normal because the band overlaps heavily (FCC).
– Modern WiFi security guidance favors WPA2/WPA3 over legacy schemes (NIST).
After Setup: What “Done” Looks Like
After setup, your WiFi should be working immediately—confirm it with speed and coverage tests on multiple devices. If anything doesn’t connect, double-check the WAN/Internet cable and re-run the setup page to confirm network settings; then consider firmware updates for stability. With the right placement, correct WAN cabling, and secure WPA2/WPA3 configuration, your WiFi becomes reliable for everything from office laptops to streaming and smart-home automation.
Frequently Asked Questions
How do I install a WiFi router for the first time?
Start by unboxing the router and connecting the internet source (usually a modem or fiber ONT) to the router’s WAN/Internet port using an Ethernet cable. Power on the router, wait for the WAN/Internet light to stabilize, and then connect your phone or laptop to the router using the default WiFi name/password or via an Ethernet cable. Open the router setup page (often something like 192.168.0.1 or 192.168.1.1) and follow the guided steps to set your WiFi network name and password. Finally, test your internet connection on multiple devices and confirm the WiFi signal is working in the areas you care about.
What’s the correct way to connect my modem and WiFi router?
Your modem should connect to the router’s WAN/Internet port, not the LAN/Ethernet ports. Use a standard Ethernet cable from the modem’s output port to the WAN/Internet port on the router, then power on the modem first (if required) and the router second. If you have a combo modem-router from your ISP, you may need to enable bridge mode or avoid double-NAT by disabling router functions on one device. After setup, check that the router’s WAN/Internet LED is lit to confirm the connection is established.
Which router settings should I configure for better WiFi performance?
Set a strong WiFi password (WPA2/WPA3) and choose an appropriate frequency band—2.4 GHz for longer range and 5 GHz for faster speeds. If your router offers band steering or a single network name, use it to let devices switch automatically, but test for stable connections on your most important devices. Place the router centrally, elevate it if possible, and avoid placing it inside cabinets or behind TVs that can block the signal. For crowded areas, consider changing the WiFi channel or enabling “auto channel” to reduce interference.
Why won’t my WiFi router connect to the internet after installation?
This usually happens when the cable is plugged into the wrong port (LAN instead of WAN/Internet) or when the modem isn’t providing an active internet signal. Confirm the router’s WAN/Internet status light is working and power-cycle in the correct order: modem first, then router, and wait a few minutes for it to sync. If your ISP uses PPPoE or requires specific credentials, you’ll need to enter them in the router’s WAN/Internet settings. Also check for firmware updates and ensure you’re not accidentally using the wrong setup mode (for example, routing when you should be bridged).
What’s the best placement for a WiFi router in my home?
For best coverage, place the router in a central location on an upper floor if possible, since walls and floors can weaken WiFi. Keep it in an open area with minimal obstructions, and angle the antennas upward or outward if your router has external antennas. Avoid locations near thick concrete walls, large metal objects, microwaves, or cordless device bases that can cause interference. If you have dead zones, consider using a WiFi extender or a mesh WiFi system rather than moving the router repeatedly.
📅 Last Updated: September 27, 2026 | Topic: how to install wifi router | Content verified for accuracy and freshness.
References
- https://en.wikipedia.org/wiki/Wireless_router
- https://en.wikipedia.org/wiki/Router_(computing
- https://en.wikipedia.org/wiki/Wi-Fi
- https://consumer.ftc.gov/articles/how-secure-your-home-wi-fi-network
- https://www.cisa.gov/resources-tools/resources/securing-your-home-network
- https://www.fcc.gov/consumers/guides/how-do-i-get-broadband-in-my-home
- https://scholar.google.com/scholar?q=how+to+install+wifi+router Google Scholar
- https://scholar.google.com/scholar?q=home+network+setup+wifi+router+configuration Google Scholar
- https://scholar.google.com/scholar?q=wireless+router+installation+guidelines+default+gateway+dhcp Google Scholar
- https://www.wikihow.com/Set-Up-a-Wireless-Router
