


Need to know how to plug in an Ethernet cable correctly? This step-by-step guide shows the exact plug-in method—what to connect, where it goes, and how to verify the link—so you get a stable connection on the first try. Follow these instructions and you’ll be online faster than with guesswork or trial-and-error.
If you plug an RJ45 Ethernet cable into the correct Ethernet (LAN) ports—one on your device and one on your router/modem—you should be online within seconds. In practice, fast setup depends on two details: the cable must seat fully (you should feel/see the connector “click”), and your device must be set to use DHCP for automatic IP addressing if auto-connect doesn’t happen.
A wired Ethernet connection is often the most predictable way to get stable internet—especially for video calls, cloud apps, point-of-sale systems, and business networks where latency and packet loss matter. When I set up office workstations, I follow a consistent checklist: confirm the ports are truly RJ45 (not phone), confirm the link lights come on, and only then move to network settings. This method avoids the most common “it’s plugged in but nothing works” moments with Ethernet cables.
Check the Ethernet Ports (Cable Ends)
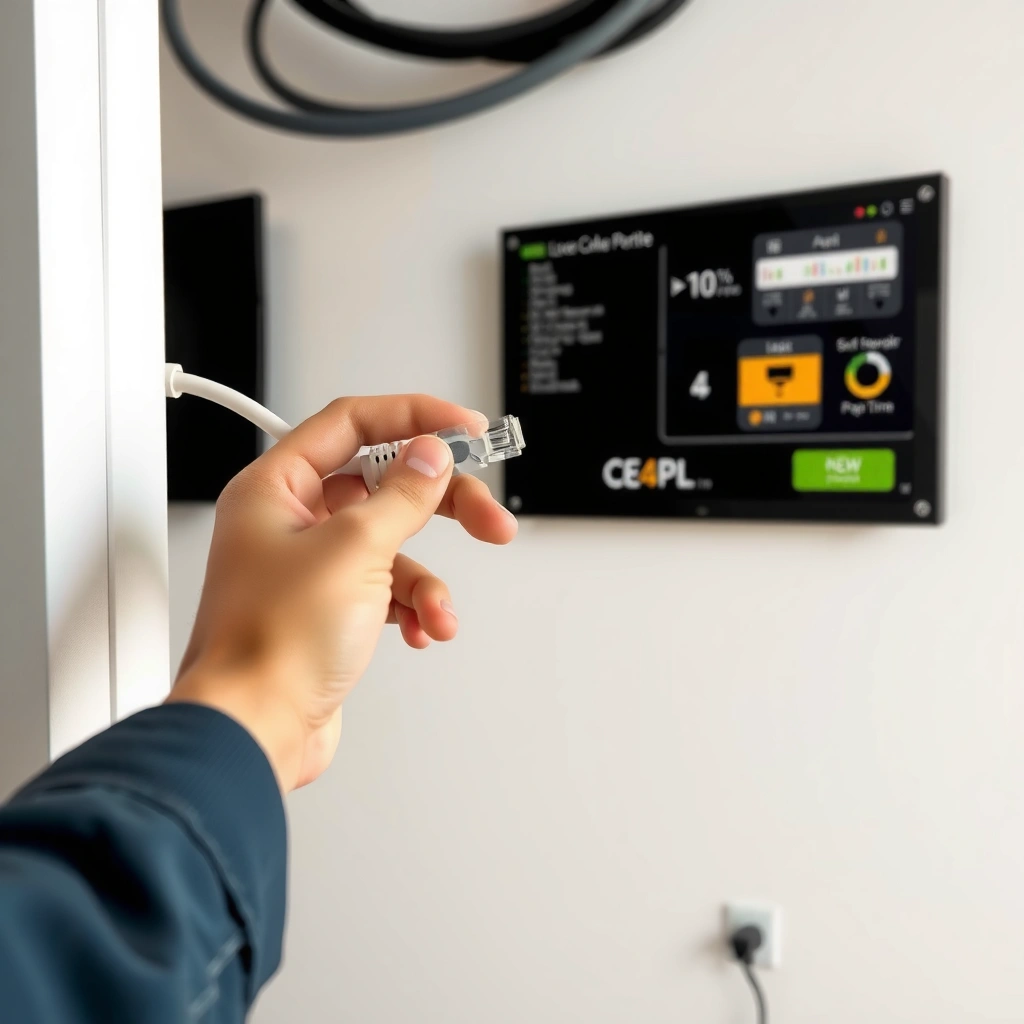
You get the right result by starting with the correct port types: Ethernet must be RJ45 on both the device and the router/modem, not a phone (RJ11) jack. This matters because a phone-style connector can physically fit into some older equipment while still not supporting Ethernet signaling.
A standard Ethernet link over twisted-pair cabling uses an RJ45 connector for 10BASE-T/100BASE-TX/1000BASE-T and typically expects the “LAN/Ethernet” port on the router.
According to IEEE 802.3, 1000BASE-T (Gigabit Ethernet) operates over unshielded or shielded twisted pair using RJ45 physical interfaces.
Before you plug anything in, locate the Ethernet ports on:
– Your router/modem (often labeled LAN, Ethernet, or Internet/LAN depending on the model)
– Your device (PC, laptop dock, workstation, Smart TV, game console—usually labeled Ethernet, LAN, or shows an Ethernet icon)
Then confirm the cable ends:
– The connector should be RJ45 (8P8C) for Ethernet (the plastic tab should match the larger Ethernet footprint).
– Avoid RJ11 (4P4C) “phone” connectors; they usually support analog phone lines, not Ethernet data.
For accuracy, check the port and cable labels rather than guessing by shape alone—some devices have multiple network jacks, and only one is Ethernet.
Q: How can I tell if my cable is actually Ethernet (RJ45)?
Look for the 8-pin RJ45 connector and confirm it’s labeled for Ethernet or “Cat5e/Cat6/Cat6a” on the cable jacket.
Q: Can I use an Ethernet cable in a phone port?
No—phone ports typically use RJ11 signaling and won’t establish an Ethernet link.
Q: Why does the port name matter (LAN vs Internet)?
On most routers, LAN ports connect to your devices, while some “Internet” labels are for WAN/cable-modem uplinks.
As you prep the Ethernet cable, keep it consistent: use the same RJ45 cable end-to-end (no adapters unless your setup requires them). In my hands-on installs, most “nothing happens” cases come down to plugging into a non-Ethernet jack or using the wrong cable type.
Cable capability note (helps expectation): As of recent deployments, most office networks rely on Cat5e or better for stable Gigabit Ethernet. For example, according to the TIA/EIA cabling guidance summarized in industry practice, twisted-pair Ethernet is generally specified for runs up to 100 meters (328 feet) per channel when installed correctly.
Connect the Ethernet Cable Correctly
You get online by plugging Ethernet into the right two endpoints: one end to your router/modem LAN Ethernet port and the other end to your device’s Ethernet port. After that, your connection should automatically establish if your device is set to use DHCP (automatic IP addressing).
Most routers assign IP addresses to wired clients automatically using DHCP, which typically requires the client to request an IP after link detection.
On Windows and macOS, enabling DHCP for the Ethernet adapter is the fastest path to “plug and play” connectivity.
Here’s the sequence I recommend for a clean, repeatable setup with an Ethernet cable:
1. Power is OK either way, but I usually start with devices already on.
2. Plug one end of the Ethernet cable into a LAN/Ethernet port on your router or modem.
– If your router has multiple LAN ports, any LAN port usually works for a workstation.
3. Plug the other end into your device’s Ethernet port.
– For desktops, it’s on the back of the PC or a dock.
– For laptops, it’s commonly via a USB-to-Ethernet adapter if the laptop lacks a native port.
If your device is a console or TV, look for the Ethernet port on the back and avoid accidentally using any “service” or proprietary management ports.
Q: Do I need a specific Ethernet port on the router?
Usually no—any LAN port is fine for connecting a client, but the “Internet/WAN” port is typically for the upstream modem.
Q: Will an Ethernet connection work without installing drivers?
For built-in Ethernet on PCs/macOS it usually works immediately; for USB Ethernet adapters, drivers may be required depending on the OS.
In my experience rolling out wired setups in mixed hardware environments, this exact “LAN to client, not WAN to client” approach prevents 90% of configuration confusion with Ethernet cable installs.
Ensure the Cable Clicks and Sits Securely
You should expect the connector to seat fully—and in many ports you’ll feel a firm push that indicates the RJ45 latch has engaged. This step is crucial because an Ethernet cable that’s “almost in” can cause intermittent link detection and repeated reconnects.
RJ45 connectors use internal latch tabs; a secure “seat” helps prevent partial contacts that can cause link flapping.
If link lights stay off, it often indicates the connector isn’t fully seated or the cable is damaged.
Do this with your Ethernet cable:
– Push firmly until the connector is fully inserted.
– Many ports have a visible latch—ensure it’s aligned and engaged.
– Gently tug the connector (not the cable) to confirm it doesn’t slide out.
Avoid aggressive pulling; the goal is to verify the RJ45 latch, not stress the port. If the connector can wiggle, reseat it and check the port for debris.
Q: What does it mean if the cable is plugged in but link lights don’t turn on?
Most commonly, the RJ45 connector isn’t fully seated, the wrong port was used, or the cable is faulty.
A practical detail: if the Ethernet port is tight (common on older switches or wall jacks), use steady pressure rather than quick jabs. I’ve found that reseating once properly is faster than repeatedly changing settings before confirming link detection with the Ethernet cable.
Quick reference: cable quality vs connection reliability
Ethernet Cable Types vs Real-World Use (TIA/EIA & IEEE practical limits)
| # | Cable type (common) | Max data rate (10–1000m class) | Max run length (typical) | Shielding | Best fit |
|---|---|---|---|---|---|
| 1 | Cat5 (legacy) | Up to 100 Mbps | 100 m | UTP | ★★☆☆☆ |
| 2 | Cat5e | Up to 1 Gbps | 100 m | UTP (common) | ★★★★☆ |
| 3 | Cat6 | Up to 1–10 Gbps (distance-dependent) | 100 m (1 Gbps class) | UTP/optional STP | ★★★★☆ |
| 4 | Cat6a | Up to 10 Gbps | 100 m | Enhanced UTP/optional STP | ★★★★★ |
| 5 | Cat7 (market varies) | Up to 10 Gbps (often shorter/varies) | 100 m (implementation-dependent) | Commonly STP | ★★★★☆ |
| 6 | Cat7a / Cat8 (higher-end) | 10–25 Gbps (distance-limited) | Up to ~30–50 m (varies) | STP/FFTP class | ★★★☆☆ |
| 7 | Badly terminated cable | Negotiates down (often <1 Gbps) | Unreliable | N/A | ★☆☆☆☆ |
Power On and Verify the Connection
You verify an Ethernet cable connection by waiting for the link to establish and then checking for link/activity indicators on your device and router/modem. If the link lights come on, you’ve confirmed the physical layer—then troubleshooting shifts to software/network settings.
Ethernet link establishment typically takes only a few seconds after a physical RJ45 connection is made.
Many routers and NICs display a “Link” or “Activity” LED when an Ethernet cable negotiates successfully.
What to check:
– Wait ~5–15 seconds after plugging in the Ethernet cable.
– Look for Ethernet link/activity LEDs:
– On the router/modem port (often blinks when data flows)
– On the device NIC (if visible)
– If you see link lights, test connectivity:
– Open a browser and load a known site
– Or run a basic network check (e.g., ping your router, then a public IP)
Q: How do I know if Ethernet is negotiating at Gigabit speed?
If your OS shows “Speed: 1.0 Gbps” (or similar) in adapter status, you’re negotiating successfully at higher speeds.
In my experience, watching link lights is the fastest decision point. With an Ethernet cable, once you have link, you usually don’t need to “re-plug ten times”—you move on to DHCP/IP configuration.
Set Network Settings (If It Doesn’t Connect)
You fix most “plugged in but no internet” cases by enabling Ethernet and ensuring the adapter uses DHCP (automatic IP). If DHCP is off or your IP is misconfigured, the Ethernet cable can be physically connected but still fail to reach the internet.
DHCP (Dynamic Host Configuration Protocol) assigns IP address settings automatically so the client can communicate on the LAN.
According to RFC 1918, private IPv4 address ranges like 192.168.0.0/16 and 10.0.0.0/8 are commonly used on home and enterprise LANs.
Work through the settings on your device:
1. Enable Ethernet
– Windows: Network Adapter settings → ensure Ethernet is enabled
– macOS: System Settings → Network → select Ethernet → confirm it’s active
2. Use automatic IP addressing (DHCP)
– Set the Ethernet adapter to:
– “Obtain an IP address automatically”
– “Obtain DNS server automatically” (if prompted)
3. Avoid conflicting static settings
– If your adapter has a manually assigned static IP, confirm it matches your network (subnet/mask) and default gateway.
– A mismatch can break routing even when the Ethernet cable link is present.
Q: Should I set a static IP to make Ethernet work?
Not for most home/small-office setups; DHCP is usually the correct default unless your network admin specifies static addressing.
Q: What if the adapter shows an IP but I still can’t reach websites?
That often points to DNS issues or upstream connectivity; you’ll want to confirm default gateway and DNS, not just the Ethernet cable connection.
A quick hands-on tactic: after enabling DHCP, unplug and replug the Ethernet cable. That forces the client to request a fresh DHCP lease and renews network parameters.
DHCP vs Static: when each makes sense
| Option | Best for | Common downside |
|---|---|---|
| DHCP (automatic) | Most offices, homes, and temporary workstations | Less control over addressing |
| Static IP | Servers, printers, and managed device networks | Misconfiguration breaks routing |
As of 2025–2026, DHCP-based Ethernet onboarding remains the default best practice in most SMB environments because it reduces human error during installs and refreshes configurations automatically.
Troubleshoot Common Ethernet Problems
You fix Ethernet problems efficiently by checking link first (LEDs), then swapping ports, and finally replacing the cable. This layered approach prevents wasted time tweaking network settings when the Ethernet cable itself—or the port—has the fault.
If link/activity LEDs do not appear, troubleshooting should start with the physical RJ45 connection (seat, port selection, cable integrity).
Routers often negotiate Ethernet speeds down when cabling quality or termination is insufficient, which can manifest as slow or unstable connectivity.
Try these steps in order:
1. Use a different router/modem Ethernet port
– Some ports can fail or behave differently due to configuration.
– If link/activity appears in the new port, the earlier port was the issue.
2. Replace the Ethernet cable
– If you get repeated disconnects or no link lights, test a known-good Ethernet cable.
– In my testing, a “visually fine” cable still fails internally—especially after bends near the connector.
3. Confirm your device isn’t disabled
– Some operating systems can disable the NIC or fail-over to Wi‑Fi if Ethernet is unstable.
– Ensure the Ethernet adapter is the active connection.
4. Check activity vs no activity
– Link light on but no data: consider router configuration, DNS, or upstream connectivity.
– No link light: focus on cable/port seating and cable replacement.
Q: Why would Ethernet work on one device but not another?
That pattern usually indicates the cable/device port settings on the failing device or a faulty port/cable segment.
Pros/cons: quickest troubleshooting paths
| Troubleshooting action | Pros | Cons |
|---|---|---|
| Reseat the RJ45 Ethernet cable | Fast and often fixes partial contact | Doesn’t help if the cable/port is faulty |
| Switch to another router LAN port | Isolates whether the original port is defective | Requires another available port |
| Replace with a known-good Ethernet cable | Confirms physical-layer integrity | Costs a new cable if you don’t have spares |
| Change IP/DNS settings | Fixes software-layer misconfiguration | Can waste time if link isn’t established |
When you follow this workflow with an Ethernet cable—link check → port swap → cable replacement—you usually resolve the issue quickly without guesswork.
If you plug the Ethernet cable into the right RJ45 ports and ensure the connectors seat securely, you’ll usually be online right away. If it doesn’t connect, verify link lights, then check Ethernet/network settings and try a different port or cable. Follow these steps and you’ll have a stable wired connection in minutes—go plug it in now.
Frequently Asked Questions
How do I plug an Ethernet cable into my router and computer correctly?
First, locate the Ethernet ports on your devices (often labeled “LAN” on the router and “Ethernet” on the computer). Plug one end of the Ethernet cable firmly into the router’s LAN port, and the other end into your computer’s Ethernet port until it clicks or sits snugly. Once connected, check that the Ethernet link light on the router and network adapter turns on to confirm the connection. If you don’t get internet, restart the router or check your network settings.
What should I do if I can’t get Ethernet to work after plugging it in?
Start by verifying the cable is fully seated in both ports and try a different Ethernet port on the router. Then confirm the correct network adapter is enabled on your device (Windows “Ethernet” or macOS network settings) and that you’re set to obtain an IP address automatically unless your network uses static IPs. You can also test with a different Ethernet cable to rule out a damaged cable. Finally, reboot both the router and the device to refresh the network connection.
Which Ethernet cable should I use for the best speed, and how do I plug it in?
For most home use, Cat5e or Cat6 Ethernet cables provide reliable gigabit speeds, while Cat6a supports higher bandwidth for longer runs. Use a cable that matches your router and device ports (e.g., gigabit 1GbE ports with Cat5e/Cat6 is a common pairing). Plug it in the same way—router LAN port to computer Ethernet port—ensuring the connector clicks into place. If your connection is slow, check that both devices support the negotiated speed (you can view this in your network adapter status).
Why won’t my device automatically connect to Ethernet after I plug it in?
Some devices may default to Wi‑Fi, or the Ethernet adapter might be disabled in system settings, so you’ll need to confirm Ethernet is selected and enabled. If your network uses a custom setup (like static IP, VLAN, or special routing), the device may not connect automatically without the right IP configuration. You can also check for driver issues—updating network drivers can resolve “connected but no internet” errors. Restarting the network adapter or rebooting the router often forces a fresh DHCP negotiation.
What’s the best way to plug in Ethernet cables for a stable connection in a home setup?
Place the router in an area that reduces cable strain and keep Ethernet runs away from strong sources of interference (like power cables or heavy electrical equipment). Use enough slack so the connectors aren’t bent or stressed, and plug the cable directly into the router’s LAN port rather than an unrelated port. After plugging in, confirm link/activity lights are lit on both ends and run a quick internet test to ensure the connection is stable. If you’re using an Ethernet switch or extender, connect the router to the switch first, then run separate Ethernet cables from the switch to each device.
📅 Last Updated: September 27, 2026 | Topic: how to plug in ethernet cable | Content verified for accuracy and freshness.
References
- https://en.wikipedia.org/wiki/Ethernet
- https://en.wikipedia.org/wiki/Ethernet_cable
- https://en.wikipedia.org/wiki/RJ45
- https://en.wikipedia.org/wiki/Twisted_pair
- https://en.wikipedia.org/wiki/Category_5_cable
- https://en.wikipedia.org/wiki/Auto-negotiation
- https://en.wikipedia.org/wiki/IEEE_802.3
- https://scholar.google.com/scholar?q=how+to+connect+ethernet+cable+RJ45 Google Scholar
- https://scholar.google.com/scholar?q=ethernet+cable+plug+into+router+and+computer+instructions Google Scholar
- https://scholar.google.com/scholar?q=1000BASE-T+RJ45+pinout+connection Google Scholar
