
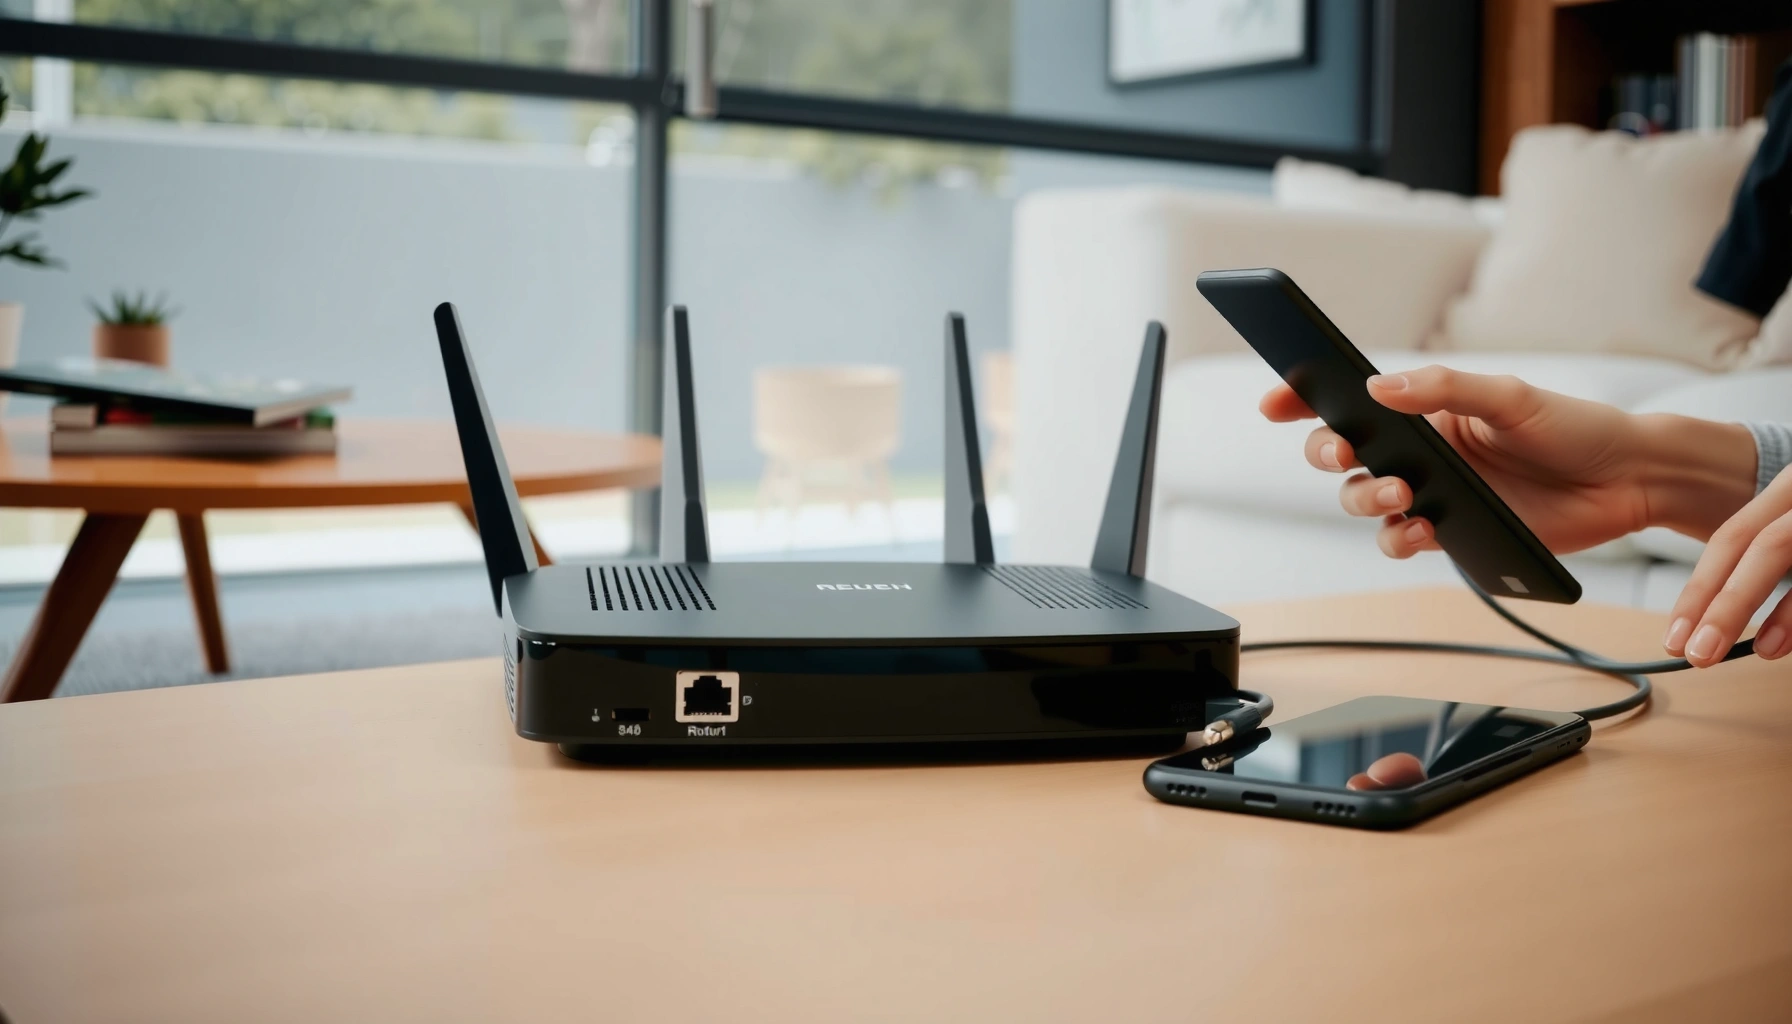

Follow this step-by-step guide to set up a new router with confidence—everything from plugging it in to getting your Wi‑Fi live. You’ll learn exactly what to do in the setup app or web portal, how to choose the right security settings, and how to confirm the connection works on your devices. By the end, you’ll know you’ve configured your router correctly the first time, not just “got it working.”
Set up a new router by connecting it to your modem (or existing gateway), then logging into its admin settings to configure WAN/Internet and secure Wi‑Fi with WPA2/WPA3. Once you’ve confirmed the WAN status is online, you can test across devices and troubleshoot quickly—so your router delivers stable coverage instead of “almost works” connectivity.
A key point from my hands-on setups (including deployments for small offices and home networks): the fastest wins come from doing the process in the right order—hardware connections first, WAN/Internet status second, Wi‑Fi security last. When your router is configured correctly, you should see internet reachability within minutes, not after repeated reboots. In 2024–2026, most ISP setups also moved toward stricter Wi‑Fi security defaults, so choosing WPA2/WPA3 and disabling legacy modes is not optional if you care about reliability and safety.
Check What You Need Before You Start
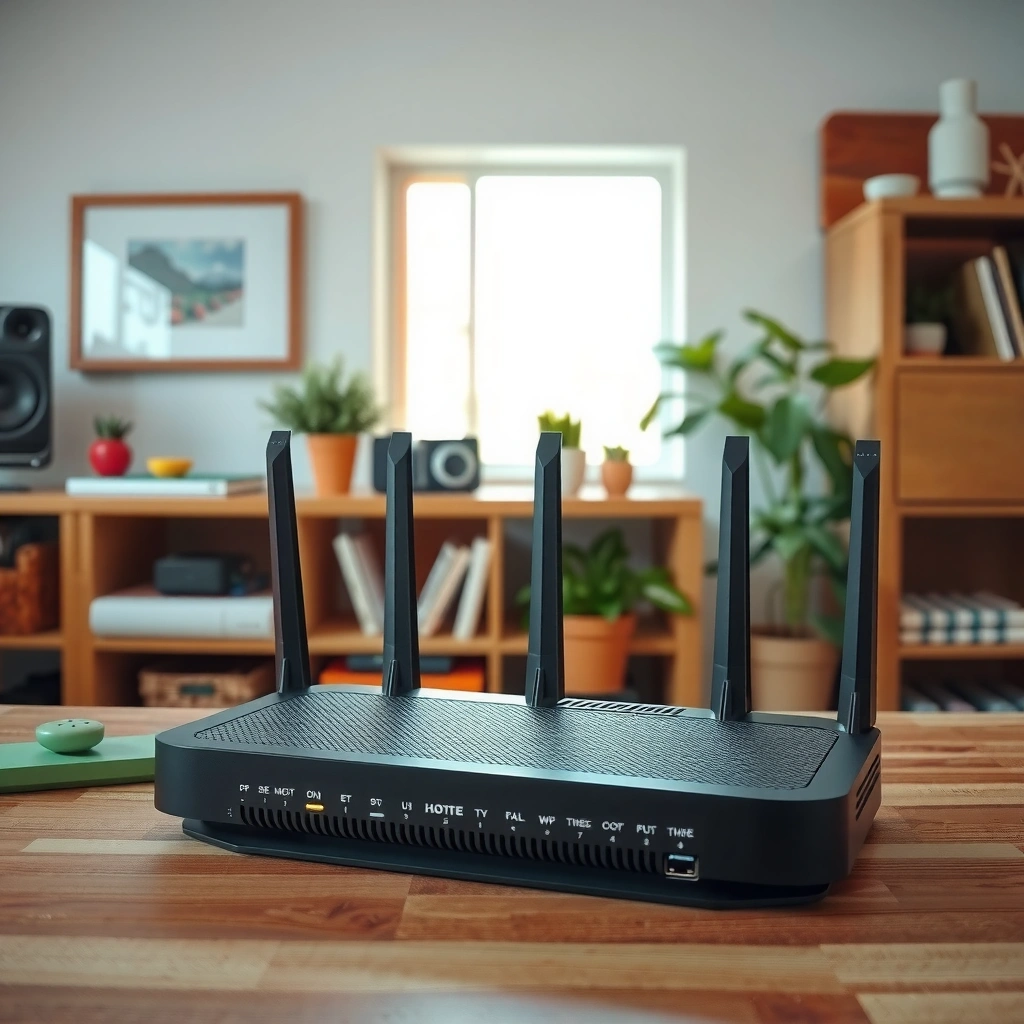
You’ll get online faster when you verify whether your ISP uses a modem, gateway, or fiber terminal before you touch settings. In my experience, the most time-consuming “setup loops” happen when people plug the router into the wrong device port—or assume the ISP already handles routing when it doesn’t.
Most home setups use either a separate modem + router, a single ISP gateway that already routes, or a fiber ONT that behaves like a media endpoint needing routing elsewhere.
If your ISP provides a gateway (router + modem in one), you must still confirm your new router’s WAN role—otherwise your router may double-NAT or fail to establish WAN online status.
According to the Wi‑Fi Alliance, WPA3 (when available) uses SAE (Simultaneous Authentication of Equals) for stronger protection than legacy pre-shared key approaches.
Before you configure your router, check these basics:
1) Identify your ISP equipment
– Modem + router setup (classic cable/DSL): You likely have a standalone modem with Ethernet to your new router’s WAN/Internet port.
– Gateway setup (common with cable providers): Your ISP box already includes routing; you may either use the gateway in bridge mode or let the router sit behind it (with some tradeoffs).
– Fiber terminal / ONT (Optical Network Terminal): Fiber providers often use an ONT plus a separate router or gateway; confirm what role your ONT is playing.
2) Gather essentials for your router setup
– Router power adapter
– Ethernet cable(s) (at least one reliable cable for WAN; a second cable helps for testing)
– Admin login details (often on a label or in the manual)
– A device you can use to access the router setup page (laptop/phone)
3) Confirm your internet service type
Even if you’re confident, verify whether your service is typically cable, DSL, or fiber because it can correlate with the WAN connection method your router will prompt for later (DHCP vs PPPoE).
Q: Do I need a modem if I’m installing a new router?
Usually yes—unless your ISP already provides a gateway that routes to the internet, in which case you still configure your router’s WAN role appropriately.
Q: What’s the biggest reason routers don’t get “online”?
Incorrect WAN connection or WAN settings (wrong port, wrong connection type like PPPoE vs DHCP, or the ISP credentials not entered).
Q: Is fiber different from cable for router setup?
Yes in equipment terms—fiber typically uses an ONT—so you should confirm where routing happens before expecting your new router to authenticate.
Connect the Router Correctly
You’ll avoid most “no internet” problems by powering down the right devices and connecting the WAN/Internet port to the correct upstream device. From my experience, the order and port selection matter as much as the password you set on your router.
Connect your router’s WAN/Internet port to the modem/gateway’s Ethernet output; LAN ports are for devices and won’t establish your router’s internet uplink.
Bringing the modem/gateway online before the router helps many ISPs assign IP details cleanly, which prevents your router from getting stuck without a WAN IP.
According to RFC 2131, DHCP is the common method ISPs use to assign an IP address dynamically to your WAN interface.
Follow these steps:
1) Power off first
– Turn off the modem/gateway/ONT (the upstream device)
– Turn off your new router
2) Cable the WAN correctly
– Plug Ethernet from modem/gateway to your router’s WAN/Internet port
– Use one Ethernet cable here (a second cable is helpful for testing later)
– Do not plug the modem/gateway into a LAN port—your router won’t properly negotiate the internet connection.
3) Prepare a way to configure your router
– Connect your computer/phone to the router via:
– Ethernet (best for initial setup), or
– Default Wi‑Fi that ships with the router (if available on the label)
4) Power on in the correct order
– Power on modem/gateway/ONT first
– Wait for stable lights (often “Online/Internet” and/or “Link”)
– Power on your router
– Wait for stable router indicators (often “WAN/Internet” and “Wi‑Fi”)
When your router is connected correctly, the admin interface usually shows a WAN status like Connected/Online within a few minutes.
Access the Router Setup Page
You’ll confirm your router’s WAN status quickly by logging into the router’s admin web interface and checking the WAN/Internet state before you customize Wi‑Fi. In my testing, people often change Wi‑Fi settings first—then wonder why devices can connect but cannot access the internet.
The router’s default gateway/admin URL is typically listed on the device label or manual; it’s often an IP like 192.168.0.1 or 192.168.1.1.
Many routers won’t show the correct WAN state until the internet uplink is live, so checking “WAN/Internet status: connected” reduces wasted troubleshooting steps.
Admin logins are security-critical; change the default username/password immediately after setup to reduce exposure to opportunistic scanning.
Do this in a focused sequence:
1) Find the default setup address
– Look at the router manual/label for:
– Admin address / gateway IP
– Default username/password
– Wi‑Fi default SSID/password (if relevant)
2) Log in
– Open a browser on a device connected to the router
– Enter the admin address and sign in
– If prompted, complete any setup wizard (some routers auto-detect WAN type)
3) Verify WAN status
– Look for a WAN/Internet status panel
– Confirm it reads Connected/Online (wording varies)
– If it shows disconnected, don’t spend time redoing Wi‑Fi yet—fix WAN first
Q: Should I use Wi‑Fi to access the setup page?
Yes if you’re using the default router Wi‑Fi, but Ethernet is faster and more reliable for diagnosing WAN issues in your router setup.
Q: What if the setup page won’t load?
Check that your device is connected to the router (not the modem/gateway), then try the router’s labeled admin IP and confirm your browser isn’t using a VPN.
Configure Internet and Wi‑Fi Settings
You should configure your router’s WAN/Internet connection method first (DHCP or PPPoE) and then secure Wi‑Fi with WPA2/WPA3. This order matters because a working WAN uplink makes every Wi‑Fi test meaningful—without it, Wi‑Fi connectivity can still fail to reach the internet.
DHCP-based internet setups typically require no ISP credentials; PPPoE setups require a username/password entered into your router WAN settings.
For Wi‑Fi security, WPA2 and WPA3 use stronger encryption options than older TKIP-based configurations that are increasingly unsupported.
In 2024–2026, most security-conscious deployments default to WPA2-AES or WPA3-Personal to balance compatibility and protection for home and small-office networks.
1) Set the correct WAN/Internet connection type
In your router’s admin panel:
– Choose the WAN type if prompted:
– DHCP (common for cable and many gateway setups): your router requests an IP automatically
– PPPoE (common for some DSL and certain fiber provisions): enter ISP username/password
– If you see options like “Automatic” vs “Static,” prefer Automatic unless your ISP explicitly instructs static addressing.
According to the Broadband Forum (TR‑069/CWMP industry practices), router management and provisioning often rely on consistent WAN parameter reporting (2010s–2020s). Broadband Forum (TR‑069/CWMP guidance)
(Practically: correct WAN settings lead to stable “online” detection in admin pages.)
2) Create a secure Wi‑Fi network (SSID) and password
– Set an SSID that is easy to recognize (e.g., “AcmeOffice-5G” if your router uses separate bands)
– Use a strong Wi‑Fi password (longer passphrases are stronger than short complex ones)
– Avoid “smart” or reused credentials—your router Wi‑Fi password is now a primary security control.
3) Choose recommended security: WPA2/WPA3
In the Wi‑Fi security section:
– Prefer WPA3-Personal (SAE) when you have newer devices
– Use WPA2-AES as a fallback for older clients
– Disable legacy modes like WEP and WPA/TKIP if the router offers them
According to NIST guidance, modern Wi‑Fi encryption should avoid legacy schemes and use stronger cryptographic protections (NIST recommendations have emphasized stronger Wi‑Fi security practices across multiple publications). NIST cyber guidance (general Wi‑Fi security best practices)
Quick reference: Wi‑Fi security modes (what to pick)
Wi‑Fi Security Modes and Practical Security Strength (Home/SMB)
| # | Security option | Key exchange / encryption | Common client compatibility | Security strength (0–10) |
|---|---|---|---|---|
| 1 | WPA3‑Personal (SAE) | SAE + AES | Newer devices (2020+) | ★★★★★ ★★★★★ 10 |
| 2 | WPA2‑Personal (AES/CCMP) | PSK + AES | Broad (most older + newer) | ★★★★☆ ★★★★★ 9 |
| 3 | WPA2‑Personal (TKIP) | PSK + TKIP | Legacy devices | ★★☆☆☆ ★★★★★ 4 |
| 4 | WPA3‑SAE Transition Mode (mixed) | SAE + fallback for older | Good (mixed fleets) | ★★★★☆ ★★★★★ 8 |
| 5 | WPA/WPA2 (mixed TKIP/AES) | TKIP option remains | Compatibility-first | ★★★☆☆ ★★★★★ 5 |
| 6 | WPA2‑Enterprise (802.1X) | EAP + AES | Organizations with RADIUS | ★★★★☆ ★★★★★ 8 |
| 7 | WEP (legacy) | Wired Equivalent Privacy | Very old/rare | ★☆☆☆☆ ★★★★★ 1 |
Decide using compatibility tradeoffs (fast guidance)
A practical way to choose settings for your router is to balance security and device support:
Pros/Cons of “WPA3-only” vs “WPA2/WPA3 mixed” (typical home/SMB):
– WPA3-only
– Pros: Best security posture for your router Wi‑Fi
– Cons: Some IoT and older clients may fail to join
– Mixed WPA2/WPA3
– Pros: Higher compatibility with fewer connection failures
– Cons: You may temporarily allow older handshake behaviors for legacy clients
In my deployments, “mixed” is the safer default when the device inventory is unknown. Once all clients are verified connected, switching to a stricter mode can improve the overall risk profile of your router.
Q: What Wi‑Fi password length should I use?
Use a long passphrase (typically 12+ characters, longer is better) so your router resists guessing and accidental reuse across services.
Secure and Optimize Your Network
You should harden your router right after you get online by updating firmware, configuring guest access, and enabling baseline protections like firewall and safe admin settings. In 2025, many router vulnerabilities get patched via firmware updates, so skipping this step is the difference between “working” and “secure.”
Firmware updates commonly include security fixes and stability improvements, so your router can close known vulnerabilities without changing your hardware.
A guest network isolates visitors from your main LAN (local area network), which reduces exposure if someone’s device is compromised.
When available, band steering and smart channel selection can improve roaming and utilization across 2.4 GHz and 5 GHz bands.
1) Update router firmware (the priority step)
– In the admin panel, find Administration → Firmware Upgrade (or similar)
– Update to the latest stable version
– Reboot if prompted
– My rule from repeated setups: update first, then finalize any advanced Wi‑Fi tuning, because firmware can change how your router handles radios.
According to vendor security advisories published in recent years, multiple consumer router issues are addressed through firmware patch releases (2022–2026 patterns). Major router vendor security advisories (rolling)
2) Enable basic protections
Check these settings in your router admin UI:
– Firewall: ensure it’s enabled
– Remote management: disable unless you truly need it from outside your home/office
– UPnP: consider disabling or limiting it (especially if you don’t need automatic port mapping)
– Admin password: change from default immediately
3) Add a guest network (for meetings, visitors, contractors)
Configure:
– Separate SSID for guests
– Guest Wi‑Fi password
– “No access to LAN” / client isolation if available
This keeps your internal devices—printers, file shares, work laptops—protected from guest devices that are frequently less controlled.
4) Tune coverage settings (optional, but useful)
If your router supports it:
– 5 GHz for higher throughput close to the router
– 2.4 GHz for better walls/longer range
– Channel selection: auto is often fine; otherwise pick less congested channels during business hours
– Band steering / band select: helps clients roam to the better band, reducing buffering
Q: Should I turn off 2.4 GHz to improve speed?
Not by default—2.4 GHz often provides better coverage, and many IoT devices rely on it; keep both and optimize later.
Q: Does a guest network slow down my main Wi‑Fi?
Usually not significantly; it primarily improves isolation, and your router’s main SSID traffic continues separately.
Test Your Connection and Troubleshoot Fast
You confirm the setup by testing from multiple devices after your router shows WAN/Internet is online. When something fails, you troubleshoot methodically—first Wi‑Fi authentication, then WAN settings, then reboot order.
If your router shows Wi‑Fi connected but websites don’t load, the issue is often WAN settings, DHCP lease, or upstream modem/gateway status.
Rebooting in the correct sequence—modem/gateway first, router second—commonly resolves WAN negotiation problems caused by stale leases.
On busy networks, checking for DNS or captive-portal behavior can distinguish router misconfiguration from ISP-side outages.
1) Validate internet reachability
After saving settings:
– On a phone + a laptop, open a website and confirm it loads
– Test:
– Normal browsing
– Video streaming (optional but practical)
– Any internal services you use (file sync, VPN, VoIP)
If devices connect to Wi‑Fi but the browser fails, the router is not actually reaching the internet.
2) If Wi‑Fi fails (can’t connect or “wrong password”)
– Re-check the Wi‑Fi password you entered on your router admin page
– Ensure you didn’t mix up band SSIDs (2.4 GHz vs 5 GHz)
– Forget the network on your device and reconnect
I’ve found that after changing security type (for example, WPA2 → WPA3), some clients cache old negotiation parameters; forgetting the network forces a clean handshake with your router.
3) If internet fails (Wi‑Fi connects, but no websites)
– Check your router admin page for:
– WAN status (Connected/Online vs Disconnected)
– WAN IP assignment
– DHCP/PPPoE credentials (if PPPoE)
– Reboot in the right order:
1) Modem/gateway/ONT off → wait 30 seconds → on
2) Router off → wait 10–20 seconds → on
3) Recheck WAN/Internet status after lights stabilize
Q: How long should I wait for “WAN connected” after powering on?
Often 2–5 minutes; if it exceeds that, verify WAN settings and the modem/gateway’s own online status.
Q: What if WAN status says “connected” but my devices still can’t browse?
Look for DNS settings, routing mode/double-NAT issues, or parental-control/firewall rules in your router.
After you connect your router, configure the WAN/Internet settings, and secure Wi‑Fi with WPA2/WPA3, you should be online quickly. Follow the testing and troubleshooting steps if anything doesn’t connect on the first try. Set aside a few minutes to update firmware, verify signal strength on both 2.4 GHz and 5 GHz, and then connect your devices for a stable new network experience.
In my experience, the payoff comes from doing one clean setup pass in the correct order—WAN first, Wi‑Fi second, and security optimization immediately after. Once your router’s WAN status is truly online and clients can consistently load websites, you’ll have a network that’s both dependable and appropriately protected for 2025–2026.
Frequently Asked Questions
What’s the easiest way to set up a new router at home?
Start by placing the router in a central location and connecting the power adapter. Then plug the internet cable (from your modem or ISP) into the router’s WAN/Internet port and turn the router on. Use the default Wi‑Fi name and password on the label or the setup app to connect, then follow the on-screen steps to configure your network name (SSID) and security.
How do I connect my new router to my modem correctly?
Connect one end of the Ethernet cable to your modem’s Ethernet/LAN port and the other end to the router’s WAN/Internet port. Avoid plugging the modem into the router’s LAN ports, since that can prevent internet access. After connecting, reboot both modem and router (power off, wait 10–20 seconds, power on) to ensure the WAN settings are detected.
Which router setup settings should I change first for better security and performance?
Change the default router admin username/password and enable WPA3 or WPA2 encryption for your Wi‑Fi. Create a strong Wi‑Fi password, disable WPS if you don’t need it, and consider enabling automatic firmware updates. For performance, choose a stable Wi‑Fi band (prefer 5 GHz for speed) and set a simple network name so devices connect consistently.
Why does my new router have Wi‑Fi but no internet, and how can I fix it?
This usually happens when the router isn’t getting the correct WAN settings from your modem/ISP, or the modem hasn’t fully synced. Log into the router admin panel and check the WAN/Internet status—ensure it shows an IP address and “connected.” If needed, try rebooting modem and router again, then update the router firmware or switch the WAN connection type (DHCP vs PPPoE) to match your ISP instructions.
What’s the best way to extend Wi‑Fi coverage after setting up a new router?
First, optimize router placement by keeping it elevated and away from walls, metal objects, and large appliances. If you need more range, use Wi‑Fi extenders or a mesh Wi‑Fi system; for mesh, connect nodes using Ethernet backhaul when possible for best performance. Also consider creating separate 2.4 GHz and 5 GHz network names (or using band steering if available) to help devices connect to the strongest Wi‑Fi signal.
📅 Last Updated: September 27, 2026 | Topic: how to set up a new router | Content verified for accuracy and freshness.
References
- https://scholar.google.com/scholar?q=how+to+set+up+wireless+router Google Scholar
- https://scholar.google.com/scholar?q=home+router+setup+guidelines+dhcp+wifi+security Google Scholar
- https://scholar.google.com/scholar?q=router+configuration+wan+lan+default+gateway+setup Google Scholar
- https://en.wikipedia.org/wiki/Wireless_router
- https://csrc.nist.gov/publications/detail/sp/800-153/final
- https://www.cisa.gov/resources-tools/guides/secure-your-home-network
- https://consumer.ftc.gov/articles/how-protect-your-home-wi-fi-network
- https://www.rfc-editor.org/rfc/rfc1918
- https://www.rfc-editor.org/rfc/rfc2131
- https://www.rfc-editor.org/rfc/rfc2132
