To turn on your Dell monitor, first unpack it carefully and connect the power cable securely to both the monitor and a wall outlet. Make certain all display cables are attached properly to your computer. Locate the power button, which is usually on the bottom bezel or side. Press it firmly to power on. If it doesn’t turn on, verify connections are secure and check for any visible cable damage. There’s more to learn about troubleshooting if you encounter issues.
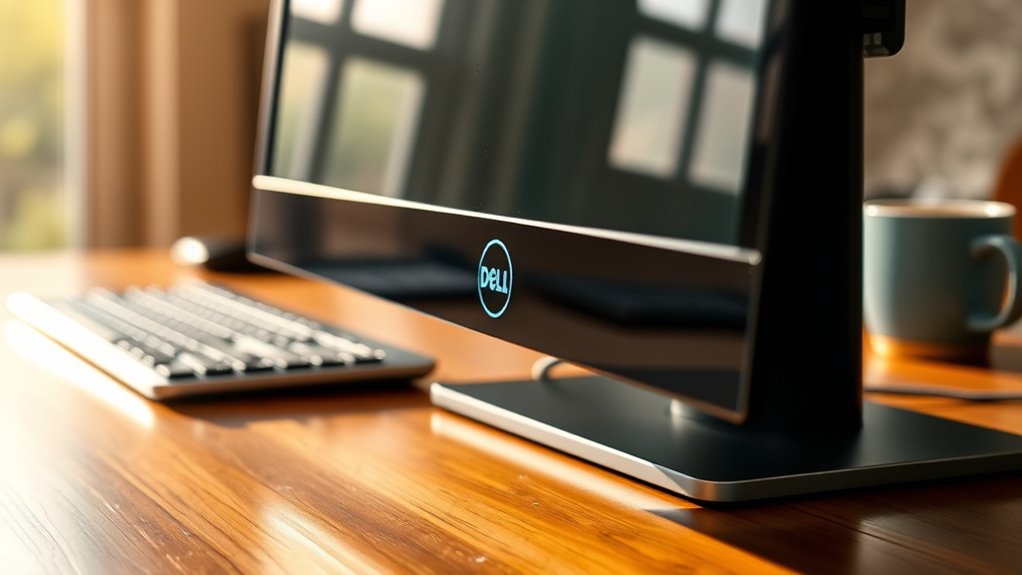
Unboxing Your Dell Monitor
Unboxing your Dell monitor can be an exciting experience, and it’s crucial to do it carefully. Start by finding a spacious area where you can lay the box flat. Gently cut the tape, and lift the top off, revealing your monitor and its components. As you remove each piece, take note of the monitor features, such as the screen size and resolution, which will enhance your viewing experience. Keep the protective materials nearby to avoid scratches. For assembly tips, confirm you have all parts, including the stand and cables. Follow the included instructions for easy setup. Remember to handle everything with care to maintain the monitor’s quality and avoid any damage during unboxing. Enjoy your new device!
Connecting the Power Cable
Before you can start enjoying your new Dell monitor, you need to connect the power cable. First, identify the power cable type that came with your monitor—most likely a standard C13 cable. Plug one end into the monitor’s power input and the other into a wall outlet or power strip.
Next, consider your cable management. To keep your workspace tidy, you might want to use cable ties or clips to secure the power cable alongside other cables. This not only prevents tangling but also enhances your setup’s aesthetic.
Once everything’s connected, verify the power switch is turned on, and you’re ready to power up your monitor and experience its features. Enjoy the freedom of a well-organized workspace!
Ensuring Proper Display Connections
To guarantee your Dell monitor displays properly, you’ll need to check that all display connections are secure. Start by inspecting your display cables to confirm they’re firmly attached to both the monitor and your computer. Here’s a quick checklist to follow:
- Verify cable types: Confirm you’re using the correct display cables (HDMI, DisplayPort, VGA).
- Check for damage: Look for frayed or bent cables that could affect performance.
- Adjust monitor settings: Make sure your monitor is set to the right input source.
- Reconnect if needed: Unplug and replug the cables to eliminate any loose connections.
Checking the Power Button
Now that you’ve confirmed your display connections are secure, it’s time to check the power button on your Dell monitor. Start by locating the button, as its position can vary by model. If your monitor isn’t turning on, you may need to troubleshoot the button’s functionality.
Locating the Power Button
Finding the power button on your Dell monitor is essential for getting it up and running. The power button placement varies depending on the model, but it’s usually easy to find. Here’s what to look for:
- Location: Check the bottom bezel or the side of the monitor.
- Design: Some models feature a physical button, while others may have a touch-sensitive panel.
- Indicator Light: Look for a small LED that lights up when the monitor is powered on.
- User Manual: If you’re still unsure, consult the user manual for specific guidance on your model.
Power Button Functionality
Checking the power button’s functionality is vital to confirm your Dell monitor operates correctly. Start by locating the power button, which may vary depending on monitor types. Once found, press it firmly to see if the monitor powers on. If it doesn’t respond, try pressing and holding the button for a few seconds. This verifies the button isn’t stuck or unresponsive. If your monitor has an LED indicator, check if it lights up when you press the power button. A functioning power button is essential for proper operation, so make certain it’s working as intended. If you notice any irregularities, you might need to explore further steps for confirming your monitor’s readiness.
Troubleshooting Power Button Issues
If the power button isn’t responding as expected, troubleshooting the issue can help determine the next steps. Start by performing a button responsiveness test to see if the issue is with the power button itself. Here are some steps you can take:
- Confirm the monitor is plugged into a working outlet.
- Check for any visible damage to the power button.
- Press the button firmly to see if it engages.
- If possible, try using a different power cable.
Verifying Power Source
Before you can power up your Dell monitor, it’s essential to verify that the power source is properly connected. Start by checking the power supply; confirm the cable is securely plugged into both the monitor and the wall outlet. If you’re using a power strip, make sure it’s turned on. Next, inspect the power cable for any damage or fraying that could affect performance. It’s also wise to check that the outlet is functioning by testing it with another device. Finally, make sure you have voltage stability—if you experience fluctuations, consider using a surge protector. Verifying a reliable power source will help your monitor operate smoothly and prevent potential issues down the line.
Adjusting Brightness Settings
To adjust the brightness on your Dell monitor, you’ll first need to access the brightness menu. Once you’re there, you can easily modify the brightness levels to suit your preference. Let’s walk through the steps to get it just right for you.
Accessing Brightness Menu
While adjusting your Dell monitor’s brightness settings might seem intimidating, it’s actually quite straightforward. To access the brightness menu, follow these simple steps:
- Press the Menu button on your monitor.
- Navigate using the directional buttons to find “Brightness” in the monitor display settings.
- Select the brightness adjustment methods you prefer.
- Confirm your selection to apply the changes.
Adjusting Brightness Levels
Once you’ve accessed the brightness menu, adjusting the brightness levels on your Dell monitor is a breeze. You can easily tweak the settings to match your preference and enhance your viewing experience. Start by selecting one of the available brightness presets, which are designed to cater to different ambient lighting conditions. If you’re in a bright room, increase the brightness for clarity. Conversely, lower it in dim environments to reduce eye strain. You can also manually adjust the brightness slider until it feels just right. Remember, finding that perfect balance not only boosts your comfort but also lets you enjoy your content without distraction. So go ahead, customize those settings to fit your unique needs!
Restarting the Monitor
Restarting your Dell monitor can resolve various display issues and enhance performance. It’s a simple process, and you can choose from several monitor restart methods. Here’s how to do it:
- Power cycle the monitor by unplugging it for 30 seconds, then plugging it back in.
- Use the on-screen display (OSD) menu to find display reset options.
- For some models, hold the power button for about 10 seconds.
- Update your monitor’s firmware if a restart doesn’t fix the problem.
Troubleshooting Common Issues
If your Dell monitor isn’t turning on, there are a few common issues you can check. Start by ensuring the power connection is secure, then verify that the correct input source is selected. Finally, inspect the cables for any signs of damage that might be affecting the signal.
Power Connection Check
Before diving into more complex troubleshooting steps, it is essential to check the power connection of your Dell monitor. Ensuring a proper power connection can save you time and frustration. Here are some quick checks to perform:
- Inspect the power cable for any damage or loose connections.
- Ensure the power cable is securely plugged into both the monitor and the wall outlet.
- Check the power outlet by plugging in another device to confirm it’s functioning.
- Look at the monitor settings to see if the power-saving mode is activated.
Input Source Selection
Sometimes, your Dell monitor might not display anything simply because it’s not set to the correct input source. To resolve this, you’ll need to access the monitor’s display settings. Start by pressing the “Menu” button on your monitor. Navigate through the options using the arrow buttons until you find “Input Source.” Here, you can select the appropriate input—like HDMI, DisplayPort, or VGA—based on your connection. Once you’ve made your selection, confirm it, and exit the menu. If your monitor still doesn’t display, double-check the connections on both the monitor and your device. Ensuring the right input source is essential for a seamless experience, so take a moment to adjust these settings for ideal performance.
Cable Integrity Inspection
One common issue with Dell monitors is related to cable integrity, which can often lead to display problems. Making certain your cables are in good condition is essential for maintaining the best connection standards. Here’s what you should check:
- Inspect for visible damage on cable types, like HDMI or DisplayPort.
- Verify all connections are secure at both the monitor and the device.
- Test with different cables to rule out issues with a specific type.
- Check for interference from other electronic devices nearby.
Updating Monitor Drivers
Updating your monitor drivers is a crucial step to guarantee top performance and compatibility with your computer. Start by visiting the Dell support website. Search for your specific monitor model and download the latest driver updates available. Once downloaded, run the driver installation file. Follow the on-screen instructions to complete the installation. It’s important to restart your computer afterward to verify the changes take effect. Regularly check for driver updates to keep your monitor functioning at its best. You can also enable automatic updates through your operating system settings to simplify this process. By keeping your drivers up-to-date, you’ll enjoy a smoother experience and avoid potential issues, giving you the freedom to focus on what matters most.
Contacting Dell Support
If you encounter persistent issues with your Dell monitor, reaching out to Dell Support can provide the assistance you need. Their customer service is designed to help you troubleshoot and resolve problems efficiently. Here’s how to get the most out of your support experience:
- Gather Information: Have your monitor model and purchase details ready.
- Choose a Contact Method: You can reach them via phone, chat, or email.
- Be Clear and Concise: Clearly explain your issue to facilitate faster technical support.
- Follow Up: If the problem persists, don’t hesitate to reach out again.
Frequently Asked Questions
Can I Use a Dell Monitor With a Laptop?
Yes, you can definitely use a Dell monitor with your laptop. Just verify your laptop’s compatible ports match the monitor’s connection options, like HDMI or DisplayPort, and you’ll enjoy an expanded display experience.
What Should I Do if the Monitor Screen Is Blank?
When troubleshooting a blank screen, think of it as a locked door. Check connections, verify the monitor’s powered on, adjust brightness, and try a different cable. If still blank, consult the manual for further troubleshooting tips.
How Do I Change the Monitor Resolution Settings?
To change your monitor’s resolution settings, right-click on the desktop, select ‘Display options,’ and adjust the resolution slider. Choose your preferred resolution and click ‘Apply’ to save the changes. Enjoy your customized display!
Is There a Warranty for My Dell Monitor?
Yes, there’s a warranty for your Dell monitor. Check the warranty details in your purchase documentation. If needed, you can request a monitor replacement within the warranty period for any manufacturing defects or issues.
Can I Mount My Dell Monitor on the Wall?
Yes, you can mount your Dell monitor on the wall. About 70% of users prefer wall brackets for better space management. Just make certain you choose compatible mounting options and follow the installation instructions carefully.
