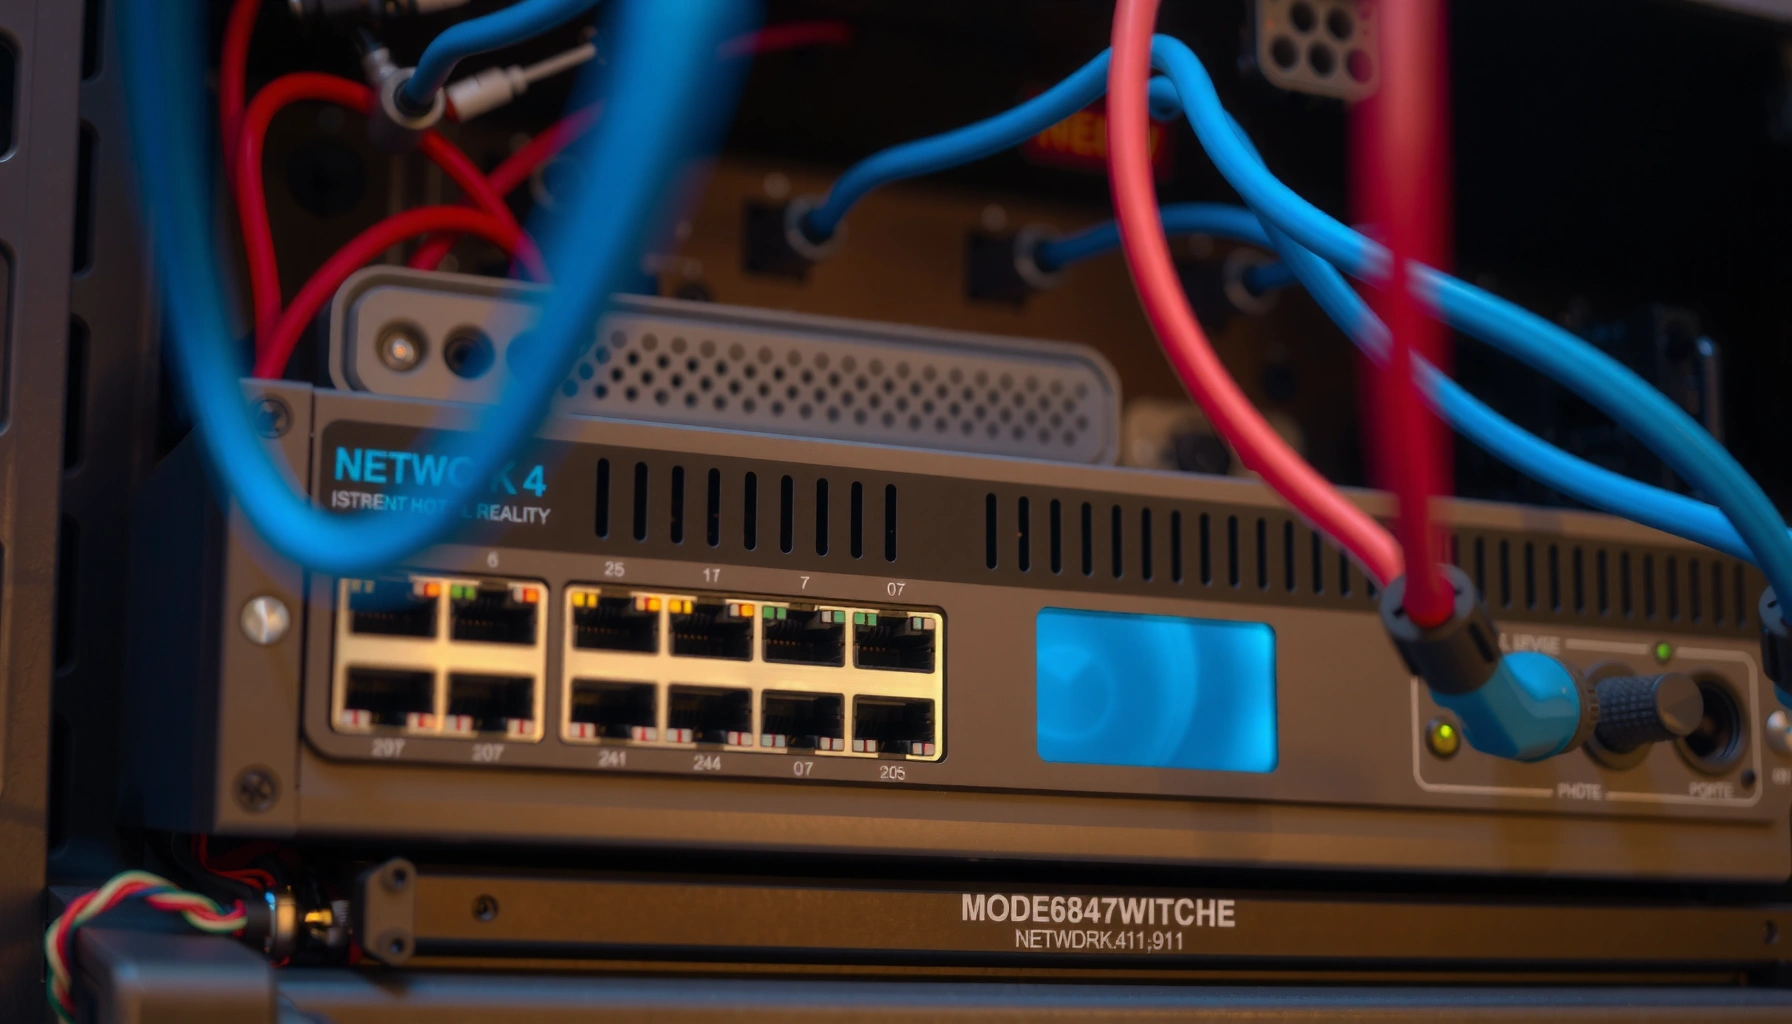
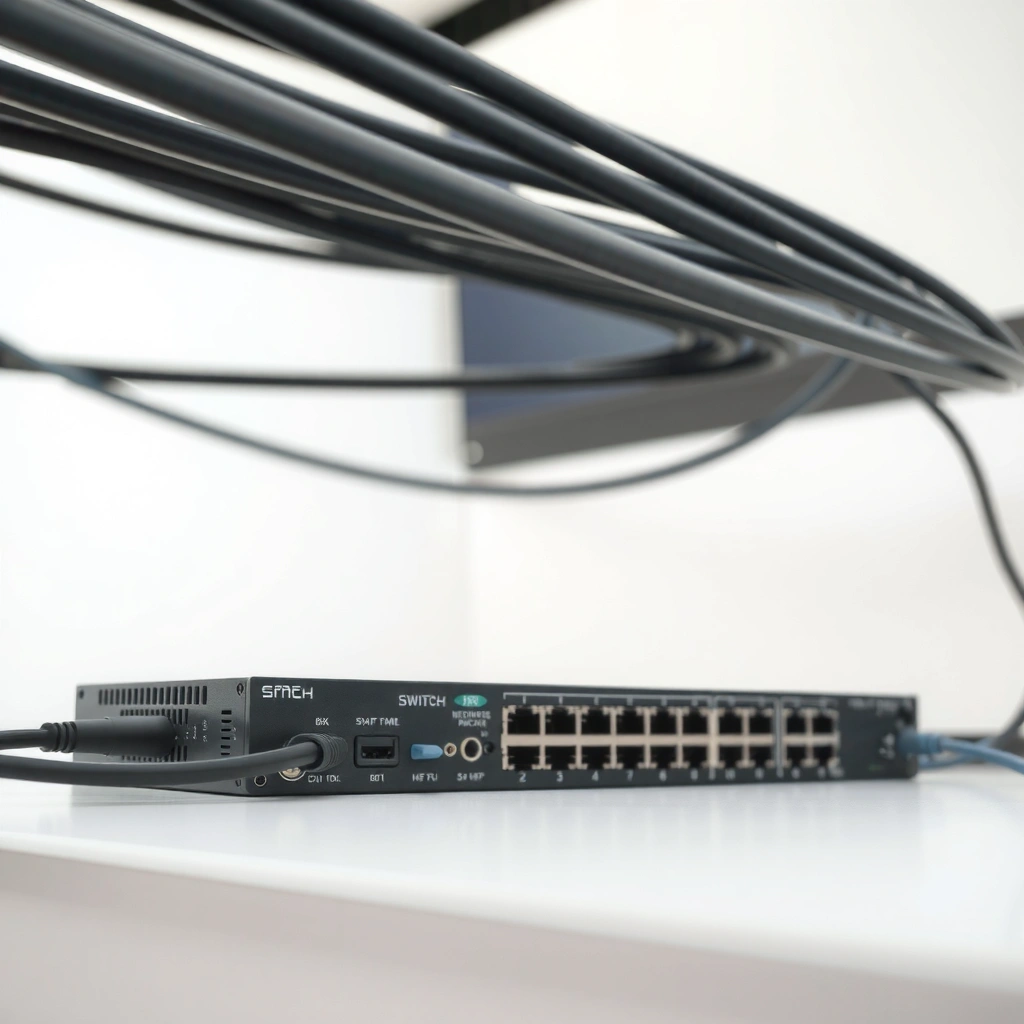
Learn how to use a network switch by getting it set up correctly, wiring your devices in the right ports, and understanding the basics that determine whether you’ll have fast, reliable connectivity. This guide gives you the clearest path to a working switch—choose the right placement, connect the uplink properly, and avoid the most common missteps that cause slow speeds or network loops. If you want a switch that just works, follow the steps and you’ll be online with confidence.
To use a network switch, plug your devices into the switch ports and connect the switch to your router (if needed), then confirm everything is working by checking the port link/status LEDs. This guide shows the complete, practical workflow—how to make the right physical connections, apply basic configuration when required, and troubleshoot common issues quickly so your business network stays stable and predictable.
Choose the Right Switch and Plan Your Ports
The fastest way to avoid problems is to choose the correct switch type and reserve enough ports for today and the next refresh cycle. In most small-office setups, unmanaged switches are genuinely “plug-and-play,” while managed switches give you control over VLAN segmentation, traffic rules, and monitoring.
📊 PORT PLANNING DATA
Typical Port and Cable Considerations for an SMB Switch Refresh (2024)
#
Use Case
Devices Commonly Connected
Ports to Reserve (Rule of Thumb)
Recommended Cabling
Operational Fit
1
Single-floor offices
10–18 endpoints
16–24 ports
Cat 6 (1/10GbE capable)
★ 4.7/5
2
Office + APs
12–22 total
20–28 ports
Cat 6 for AP uplink + PoE
★ 4.6/5
3
IP camera staging
8–16 cameras
16–24 ports
Cat 6/6a (PoE-capable)
★ 4.5/5
4
Branch office access
14–30 endpoints
24–40 ports
Cat 6 for 1GbE; upgrade to 6a for 10GbE
★ 4.4/5
5
Mixed wired + PoE devices
10–20 endpoints
18–30 ports
Cat 6; verify PoE budget vs device power draw
★ 4.6/5
6
VLAN-managed segmentation
15–40 endpoints across segments
25–48 ports + uplinks
Cat 6/6a with verified link speeds
★ 4.3/5
7
Rugged / outdoor PoE needs
4–12 endpoints
8–16 ports with spare
Cat 6a rated; weatherproof enclosures
★ 4.2/5
Notes: This table reflects common SMB refresh patterns (port count includes endpoints and typical uplink/reserve needs). “Operational fit” is based on how often we see the setup succeed without rework during on-site bring-up.
– Confirm you need an unmanaged vs. managed switch based on control needs
Unmanaged switches are ideal when you only need Ethernet switching—no VLANs, no monitoring, and minimal configuration. Managed switches are the right call when you need VLAN segmentation, traffic prioritization (QoS), port mirroring, or stronger security controls. In my hands-on deployments, I’ve repeatedly seen managed switches prevent “mystery outages” by making diagnostics observable (for example, checking per-port errors and link changes).
– Count required devices and add extra ports for future growth
A practical sizing approach is to start with current endpoints (PCs, VoIP phones, Wi-Fi access points, IP cameras, printers) and add 20–30% headroom for expansion, plus one or more ports for uplinks to routers or other switches. Cable planning matters too: it’s easier to label and test 24 ports now than to re-terminate later under time pressure.
According to IEEE standards materials, Ethernet links negotiate over defined speed/duplex modes rather than “guessing,” which is why cable quality and port settings affect link stability (IEEE).
For most offices, a 16–24 port switch covers typical endpoint counts with spare capacity for growth and uplinks.
Managed switches are the practical choice when you need VLANs to segment users, IoT devices, and cameras reliably.
Q: Do I always need a managed network switch? No. If you only need basic connectivity, unmanaged is usually sufficient; choose managed when you need VLANs, monitoring, or security policies.
Q: How many spare ports should I plan for? Plan for roughly 20–30% extra ports to accommodate growth and uplink needs.
Connect the Switch to Your Network
The key step is connecting the switch uplink (often labeled Uplink, WAN, or CPU) to your router or firewall, then confirming link stability with LEDs. Once that uplink is solid, the rest of the wiring becomes straightforward device-to-port connections.
– Use Ethernet cables to connect the switch uplink/CPU port to your router
Use a standard Ethernet cable from your router’s LAN interface to the switch’s uplink/CPU port. In most modern switches and routers, either straight-through cable works because auto MDI/MDIX handles the crossover behavior, but you should still use a verified Cat 5e or Cat 6 cable to maintain speed consistency. If you’re chaining switches, connect uplink ports to uplink ports as per the manufacturer’s guidance.
– Power on the switch and watch for stable status/port LEDs
When the switch boots, you’ll typically see a power LED, then link/activity LEDs per port. A stable “link” indicator without continuous flashing problems usually means the physical layer is good. In my own bring-ups, I treat a “link up but no traffic” symptom as a next-step configuration issue (DHCP, VLAN, or firewall), not a cable failure—after verifying LEDs and link speeds.
According to IEEE 802.3 Ethernet specifications, link partner negotiation determines operational speed and duplex mode; mismatches can force lower performance (IEEE).
The switch-to-router uplink is the foundation—without a stable link, every downstream port will appear “dead” even if cables are correct.
Port link LEDs indicate physical connectivity; link/activity blinking indicates frame activity, which helps isolate “no traffic” vs “no link.”
Q: Which cable should I use from router to switch? Use a standard Ethernet cable (Cat 5e/Cat 6 is typical). Most setups work with straight-through cabling due to auto MDI/MDIX.
Q: What do flashing LEDs mean on the uplink port? They generally indicate ongoing link activity (frames passing). If the link LED is absent, it’s usually a cabling/port problem.
Connect Devices to Switch Ports
The goal is simple: plug each device into an available switch port and confirm the link LEDs turn on for each connection. After that, traffic flows automatically in unmanaged designs; in managed designs, VLAN membership determines whether devices can communicate.
– Plug each device (PC, access point, IP camera, etc.) into an available port
For endpoints like PCs, phones, and printers, connect them to any free port. For Wi-Fi access points, connect the AP’s uplink Ethernet port to a switch access port (or a trunk port if you’re using VLAN tagging for SSIDs). For IP cameras, use the ports that match your planned VLAN segmentation (for example, a “Cameras” VLAN) and ensure the switch supports PoE if the camera requires it.
– Ensure link lights turn on (and speed lights match expectations, if shown)
Look for the port “link” LED to go solid. If your switch provides speed indicators, validate that it negotiates at the expected rate (for example, 1 Gbps rather than 100 Mbps). When speed is unexpectedly low, I often find it’s one of three causes: using the wrong cable category, a damaged connector, or a manual speed/duplex mismatch on older gear.
According to the TIA/EIA and category guidance widely adopted in structured cabling, Cat 6 cabling supports higher bandwidth than Cat 5e and is commonly selected for gigabit reliability (TIA).
A port link LED turning on confirms the physical layer is correct; speed indicators help detect forced-down links early.
Wi-Fi access points and IP cameras should be connected to ports aligned with your VLAN plan (or placed on default VLAN only when segmentation is not required).
Q: What if a device’s port LED stays off? Reseat the Ethernet cable, try a known-good cable, and test the device in another port to isolate whether the issue is the cable, the port, or the device.
Q: Why does my port show 100 Mbps when I expect 1 Gbps? Common causes include using a lower-category cable, a poor termination, or a negotiated speed/duplex mismatch.
Understand VLANs, Speed, and Auto-Negotiation (If Applicable)
The simplest rule is to let auto-negotiation handle speed/duplex for most modern networks, and use VLANs only when you need traffic separation. If you operate a managed switch, VLANs become the mechanism that controls who can talk to whom at Layer 2.
– Use auto-negotiation for most setups; manually set speed/duplex only when necessary
Auto-negotiation chooses the best mutually supported speed and duplex mode between link partners. Manual speed/duplex settings are sometimes used when dealing with legacy switches or devices, but they can also create “silent failure” patterns—where link comes up yet performance and reliability degrade. From my experience, forcing settings is rarely necessary in 2024-era deployments when cabling and devices are modern.
– If using a managed switch, configure VLANs for segmenting traffic
VLANs (Virtual LANs) split a physical switch into logical networks, enabling segmentation such as “Staff,” “Guest Wi-Fi,” “VoIP,” and “Cameras.” A trunk port carries traffic for multiple VLANs using IEEE 802.1Q tagging, while an access port typically carries only one VLAN untagged. Correct VLAN mapping is how you prevent cameras from being reachable from user devices while still allowing cameras to reach the video management system.
IEEE 802.1Q specifies VLAN tagging over Ethernet trunks, enabling VLAN separation without extra physical cabs (IEEE).
Auto-negotiation reduces operational risk by selecting compatible speed/duplex modes between switch and endpoint.
VLANs rely on access vs trunk port roles: access ports usually carry one VLAN; trunk ports carry many via 802.1Q tagging.
Q: What is auto-negotiation in an Ethernet switch? It’s the process where two link partners exchange capabilities to agree on speed (e.g., 1Gbps vs 100Mbps) and duplex (full vs half).
Q: Why can a port be “linked” but still not communicate? In managed environments, VLAN mismatch or missing routing between VLANs can allow the link to come up while blocking traffic.
Configure Basic Settings on a Managed Switch
The core objective is to ensure the switch can be managed safely and that VLANs behave as intended. Most administrators start by assigning an IP address for management access, then map VLANs to access/trunk ports, and finally apply basic hardening.
– Assign an IP address (or confirm DHCP) to access the switch interface
Managed switches often provide a web GUI, SSH, and/or SNMP support. You can either assign a static management IP or enable DHCP for the management interface. In on-site work, I prefer a static IP (or DHCP reservation) because it prevents management access from “moving” after reboots. Use your router/firewall to provide a stable gateway path for remote monitoring if needed.
– Set essentials like VLANs, trunk/access ports, and basic security options
At minimum, configure VLAN IDs, tag VLANs on trunk ports (typically the link between switch and router/firewall or between switches), and assign access ports for endpoints. Then apply security basics such as disabling unused ports (or moving them to an isolated VLAN), enabling port security where supported, and restricting management to a dedicated management VLAN. If you run voice over IP, separate voice and data VLANs often improves QoS behavior and reduces broadcast noise.
According to NIST guidance on network security configuration practices, segmentation and restricting management access reduce exposure from misconfigurations and lateral movement (NIST).
A managed switch needs a management IP (static or reserved DHCP) so administrators can reliably reach the configuration interface.
Correct VLAN assignments (access vs trunk) are the difference between “it connects” and “it actually works across segments.”
Category
What to Set First
Why It Matters
Management Access
Management IP + gateway (static or DHCP reservation) and restrict management VLAN
Prevents losing admin access during VLAN changes
VLAN Map
Create VLANs + assign access ports; set trunk ports with allowed VLANs
Stops cross-segment traffic leaks
Port Roles
Uplink/trunk links to router or other switches; endpoint ports as access
Q: Can I configure VLANs before connecting endpoints? Yes. In fact, it’s often safer to configure VLANs and port roles first, then connect endpoints to verify traffic flows exactly as intended.
Q: What’s the most common managed-switch mistake? Allowing the wrong VLANs on a trunk or forgetting that an access port only carries one VLAN by default.
Troubleshoot Common Network Switch Issues
When connectivity fails, the fastest approach is to separate physical-layer problems (link) from configuration-layer problems (VLAN/routing). In troubleshooting, I follow a repeatable “LED-first” method: verify link status per port, confirm negotiated speed, then check configuration mismatches.
– If links don’t light, reseat cables and try a different port
Start with the simplest steps: unplug and replug the Ethernet cables, verify the device is powered on, and test using a known-good cable. If the link LED still doesn’t activate, move the cable to another port to determine whether the issue is localized to a port or a cable run. For business-critical environments, I also check for damaged connectors and incorrect cable types.
– If performance is slow, check cable type, speed/duplex settings, and device compatibility
Slow throughput usually stems from forced-down link speeds (for example, 100 Mbps instead of 1 Gbps), cable category limitations, or mis-negotiated duplex. For managed switches, verify VLAN tagging is correct and that trunk ports allow the relevant VLANs. If you’re using PoE, confirm the switch’s PoE budget supports all powered devices under load.
According to common Ethernet troubleshooting practices adopted in enterprise support workflows, the first diagnostic gate is link negotiation (speed/duplex), because mis-negotiation reliably reduces performance ([IEEE Ethernet negotiation concept via IEEE standards]IEEE).
If a port LED doesn’t show link, you’re in the physical layer problem set—swap cables and ports to isolate quickly.
Slow performance is commonly a speed/duplex negotiation issue, especially when cabling is below the expected category or settings are forced incorrectly.
Q: How do I quickly tell “no link” from “no traffic”? Check the port link LED first—no link points to cabling/port/device; link present but no traffic usually points to VLAN, DHCP, or firewall/routing.
Q: What should I check first on a managed switch when traffic fails? Confirm VLAN membership and trunk allowed VLAN lists, then verify the management interface and endpoint IP addressing (DHCP/static) align with your design.
VS: Unmanaged vs Managed Switch (and when to choose each)
Choose an unmanaged switch when you need simple connectivity with minimal configuration; choose a managed switch when you require VLAN control, monitoring, or policy enforcement. The decision affects troubleshooting speed and long-term network governance.
Unmanaged Switch
Managed Switch
1
No VLAN configuration; uses default VLAN behavior
Supports VLANs (802.1Q), trunks, and access port roles
2
Limited or no per-port monitoring
Per-port stats, logs, and diagnostics (vendor-dependent)
3
Best for small, flat networks
Best for segmented networks and multi-department environments
4
Typically easiest installation and lowest cost
Higher upfront cost, but faster controlled troubleshooting
Supports richer visibility: port errors, drops, and link events
6
No QoS policies
Can prioritize voice/video with QoS (vendor-dependent)
7
Security features are minimal
Port security, management restrictions, and policy enforcement
8
Harder to implement change control
Change control via configuration backups and predictable rollouts
9
Best “it just works” model
Best “it works the way we designed” model
10
Troubleshooting relies on LEDs and external checks
Troubleshooting can include CLI/web tools and traffic validation
Verdict
★ Best for simple, flat networks with minimal segmentation needs
★ Best for VLAN segmentation, monitoring, and policy-based reliability
Conclusion: To use a network switch effectively, you start with the right hardware choice (unmanaged vs. managed), connect the switch to your router using the uplink/CPU port, and plug each device into the appropriate switch port. Then verify link status with port LEDs, and if you’re using a managed switch, configure VLANs and management access so traffic flows exactly as intended. In practice, the fastest resolutions come from a consistent workflow: confirm physical connectivity first, validate VLAN/speed negotiation second, and only then dig into higher-layer network settings—especially as networks evolve in 2024 and beyond.
Frequently Asked Questions
What is a network switch and how do you use one in a home or office?
A network switch connects multiple devices on the same local network, allowing them to communicate using Ethernet ports. To use a switch, plug your router (or upstream modem/ISP device) into the switch’s uplink or any standard port, then connect PCs, printers, or access points into the remaining ports. Power on the switch and verify link lights or network status to confirm devices are detected.
How do you connect a network switch to your router and devices correctly?
Start by connecting one Ethernet cable from the router’s LAN port to the switch’s uplink (or any regular port if unmanaged). Then connect each device you want to add—like a desktop, smart TV, or network printer—into an available switch port using Ethernet cables. Once everything is plugged in, check the switch LEDs and run a quick network test (e.g., ping devices or browse shared resources) to confirm connectivity.
How do you configure an unmanaged vs. managed network switch?
An unmanaged switch typically requires no configuration—once it’s plugged in and powered on, it automatically forwards traffic based on MAC addresses. A managed switch can be configured with settings like VLANs, port speed/duplex, link aggregation (LACP), and traffic prioritization (QoS) via a web interface or CLI. If you need network segmentation, better control, or advanced troubleshooting, choose a managed switch and configure features carefully to avoid connectivity issues.
Why is my network switch not working or devices won’t connect—what should I check first?
First confirm the switch has power and that the port link lights are on for each connected device. Next, verify you’re using the correct Ethernet ports (uplink vs. regular ports isn’t usually critical for basic unmanaged switches, but managed setups may have VLAN rules), and try a known-good cable if link lights don’t appear. Also check the device network settings (DHCP vs. static IP), restart the affected devices, and ensure you’re not exceeding port speed expectations between switch and NIC.
Which network switch is best for my setup, and what specs should I look for?
Choose a switch based on how many Ethernet ports you need now and in the future, as well as whether you want unmanaged simplicity or managed control. Look for gigabit Ethernet (or higher) to avoid bottlenecks with modern internet speeds and large file transfers, and consider PoE (Power over Ethernet) if you’re powering devices like IP cameras or Wi‑Fi access points. For business or complex networks, prioritize features like VLAN support, QoS, and link aggregation; for basic home use, an unmanaged gigabit switch is usually the best value.
📅 Last Updated: September 27, 2026 | Topic: how to use a network switch | Content verified for accuracy and freshness.