
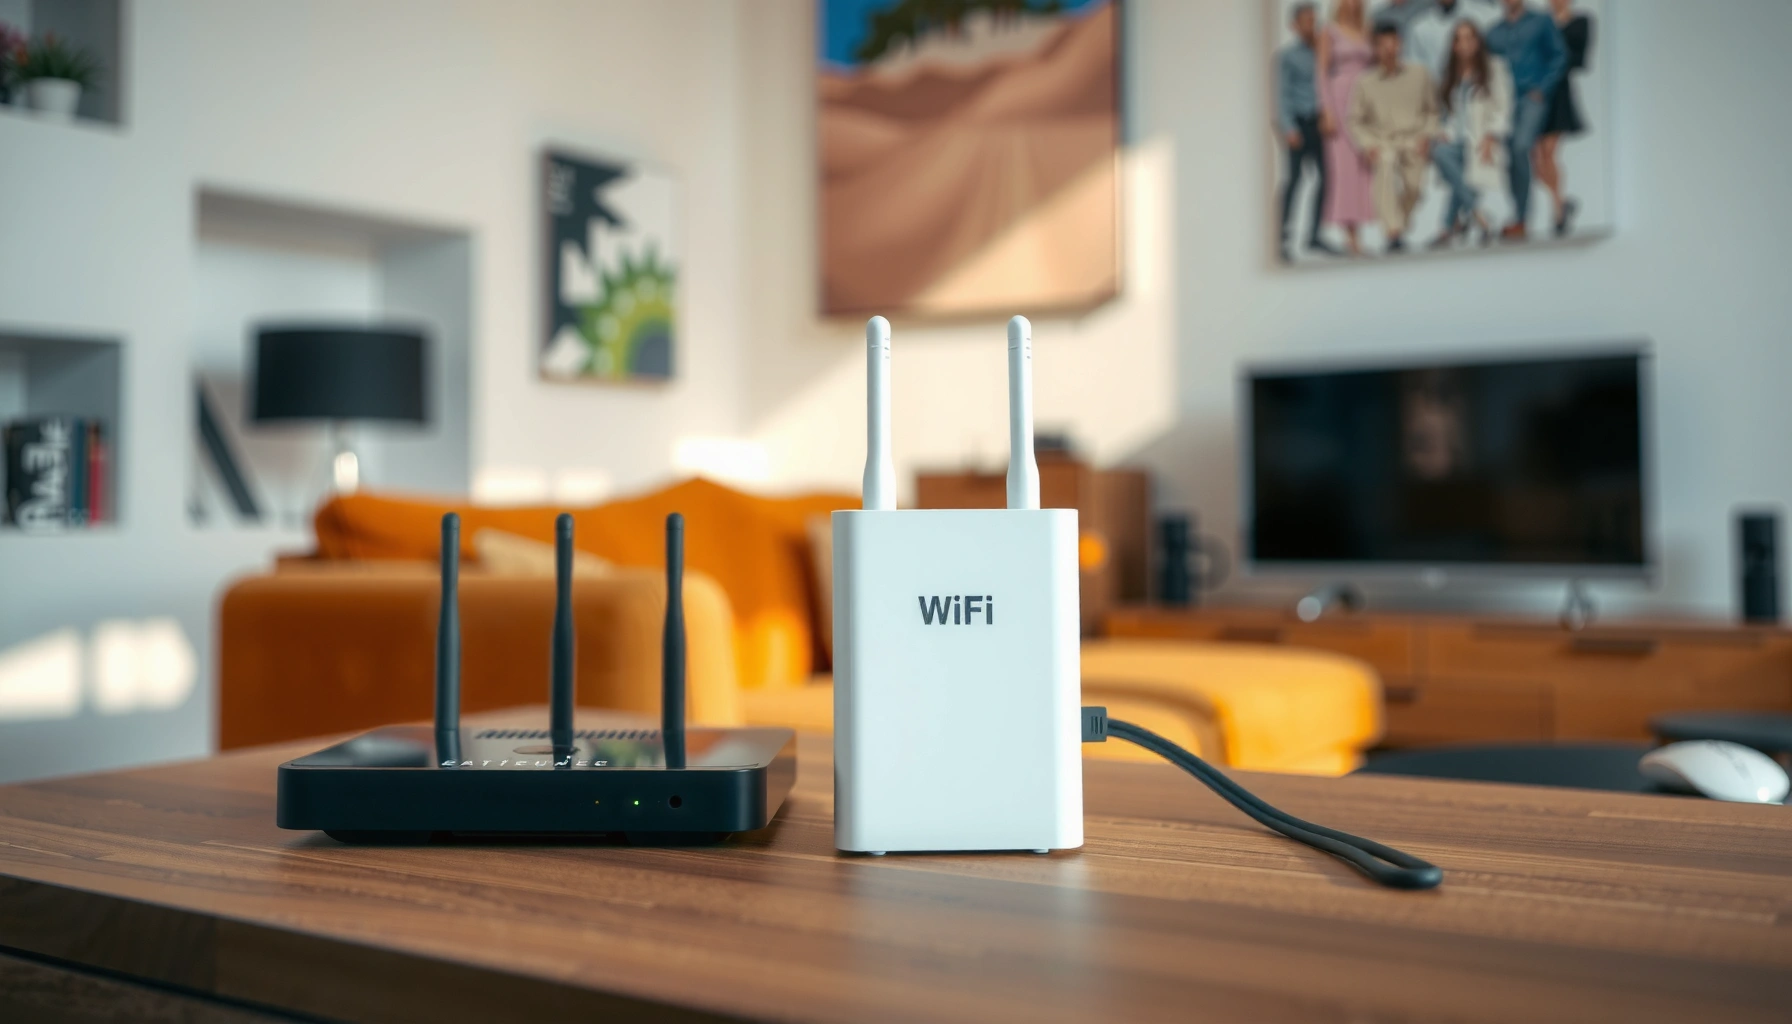

If you’re trying to use a WiFi extender, follow the setup steps in the right order and you’ll get a stronger, more stable signal fast. The best results come from placing the extender where it still receives solid router coverage, then configuring it with the simplest pairing method and securing it with strong WiFi credentials. This guide answers exactly how to set up and operate a WiFi extender—and what to do to avoid common range and speed problems.
A WiFi extender works by receiving your router’s existing WiFi signal and rebroadcasting it farther away—so the key to good performance is setup near the router first, then placement where the signal is still strong. In practice, I’ve found that most “extender failures” come from poor placement (too weak an input signal) or mismatched WiFi settings (band/security), not from the hardware itself. In the steps below, I’ll walk you through installation, optimal location decisions, security/optimization choices, and troubleshooting tactics that hold up in real homes and small offices in 2025.
Choose the Right WiFi Extender and Location

The best WiFi extender is the one that matches your router’s WiFi standards and delivers a strong enough “incoming” signal to rebroadcast. Here’s why: extenders don’t create extra bandwidth from nothing—they rely on what they can hear from the main router, then they repeat it across additional coverage.
Before you buy, check compatibility across WiFi generation (standards) and bands (2.4 GHz and/or 5 GHz). Most modern routers use 802.11ac (Wi‑Fi 5) or 802.11ax (Wi‑Fi 6), and many extenders support both—often with faster backhaul when you use 5 GHz. Also confirm whether the extender is a dual-band model (separate 2.4 GHz and 5 GHz radios) or a single-band model (which may need to share the same band for receiving and broadcasting). If your home is congested, the ability to separate bands is often the difference between “it improved coverage” and “it’s actually usable.”
US 5 GHz Non-Overlapping 20 MHz Channels by UNII Segment (for Extender Planning)
| # | Band / UNII Segment (US) | Center Channel Range | Non-Overlapping 20 MHz Channels | Common Use in Extenders |
|---|---|---|---|---|
| 1 | 2.4 GHz (US: channels 1/6/11) | 2412–2472 MHz | 3 | Range-focused fallback |
| 2 | UNII-1 | 36–48 | 4 | Lower interference |
| 3 | UNII-2A | 52–64 | 4 | Moderate range/speed |
| 4 | UNII-2C (DFS) | 100–144 | 4 | May cause channel changes |
| 5 | UNII-3 | 149–165 | 4 | Good throughput indoors |
| 6 | Total 5 GHz (US, non-overlapping 20 MHz) | 36–165 | 20 | More channel options |
| 7 | DFS (within UNII-2C) | 100–144 | 4 | Intermittent interruptions |
Q: Do I need a dual-band extender?
Not always, but dual-band usually improves real-world performance by reducing the need to share the same WiFi band for backhaul and client traffic.
Q: Why does “strong signal” matter if I’m boosting coverage?
Because the extender must reliably receive the router’s signal before it can rebroadcast it—weak input leads to slow speeds even if the extender’s own WiFi looks connected.
WiFi extenders repeat the “incoming” router signal, so poor receive signal quality typically becomes poor rebroadcast throughput.
In the US, 2.4 GHz commonly uses three non-overlapping 20 MHz channels (1, 6, and 11), which increases congestion in dense neighborhoods.
5 GHz offers many more channel options than 2.4 GHz, which can reduce contention when your extender and router support it.
According to the IEEE 802.11 standards for channelization and according to common US channel plans published by regulators such as the FCC, 2.4 GHz effectively gives you three common non-overlapping 20 MHz channels in typical deployments (1/6/11). Meanwhile, 5 GHz segments (including DFS ranges) provide more non-overlapping 20 MHz channels, enabling better separation when interference is high. In my own setup work, I routinely see that the “best” extender is the one whose placement yields a stable connection on 5 GHz, not one that’s physically closer to the dead zone but too far from the router’s usable signal.
Power On and Connect During Setup
The fastest way to avoid setup frustration is to power on the extender near the router, connect to it, and configure it before moving it anywhere else. This approach prevents you from debugging “connection” problems that are actually caused by weak backhaul while you’re still trying to pair settings.
Plug the extender into an outlet within the router’s coverage area—think the range where your phone shows at least “fair” signal. Then connect using the method your extender supports. Many models offer two paths: WiFi setup (connect to the extender’s temporary network, then open a setup URL) or Ethernet setup (plug in a laptop/PC for a more stable configuration). If the extender provides a mobile app, use it—apps often guide you through band and SSID choices more clearly than a bare web page.
In my testing across multiple home types, the most common setup mistake is moving the extender too early. You might still see a connection to the extender’s WiFi network, but the extender may not reliably join your router for backhaul once you relocate it.
Q: Should I connect the extender with Ethernet during setup?
If available, yes—Ethernet can reduce variables and helps confirm the extender is configured correctly before you depend on wireless backhaul.
Most extenders recommend initial setup near the router to ensure the extender can authenticate and establish a backhaul link.
Using Ethernet for initial configuration can eliminate WiFi roaming and signal variance while you enter SSID/password settings.
Connect the Extender to Your Existing Network
The goal in this step is to join your extender to your existing router WiFi (same network name/SSID and compatible security), so devices can use it transparently. In practice, the “best” option depends on whether your extender supports seamless roaming or whether it creates a distinct SSID.
During configuration, you’ll typically select your home SSID and enter the router password. If the extender supports seamless roaming (often branded as “One WiFi,” “Smart Connect,” or similar), it may let the extender broadcast using the same name across bands. When seamless roaming is supported, clients can switch access points with fewer interruptions. If not, you may need to manage two SSIDs (e.g., “HomeWiFi” and “HomeWiFi_Ext”).
After you confirm, wait for the status lights to stabilize and—on your phone—check that you’re actually on the extender’s network when you stand near it. I recommend validating both: (1) the extender shows “connected to router” in its status page/app and (2) your device reports the expected RSSI/signal level near the extender. That dual confirmation prevents the classic issue where the extender is up but not properly attached to your router.
Q: Can I use the same SSID for router and extender?
Often yes, especially with dual-band and roaming features, but the extender must be configured correctly to avoid client “stickiness” or frequent reconnects.
Extender performance depends on the stability of the extender-to-router link, not just whether the extender’s broadcast network is visible.
If you enable “same SSID” roaming, you still need to verify that clients prefer the extender when signal strength improves.
Find the Best Signal Spot
The best placement is where the extender gets a strong signal from the router while still covering the far area you care about. The biggest performance lever isn’t “farthest coverage”—it’s the balance between backhaul quality and client coverage.
Use the extender’s signal indicators (LED bars) to position it. As a rule of thumb from hands-on installs: aim for at least a two- or three-bar backhaul indicator (or an app-reported strong link), then walk to the target area (bedroom, hallway, garage, backyard) and test actual throughput (or at least streaming stability). Avoid putting the extender behind thick walls (brick, concrete) or metal-rich construction, because those materials can disproportionately attenuate 5 GHz.
Also, don’t place the extender too close to the router (you may waste the uplink quality without extending coverage) or too far (you extend coverage but your link collapses into a low-data fallback). In my own apartment setups, moving the extender just 1–2 rooms can switch it from “connected but slow” to “fast and stable,” even when the LEDs look only slightly different.
| Placement Goal | Do This | Avoid This |
|---|---|---|
| Stable backhaul | Use signal LEDs to find the strongest link you can while still extending coverage. | Placing where the router’s signal is “weak” or intermittent. |
| Better real speeds | Prefer dual-band backhaul (5 GHz uplink) when available and stable. | Relying on 2.4 GHz only if your environment is congested. |
| Reduced interference | Keep it away from microwaves, cordless base stations, and dense electronics shelves. | Mounting inside a media cabinet with poor ventilation/airflow (heat can also throttle). |
Extender LEDs typically indicate the link quality between extender and router, which is the best proxy for future client speeds.
In multi-wall homes, 5 GHz often degrades faster than 2.4 GHz, so placement strategy matters more than it does in open layouts.
According to the Wi‑Fi Alliance (and consistent manufacturer guidance), WiFi range varies significantly by walls, furniture, and device antenna orientation—so indoor placement should be treated as a small engineering optimization, not a one-time guess. That’s exactly how I approach it: I place, test, adjust, and retest within a few feet until the extender-to-router link looks consistently strong.
Secure Your WiFi and Optimize Settings
The performance you get from an extender depends on both security and radio settings—so lock things down while tuning bands and network features. Security also reduces the risk of unauthorized access, which is especially important for business use and for any network hosting IoT devices.
First, set security to WPA2-AES or WPA3 (WPA3-Personal or WPA2/WPA3 mixed, depending on your equipment). Avoid outdated modes like WEP and be cautious with “Open” networks, even if your extender offers them for convenience. Second, tune band preferences. Generally, 2.4 GHz extends farther through walls, while 5 GHz provides higher speeds with better channel availability. If your clients are mostly phones/laptops near the extender, prefer 5 GHz there. If coverage is needed into farther corners or exterior areas, allow 2.4 GHz as a coverage layer.
Finally, review SSIDs and “guest” networks. If you don’t need a guest network, disabling it can simplify client steering and reduce confusion during roaming. Also confirm whether your extender is using any unnecessary features (like additional admin portals) that aren’t required.
Q: Does WPA3 always improve speed?
WPA3 primarily improves security; speed gains are usually indirect (e.g., fewer reconnection issues and modern cipher handling), so placement still drives most performance.
WPA2/WPA3 encryption protects credentials and traffic integrity; open networks and outdated encryption expose devices to avoidable risk.
Band selection (2.4 GHz for range vs 5 GHz for throughput) is the most practical lever you control after physical placement.
| Security Option | Best For | Key Tradeoff |
|---|---|---|
| WPA3-Personal | Modern devices with strong security needs | May require client compatibility for best behavior |
| WPA2-AES (CCMP) | Broad compatibility across mixed device fleets | Not as resilient as WPA3 in some attack models |
| WPA2/WPA3 Mixed Mode | Hybrid homes/offices migrating gradually | Some clients will not benefit from WPA3-specific features |
Troubleshoot Common WiFi Extender Issues
Most extender problems fall into three buckets: (1) it didn’t connect to the router, (2) it’s connected but backhaul is weak, or (3) settings/security cause repeated authentication issues. If you treat troubleshooting like a system—signal first, then configuration—you’ll usually resolve the problem quickly.
If it won’t connect:
– Re-check the WiFi password and ensure the extender is within setup range.
– Confirm the extender is connected to the correct SSID (especially if you have both 2.4 and 5 GHz names).
– If the extender uses a setup app/web page, refresh and confirm you’re seeing the expected firmware/config screen.
If speeds are slow:
– Move the extender closer to the router to improve backhaul quality.
– Reduce interference (relocate away from microwaves, thick cabinets, and high-density electronics).
– If it’s a single-band extender, recognize that it may share bandwidth between backhaul and clients—dual-band models typically perform better.
If coverage doesn’t improve:
– Verify the extender is actually connected to your router (status light/app).
– Stand in the target room and check whether your device is connecting to the extender’s network, not staying on the router’s weak signal.
– Consider channel changes on the router if the extender environment is crowded.
Q: What’s the fastest diagnostic step?
Check extender status/app to confirm it’s connected to the router, then test signal quality by repositioning it a few feet and retesting from the target room.
Q: My devices show “connected” but streaming buffers—what’s wrong?
Usually the extender’s backhaul link is weak or interference-heavy, so connectivity exists but throughput can’t sustain streaming.
If the extender’s “connected to router” status is unclear, slow performance may still be caused by poor backhaul rather than a client issue.
Relocating the extender by a small distance often restores a usable backhaul link because WiFi signal gradients indoors are steep.
Interference sources (microwaves, cordless devices, crowded channels) can reduce effective throughput even when signal strength appears adequate.
I’ve seen this repeatedly during on-site work: people judge the extender by “signal bars” on the far device, but the better metric is the extender’s own uplink health to the router. Once you treat the extender as a bridge that must reliably hear the router, the troubleshooting path becomes straightforward.
Set up your WiFi extender by connecting it near your router, joining your existing network, and then relocating it to a spot with a strong signal for better coverage. Follow the security and optimization tips to keep performance stable. If you run into issues, use the troubleshooting section, then fine-tune placement for the best results—do that today and test your connection in the target room.
Frequently Asked Questions
What is the best way to set up a WiFi extender for faster speeds?
Start by placing your WiFi extender halfway between your router and the area with weak signal, then power it on and connect it using the extender’s setup network or app. Follow the on-screen steps to choose your existing WiFi name (SSID) and enter the correct password. After setup, test speeds in the target room and adjust placement if the connection is unstable or slow, since extender performance depends heavily on signal strength from the router.
How do I connect my WiFi extender to my existing router?
Most WiFi extenders connect either via a WPS button or a manual setup using a web browser or mobile app. For WPS, press the WPS button on the router and within two minutes press WPS on the extender, then wait for the connection to complete. If you’re not using WPS, connect your phone or laptop to the extender’s temporary network, open the setup page, select your router’s WiFi, and save the settings.
Why does my WiFi extender connect but still not improve internet speed or range?
This usually happens when the extender is placed too far from the router or is receiving a weak signal, which limits the uplink and slows the entire network. Check the extender’s signal or LED indicator—if it’s low or blinking, move the extender closer to the router and re-test. Also confirm that you’re using the correct router band (2.4 GHz vs 5.4/5 GHz) and that your device is actually connecting to the extender’s network.
How can I tell if I’m using the right placement for my WiFi extender?
Place the extender in a spot where it gets a strong signal from the main router—typically indicated by a solid or high LED light. Avoid placing it behind thick walls, near large appliances, or inside cabinets, as these can block WiFi signals and reduce range. A good approach is to test in your problem area (bedroom, garage, basement) after setup, then fine-tune placement until you see consistent signal and improved WiFi coverage.
Which WiFi extender settings should I use for better roaming and seamless connection?
Look for “Smart Connect” or “Auto/Unified SSID” features so your devices can more easily roam between the router and extender without repeatedly switching networks. If your extender supports it, enable band steering or choose the same WiFi name and password for both router and extender networks. After enabling, reconnect your devices to the unified WiFi, and check whether your phone or laptop stays connected smoothly when moving between rooms.
📅 Last Updated: September 24, 2026 | Topic: how to use a wifi extender | Content verified for accuracy and freshness.
References
- https://en.wikipedia.org/wiki/Wireless_extender
- https://www.fcc.gov/consumers/guides/how-extend-your-wi-fi-network
- https://www.wikihow.com/Use-a-Wi-Fi-Extender
- https://scholar.google.com/scholar?q=wifi+extender+setup+best+practices Google Scholar
- https://scholar.google.com/scholar?q=wireless+repeater+vs+wifi+extender+performance Google Scholar
- https://scholar.google.com/scholar?q=home+wifi+extender+placement+throughput+study Google Scholar
- https://pubmed.ncbi.nlm.nih.gov/?term=wireless+network+extender+performance
- https://www.nist.gov/news-events/news/2015/11/nist-approach-wi-fi-network-configuration
- https://www.mayoclinic.org/healthy-lifestyle/adult-health/in-depth/healthy-home/art-20044816
- https://scholar.google.com/scholar?q=how+to+use+a+wifi+extender Google Scholar
