To change your primary monitor, right-click on the desktop and select “Display settings” if you’re on Windows. Click the monitor you want to set as primary and choose “Make this my primary display,” then hit “Apply.” For macOS, go to System Preferences, select “Displays,” and drag the white menu bar to your desired screen. This setup helps streamline your workflow. There’s more to optimize your multi-display experience, so keep exploring these tips.
Understanding Primary Monitors
When you’re working with multiple displays, understanding what a primary monitor is can make your experience much smoother. Your primary monitor is the main screen where your desktop icons, taskbar, and menus appear. It plays an essential role in your monitor configuration, as it dictates how you interact with your system. When you adjust your display settings, you’ll often designate one monitor as primary to optimize your workflow. This allows you to open applications and documents directly where you want them, enhancing productivity. Knowing which monitor is primary helps in multitasking, especially if you’re frequently switching between screens. By mastering your primary monitor setup, you can achieve a more efficient and enjoyable computing experience.
Changing Primary Monitor on Windows
Changing your primary monitor on Windows is a straightforward process that can greatly enhance your productivity. To begin, right-click on your desktop and select “Display settings.” In the display settings window, you’ll see a visual representation of your monitors. Identify the monitor you want to set as your primary monitor. Click on it, and scroll down to find the option that says “Make this my primary display.” Selecting this option will assign it as your primary monitor, where your taskbar and main applications will appear. Remember to click “Apply” to save your changes. With these simple steps, you can easily customize your workspace and enjoy a more efficient setup tailored to your needs.
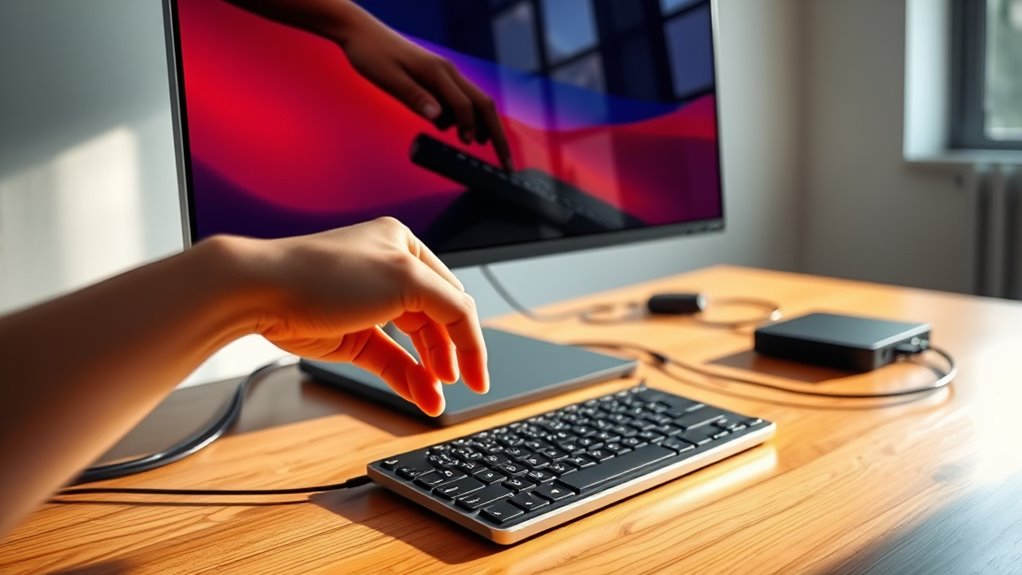
Changing Primary Monitor on Macos
To set a primary monitor on macOS, start by accessing the System Preferences. Click on “Displays,” and you’ll see the display arrangement settings. Here, you can drag the white menu bar to the monitor you want to designate as your primary display. This action changes the primary monitor, ensuring your menu bar and dock appear on that screen. If you have multiple monitors connected, you can also adjust their positions by dragging them around to match your physical setup. Remember to check the macOS settings to confirm the resolution and orientation suit your needs. By organizing your display arrangement, you can enhance your workflow and enjoy a more personalized computing experience.
Troubleshooting Common Issues
Even after successfully setting your primary monitor on macOS, you might encounter some issues that can disrupt your experience. One common problem is monitor detection issues. If your secondary monitor isn’t recognized, try disconnecting and reconnecting it. You can also check your cable connections to guarantee they’re secure.
Another frequent issue involves resolution settings. Sometimes, the resolution might not automatically adjust, leading to display problems. Go to System Preferences, select Displays, and manually adjust the resolution for each monitor. If you’re still having trouble, a simple restart of your Mac can sometimes resolve these glitches. By addressing these common issues, you can enjoy a seamless dual-monitor setup that enhances your productivity.
Tips for Optimizing Your Dual Monitor Setup
While setting up your dual monitor configuration can greatly boost your productivity, optimizing it further can create an even better experience. Start by ensuring your monitor arrangement is ergonomic—position them at eye level to reduce strain. Adjust the display resolution on both monitors for a consistent visual experience, making sure they match as closely as possible.
Here’s a quick reference for effective optimization:
| Tip | Description |
|---|---|
| Monitor Positioning | Align monitors side by side for a seamless workflow |
| Resolution Settings | Use the same resolution for both displays to avoid scaling issues |
| Task Management | Use one screen for tasks and the other for reference |
| Color Calibration | Calibrate colors for consistency across screens |
Implement these tips for enhanced efficiency!
Frequently Asked Questions
Can I Set a Specific Monitor as Primary for Gaming?
Yes, you can set a specific monitor as primary for gaming. Adjust the monitor settings in your display options to enhance gaming performance, ensuring your preferred display is the main one for an ideal experience.
Does Changing the Primary Monitor Affect Display Resolution?
Changing the primary monitor doesn’t directly affect display resolution, but it can impact how games or applications utilize your monitors. For instance, if your main monitor’s lower resolution isn’t compatible, you’ll notice differences in performance.
How Do I Change the Primary Monitor for Multiple Users?
To change the primary monitor for multiple users, adjust the user settings within each user profile. Each profile can have its own display preferences, allowing individual users to customize their monitor setup without affecting others.
Will My Desktop Icons Rearrange After Changing Monitors?
Will your desktop icons rearrange after changing monitors? Yes, they often do! When you switch displays, the icon layout can reset, affecting desktop organization. You might need to rearrange them for your desired setup.
Can I Use Different Resolutions for Primary and Secondary Monitors?
Yes, you can use different resolutions for your primary and secondary monitors. Just check monitor compatibility and adjust the resolution settings in your display options. This flexibility allows you to customize your workspace as you like.
