To turn on your JLabs earbuds, simply press and hold the multifunction button until you see the indicator light turn on. This light confirms that your earbuds are powered up and ready to use. Make sure your device’s Bluetooth is enabled, so you can connect easily. If you encounter any issues during this process, there are helpful tips and troubleshooting steps you might want to explore further.
Unboxing Your JLabs Earbuds
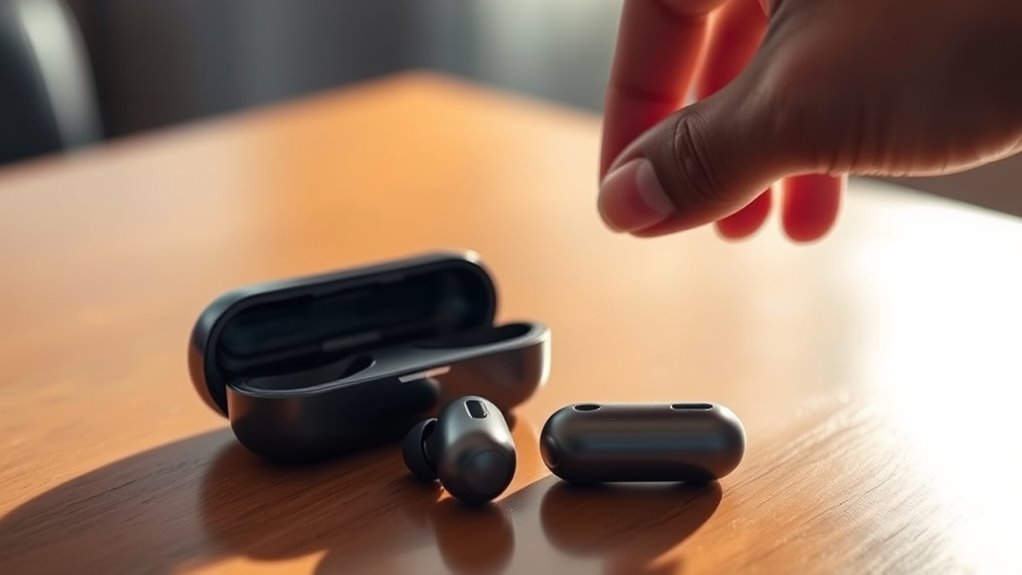
When you first open the box containing your JLabs earbuds, you’ll likely find a few essential items neatly arranged inside. The unboxing experience is designed to be straightforward and enjoyable, reflecting the brand’s commitment to user-friendliness. You’ll see the earbuds themselves, accompanied by a charging case, a USB charging cable, and multiple ear tip sizes to guarantee a comfortable fit. The packaging details are thoughtfully crafted, ensuring everything stays secure during shipping. As you take everything out, you can appreciate how each component contributes to your overall audio experience. This initial moment sets the stage for freedom in sound, allowing you to explore the features and performance that JLabs earbuds offer right from the start.
Understanding the Earbud Controls
Now that you’ve unboxed your JLabs earbuds, it’s time to get familiar with the controls. Understanding the button functions and touch controls will enhance your listening experience. Plus, mastering the pairing process will guarantee you can connect your earbuds seamlessly to your devices.
Button Functions Explained
Mastering the button functions on your Jlabs earbuds is key to enhancing your listening experience. Familiarize yourself with the various button types and the control layout to make the most of your device. Typically, you’ll find a multi-function button that allows you to play, pause, and answer calls with a simple press. To skip tracks, use the volume buttons; a quick press moves to the next song, while holding adjusts the volume level. Don’t forget that double-tapping can activate your voice assistant, offering hands-free convenience. Understanding these functions lets you enjoy your music and manage calls effortlessly, giving you the freedom to focus on what matters most without fumbling with your device.
Touch Controls Overview
Understanding the button functions is just the beginning; touch controls add another layer of convenience to your Jlabs earbuds. With touch sensitivity features, you can effortlessly manage your music and calls without fumbling for buttons. Simply tap or swipe to play, pause, skip tracks, or answer calls. Gesture control functions let you adjust volume or activate voice assistants with ease, giving you freedom while you’re on the go. You won’t have to worry about missing a beat or call, as these intuitive controls respond quickly to your commands. Familiarizing yourself with these features will enhance your listening experience and make your earbuds even more user-friendly. Embrace the simplicity and versatility that touch controls bring to your daily routine!
Pairing Process Steps
Before you can enjoy your Jlabs earbuds, you’ll need to pair them with your device. Start by ensuring your device is compatible with your earbuds; most smartphones and tablets should work seamlessly. To initiate the pairing process, turn on the earbuds by pressing and holding the designated button until you see a flashing light. Next, go to your device’s Bluetooth settings and search for available devices. You’ll see your Jlabs earbuds listed—select them to initiate the connection. If you’re using multiple pairing methods, like NFC or a wired connection, follow the specific instructions for those. Once connected, you’re free to enjoy your music and calls without any hassle. Happy listening!
Charging Your JLabs Earbuds
Charging your JLabs earbuds is a straightforward process that guarantees you get the most out of your listening experience. To start, simply place your earbuds in their charging case, ensuring they’re properly seated. The case itself can be charged using various charging methods, such as USB-C or wireless charging, depending on your model. When plugged in, an indicator light will show you the charging status, so you’ll know when they’re ready to go. A full charge typically provides several hours of battery life, allowing you to enjoy your favorite tunes without interruption. Remember to charge your earbuds regularly to keep them performing at their best, ensuring freedom in your listening experience wherever you are.
Pairing Your Earbuds With a Device
Now that your JLabs earbuds are charged, it’s time to pair them with your device. Start by preparing your earbuds to enter pairing mode, then connect them to your smartphone, tablet, or computer. This process is quick and easy, ensuring you can enjoy your music or calls in no time.
Preparing Your Earbuds
To get the most out of your Jlabs earbuds, you’ll need to pair them with your device. Before you start, verify your earbuds are clean and well-maintained; this helps enhance sound quality. Wipe them down with a soft, dry cloth to remove any dirt or debris.
Next, make sure your earbuds are charged and ready to go. If they’re powered off, turn them on by holding the multifunction button until you see the indicator light.
Now, you’re set for pairing! Follow the prompts on your device to find and connect to your earbuds. Once paired, you can enjoy your favorite tunes with the freedom and quality that Jlabs earbuds provide.
Connecting to Devices
Once your Jlabs earbuds are powered on and ready, it’s time to connect them to your device. Pairing devices via Bluetooth connectivity is quick and simple. Just follow these steps:
- Enable Bluetooth on your device.
- Select your Jlabs earbuds from the list of available devices.
- Confirm the pairing when prompted.
- Enjoy your music or calls wirelessly!
Once connected, your earbuds will remember the device for future use, making it even easier to switch between listening sessions. If you run into any issues, turn off the earbuds and restart the pairing process. With these steps, you’re free to enjoy high-quality sound without the hassle of wires. Happy listening!
Turning On Your JLabs Earbuds
Getting your JLabs earbuds powered up is a straightforward process. First, take them out of the charging case. This automatically activates the earbuds, thanks to their smart design. You’ll notice the LED light flashing, indicating they’re ready to connect. If they don’t turn on, make sure they’re charged; check the battery life by placing them back in the case for a few minutes. Once charged, the earbud features, like touch controls and voice assistant integration, will be at your fingertips. After powering them on, simply pair them with your device, and you’re good to go. Enjoy the freedom of wireless sound without the hassle—your JLabs earbuds are ready to elevate your listening experience.
Troubleshooting Common Issues
If you encounter issues with your JLabs earbuds, don’t worry—most problems can be resolved quickly. Start by checking for common issues like battery problems or connectivity hiccups. Here are some quick fixes:
- Make certain your earbuds are charged; battery issues can often be the culprit.
- Check your Bluetooth settings; sometimes, connectivity problems stem from being paired to another device.
- Reset your earbuds; this can resolve many glitches and improve performance.
- Update the firmware if applicable; keeping your earbuds up-to-date can prevent issues.
Tips for Optimal Use
How can you enhance your experience with JLabs earbuds? Start by adjusting the fit. A snug fit can greatly improve ideal sound quality, so try different ear tips to find what works best for you. It’s also crucial to keep your earbuds charged; practice good battery maintenance by fully charging them before use and avoiding deep discharges. This will prolong their lifespan and guarantee you get the most out of your listening sessions. Additionally, take advantage of sound settings on your device—customizing EQ settings can elevate your audio experience. Finally, keep your earbuds clean to maintain sound clarity and performance. By following these tips, you’ll enjoy every beat, note, and lyric with freedom and ease.
Caring for Your JLabs Earbuds
Maintaining your JLabs earbuds is key to guaranteeing they perform at their best. Regular earbud maintenance not only prolongs their life but also enhances sound quality. Here are some essential tips to keep your earbuds in top shape:
Proper maintenance of your JLabs earbuds is crucial for optimal performance and longevity.
- Clean them regularly: Wipe the earbuds with a soft, dry cloth to remove dirt and sweat.
- Store properly: Use a case to protect them from damage when not in use.
- Avoid extreme temperatures: Keep them away from heat and moisture to prevent internal damage.
- Check for updates: Verify firmware updates are installed for peak performance.
Frequently Asked Questions
Can I Use JLABS Earbuds While Exercising?
Yes, you can definitely use Jlabs earbuds while exercising. Their fitness compatibility enhances your workout performance, providing great sound quality and comfort that keeps you motivated and focused throughout your routine. Enjoy your freedom to move!
Are JLABS Earbuds Waterproof or Water-Resistant?
“Don’t put all your eggs in one basket.” JLab earbuds aren’t fully waterproof, but they do have water-resistant ratings. They’re great for workouts, so you can enjoy freedom without worrying about moisture damage.
How Long Does the Battery Last on JLABS Earbuds?
JLab earbuds typically offer a battery lifespan of around 6 to 10 hours, depending on the model. With a quick charging time, you can enjoy uninterrupted freedom while listening to your favorite tunes.
Can I Connect JLABS Earbuds to Multiple Devices?
Yes, you can connect Jlabs earbuds to multiple devices. However, switching between them may lead to pairing issues. Imagine a symphony, where each device plays its note, but harmony requires careful attention to connection.
What Should I Do if My Earbuds Won’T Charge?
If your earbuds won’t charge, check for charging issues like dirty ports or faulty cables. Try different troubleshooting methods, such as resetting the earbuds or using a different charger. Make certain they’re properly seated in the case.
