You can create your own VR headset easily and affordably! Start with cardboard and biconvex lenses for clear viewing. Cut the cardboard to your design, secure the lenses, and make a snug spot for your smartphone with padding. After setting up your phone with compatible VR apps, adjust the straps for comfort. Explore various immersive experiences, from gaming to educational content. There’s so much more to uncover, so keep looking to discover additional tips and tricks!
Materials You’ll Need
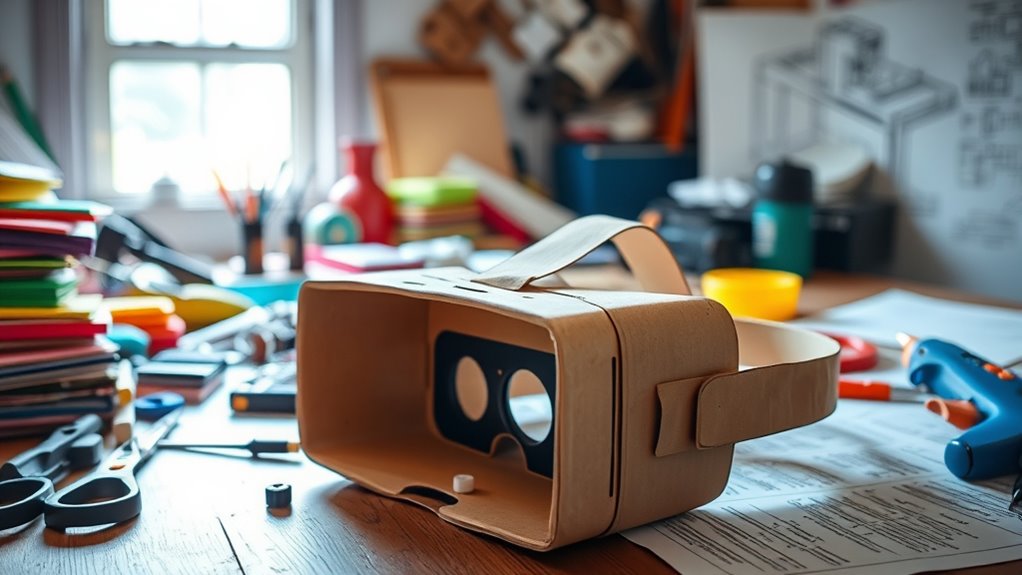
Creating your own VR headset can be an exciting project, and you’ll need a few essential materials to get started. First, consider your budget options; you don’t have to break the bank to build a functional headset. Look for affordable cardboard or plastic materials for the frame. Next, choose the right lens types, as they greatly affect your VR experience. Typically, biconvex lenses work well, providing a clear field of view. You’ll also need a smartphone that supports VR applications, along with straps for comfort and stability. Don’t forget about foam padding for a snug fit. With these materials in hand, you’re on your way to creating a personalized VR headset that’s tailored to your preferences and budget!
Step-by-Step Assembly
To assemble your DIY VR headset, start by laying out all your materials in an organized manner. Begin by cutting the cardboard to match your design considerations—ensure it’s sturdy yet lightweight. Next, focus on lens selection; choose lenses that provide a wide field of view and minimal distortion. Secure the lenses in place, ideally using a hot glue gun for a solid hold. Once that’s done, create a comfortable space for your smartphone, ensuring it fits snugly within the headset. Use foam or fabric to pad the edges for comfort during use. Finally, assemble the straps and adjust them to fit snugly over your head. With these steps, you’ll have a functional and personalized VR headset in no time!
Setting Up Your Smartphone
Setting up your smartphone for your DIY VR headset is an essential step that can greatly enhance your virtual experience. First, verify your smartphone’s compatibility with VR apps. Most modern smartphones support VR, but it’s wise to check the specifications. Look for devices with a minimum screen resolution of 1080p for the best visual fidelity. Higher resolution screens provide sharper images, making your virtual adventures more immersive.
Next, download some VR apps that suit your interests—games, experiences, or educational content are all great options. Don’t forget to enable any necessary permissions for peak functionality. By taking these steps, you’ll be well on your way to diving into the exciting world of virtual reality, enjoying the freedom to explore new dimensions right from your device!
Adjusting for Comfort and Fit
Once you’ve set up your smartphone, it’s time to confirm your DIY VR headset fits comfortably. Start by testing out different padding options for the eye and forehead areas. Soft foam or fabric can make a world of difference in comfort during extended use. Next, adjust the straps to guarantee a snug but not too tight fit. The adjustable straps should distribute weight evenly, keeping the headset secure without causing discomfort. You want to feel immersed, not distracted by discomfort. Don’t hesitate to tweak the positioning until it feels just right. Remember, a little personalization can enhance your experience considerably, allowing you to enjoy your VR adventures without distractions. Comfort is key to a seamless virtual journey!
Exploring VR Content and Apps
As you immerse yourself in the world of virtual reality, exploring the vast array of VR content and apps available can be both exciting and overwhelming. From thrilling VR gaming adventures to educational apps that expand your knowledge, there’s something for everyone. You can even begin virtual travel experiences, visiting distant lands without leaving your home. Here’s a quick overview of what to explore:
| Type | Examples |
|---|---|
| VR Gaming | Beat Saber, Half-Life Alyx |
| Immersive Experiences | Rec Room, VRChat |
| Educational Apps | Google Earth VR, Titans of Space |
Frequently Asked Questions
Can I Use Any Smartphone for My DIY VR Headset?
Not every smartphone’s created equal; some shine while others falter. For the best VR performance, check your device’s specifications for compatibility. A powerful smartphone can elevate your experience, while a weaker one might disappoint.
What Is the Best Lens Type for VR Headsets?
The best lens types for VR headsets are Fresnel lenses and aspheric lenses. Fresnel lenses are lightweight and compact, while aspheric lenses provide a wider field of view, enhancing your immersion and overall experience.
How Much Does It Cost to Make a DIY VR Headset?
Creating your own VR headset can cost anywhere from $30 to $150, depending on the budget materials you choose. Think of it as a cost comparison between freedom and convenience; the choice is yours!
Are There Any Safety Precautions I Should Consider?
Yes, you should prioritize eye protection and guarantee material safety. Use non-toxic materials, avoid sharp edges, and take breaks to prevent eye strain. These precautions help guarantee a safe and enjoyable VR experience.
Can I Upgrade My DIY VR Headset Later?
Absolutely, you can upgrade your DIY VR headset later! With the right upgrade options, you’ll guarantee future compatibility. Just keep an eye on evolving tech, and you’ll be ready for the next immersive experience!
