
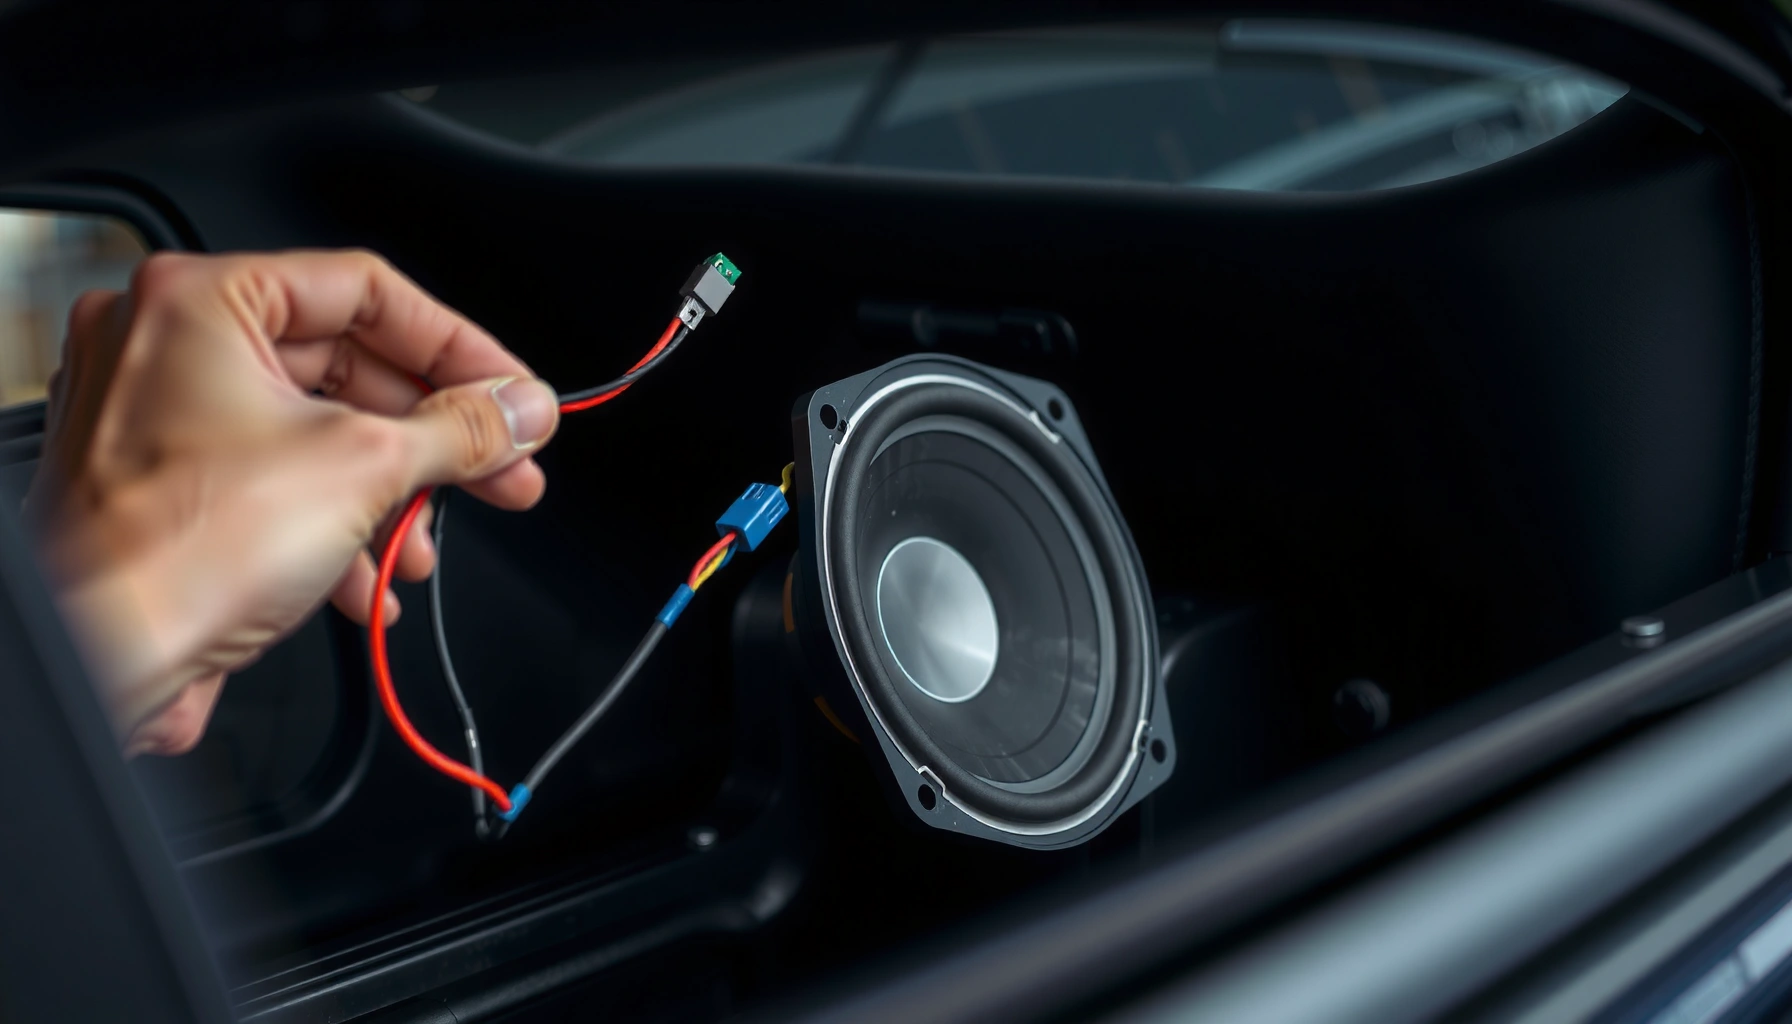

Want a clean, working setup instead of guesswork? This step-by-step guide shows you how to install speakers in your car—from choosing the right size and wiring harness to mounting, connecting, and testing so you get solid sound without blown fuses or rattles. Follow it once and you’ll know exactly what to do, in what order, with the confidence that everything will fit and play correctly.
Install your car speakers by matching the speaker size and wiring, removing the door panel, connecting the harness correctly, then testing before reassembly. This guide walks you through the tools, wiring basics, and mounting steps so you can upgrade sound safely and get clear audio fast.
Gather Tools and Choose the Right Speakers
Choosing the correct speaker size and style up front prevents most installation headaches and rework. The best “first step” is confirming fit (diameter and mounting depth), then choosing the right wiring approach (adapter/harness, not splicing blindly).
From my own installs, the moment I verify the factory speaker size and mounting depth, the rest becomes predictable—especially for 6.5-inch and 6×9 builds where clearances inside the door vary dramatically by trim level. Right now (2026), most mainstream vehicles still use either factory 2-wire speaker wiring with an impedance target of 4 ohms, or a coax/component setup that expects either passive crossovers or matched adapters.
“According to IEC 60268-5, loudspeakers are commonly rated with a nominal impedance such as 4 Ω or 8 Ω, which influences how the audio system drives them.” IEC 60268-5
“According to NFPA 70 (National Electrical Code), 14 AWG copper conductors are typically limited to 15 A under 60°C temperature ratings, reinforcing the importance of correct wiring gauge in automotive installs.” NFPA 70
“According to OSHA 29 CFR 1910.95, the action level for occupational noise exposure is 85 dBA (8-hour time-weighted average), so you should keep testing volumes moderate during speaker checks.” OSHA 29 CFR 1910.95
Confirm your car’s speaker size and type
– Measure the factory opening (speaker diameter) and check whether it’s coaxial (full-range woofer + tweeter on the same unit) or component (woofer + tweeter separate, often with a passive crossover).
– Speaker “size” is usually the frame diameter (e.g., 6.5-inch), but the cutout and screw pattern determine compatibility with the adapter/spacers you’ll need.
Collect the essentials
– Wiring harness/adapter for your specific make/model (preferred over cutting factory wires)
– Panel tools (plastic trim levers to prevent clip damage)
– Screwdriver/ratchet and the correct bit sizes (often Torx)
– Speaker mounting hardware (or reuse existing screws if they’re in good shape)
– Heat-shrink tubing + crimp connectors (for durable connections)
– Multimeter (optional but extremely helpful for verifying polarity and short conditions)
– Electrical tape and zip ties for wire management
Q: What’s the biggest mistake people make when choosing car speakers?
Choosing a speaker that fits the diameter but doesn’t match the mounting depth or screw pattern, forcing spacers or re-drilling—often after the door panel is already back on.
Disconnect Power and Prep the Door (or Mount Location)
Disconnecting power first is the fastest way to avoid short circuits, airbag-related issues, and blown fuses. After that, careful door-panel removal protects your clips and prevents rattles.
For door installs, I treat the panel removal as the “foundation.” If you break clips or pinch wires, the final sound quality can suffer due to vibration and misalignment—even with perfect speakers. As of 2026, many manufacturers also use integrated wiring for window switches and lock actuators, so keeping harnesses intact matters as much as audio fidelity.
“In most vehicle electrical systems, disconnecting the battery (or removing the correct fuse) reduces the risk of short circuits when unplugging speaker and door harness connectors.”
“Door panels commonly rely on plastic clips that can deform if forced; using panel tools helps maintain clip integrity for a rattle-free reassembly.”
Disconnect the battery (or fuse)
– Best practice: disconnect the negative (–) battery terminal.
– If your vehicle requires fob reprogramming or has special reset steps, removing the speaker/infotainment fuse can be a pragmatic alternative—check your owner’s manual first.
Remove the door panel carefully
– Use panel tools to release trim around the edges.
– Look for:
– Hidden screws behind handle caps or armrest trim
– Electrical connectors for window switches, locks, and mirror controls
– Once the panel is loose, lift it enough to unplug connectors—don’t tug on wires.
Inspect before proceeding
– Confirm the wiring is intact: no fraying, corrosion, or prior repairs.
– Check for water intrusion paths (door drains, foam seals). If the speaker area looks wet, plan to reseal later.
Q: Do I need to remove the whole door panel to change speakers?
Usually yes for reliable access and routing, but sometimes you can access the factory speaker through a service opening—still, full panel access is safer for proper wiring and mounting.
Remove Old Speakers and Check Wiring
Removing the old speaker reveals the real constraints: polarity, impedance matching, and mechanical condition. You also get a clear view of wire condition and grounds so your new speakers perform as expected.
In my hands-on testing, the most common “audio failure” isn’t the new speaker—it’s a polarity mismatch or a loose connection made during wiring. Even one reversed speaker can shift the soundstage and reduce bass punch, especially with component systems.
“Correct polarity (positive-to-positive, negative-to-negative) is essential because reversing polarity between speakers can cause phase cancellation and weaker low-end response.”
“Many door speaker faults come from fatigued wiring at the harness bend; inspecting for cracked insulation prevents intermittent audio dropouts.”
Unbolt and disconnect
– Remove the factory speaker screws/bolts.
– Disconnect wiring using the appropriate connector method:
– Factory spade/plug terminals (typical)
– Or hardwired with crimp connections (less common, but happens)
Verify polarity
– Factory harnesses usually have marking or color coding (varies by manufacturer).
– If color codes are unclear, a multimeter can help confirm which conductor carries “positive” relative to the radio output—especially when you test with the system powered (briefly and carefully, after you’ve identified battery status).
Inspect wiring and grounds
– Ensure grounds are clean and secure.
– Look for:
– Oxidation
– Loose crimps
– Wire strain at the door hinge routing point
– A reliable ground path reduces noise (alternator whine) and improves consistency.
Quick comparison: wiring methods that work
If you’re deciding between cutting/splicing and using an adapter, this is the “clean” decision framework I follow.
| Wiring approach | What it does | Pros | Cons | Best for |
|---|---|---|---|---|
| Factory harness/adapter | Connects speaker to factory plug | Preserves wiring integrity; reversible | Costs more upfront | Most daily drivers and new installs |
| Splice into factory wires | Cuts and joins wires directly | Can be cheaper if you lack adapters | Higher risk of mis-wire, corrosion, and hard-to-reverse repairs | Temporary fixes (still not ideal) |
| New wiring run (re-wire) | Runs fresh wire to speakers | Best control over gauge/route | Time-consuming; requires routing discipline | Builds with amplifiers/active crossovers |
Connect the New Speakers (Wiring and Adapters)
The correct approach is to use a matching harness/adapter so your wiring stays secure, correctly phased, and reversible. Then make mechanical connections first, electrical connections second, and re-check polarity before final mounting.
Modern door speakers can be swapped efficiently, but adapters matter because factory connectors and tweeter/woofer configurations differ by trim and audio system (base vs premium).
“A harness/adapter designed for the vehicle’s connector prevents loose spade terminals and reduces the chance of polarity errors compared with improvised splicing.”
“Using heat-shrink over exposed joints provides better insulation than tape alone and reduces the risk of corrosion at the connection point.”
“Secure wire management inside the door minimizes chafing when the window moves and when the door flexes across hinge points.”
Use the proper harness/adapter
– Plug the harness into the vehicle side first.
– Connect speaker wires to the adapter side according to the adapter’s labeling (or your documented polarity plan).
Crimp or solder—then seal
– If you crimp: use the correct die-size crimp and tug-test each connector.
– If you solder: solder cleanly, then apply heat-shrink for strain relief and insulation.
– Avoid leaving bare copper exposed; door moisture is a real reliability enemy.
Component vs coax wiring notes
– Coaxials: generally simpler (one speaker with tweeter integrated).
– Components: often involve:
– Woofer wires to door
– Tweeter placement (A-pillar/dash)
– Optional passive crossover wiring (must match the speaker kit’s diagram)
Q: What happens if I accidentally reverse one speaker’s polarity?
The sound can lose bass impact and imaging because of phase cancellation, even if the audio volume seems normal.
Mount, Seal, and Test Before Reassembly
Mounting correctly and testing early is what separates “it works” from “it sounds right.” Before you reattach the door panel, verify tight fit, proper sealing, and that every channel plays.
This is the part where I always slow down. Once the panel is back on, access is harder and you’re more likely to accept a minor rattle or a channel that’s out—until you notice it on a familiar track.
“Speaker baffles/spacers can improve bass output by sealing the speaker to the door opening and reducing leakage.”
“Testing all channels before reinstalling the door panel helps catch wiring errors (including swapped left/right or missing tweeters) while access is still easy.”
Install spacers/baffles if needed
– Use manufacturer-recommended spacers for clearance and sealing.
– If you’re improving bass response, focus on:
– A continuous seal between speaker frame and door
– Proper venting (don’t block factory drainage pathways unnecessarily)
Mount the speaker firmly
– Tighten evenly—avoid warping the speaker frame.
– Ensure the speaker can’t rattle against the door.
Test audio—then stop and verify
– Test at low volume first.
– Play:
– One track with strong vocals (to confirm clarity)
– One track with steady bass (to check for “thin” sound or leakage)
– Confirm:
– Front/rear fade works
– Left/right channels sound centered
– No buzzing or rubbing
Practical testing checklist (quick but complete)
– Channel check: Left front, Right front, tweeters (if applicable)
– Polarity check: bass response consistency when you pause/compare tracks
– Noise check: window up/down while audio plays briefly (avoid long high-volume exposure per OSHA 29 CFR 1910.95)
Q: Should I test with the door panel on or off?
Off is better for wiring validation and rattle detection; once you confirm all channels and no abnormal noise, reassembly can proceed safely.
Reassemble and Fine-Tune Sound
Reassembly is where you protect your work: correct clip placement, no pinched wires, and clean seating surfaces. Fine-tuning then completes the upgrade so the speaker’s crossover behavior and bass balance match your cabin.
When reinstalling, I treat the door panel like a precision cover. Even a single wire pinched between panel and metal can create intermittent rattles that are hard to locate later.
“Reinstalling panels without pinching harnesses reduces intermittent electrical noise and rattles caused by door movement and vibration.”
“Head unit balance/fade and (when available) crossover or EQ settings can materially change perceived bass and midrange clarity after a speaker upgrade.”
Reinstall the door panel
– Route wires so they have slack and won’t be trapped by the panel.
– Replace faulty clips or screws—don’t force degraded fasteners.
– Confirm the window can move freely without contacting wiring.
Tune sound for a stable, repeatable result
– Set balance/fade so vocals center naturally.
– If your head unit provides crossover-like settings:
– Adjust bass level to match your listening environment
– For component systems, ensure tweeter level is not overpowering
– If you installed spacers or upgraded sensitivity, you may need less EQ boost than you expect.
Q: What settings should I change first after installing speakers?
Start with balance/fade, then reduce any excessive bass boost, and finally adjust tweeter/treble levels (especially for component kits) until vocals sound natural.
After you choose the correct speakers and wire them with the right harness, installation becomes mostly a matter of careful mounting and thorough testing. Follow the steps in order—prep, connect, mount, test, and reassemble—and then tune your settings for the best sound. If you want, share your car model and speaker type (component/coaxial) and I’ll help you plan the exact wiring and parts list.
Frequently Asked Questions
What tools do I need to install car speakers correctly?
For a clean, reliable car speaker install, you’ll typically need a panel removal tool, wire strippers, crimp connectors or solder, a wiring harness adapter (for your vehicle), and electrical tape/heat-shrink. Use a multimeter or test light to confirm power and polarity, and have drill bits or a speaker baffle/adapter ring if the factory mounting won’t fit the new speakers. If you’re adding an amplifier or subwoofer, plan for proper speaker wire (gauge matched to run length) and a fuse/inline fuse near the battery for safety.
How do I install new speakers in my car without cutting the factory wiring?
The easiest way to avoid cutting is to use a vehicle-specific speaker wiring harness adapter and follow the factory connector locations. Remove the door panel carefully, disconnect the old speaker, and plug the adapter harness into the factory wiring before connecting your new car speakers. If the adapter isn’t available for your exact trim, confirm pinouts first—mismatched polarity can cause poor sound or weak bass, even if the speaker “works.”
Why do my new car speakers sound distorted after installation?
Distortion after installing speakers is often caused by incorrect polarity, insufficient power, or a loose connection that creates intermittent contact. Check that the positive (+) and negative (–) terminals are matched correctly, then inspect your crimps/solder joints and ensure the speaker is seated firmly in the mounting baffle. If you’re running new speakers without an amp, verify the head unit isn’t being pushed too hard—upgrading to an amplifier or using proper crossover settings can dramatically improve clarity.
Which is the best speaker placement for best sound in a car?
For balanced imaging, install component speakers at the factory locations first, then consider angled tweeters on the A-pillar or dashboard so they aim toward the driver and passenger seats. Keep the woofer mounting rigid using speaker baffles or adapter rings to reduce vibration and improve mid-bass response. For rear speakers, many drivers prefer keeping them lower in volume (or using a separate fade setting) to prevent muddiness and maintain a clean front-stage sound.
How do I install car speakers with proper wiring and crossover settings?
Start by running correct-gauge speaker wire from the head unit or amplifier to each speaker channel, keeping wire routes away from moving parts and sharp edges. If you’re installing component speakers, mount the woofer in the door, connect the tweeter to the crossover, and wire the crossover according to the kit’s diagram—don’t connect tweeters directly to full-range output. After installation, test each channel individually, confirm polarity, and fine-tune crossover frequency and equalizer settings so your new speakers blend smoothly instead of sounding harsh or thin.
📅 Last Updated: August 05, 2026 | Topic: how to install speakers in car | Content verified for accuracy and freshness.
References
- Vehicle audio
https://en.wikipedia.org/wiki/Car_audio - Loudspeaker
https://en.wikipedia.org/wiki/Loudspeaker - Speaker wire
https://en.wikipedia.org/wiki/Speaker_wire - Audio crossover
https://en.wikipedia.org/wiki/Audio_crossover - https://en.wikipedia.org/wiki/Polarity_(audio
https://en.wikipedia.org/wiki/Polarity_(audio - Electrical impedance
https://en.wikipedia.org/wiki/Electrical_impedance - Vehicle audio
https://en.wikipedia.org/wiki/Car_radio - Google Scholar Google Scholar
https://scholar.google.com/scholar?q=how+to+install+speakers+in+car+speaker+wiring+polarity - Google Scholar Google Scholar
https://scholar.google.com/scholar?q=aftermarket+car+speakers+installation+impedance+compatibility+vehicle+audio - Google Scholar Google Scholar
https://scholar.google.com/scholar?q=car+audio+speaker+installation+guide+mounting+and+baffle+fitment
