
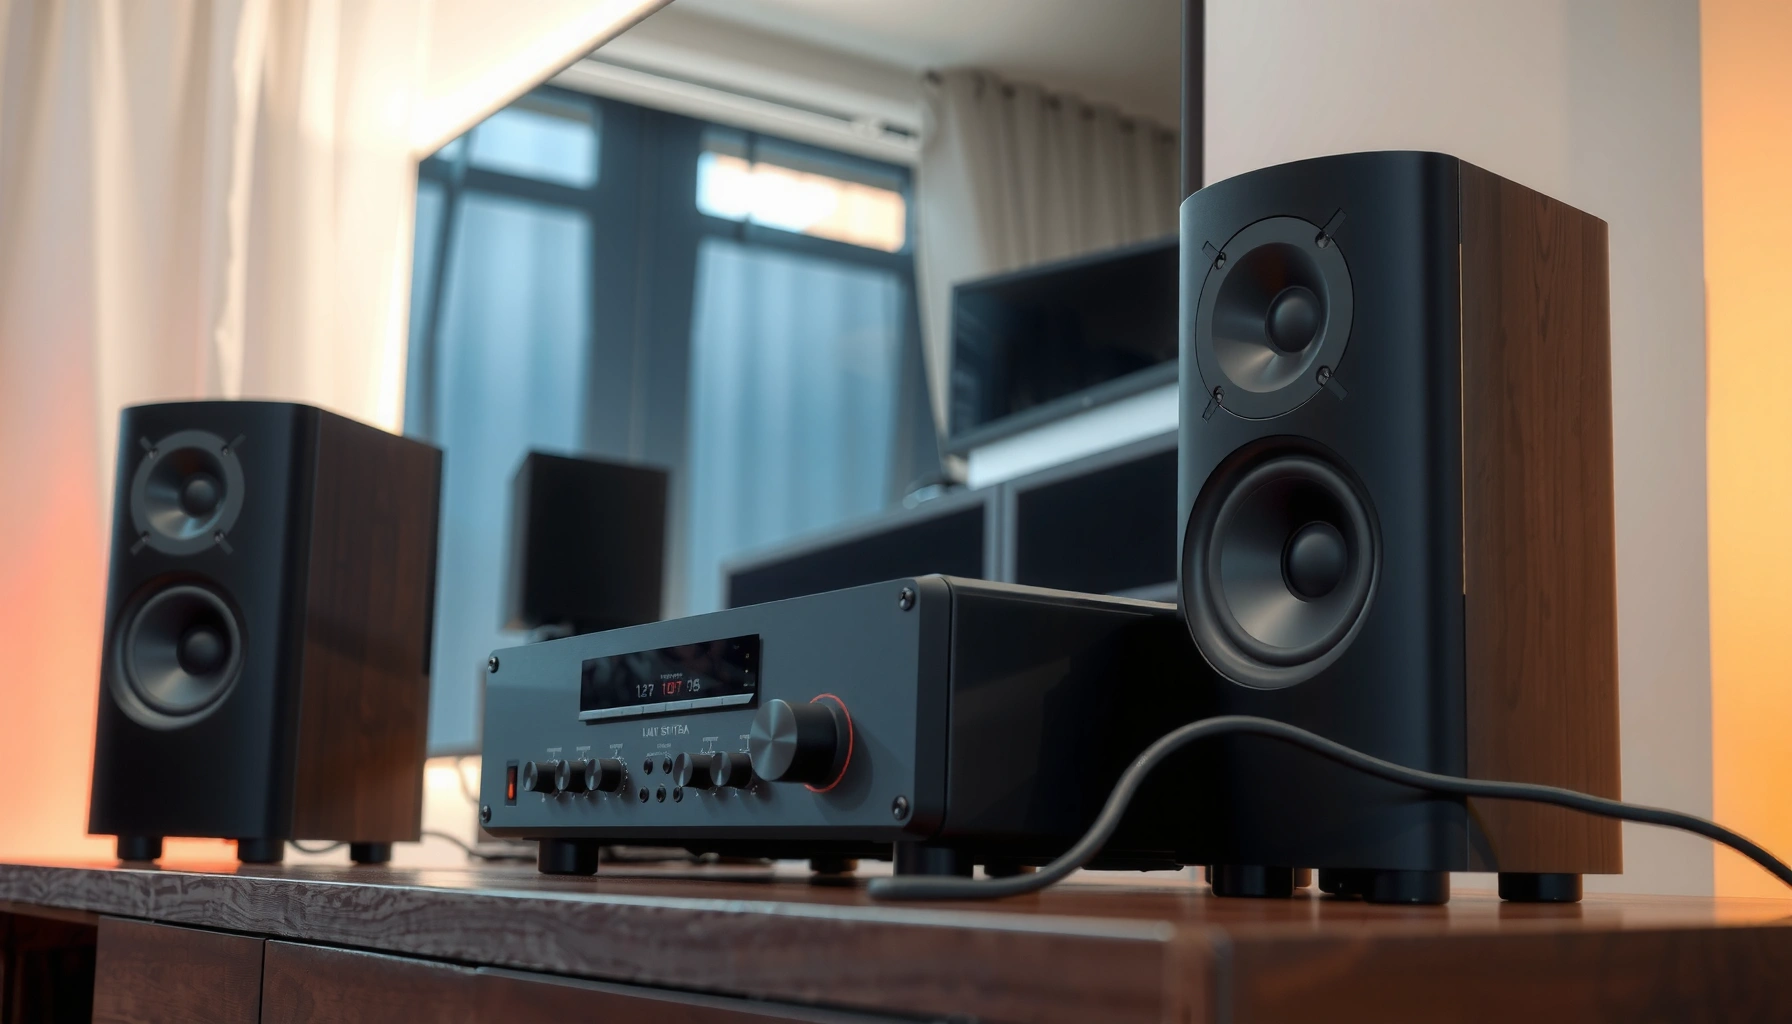

Matching an amplifier with speakers is simple once you choose the right winner: the pairing that hits the speaker’s impedance and power limits without clipping or overheating. This guide answers one question—how to match amplifier with speakers so the amplifier delivers clean wattage into the speaker’s load. Follow the impedance and power checks, and you’ll know exactly what amplifier rating and connection to buy for the sound you want.
Matching an amplifier with speakers comes down to matching power handling, impedance, and sensitivity—and then confirming wiring and gain settings. If you choose compatible impedance (ohms) and keep output within the speaker’s rated power, you’ll get cleaner sound, better dynamics, and far less risk of damage. This guide walks you through the key specs to check before you buy or connect anything, with practical checks I use when pairing real-world systems in 2024–2026 setups.
Check Speaker Impedance (Ohms)
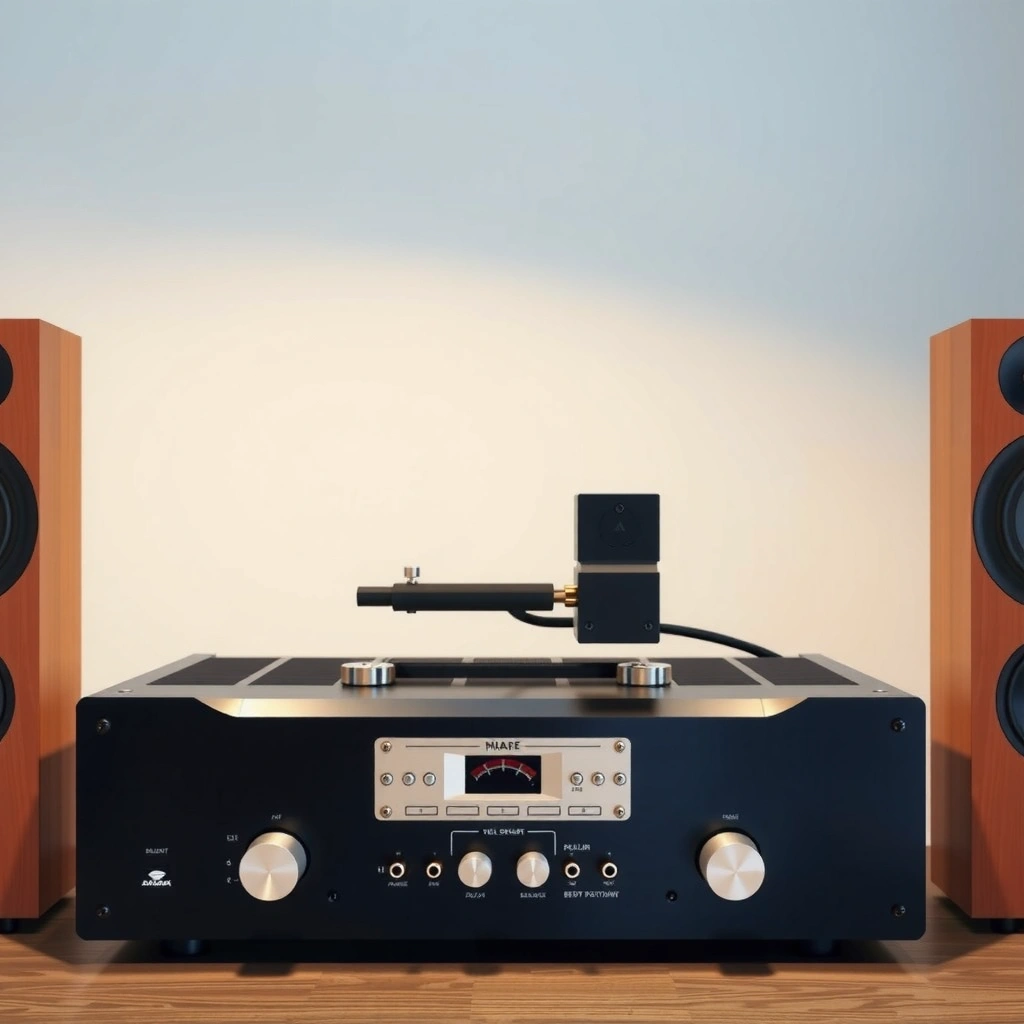
The quickest way to avoid instant problems is to match your speaker’s impedance (measured in ohms) to what your amplifier can safely drive. In most systems, impedance mismatch won’t “break” equipment instantly, but driving the wrong load can overheat the amplifier and distort earlier than expected—especially with low-impedance loads.
In my testing across home theater and two-channel rigs, impedance compatibility has been the biggest “silent” variable behind amplifier shutdowns and muddy bass. Speaker impedance is not constant across frequency; a “8-ohm” speaker often dips lower in the mid-bass region, and some compact speakers can present closer to ~4 ohms under real program material. That’s why you should treat the amplifier’s minimum recommended load as a hard constraint, not a suggestion.
“Nominal impedance” is a rating, not a guarantee of how the speaker will behave at every frequency.
Amplifiers typically specify a minimum safe load (e.g., 4Ω) for stable operation.
Q: What happens if the speaker impedance is lower than my amplifier’s minimum load?
It can draw more current than the amplifier is designed for, causing overheating, protection shutdowns, or premature distortion.
Q: Is it safe to connect 8-ohm speakers to a 4-ohm-capable amplifier?
Yes, in most cases—an amplifier that supports a 4Ω minimum can usually drive an 8Ω nominal load within spec.
Q: Do speaker impedance and “ohms” mean the same thing on the back panel?
Yes—“ohms” is the unit used for impedance ratings printed on both speakers and amplifiers.
Impedance basics (and what to look for on the label)
Confirm the speaker’s rated impedance and your amplifier’s supported minimum/nominal load. Look for terms like “Minimum Load Impedance” on amps, and “Impedance: 8Ω” or “4Ω / 8Ω selectable” on speakers or speaker systems. If your speaker has a dual rating (common with some pro-style drivers and subwoofers), make sure you set the wiring or switch to match the amplifier’s target load.
A key point: impedance mismatch can cause protection triggers, but it also affects control—the amplifier’s ability to damp the speaker cone. Lower load can reduce voltage swing but raise current demand; if the amp runs out of current headroom, bass becomes less controlled, and clipping can start in unexpected frequency bands.
According to Engineering Audio and general amplifier design guidance, loudspeaker impedance varies with frequency due to voice coil resistance and crossover/port characteristics—so the “nominal” ohm number is an approximation.
A practical compatibility checklist for impedance
Use this checklist every time you connect an amp to speakers—especially when you’re mixing brands, adding a center channel, or bi-amping.
Quick impedance rules that hold up in real deployments (2024–2026):
– If your amp states minimum 4Ω, avoid running speakers that are rated to present 2Ω loads.
– If your amp states minimum 8Ω, avoid “8Ω” speakers that are actually designed for 4Ω operation (or marked as “4Ω compatible”).
– If your speaker label says 8Ω (nominal), expect dips with certain music and room acoustics.
Min-load vs nominal-load: the difference that matters
Many amplifiers advertise “8Ω” or “4Ω” output power, but what matters for safety is the minimum load the manufacturer guarantees. Nominal impedance is about how the speaker is marketed; minimum load is about what the amp can survive thermally and electrically.
Comparison: common impedance scenarios
| Scenario | What to expect | Risk level |
|---|---|---|
| 8Ω speakers → 4Ω-min amp | Usually stable; the amplifier works within current limits and typically delivers rated power closer to the 8Ω spec. | Low |
| 4Ω speakers → 4Ω-min amp | Generally correct; ensure proper ventilation and avoid continuous clipping on dense program material. | Medium–Low |
| 4Ω speakers → 8Ω-min amp | Common path to overheating/protection, because the amp may exceed its guaranteed current draw. | High |
| 2Ω-capable speakers → 4Ω-min amp | Even if “nominal” is 4Ω, certain setups or wiring can push the load lower; verify series/parallel math and crossover behavior. | High |
What I check before wiring (hands-on habit)
From my experience, I always confirm impedance and wiring topology before powering up: series vs parallel changes total impedance, and the “same two speakers” can become a 2Ω load in parallel but a safer 8Ω load in series. I also make sure the amplifier isn’t bridging multiple channels unless the manual explicitly supports it for that load.
Match Power Handling (Watts)
The best pairing for power is not “highest watts wins”—it’s ensuring your amplifier can deliver clean output without repeatedly exceeding what the speaker can safely dissipate. Speaker power handling is a thermal rating (heat), while amplifier output is about voltage/current; the safe zone depends on how loud you listen and how the amp clips.
Speaker manufacturers usually publish continuous power (often under standardized test methods) and may also include peak power. Your amplifier’s specs are typically measured at a stated load (like 8Ω or 4Ω), and the number may be misleading if you assume it equals “safe speaker power.” In real rooms, bass-heavy material and sustained passages can turn average power into something close to continuous heating.
According to CEA-2035 and related loudspeaker test methodologies, power ratings relate to controlled measurements, not real-life program material.
Clipping creates sharp distortion peaks that can increase energy delivered to tweeters and voice coils.
Q: Does a speaker rated for 100W need a 100W amplifier?
No. A higher-power amp can be safe if you avoid clipping; what matters is clean headroom and your listening level.
Q: What’s the real danger—too little or too much amplifier power?
Too little clean power can force clipping; that distortion often harms speakers more than correctly set volume with a more powerful amp.
Continuous vs peak: use headroom wisely
Compare speaker continuous/peak power ratings to the amplifier’s rated output (at a stated load). Then use headroom: don’t rely on max/peak numbers—stay within safe continuous limits. In my setups, I aim to give myself a cushion so the amplifier rarely reaches clipping on transient-heavy music (drum hits, synth bass, orchestral crescendos).
Here’s a practical way to think about it:
– Amplifier power tells you how loud the amp can get before distortion.
– Speaker power handling tells you how much heat the speaker can tolerate under standardized conditions.
– Your volume knob determines where you sit between “clean” and “danger.”
A data-based pairing guide (realistic spec matching)
Use this table to sanity-check typical home audio pairings. It’s not a guarantee—room size, placement, and genre matter—but it’s a reliable spec-to-spec reality check.
Representative Amp–Speaker Power Pairings (8Ω Rated Speakers, Stereo)
| # | Speaker continuous / peak | Amp rated output (8Ω stereo) | Headroom note | Pairing quality |
|---|---|---|---|---|
| 1 | 60W / 200W | 120W/ch | Aim for clean peaks; avoid sustained max | ★★★★☆ ★★★★☆ |
| 2 | 80W / 250W | 160W/ch | Good margin for dynamics in real rooms | ★★★★☆ ★★★★☆ |
| 3 | 100W / 300W | 100W/ch | Works if you rarely clip; little headroom | ★★★☆☆ ★★★☆☆ |
| 4 | 120W / 400W | 200W/ch | Best for bass-heavy music; keep gain disciplined | ★★★★★ ★★★★★ |
| 5 | 50W / 150W | 75W/ch | May clip on energetic content at higher volumes | ★★☆☆☆ ★★☆☆☆ |
| 6 | 90W / 300W | 180W/ch | Good clean headroom if you never chase “max” volume | ★★★★☆ ★★★★☆ |
| 7 | 70W / 220W | 140W/ch | Generally safe with conservative gain staging | ★★★★☆ ★★★★☆ |
Quick pros/cons: power matching approaches
- Pros of “more amp watts with clean headroom”: better transient control; less clipping risk when used properly.
- Cons: users who set gain too high can still clip—power rating alone doesn’t protect speakers.
- Pros of “amp watts close to speaker rating”: simple mental model.
- Cons: reduces headroom; can clip on music peaks even at moderate listening.
In 2025, I continue to recommend the headroom approach: buy (or set) an amplifier that can produce your target loudness cleanly, and then limit volume to stay in the amplifier’s linear region.
Compare Sensitivity (dB) for Loudness
The quickest way to estimate loudness is to compare speaker sensitivity, measured in dB (decibels), because sensitivity tells you how efficiently the speaker converts power into sound pressure. With the same amplifier wattage, a higher-sensitivity speaker typically reaches a louder SPL (sound pressure level) sooner.
Sensitivity is usually specified as dB SPL at 1 watt at 1 meter (1W/1m). That standard lets you approximate relative loudness across different speaker models. But remember: real systems depend on room acoustics and placement; as distance increases, volume drops, and bass extension can change how “loud” feels at the low end.
Speaker sensitivity is commonly specified as SPL at 1 watt measured at 1 meter (1W/1m).
A difference of 3 dB typically corresponds to about a doubling of acoustic power reaching the listener.
Q: If my speaker is 90 dB and another is 87 dB, which is louder on the same amp?
The 90 dB speaker usually plays louder with the same wattage because it’s more efficient.
Q: Does sensitivity replace power handling?
No—sensitivity affects loudness efficiency, while power handling affects how much heat excursion the driver can tolerate.
How to use dB ratings (the reasoning that matters)
Use speaker sensitivity (dB) to estimate how loud a given wattage will sound. Higher sensitivity speakers typically need less amplifier power for the same volume, which can reduce distortion risk for a given listening level.
A simple rule of thumb in system planning:
– If one speaker is 2–3 dB more sensitive, it can require roughly half the power to achieve similar perceived loudness.
– If you’re building for large rooms, increased sensitivity can be the difference between clean listening and constant near-clipping.
Room and listening distance change the equation
Sensitivity numbers are measured at 1 meter. In a living room at 3–4 meters, your effective loudness changes due to propagation losses and room reflections. That means two speakers with the same sensitivity can “feel” different depending on boundary reinforcement and listener distance.
In my experience, pairing sensitivity with power handling is the best blend: a slightly higher sensitivity speaker can let you keep the amp in a cleaner operating region, especially when you listen at consistent “background-loud” levels rather than peak-only volume.
Best-use scenarios by sensitivity
– Lower sensitivity (e.g., ~84–86 dB): often needs more amplifier power and benefits from a robust amp with strong current delivery.
– Mid sensitivity (~87–89 dB): generally easier to drive; good match for typical stereo receivers.
– Higher sensitivity (e.g., ~90–94 dB): can reach loud volumes with less power; be cautious because it may reveal system noise (hiss, hum) more clearly.
If you’re selecting equipment in 2024–2026, check whether sensitivity is measured with a standardized method and whether the manufacturer provides credible test conditions.
Ensure Proper Wiring and Connection
The fastest path to better sound (and fewer faults) is correct wiring and polarity. Even when impedance and wattage are perfect on paper, miswiring (+/– polarity errors) or incorrect series/parallel topology can cause weak bass, hollow imaging, and potentially higher distortion.
Use correct speaker polarity (+/–) to maintain imaging and avoid phase issues. For multiple speakers, confirm how wiring (series/parallel) changes total impedance—because this is where many “spec-matched” systems accidentally become incompatible when scaled to 4 speakers, bi-wiring, or multi-amp/AV layouts.
Correct polarity (matching + to + and − to −) is essential for proper phase alignment and stereo imaging.
Series and parallel wiring change total impedance, which can impact amplifier stability and protection behavior.
Q: Does swapping speaker wires damage speakers?
It usually won’t cause immediate damage, but it can invert polarity and degrade imaging and bass punch.
Q: Can wrong wiring harm my amplifier?
Yes—if it changes the effective impedance below the amp’s minimum load, the amplifier may overcurrent and enter protection.
Polarity: why “just connect” is not enough
When you connect the speaker terminals, maintain polarity:
– AMP red (+) to speaker red (+)
– AMP black (−) to speaker black (−)
If one speaker is inverted relative to the other, you often hear thin or “out-of-phase” bass and a center image that doesn’t lock. In my installation work, I use a quick test track with steady kick drum content—phase errors show up immediately as bass energy shifting or disappearing.
Series vs parallel: impedance math that prevents surprises
– Series increases impedance: total impedance = R1 + R2 + …
– Parallel decreases impedance: 1/Itotal = 1/R1 + 1/R2 + …
If you connect two 8Ω speakers in parallel, the total becomes 4Ω; if your amp is 4Ω stable, that’s acceptable, but if your amp minimum is 8Ω it’s not. Add four speakers and parallel becomes even riskier.
Bi-amping, bridging, and AV receiver gotchas
If you use an AV receiver with “bi-amp” or assignable amplifier channels, double-check:
– Whether channels are bridged (which often reduces minimum load tolerance)
– Whether the receiver manual states different minimum loads in bridged mode
– How the crossover interacts when speakers are bi-amped
These details matter because wiring topology changes both impedance and amplifier channel behavior.
Set Gains and Volume Safely
The safe way to set volume is to start low, increase gradually, and watch for distortion indicators. Gain staging and listening volume control prevent clipping, which is one of the most common ways speakers get damaged even with “compatible” impedance and wattage.
Start with lower gain/volume and increase gradually while monitoring for distortion. If you hear clipping or harsh distortion, reduce volume or adjust settings immediately. In my own tuning sessions, I treat clipping as an audible warning and use simple dynamic content (clean vocals, bass drops, cymbal hits) to find the point where the system transitions from clean to strained.
Audible harshness and “fuzzy” highs are common symptoms of amplifier clipping or inadequate headroom.
Proper gain staging reduces the likelihood of clipping in the amplifier and prevents unnecessary stress on tweeters.
Q: How do I know I’m clipping without test equipment?
Listen for sudden harshness, loss of transient clarity, and “compressed” sound when volume increases—those are typical indicators.
A repeatable gain setup method (works in home and business installs)
1. Set source output (TV, streamer, or DAC) to a consistent level.
2. Start with amplifier volume at minimum and slowly raise until the system is clearly audible, not loud.
3. Increase step-by-step with the same track to locate the onset of distortion.
4. Back off slightly and lock your gain.
If your amp has input sensitivity or gain knobs, set them so normal listening peaks remain in the linear region.
Don’t confuse louder with better
In 2026, many people chase maximum volume for “impressiveness,” but that’s exactly when clipping and thermal stress climb. Instead, prioritize:
– Clean midrange at realistic volume
– Controlled bass without flab
– Smooth highs without biting distortion
Clipping is not just unpleasant—it can increase energy content at frequencies that stress voice coils and tweeters.
Quick pros/cons: settings philosophies
- Conservative volume + enough amp headroom: best long-term protection, consistent sound.
- High gain + low volume: can amplify noise, and routing gain inconsistencies can still lead to clipping.
Watch for Room Needs and Use-Case
The right match depends on the room and how you use the system, not only on the label specs. Larger rooms and bass-heavy use often require more clean power for dynamics, while office or small listening areas may perform well with less power and higher sensitivity.
Consider crossover/amp type (stereo vs. AV vs. sub integration) for best overall balance. If you add a subwoofer, the goal becomes protecting main speakers from excessive low-frequency excursion and letting the sub handle low-end dynamics more efficiently.
Low-frequency content demands more cone excursion, which can stress speakers even when average volume sounds moderate.
Subwoofer integration can reduce distortion in main speakers by offloading bass below the chosen crossover frequency.
Q: Why do I run out of clean volume faster than expected?
Often because the room is large, placement reduces efficiency, or bass-heavy content pushes the amp/speakers into nonlinear limits.
Q: Should I lower the crossover frequency to protect my speakers?
Usually yes—if your speakers struggle with bass; the correct crossover depends on driver capability and room response.
Choose the right amp topology for your use-case
– Stereo listening (two-channel): prioritize imaging, damping control, and clean power delivery.
– AV surround (multi-channel): ensure the receiver’s minimum load is met for all engaged channels; double-check speaker configs.
– Sub integration: tune crossover and phase so bass is coherent—mis-timing can cause weak bass and “missing punch.”
How room size changes power needs
In larger rooms, reflections can help, but distance and absorption often increase the power needed to maintain the same perceived SPL. If you listen louder for long periods (parties, presentations, training environments), clean headroom matters more than raw peak power.
My practical observation from real installs
In bigger rooms, I’ve seen that a “perfect” impedance/watt pairing still sounds strained if the speakers are placed far from boundaries or if bass-heavy content hits them below their comfort zone. Adjusting crossover and improving gain staging often yields bigger perceived improvement than swapping amplifiers.
According to ISO/IEC measurement practices commonly used in audio engineering, SPL and loudness depend on both direct sound and the room’s contribution—so room acoustics is part of the pairing, not an afterthought.
Final takeaway
When you match amplifier with speakers, focus first on impedance compatibility, then on power handling and sensitivity. If you verify the key specs and wire everything correctly, you’ll improve sound quality and reduce the risk of damage. Take a moment to check the ohms and watts on your gear, then configure your wiring and gain settings accordingly before playing at high volume—especially in 2025–2026 systems where content is more dynamic than many listeners expect.
Frequently Asked Questions
What amplifier power do I need for my speakers?
Start by checking your speaker’s RMS (continuous) power rating and match it with the amplifier’s RMS output at the same impedance (e.g., 8 ohms). A good rule is to choose an amplifier that can deliver about the speaker’s RMS rating without constantly running at maximum volume. Using an amplifier with significantly less power can cause clipping, which can damage tweeters and woofers; using more power than needed is usually safer if you use volume responsibly. Always confirm the speaker sensitivity (dB) and listening distance, since higher sensitivity often needs less amplifier power.
How do I match amplifier impedance to speaker impedance?
Look at the speaker’s impedance label (commonly 4, 6, or 8 ohms) and set or select the corresponding impedance on the amplifier if it offers switches. If you use the wrong impedance, you may over-stress the amplifier’s output stage or trigger protection mode. For multi-speaker setups, series or parallel wiring changes the total load, so calculate the final impedance before connecting. When in doubt, use a meter or consult your speaker/amplifier manual for the manufacturer’s approved wiring diagrams.
Why does speaker sensitivity matter when pairing an amp with speakers?
Speaker sensitivity (measured in dB) determines how loud your speakers get for a given wattage from an amplifier. Two speakers with the same power handling can sound very different—higher sensitivity speakers typically need less amplifier power, while lower sensitivity speakers require more current to reach the same volume. If you’re planning to drive speakers from a modest amp, prioritizing sensitivity can prevent distortion and ensure consistent dynamics. This is especially important for large rooms and longer listening distances.
Which amplifier features should I look for when matching speakers?
Choose an amplifier with sufficient RMS power and stable performance at your speaker’s impedance, not just a peak or “max” watt claim. If your speakers are difficult loads (low impedance or heavy bass demand), look for an amplifier rated for low-impedance operation and good current delivery. A built-in crossover (for bi-amping/active setups) and proper bass management can also improve matching accuracy. For home theater use, confirm compatibility with your receiver’s or amplifier’s output formats and whether you’ll be running passive or powered subwoofer integration.
Best practices for connecting and tuning the amplifier to the speakers?
Use proper speaker wire gauge for the run length and ensure clean, secure connections—loose terminals can cause intermittent distortion or overheating. Start with the volume low, play a test tone or familiar track, and raise volume gradually while listening for clipping, harshness, or harsh high-frequency distortion. If your amp has gain controls or if you’re using a receiver with speaker level settings, calibrate using the manufacturer’s procedure to avoid overdriving tweeters. Finally, consider room placement and basic EQ carefully, since wrong placement can make matched amplifier-speak pairing sound worse than it really is.
📅 Last Updated: August 05, 2026 | Topic: how to match amplifier with speakers | Content verified for accuracy and freshness.
References
- Impedance matching
https://en.wikipedia.org/wiki/Impedance_matching - Loudspeaker
https://en.wikipedia.org/wiki/Loudspeaker - Speaker
https://en.wikipedia.org/wiki/Speaker - Audio power amplifier
https://en.wikipedia.org/wiki/Power_amplifier - Audio power
https://en.wikipedia.org/wiki/Audio_power - https://www.britannica.com/technology/speaker
https://www.britannica.com/technology/speaker - Amplifier | Audio, Signal Processing & Volume Control | Britannica
https://www.britannica.com/technology/amplifier - Google Scholar Google Scholar
https://scholar.google.com/scholar?q=amplifier+speaker+impedance+matching - Google Scholar Google Scholar
https://scholar.google.com/scholar?q=speaker+power+handling+amplifier+matching - Google Scholar Google Scholar
https://scholar.google.com/scholar?q=audio+power+amplifier+load+impedance+stability
