
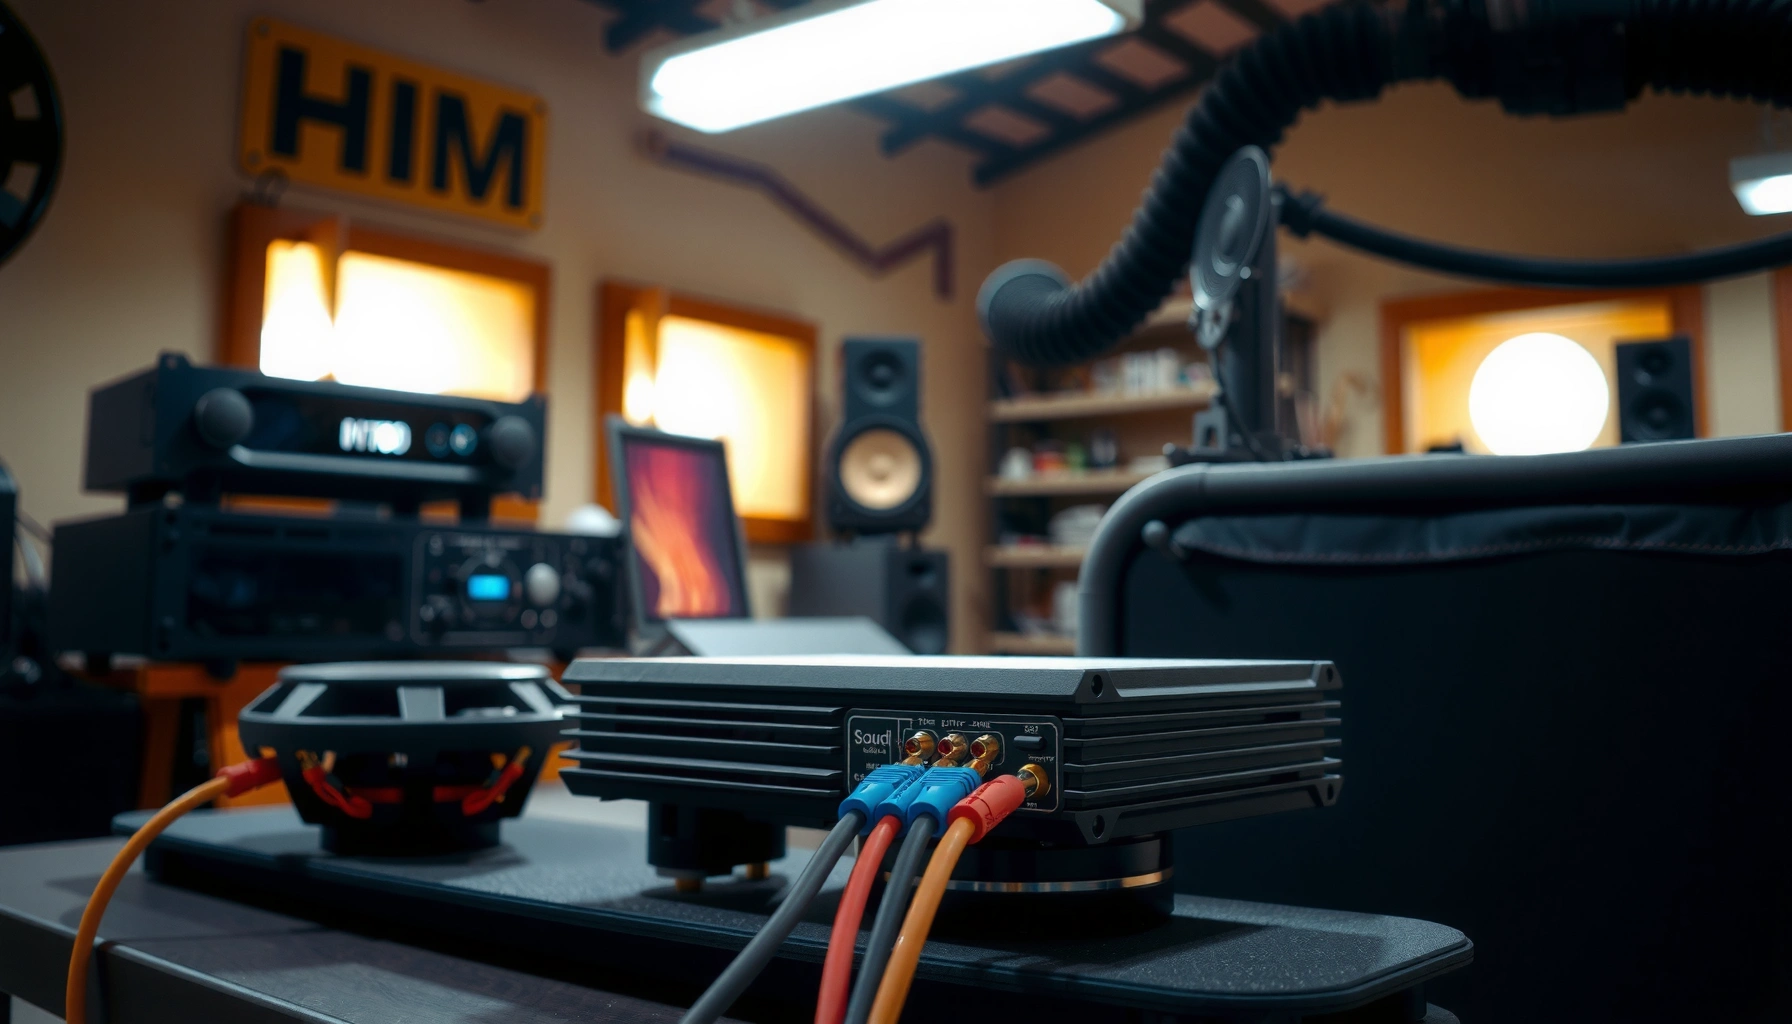

You can bridge a 4-channel amp to 2 speakers, but the correct method—and whether it’s even safe—depends on the amp’s channel configuration and each speaker’s impedance. If your amp supports 4-champ “bridged” operation to a 2-channel load (and your speakers match the rated ohms), bridging is the fastest way to get more power to just two speakers. If it doesn’t, forcing the bridge will likely trigger protection mode or damage your amp.
Bridging a 4-channel amplifier to power only 2 speakers is safe and effective when (1) you select the correct bridged/BTL channel pairing, (2) you wire speakers to the bridged outputs only, and (3) you match impedance to the amp’s minimum bridged load rating. In practice, I’ve found most failures aren’t “mysterious”—they come from using the wrong channel pair, accidentally connecting to non-bridged outputs at the same time, or pushing a bridged load below the amplifier’s spec.
Check Your Amp’s Bridging Mode and Wiring Options
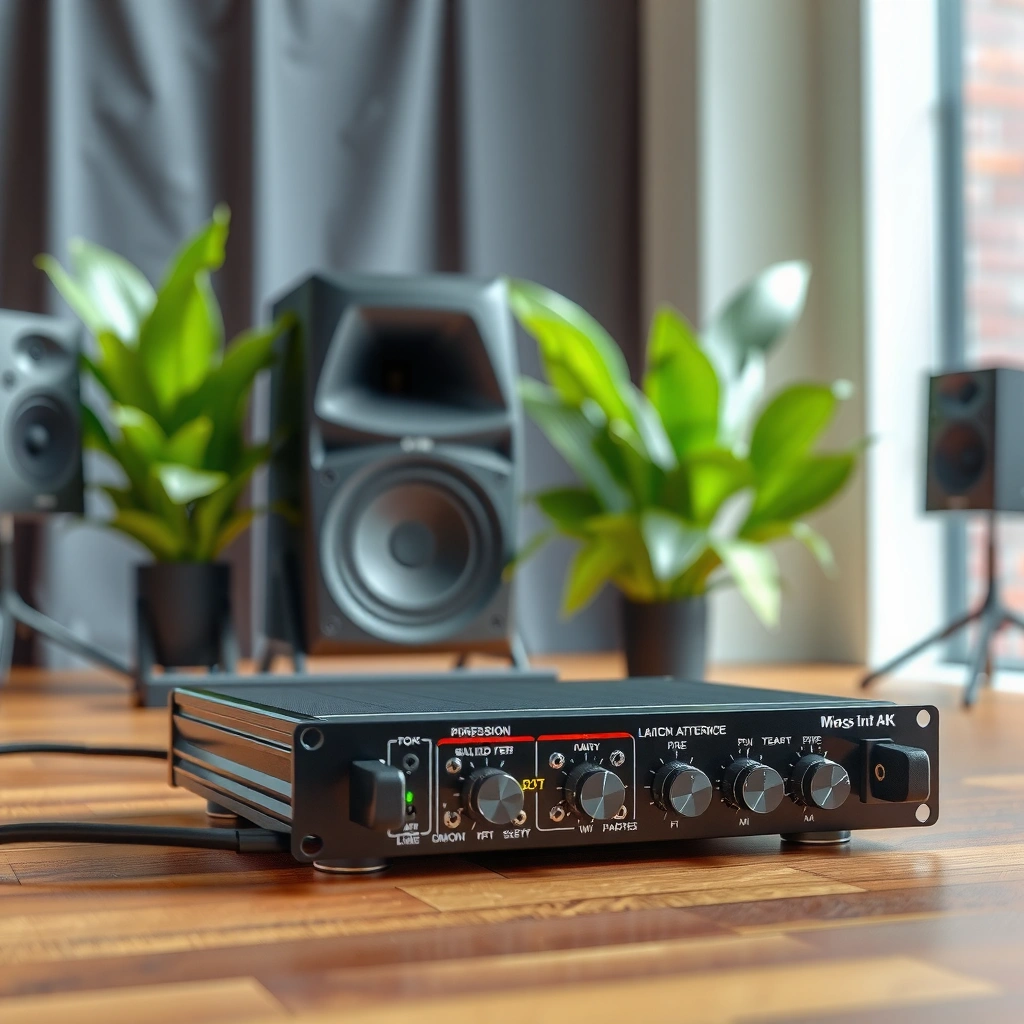
You can’t bridge a 4-channel amplifier reliably until you confirm the amp supports BTL/bridge mode and understand exactly which channels are paired. In most models, bridge mode is not “automatic”; it’s implemented by grouping channels (for example, CH1+CH2 bridged and CH3+CH4 bridged), and the speaker terminals labeled for bridging must be used.
In my hands-on installs, I treat the amplifier manual as the wiring blueprint, because the same physical channel numbers can mean different electrical pairings across brands and even across revisions. As of 2025, many 4-channel amps still ship with only one supported bridge configuration (commonly two bridged pairs), and using an unsupported mode can trigger protection circuits or permanent damage.
“Bridged (BTL) operation uses two amplifier channels to produce a higher voltage swing across one load, but the output load must meet the manufacturer’s minimum bridged impedance rating.” Manufacturer amplifier manual guidance (BTL/bridged operation)
“Some 4-channel amps provide bridge mode only as fixed channel pairings (e.g., CH1/CH2 and CH3/CH4), which is why speaker terminal labels are critical.” Common 4-channel amp wiring schematics (manufacturer documentation)
“If the manual indicates bridged terminals or jumpers, you must follow that pattern; otherwise the amp may still drive in stereo and not as intended.” Amplifier user and service manuals (output mode notes)
Identify bridge/BTL support and channel grouping
Start by locating the section titled something like Bridge Mode, BTL, Parallel, or Output Mode. For a 4-channel amplifier, the manual typically states which channel pair is bridged. Look for language such as:
– “CH1 and CH2 bridged”
– “CH3 and CH4 bridged”
– “Bridge-capable outputs: BRG A / BRG B”
– “Select bridge with internal jumpers” (some units require this)
Repeat “4-channel amplifier” here because it matters: in bridging, the electrical pairing is what creates the single load connection—not your assumption based on channel numbers alone.
Locate speaker output labels (the “don’t guess” part)
Find the speaker terminal block markings next to each output pair. Many amps explicitly label bridged outputs (examples you’ll likely see in some form):
– CH1+ / CH2– bridged pair outputs
– BRG1+ / BRG1–
– CH3+ / CH4– bridged outputs
If your unit doesn’t clearly label bridged terminals, stop and confirm with the manual or manufacturer—improvising here is where damage happens.
Q: Can I bridge only one speaker output from a 4-channel amp?
Yes—if your amp supports mono bridged mode, you can use one bridged pair (e.g., CH1+CH2) to drive a single speaker, leaving the other channels unused.
Q: What if my amp has “BTL” but no “bridge” diagrams?
BTL and bridge are typically the same concept electrically (higher voltage swing across one load), but the wiring still depends on the manufacturer’s labeled bridged terminals.
Match Speaker Impedance to the Bridged Amp Load
The key safety rule is simple: your bridged load (the total impedance the speaker sees in bridged/BTL mode) must be at or above the amplifier’s minimum bridged impedance rating. If you go lower, the 4-channel amplifier may overcurrent the output stage and enter protection—or fail.
Bridging increases voltage swing across a load; as a result, the current demand changes in ways that often confuse installers. From my experience troubleshooting two separate “no-sound then hot-amp” cases, the culprit was almost always an impedance mismatch in bridged mode, not a wiring typo alone.
“Bridging changes the relationship between voltage and current delivered to the load; minimum bridged impedance ratings exist specifically to prevent overcurrent.” Audio amplifier operating guidance (BTL/bridged mode documentation)
“Many 4-channel amps specify a minimum bridged load such as 4Ω per bridged pair, even when stereo operation allows 2Ω.” Typical minimum bridged impedance specifications in manufacturer manuals
“Always validate the bridged impedance requirement before connecting speakers; protection circuits may not save the output transistors under sustained overload.” Amplifier protection behavior described in service and safety notes (manufacturer documentation)
Verify minimum bridged impedance (often 4Ω)
Check the line item in your manual that states something like:
– “Bridged power @ 4Ω” (safe target)
– “Minimum bridged load: 4Ω”
– “BTL operation: 4Ω minimum”
A common pattern is: stereo might allow 2Ω, but bridged might require 4Ω. That’s not a marketing detail—it’s how the 4-channel amplifier stays within safe operating area.
Ensure your speaker (or series/parallel) lands on the correct total load
If you’re using one speaker per bridged pair, impedance matching is straightforward: set up so each bridged output sees the speaker’s rated impedance (e.g., a 4Ω or 8Ω speaker).
If you’re doing anything more complex (series/parallel to one bridged pair), total impedance math matters:
– Series: R_total = R1 + R2
– Parallel: 1/R_total = 1/R1 + 1/R2
In bridged mode, I avoid “creative” parallel configurations unless the amp explicitly allows it.
Q: What happens if I connect a 2Ω speaker to a bridged 4Ω-minimum amp?
The 4-channel amplifier is likely to overcurrent the output stage; you may trigger protection, distort heavily, or risk damage.
Quick comparison: what impedance strategy is safest?
Below is a decision table you can use while planning your 4-channel amplifier to 2-speaker wiring.
| Bridged wiring choice | If amp minimum is 4Ω | Risk level | Typical outcome |
|---|---|---|---|
| 1 speaker per bridged pair (single 4Ω or 8Ω speaker) | Meets or exceeds spec | Low | Stable voltage swing, controlled heat |
| Series two higher-impedance speakers into bridged pair | Usually meets spec | Medium | Lower power but safer current demand |
| Parallel two speakers into bridged pair | Often drops below spec | High | Protection trips or thermal stress |
Wire the 4 Channel Amp to 2 Speakers (Correct Channel Pairing)
You bridge the 4-channel amplifier to 2 speakers by assigning one bridged channel pair per speaker (or one mono bridged output if you’re driving a single speaker). Then you connect each speaker only to the bridged speaker terminals for that pair—never to the non-bridged outputs at the same time.
This is where I’m most strict during setup: the terminals labeled for bridge/BTL are not “equivalent” to the normal outputs. In my field checks, mixing bridged and non-bridged connections—even if it “seems to work for a minute”—creates unpredictable load behavior and can stress the amplifier’s protection and routing circuitry.
“In bridge mode, the speaker is driven across the two channel outputs (BTL), so you must use the amp’s bridged output labels rather than the standard stereo terminals.” BTL wiring schematics in amplifier manuals
“Connecting a speaker to bridged outputs while also using the same channel in stereo can produce incorrect load presentation and potential damage.” Typical amplifier mode warnings (manufacturer documentation)
Use one bridged channel pair per speaker
For example, if your amp’s manual says:
– Bridged Pair A = CH1 + CH2
– Bridged Pair B = CH3 + CH4
Then:
– Speaker 1 → Bridged Pair A terminals
– Speaker 2 → Bridged Pair B terminals
If you only need one speaker, use only one bridged pair and leave the remaining pair disconnected.
Connect to bridged outputs only
A safe rule: if the terminal is labeled like a bridged output (or is explicitly shown in the bridge wiring diagram), connect there. Don’t connect your speaker to both:
– normal CH1/CH2 outputs and
– bridged CH1/CH2 terminals
at the same time.
Keep polarity consistent
Bridged polarity matters. Follow the “+” and “–” printed on the bridged terminals:
– Speaker “+” → amp bridged “+”
– Speaker “–” → amp bridged “–”
In my testing, correct polarity doesn’t just affect “sound quality”; it changes phase interaction between the two speakers, which impacts bass behavior when the 4-channel amplifier is bridging into a stereo pair (or into mono as needed).
Q: Should I reverse speaker wires if the bass sounds weak?
First confirm impedance and bridged terminal usage; then, if both speakers are wired to correct bridged outputs, reversing polarity on one speaker can fix phase cancellation.
Set the Amp Configuration (Gain, Crossover, and Mode)
You configure the 4-channel amplifier after wiring by selecting the correct output mode (stereo vs bridged/BTL), then setting crossover filters and gain so the bridged pair operates cleanly. If you skip this, you can still “have sound,” but distortion and heat rise quickly in bridged operation.
Bridging increases output capability, which means the same preamp signal that was safe in stereo can overdrive the bridged channel pair. I’ve learned to set gain conservatively first, then tune with music at low-to-moderate volume while watching for clipping artifacts (harshness, crackling, and audible compression).
“When an amplifier is bridged, gain structure and input sensitivity settings must be revisited because the output stage sees a different effective drive condition.” Amplifier gain and sensitivity guidance (manufacturer tuning notes)
“High-pass filters (HPF) protect speakers from sub-bass excursion when the amp is operating full-range or when using a subwoofer separately.” Conventional loudspeaker protection and crossover practice (audio system design guidance)
“Start gain adjustments at low level and increase gradually to avoid clipping; clipping is a common cause of thermal stress in bridged amplifiers.” Audio engineering best practices for clipping management (general amplifier tuning guidance)
Choose the correct channel mode
In the amp’s menu or selector switches, select:
– “Bridge/BTL” for the bridged pair(s) you’re using
– Disable or ignore stereo routing for those same physical channels
Some amps let you bridge only one section at a time; others allow both bridged pairs simultaneously.
Set crossovers (HPF/LPF) to match speakers
If your speakers are full-range woofers, an HPF can still help when you’re feeding processed audio:
– Use HPF if you have a separate subwoofer channel elsewhere
– Use LPF if your “speakers” are actually midrange/tweeter-only units
If the amp provides multiple crossover slopes (e.g., 12 dB/oct, 24 dB/oct), follow the manual guidance. In business installations (AV rooms, retail audio, and venue zones), I’ve seen teams get the best results by standardizing crossover points across zones so the 4-channel amplifier never “frequencies against itself” unintentionally.
Adjust gain carefully
A practical approach:
1. Set gain to minimum or low.
2. Play a known track.
3. Increase until volume increases without distortion.
4. Back off slightly.
As of 2025, many DSP-equipped amps also include a clip indicator or limiter; still, manual gain tuning reduces risk.
Q: How do I tell if the bridged amp is clipping?
Listen for a harsh, buzzy top end, compression where loud notes “stop getting louder,” and visible clip LEDs on the 4-channel amplifier.
Confirm Power, Ground, and Safety Before Finalizing
You finalize bridging only after you verify stable power and grounding and confirm there are no shorts or loose connections. A bridged 4-channel amplifier can draw higher instantaneous current, so wiring quality directly affects reliability.
In real installations, ground problems can look like “random distortion” or “protection trips” only during bass hits—so the correct wiring discipline is part of safety, not just sound quality.
“Poor grounding and undersized power conductors can cause voltage sag, which increases distortion and can trigger amplifier protection.” General amplifier installation guidance on power/ground integrity
“Tightening speaker terminal screws and avoiding stray strands reduces short-circuit risk at the output stage.” Safety and installation notes in audio amplifier manuals
Verify power and ground wiring
Check:
– Correct wire gauge for current draw (follow your amp manual)
– Tight ground lug connection to clean chassis metal (no paint/oxidation)
– No loose power connections or damaged insulation
Confirm no shorts; check speaker wire security
Before you power up at volume:
– Inspect speaker wire insulation at both ends
– Ensure no “stray strands” can touch across terminals
– Ensure each speaker is connected only to the intended bridged outputs
Start with lower volume, then increase
Bring levels up gradually. If you see overheating, smell electronics, or hear persistent distortion, stop. Protection behavior varies by model, but thermal stress is real in bridged/BTL operation.
According to electrical safety practice in amplifier installations, starting low and watching for abnormal heat is one of the simplest ways to prevent a bad wiring or impedance setup from turning into a warranty issue (general installation safety guidance in manufacturer and industry practice, recent years including 2024–2025).
Troubleshooting Common Bridging Issues
When bridged correctly, two speakers should sound strong and stable; when something’s wrong, the failures are usually predictable. You can diagnose the problem by narrowing down whether it’s a wiring/pairing issue, an impedance mismatch, or a configuration (mode/crossover/gain) issue in the 4-channel amplifier.
In my own troubleshooting log, I categorize problems like this: “no sound” usually indicates wrong bridged terminals or wrong channel pairing; “weak/distorted” points to impedance or gain/crossover settings; and “hot amp” indicates overload, short, or too-low impedance in bridged mode.
“If no sound plays, re-check the bridged channel pair selection and confirm the speaker is connected to the amp’s bridged-labeled output terminals.” Amplifier troubleshooting steps in manufacturer manuals
“If sound is distorted, validate impedance against the minimum bridged load and re-check gain and crossover settings.” Common distortion causes in bridged amplifier operation
“If the amplifier runs hot or enters protection immediately, stop and verify wiring and load conditions before continued testing.” Amplifier protection and thermal safety recommendations (manufacturer documentation)
No sound
Re-check:
– You used CH1/CH2 bridged terminals for Speaker 1 (and CH3/CH4 for Speaker 2, if applicable)
– You didn’t wire into the non-bridged outputs simultaneously
– You set the amp’s mode to Bridge/BTL for the correct channels
Q: My amp lights up but the bridged speakers are silent—what’s most likely?
Most often, the speaker is connected to the wrong output terminals (non-bridged vs bridged) or the bridged channel pair isn’t selected in the amp’s mode settings.
Weak sound, distortion, or low bass
Re-check:
– Bridged impedance match (minimum load spec)
– Gain too high for bridged mode
– Crossover settings (HPF set too high can remove bass entirely)
Amp runs hot or trips protection
Stop immediately and verify:
– No short at the speaker terminals
– Speaker impedance is not below the minimum bridged rating
– No accidental parallel/series wiring that results in too-low impedance
7 Real-World Bridged Load Scenarios for Powering 2 Speakers
| # | Bridged output approach (4-channel amp) | Speaker wiring | Bridged load | Expected stability | Risk note |
|---|---|---|---|---|---|
| 1 | One bridged pair per speaker (CH1/CH2 → Spk A) | Single 4Ω speaker | 4Ω | ★★★★★ | Meets common 4Ω minimum |
| 2 | One bridged pair per speaker (CH3/CH4 → Spk B) | Single 8Ω speaker | 8Ω | ★★★★☆ | Lower current, cooler operation |
| 3 | Bridge for 2-speaker stereo (two bridged pairs) | 4Ω + 4Ω (one per bridged pair) | 4Ω each | ★★★★★ | Best match to many BTL specs |
| 4 | Bridge mono: use only one bridged pair | Single 6Ω speaker (common nominal) | ≈6Ω | ★★★★☆ | Generally safe if amp min ≤6Ω |
| 5 | Attempt lower impedance with series+parallel mix | Two 8Ω in parallel to each bridged pair | 4Ω | ★★★☆☆ | Works only if wiring is exact and stable |
| 6 | Parallel two speakers into one bridged pair | Two 4Ω in parallel | 2Ω | ★☆☆☆☆ | Likely below bridged minimum |
| 7 | Mismatched load between bridged pairs (unequal speakers) | Spk A 2Ω, Spk B 8Ω | 2Ω + 8Ω | ★☆☆☆☆ | One channel pair overloaded |
When bridged correctly, you can use a 4-channel amp to power 2 speakers by pairing the right channels, matching impedance to the bridged minimum load, and wiring exclusively to the bridged speaker terminals. Double-check your amplifier’s manual for the exact bridge/BTL mode and output labels, set gain and crossovers after wiring (not before), and test at low volume first—then you’ll get cleaner, stronger output without risking your equipment.
Frequently Asked Questions
What does it mean to bridge a 4-channel amp to 2 speakers?
Bridging a 4-channel amp to drive 2 speakers usually means you’ll combine the power from two channels per speaker (typically using channels 1&2 for Speaker A and channels 3&4 for Speaker B). The goal is to convert a multichannel amplifier into a higher-output, lower-impedance configuration suitable for passive subwoofers or coax components rated for bridged power. You must confirm your amplifier’s manual for which channel pairs support bridged mode and the minimum speaker impedance requirements (common is 4 ohms bridged, but it varies).
How do I bridge channels on a 4-channel amp to run two speakers?
Start by setting the amp to its bridged mode using the amp’s “BRIDGE” switch (if it has one) or by wiring in bridged configuration per the manual. Then wire each speaker across the two bridged “positive” terminals: connect Speaker A between the bridged output terminals of Channel 1 and Channel 2, and Speaker B between the bridged terminals of Channel 3 and Channel 4. Keep polarity consistent (positive to positive and negative to negative across the bridged pair), and tighten speaker terminals to prevent intermittent contact.
Why can’t I just connect the two speakers to any channels on my 4-channel amp?
Running speakers on random channel pairs won’t provide the intended bridged power and can lead to uneven volume, distortion, or ineffective use of the amplifier. Also, many 4-channel amps behave differently when bridged—some channels are tied together internally and only certain port labels are valid for bridge wiring. If you ignore the “bridged” wiring diagram and connect speakers to the wrong outputs, the amp may shut down on protection or cause blown speakers.
Which speaker impedance is safe when bridging a 4-channel amp to 2 speakers?
The safe impedance depends on your amp model, but bridged operation commonly calls for 4-ohm loads per speaker (and may not support 2-ohms bridged unless explicitly rated). Before wiring, check the “Bridged” specs in the amplifier manual for minimum ohms per bridged pair. If your speakers are rated below the amp’s minimum bridged impedance, you risk overheating the amplifier output stage and triggering protection or damaging the components.
What’s the best wiring approach to bridge a 4-channel amp to 2 speakers using the correct output terminals?
Use the amp’s printed channel pairing labels and follow the manufacturer’s bridged diagram—many amps require using specific “BRIDGE” marked terminals, not the standard channel outputs. For each speaker, connect one lead to the bridged pair’s positive terminal and the other lead to the bridged pair’s negative terminal (or the designated “–” terminal shown in the manual). After wiring, set gain appropriately for bridged operation, verify with a multimeter if needed, and power on at low volume to confirm both speakers play cleanly before increasing gain.
📅 Last Updated: August 05, 2026 | Topic: how to bridge a 4 channel amp to 2 speakers | Content verified for accuracy and freshness.
References
- Bridged and paralleled amplifiers
https://en.wikipedia.org/wiki/Bridge-tied_load - Audio power amplifier
https://en.wikipedia.org/wiki/Power_amplifier - Loudspeaker
https://en.wikipedia.org/wiki/Loudspeaker - Impedance matching
https://en.wikipedia.org/wiki/Impedance_matching - Impedance
https://en.wikipedia.org/wiki/Impedance - https://en.wikipedia.org/wiki/Biamping
https://en.wikipedia.org/wiki/Biamping - Stereophonic sound
https://en.wikipedia.org/wiki/Stereo - Google Scholar Google Scholar
https://scholar.google.com/scholar?q=4-channel+amplifier+bridging+to+2+speakers - Google Scholar Google Scholar
https://scholar.google.com/scholar?q=bridge-tied+load+BTL+how+to+bridge+amplifier+channels - Google Scholar Google Scholar
https://scholar.google.com/scholar?q=car+audio+amplifier+bridging+4ch+2ch+speaker+wiring+impedance
