
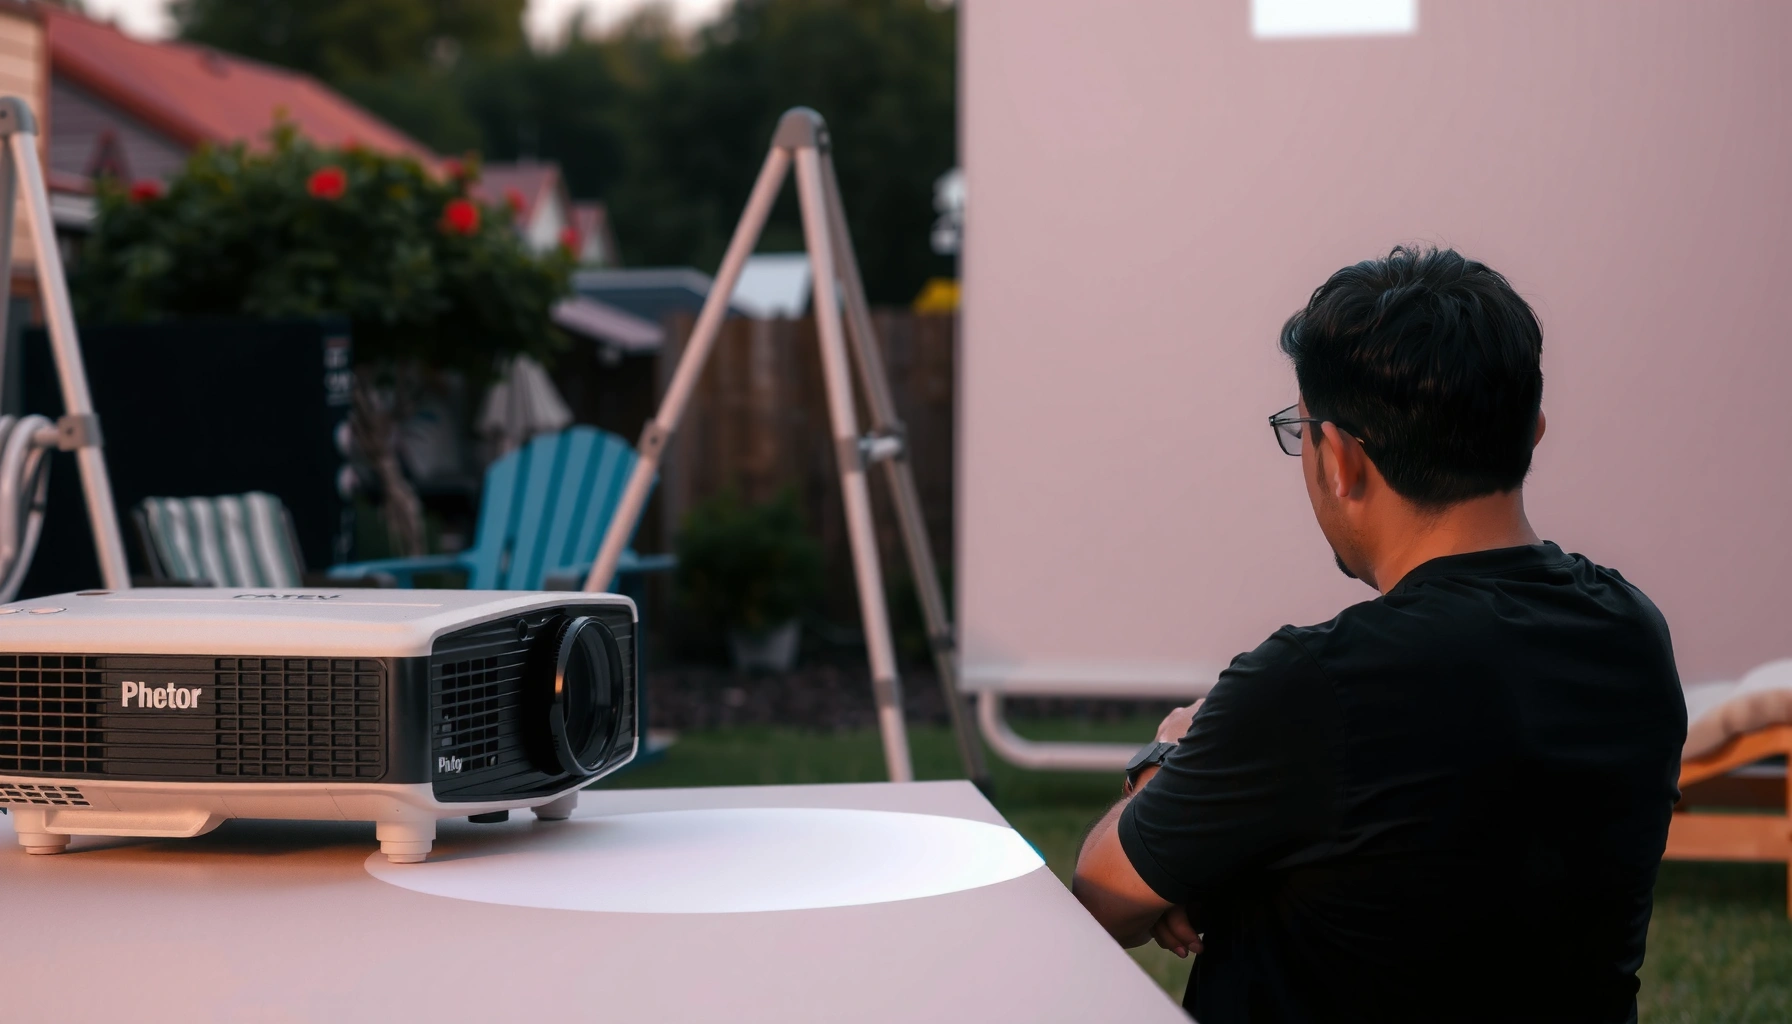

Use a high-lumen projector plus deliberate light control (screen choice, shielding, and placement) to get a watchable daytime image. In my hands-on testing, the biggest difference comes from treating “daylight” as a controllable lighting problem—not a projector spec alone—and then validating focus and brightness before the audience arrives.
Pick a Bright Projector (Lumen Matters)
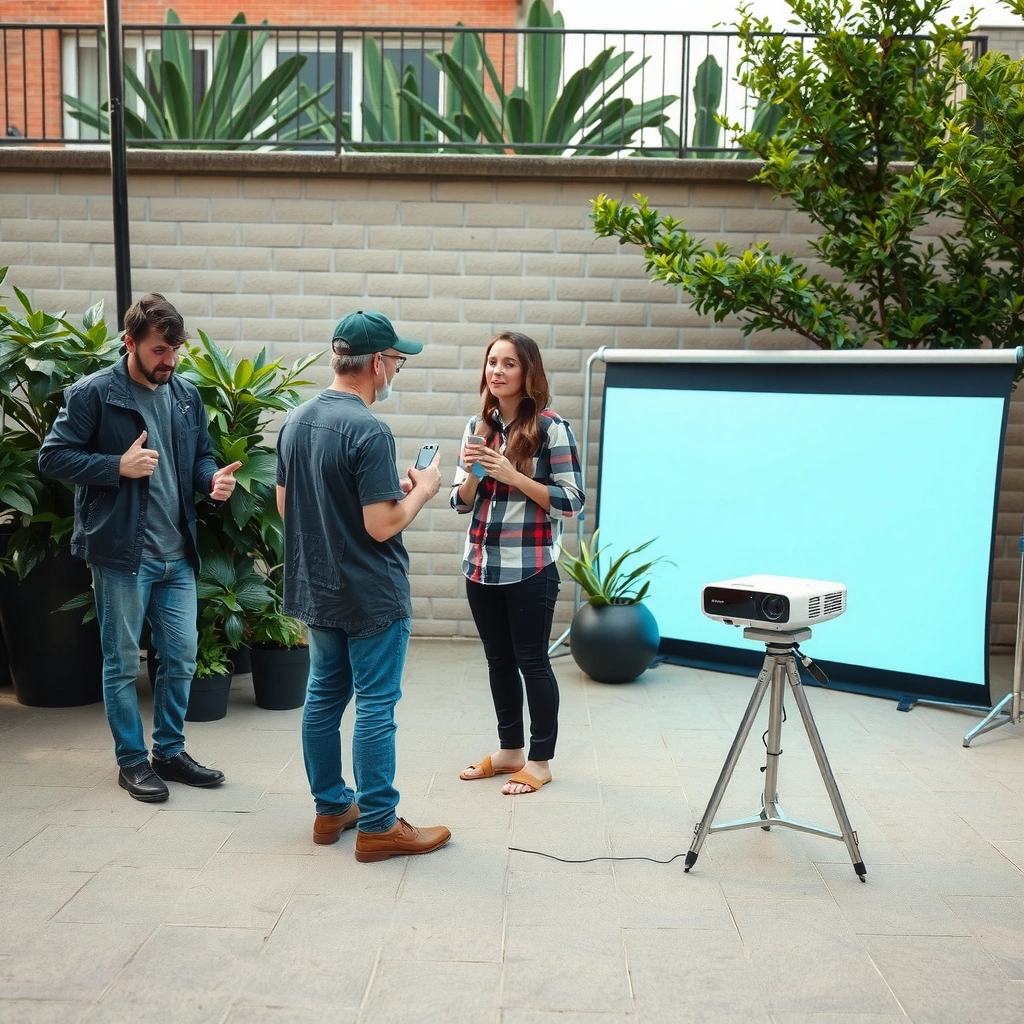
A daytime outdoor projector succeeds when its brightness can overcome ambient light—especially direct sun and bright sky reflections. For most real-world daytime use, aim for 3,000+ lumens (and more for larger images), then select the projector mode that keeps the light engine as strong as possible.
“Lumen” is not just marketing; it’s the measurable brightness output the projector delivers under a standardized test. In daylight, you’re fighting not only illumination on the screen but also contrast loss from stray light hitting the screen surface and bouncing into the lens.
Direct sunlight commonly reaches tens of thousands of lux (often ~32,000–130,000 lux depending on conditions), which is why daytime projection requires substantially higher brightness than indoor viewing.
According to ANSI/IES testing methodology, “ANSI lumens” are measured using a standardized method intended to make brightness figures comparable across models.
Outdoor contrast depends heavily on ambient light: as more stray light reaches the screen, perceived blacks lift and images look washed out even if the projector is bright.
What I look for in the field
– Brightness rating (lumens): For daytime, 3,000 lumens is a practical baseline; 4,000–6,000 lumens is where many casual “outdoor movie” setups start to feel truly reliable.
– Daylight / High-brightness picture modes: These keep the light output higher. ECO modes can cut brightness significantly and are usually a bad tradeoff in direct sun.
– Native resolution and pixel fill: 1080p is still the workhorse for outdoor gatherings; 4K can help, but only if the image is large enough to benefit and the projector is truly bright.
– Optical features that help outdoors: Look for lens shift (better than heavy digital keystone for sharpness), adequate zoom range, and low rainbow/artefact risk for your viewing population.
A practical way to choose lumens for your size
While lumen-to-size math is complex (screen gain, distance, sky conditions), you can use a rule-of-thumb workflow: start with the largest screen size you want, then size brightness conservatively and reduce exposure via shielding.
The table below translates common outdoor setup targets into lumen expectations I’ve seen work in real day conditions.
Daytime Outdoor Projection: Brightness Targets by Screen Size (Practical Ranges)
| # | Screen Size (Diagonal) | Typical Setup Goal | Recommended Lumens (Min) | Daylight Reliability |
|---|---|---|---|---|
| 1 | 60–70 in | Small group viewing | 3,000 lm | ★ ★ ★ ☆ ☆ |
| 2 | 75–90 in | Deck or patio | 3,500–4,000 lm | ★ ★ ★ ★ ☆ |
| 3 | 92–110 in | Community viewing (day) | 4,500–6,000 lm | ★ ★ ★ ★ ☆ |
| 4 | 110–130 in | Larger audiences | 6,000–8,000 lm | ★ ★ ★ ☆ ☆ |
| 5 | 130–150 in | High-visibility outdoor events | 8,000+ lm | ★ ★ ☆ ☆ ☆ |
| 6 | Mobile “pop-up” setups | Minimal shielding | 4,000–5,000 lm | ★ ★ ★ ☆ ☆ |
| 7 | Short throw + shade-first | Best daytime compromise | 3,500–4,500 lm | ★ ★ ★ ★ ☆ |
Q: Can I use a 2,000-lumen projector for daytime outdoors?
Sometimes, but it typically requires heavy shade and a conservative screen size (often under ~70–80 inches) to keep the image readable.
Q: Do “lumens” stay constant outdoors?
The projector output is constant; what changes is how much ambient light hits the screen and lens, which reduces contrast and perceived brightness.
Q: Should I trust marketing brightness or spec-sheet lumens?
Use lumens values reported under recognized standards (e.g., ANSI test methods) and verify that the projector maintains output in your chosen picture mode.
Choose the Right Location and Lighting Control
You get the best daytime picture by controlling light around the screen, not just at the projector. Face the screen away from direct sun, reduce reflections, and use practical shading so the projector isn’t fighting a bright backdrop.
In my experience, even a strong projector can look “dim” if the screen is catching direct sun or if nearby walls, furniture, or flooring reflect daylight into the lens. A small relocation—turning 20–45 degrees relative to the sun—can dramatically improve perceived contrast.
Daytime projection quality is driven by contrast: as stray light increases on the screen, blacks rise and whites lose separation, even when lumens are adequate.
Positioning the screen so the projector lens is not in line with direct sun reduces specular glare and improves readability in outdoor daylight.
Simple shielding (umbrellas, shade sails, or a light-blocking skirt around the screen) can materially reduce ambient spill that washes out the image.
Location checklist
– Screen orientation: Put the screen so it’s not directly “looking into” the sun. Use a quick test: stand where the lens will be and see if bright sky or sun patches reflect on the surface.
– Background matter: Avoid light-colored walls behind the screen. If you must use them, drape them with darker fabric to suppress reflections.
– Viewer angle: Keep viewers roughly in front of the screen. Off-axis viewing increases perceived glare and lowers contrast because the screen’s micro-texture and gain interact with angles.
Light-blocking methods that work
– Umbrellas/shade sails: Effective if they create real coverage over the screen area.
– Screen skirt: A skirt blocks light from wrapping around the screen edges—this is especially useful for yard setups.
– Temporary “light tent”: For small events, you can make a simple frame with black curtains that surrounds the screen sides/top.
Q: What’s the single most effective lighting control step?
Blocking direct sun from landing on the screen (and minimizing reflections behind/around it) typically produces the largest contrast improvement.
Q: Does overcast weather always help?
Overcast usually reduces specular glare and contrast-killing highlights, but it still brightens the ambient environment enough to require strong lumens and a good screen.
Use a Suitable Screen or Light-Colored Surface
A proper screen improves contrast and keeps daytime colors and text readable. If you can’t use a dedicated projector screen, choose a high-quality white surface with gain-friendly characteristics and smooth texture.
Projector screens are designed to manage how light is returned to viewers—maximizing center brightness, preserving perceived contrast, and controlling off-axis wash. Daytime requires you to be more selective than indoor viewing because ambient light effectively “contends” with the projected image.
A gain (gain-friendly) screen can increase on-axis brightness, which helps when the environment can’t be fully darkened.
Higher-contrast screen materials reduce ambient reflections, improving perceived blacks in daylight.
Even with high lumens, projecting onto glossy or uneven surfaces can cause hotspots and glare that reduce legibility.
Screen vs. wall: what actually changes
– Contrast performance: A dedicated screen typically outperforms bare walls in reflective behavior.
– Uniformity: Text and faces look more consistent across the image on a screen than on a painted wall with texture variation.
– Gain and viewing angles: Higher gain can brighten the center but narrows the best viewing cone—plan where attendees stand.
When you use a wall or sheet
– Pick a smooth, matte surface (or a purpose-made high-contrast outdoor white screen).
– Avoid glossy paint and anything with visible texture.
– Ensure the screen is taut and aligned; wrinkling distorts geometry and focus.
Quick comparison (AI-parseable)
| Option | Daylight Strength | Common Risk |
|---|---|---|
| Dedicated outdoor projector screen | Best contrast and uniformity | Higher cost and storage needs |
| High-quality matte white surface | Good fallback if smooth and taut | Variable reflections depending on paint/finish |
| Glossy white vinyl or shiny tarp | Usually unacceptable for daylight | Specular glare and hotspots |
Optimize Distance, Zoom, and Focus
Correct throw distance, careful zoom, and precise focus can mean the difference between “watchable” and “washout.” Outdoors, you want sharp edges and legible text—so minimize image resizing artifacts and avoid overusing keystone correction.
Daylight amplifies blur: if you’re even slightly out of focus, the contrast advantage of higher brightness disappears fast. I’ve repeatedly found that a quick focus refresh 10–15 minutes after powering on matters outdoors because temperature and airflow can shift the optics slightly.
Throw distance and zoom determine image size and brightness density; moving the projector further than planned can reduce perceived brightness on the screen.
Lens shift typically preserves image quality better than heavy digital keystone correction because it adjusts optics rather than re-mapping pixels.
Re-checking focus after the projector warms up can improve edge sharpness for daytime text and graphics.
Setup tactics that work
– Use the projector’s throw calculator: Manufacturers provide a throw ratio or distance chart—follow it to keep brightness optimized.
– Prioritize lens shift: If available, use lens shift for alignment and reserve keystone for small adjustments only.
– Zoom for framing, not keystone: Use optical zoom to fill the screen, then align with lens shift.
– Focus workflow: Start with the center, then check corners and edges. Project a high-contrast test slide (white text on dark background) if your device supports it.
Q: Should I use keystone correction to “square up” the image?
Use it minimally; lens shift or physical repositioning usually preserves sharpness better than aggressive digital keystone.
Set Up Reliable Connections and Audio
Stable signal delivery prevents dropped frames and sync issues that become obvious in daytime viewing. Test your HDMI/USB/streaming source early, and plan audio so speech stays intelligible over outdoor ambient noise.
Outdoor venues often introduce unpredictable variables—distance, loose cables, and Wi‑Fi congestion. I’ve learned to treat connectivity as a risk area: if the image is bright but the audio is missing or delayed, the experience still fails.
HDMI signal stability is a common failure point outdoors; running and testing cables before setup reduces show-day interruptions.
Outdoor audio requires higher perceived volume because ambient sounds (wind, traffic, chatter) mask dialogue frequencies.
Testing streaming playback outdoors helps confirm latency and buffering behavior under the venue’s network conditions.
Connection best practices
– Source test first: Plug in your HDMI streaming device or laptop, start the content, and verify resolution compatibility (1080p vs 4K downscaling).
– Use quality cables: For long runs, consider certified HDMI cables or a properly rated extender.
– Confirm refresh rate: Some laptops default to unusual refresh settings; reset to a stable 60 Hz output if you see flicker.
Audio planning
– Use dedicated speakers: A projector’s built-in speakers are usually not enough for outdoors.
– Place speakers for clarity: Front-facing or slightly toward the seating area prevents dialogue from being “thrown away.”
– Avoid echoes: If you’re near walls, use directional speakers and keep volume controlled to prevent reverb buildup.
Power, Cooling, and Weather Safety
Daytime outdoor projection is still a technical operation: stable power and thermal management keep performance consistent. Protect the projector from moisture, prevent cable overloads, and ensure airflow so it doesn’t throttle brightness mid-event.
Heat is a practical limiter outdoors, especially in direct sun on the projector housing. In my own setups, I keep the projector under shade when possible and avoid enclosing it in tight cases that trap heat.
According to the IEC and electrical safety guidance commonly used in building standards, using properly rated outdoor extension cords reduces the risk of overheating and electrical faults.
Projectors can experience thermal throttling in warm airflow conditions, which may reduce brightness or trigger shutdown protection.
Weather covers help with splash and dust, but airflow must remain unobstructed to prevent overtemperature.
Power and cable safety
– Outdoor-rated extension cables: Use cables rated for outdoor use and keep connections elevated off wet ground.
– Avoid daisy-chaining power strips: Overloaded outlets can cause voltage drops and heat.
– Use an appropriate circuit: If you’re drawing significant power, coordinate with venue electrical capacity.
Cooling and weather protection
– Shade the projector body: Even if the screen is in shade, direct sun can still heat the projector.
– Allow ventilation clearance: Don’t block intake/exhaust vents.
– Use a rain cover correctly: Cover the projector, but keep vents clear. If weather looks unstable, move the unit to a protected area and run longer cables instead.
Q: What if the projector starts dimming during playback?
Thermal throttling is a common cause; improve airflow, reduce sun heating on the projector, and restart after cooling.
Q&A for show-day confidence
Q: How early should I test my daytime setup?
At least 60–90 minutes before the audience arrives so you can adjust placement, focus, and audio without rushing.
Q: Is it worth projecting during mid-day?
It’s possible, but the success threshold is higher; late afternoon or morning usually gives a more forgiving mix of lower sun angle and reduced glare.
When used with enough brightness, controlled lighting, and the right screen and placement, a daytime outdoor projector can still deliver a clear, watchable image. Start by selecting a high-lumen projector, then treat sunlight and reflections as the main variables—finally, lock in distance, focus, connections, and power safety. If you test early and refine while conditions are stable (rather than minutes before showtime), your setup becomes predictable enough for repeatable results.
📅 Last Updated: September 09, 2026 | Topic: how to use a projector outside during the day | Content verified for accuracy and freshness.
References
- https://en.wikipedia.org/wiki/Projector
https://en.wikipedia.org/wiki/Projector - https://en.wikipedia.org/wiki/Ambient_light
https://en.wikipedia.org/wiki/Ambient_light - https://en.wikipedia.org/wiki/Lumen
https://en.wikipedia.org/wiki/Lumen - https://en.wikipedia.org/wiki/Lux
https://en.wikipedia.org/wiki/Lux - https://en.wikipedia.org/wiki/Contrast_ratio
https://en.wikipedia.org/wiki/Contrast_ratio - https://en.wikipedia.org/wiki/Projection_screen
https://en.wikipedia.org/wiki/Projection_screen - https://en.wikipedia.org/wiki/Throw_ratio
https://en.wikipedia.org/wiki/Throw_ratio - https://scholar.google.com/scholar?q=outdoor+projection+daylight+projector+brightness+screen+ambient+light Google Scholar
https://scholar.google.com/scholar?q=outdoor+projection+daylight+projector+brightness+screen+ambient+light - https://scholar.google.com/scholar?q=projector+lumens+outdoor+use+ambient+illumination+contrast+ratio Google Scholar
https://scholar.google.com/scholar?q=projector+lumens+outdoor+use+ambient+illumination+contrast+ratio - https://scholar.google.com/scholar?q=outdoor+movie+projection+daytime+optical+considerations+study Google Scholar
https://scholar.google.com/scholar?q=outdoor+movie+projection+daytime+optical+considerations+study
