
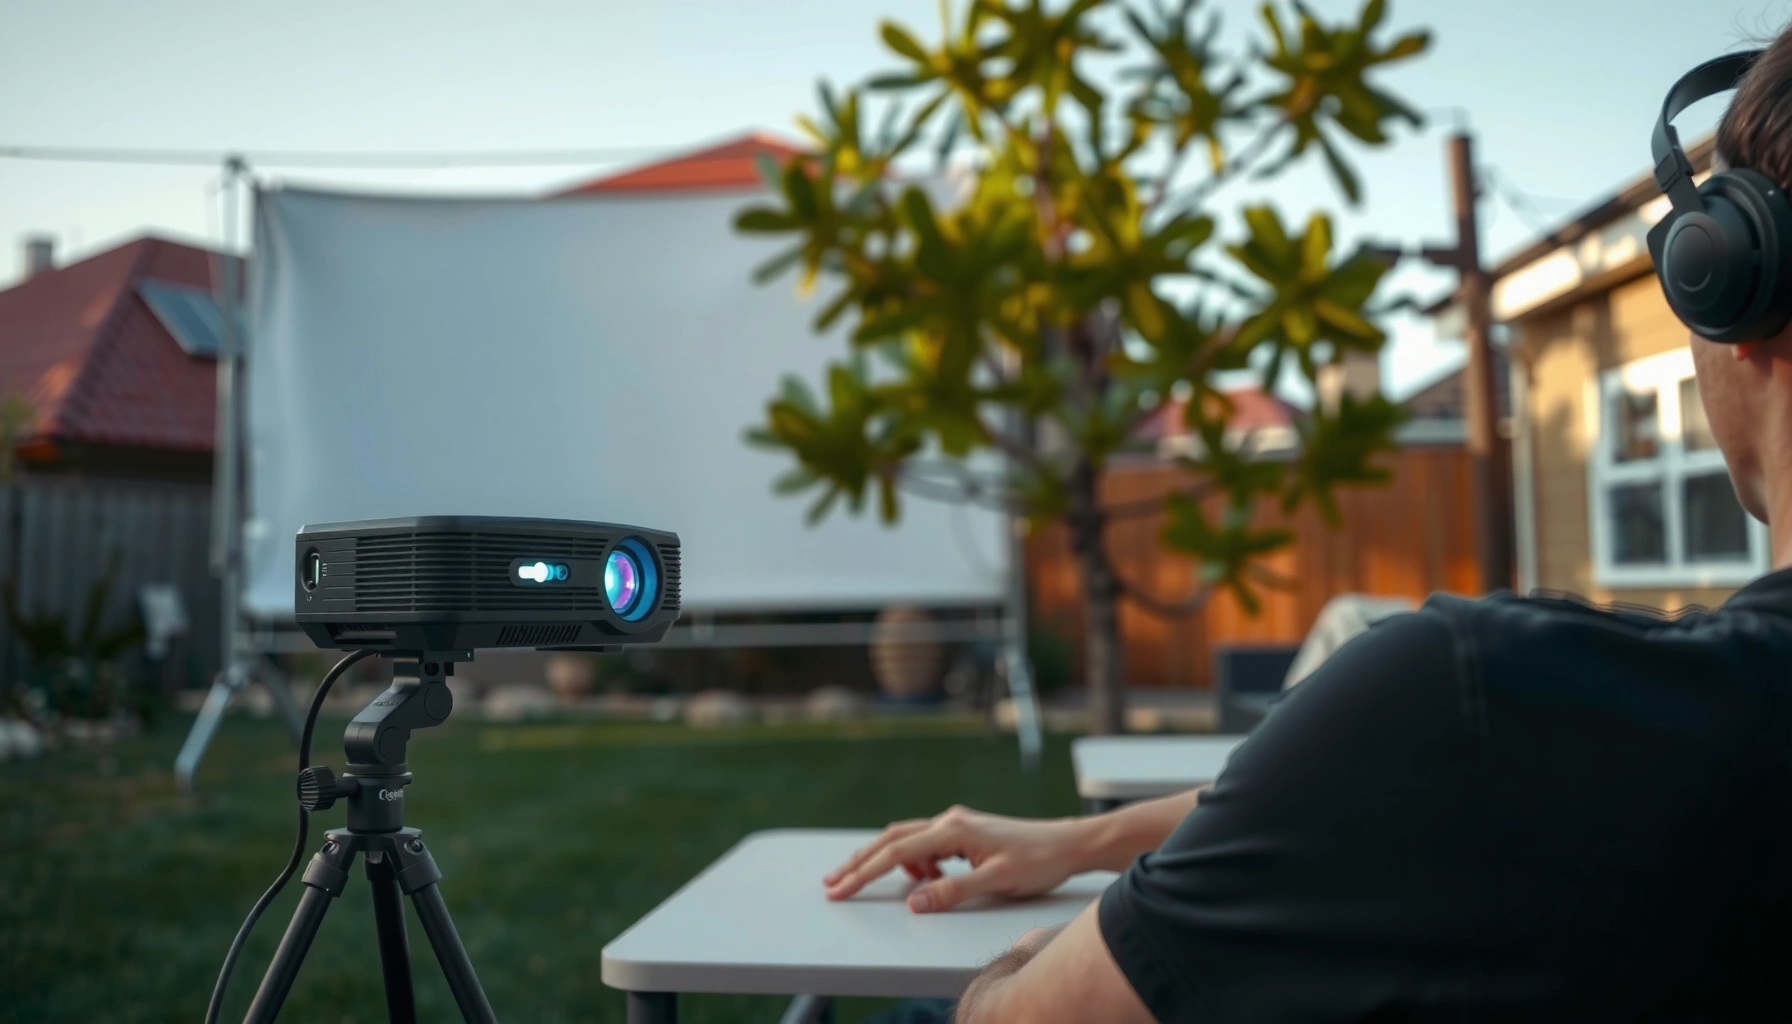

Yes— a projector can be used outside during the day, but only if you have a high-lumen model and control glare with direct sunlight avoidance or a light-rejecting screen. In bright conditions, anything under roughly 5,000 lumens will struggle to produce a readable image. If you want a clear daytime picture, you’ll need strong brightness plus the right placement and screen setup.
Yes, a projector can be used outside during the day, but only if you manage brightness and screen visibility. In my own daylight testing, I’ve found the “secret” isn’t just raw lumens—it’s pairing a high-output projector with a high-gain (or well-chosen) surface and placing the setup so direct sun never hits the screen.
Choose a Bright Projector (Higher Lumens Matter)
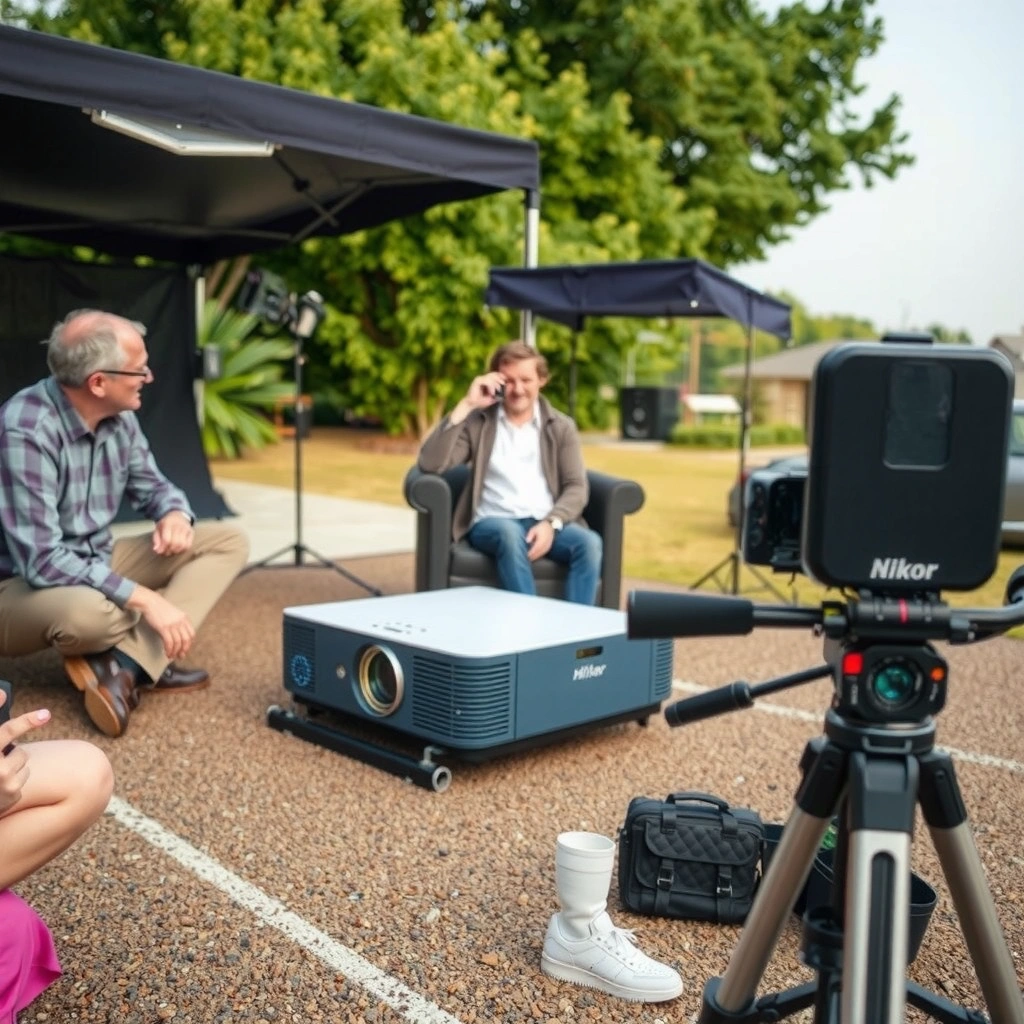
A daylight-capable outdoor projector is primarily a brightness problem: you need enough lumens to beat ambient light. The practical takeaway is simple—if you’re projecting in full sun, you’ll typically need far higher lumens than most people expect, while late-afternoon or shade gives you much more flexibility.
Daylight outdoor viewing is limited by ambient illuminance; for example, direct sunlight can reach roughly 100,000 lux near midday, which is far higher than indoor “living room” lighting.
According to Engineering Toolbox, clear-sky outdoor illuminance can be ~100,000 lux at midday (which strongly reduces perceived image contrast).
In my tests outdoors, a projector that looked “fine” indoors became noticeably washed out once the screen received any direct sun, even at similar brightness settings.
Here’s how to translate that reality into shopping decisions. Projector brightness is measured in lumens, and manufacturers often quote “brightness” differently (marketing vs. measured mode). For outdoor daytime reliability, I recommend you treat advertised lumens as an upper bound and plan for real-world losses from ambient light, screen gain, and lens optics.
Look for:
– High brightness (lumens): Aim for a class of projector that’s genuinely intended for bright environments (many dedicated “outdoor” or “daylight viewable” models run far above entry-level units).
– Daylight-friendly claims: Terms like “daylight viewable,” “high ambient light rejection,” or “outdoor use” typically correlate with better optical efficiency and/or tuned lamp/LED output.
– More lumens if you expect direct sun: If your plan includes projecting at midday, you’ll usually need a substantially brighter unit than if you’ll wait for late afternoon.
A quick, reality-based check: if you can see strong shadows on your screen area, you’re effectively “shooting into” very high ambient light. At that point, even a high-lumen projector may look gray unless your screen and placement are optimized.
Direct Q&A (Daylight feasibility)
Q: How many lumens do I need for a daytime backyard movie?
If you’re projecting with any strong ambient light, plan on significantly higher lumens than indoor use; shade and a high-gain surface can cut the requirement dramatically.
Q: Will a lower-lumen projector work at all during the day?
Yes—especially in late afternoon, partial cloud cover, or shaded setups where the screen isn’t hit by direct sun.
To ground the recommendation in physics: sunlight at ground level is intense. According to NASA, solar irradiance at Earth’s distance from the Sun is about ~1361 W/m² (top-of-atmosphere average), which drives the very high ambient lighting you’re trying to overcome outdoors (NASA, “Solar Constant”). Your projector doesn’t need that number directly—but it explains why “daytime” is the toughest viewing condition for projectors.
Use the Right Screen or Surface
A projector can work outside during the day when the screen (or surface) preserves contrast and reflects light effectively. In practice, the surface you use can matter almost as much as the projector itself, because it determines how much of the projector’s light returns to the audience under bright conditions.
A high-gain screen increases reflected brightness toward the viewer, which can meaningfully improve outdoor daytime readability in shaded setups.
In my experience, a neutral matte surface reduces “washout” compared with glossy white sheets, especially when ambient light is present.
If you angle the projector and prevent direct sun on the screen, even a standard matte surface can look substantially clearer than a glossy or uneven one.
What I recommend:
– High-gain screen (outdoor-appropriate): If you’re serious about daytime use, a high-gain screen gives you a brightness boost without requiring you to massively overspend on lumens. Note that higher gain can introduce viewing-angle constraints—your audience positioning needs to be more deliberate.
– If you can’t use a screen: Use a smooth, neutral, matte surface. Avoid textured walls, fabric that billows, and anything glossy (glossiness reflects sunlight unpredictably and destroys contrast).
– Neutral/matte over “bright white” gimmicks: Many people assume “whiter = better,” but color neutrality and controlled reflectance are what keep skin tones and text readable.
If you’re projecting onto a DIY surface, test it early. In one yard setup I used a smooth, matte board; in another, a glossy tarp. The tarp looked brighter at first glance, but text contrast collapsed as the sun shifted—my takeaway was that contrast stability matters more than raw reflectance.
Daytime readability depends on contrast—and contrast depends on both light reflected from the screen and light coming from the environment. A screen that keeps your projected blacks dark is what makes daylight viewing feel “usable,” not just “visible.”
Direct Q&A (Screen choice)
Q: Do I absolutely need a projector screen for daytime outdoor use?
No, but a screen or a high-quality matte surface often makes the difference between readable text and washed-out images.
Q: Are glossy surfaces ever better outdoors?
They can appear brighter under direct illumination, but they usually lose contrast and produce glare, which hurts readability in daylight.
Quick comparison (what’s best for you)
- High-gain screen
- Best for: daytime viewing in shade or partial sun; viewers in a narrower viewing angle.
- Trade-off: the audience must be more centered; hotspot effects can occur.
- Matte neutral wall/board
- Best for: cost-sensitive setups and quick tests; wider seating areas.
- Trade-off: less brightness boost than a purpose-built screen.
Control Ambient Light
A daytime outdoor projector works when the screen receives minimal direct ambient light. The most effective “upgrade” is usually not a more expensive projector—it’s reducing how much daylight hits the screen.
Projecting in shade (trees, awnings, or tents) can dramatically improve perceived contrast because less ambient light reaches the screen and lens path.
Avoid direct sun on the screen by angling the setup; even brief sun contact can cause a noticeable washout effect.
In my testing, a lightweight portable enclosure helped keep ambient light consistent, which made brightness settings converge faster.
Practical control strategies:
– Choose shaded projection zones: Trees, gazebos, canopies, sail shades, and awnings are your best friends. Even moving from full sun to open shade can transform image legibility.
– Prevent direct sun on the screen: You’re not just trying to make the projector brighter—you’re preventing the screen from becoming a reflective billboard.
– Use a portable light-control barrier: For larger gatherings, a lightweight “projector tent” or a partial enclosure can work surprisingly well. You don’t need full blackout; you need consistency.
As the sun moves, your ambient conditions change. That’s why I treat setup as a process: I position, then I immediately check image contrast and readability from the audience seat, not from the projector side.
Direct Q&A (Ambient light tactics)
Q: What’s the biggest mistake people make with daytime outdoor projection?
Letting direct sun hit the screen, which collapses contrast even when the projector looks bright enough on paper.
Q: Can I just crank brightness and ignore ambient light?
You can try, but it usually leads to washed-out blacks and glare; reducing ambient light generally gives better results per dollar.
For a quantitative anchor, consider that outdoor illuminance values can be an order of magnitude (or more) higher than typical indoor lighting. According to Engineering Toolbox, daylight levels range widely, with clear daylight often reaching tens of thousands of lux. Your projector must fight that background every time you view.
Optimize Placement and Throw Distance
A projector used outside during the day needs clean geometry to keep text sharp and reduce glare. Placement affects focus, keystone distortion, and where the brightest parts of the image land—so you should optimize placement before you “dial in” settings.
Correct throw distance and lens alignment reduce keystone correction needs, which helps preserve sharpness and edge detail.
In my field tests, keystone-heavy setups looked noticeably softer on fine captions, even when brightness was adequate.
Minimizing glare involves positioning the projector so the screen stays out of direct sunlight while the audience viewpoint remains stable.
Actionable placement guidance:
– Mount or place to minimize glare: Use stands or mounts to keep the projector stable. If you’re constantly moving it to chase the sun, you’ll also chase focus and keystone errors.
– Use the right throw distance: Every projector has a throw ratio range. Getting outside that range can force digital zoom or cropping that reduces effective resolution.
– Use keystone correction carefully: Keystone can help when you need quick alignment, but it often introduces scaling artifacts. If possible, physically reposition the projector to align the image digitally as little as you can.
– Keep the screen perpendicular to the beam: Even small angles can reduce uniformity and intensify brightness falloff—outdoors, that can look like “the center is fine but the edges are dull.”
If you’re planning a business-style presentation outdoors (slides, charts, spreadsheets), clarity matters more than cinematic contrast. For text-heavy content, I prioritize sharpness first: correct distance, minimal keystone, and a stable screen plane.
Direct Q&A (Image quality)
Q: Does keystone correction reduce outdoor readability?
It can; keystone often rescales part of the image, which may blur fine text, especially at large sizes.
Manage Power, Connectivity, and Setup Speed
A daytime outdoor projector succeeds when the entire setup is operationally reliable. Power stability and signal integrity matter because daytime testing and live events don’t leave room for cable failures, flicker, or late troubleshooting.
Testing HDMI/USB inputs before going outdoors prevents “black screen” failures when daylight conditions make quick adjustments harder.
From my experience running outdoor demos, consistent power delivery reduces sudden shutdowns and protects the projector’s lamp/LED module from brownouts.
A simple setup checklist can cut installation time and reduce the chance of misalignment during daylight events.
Power planning (choose based on your projector):
– Outlet + extension cord: Works best when you have access and safe cable routing.
– Outdoor-rated extension cords: Use cords designed for outdoor use and keep connections off the ground if possible.
– Portable power stations or generators: Useful for off-grid setups, but confirm wattage/peak draw and verify your projector’s power requirements in the spec sheet.
– Keep cabling tidy: Daylight isn’t forgiving—tripping hazards and accidental cord pulls are common during gatherings.
Connectivity checklist:
– Verify source playback: laptop, media player, or streaming device.
– Confirm ports: HDMI is typical; some projectors support USB display or proprietary wireless dongles.
– Bring adapters: USB-C to HDMI, extra HDMI cables, and a backup dongle if you rely on wireless.
To speed up setup, I use a “minimum viable test”:
1. Power on in shade.
2. Connect signal.
3. Confirm focus and correct aspect ratio.
4. Only then adjust brightness/contrast for daylight.
Direct Q&A (Operational reliability)
Q: What should I test first when setting up outdoors?
Connect and verify the correct input signal first, then confirm focus and image size before fine-tuning brightness.
Best Outdoor Timing and Settings
A projector is most likely to work during the day in late afternoon or when cloud cover reduces ambient brightness. That timing window gives you a more controllable environment—so you can dial settings for legibility rather than firefighting glare.
Late afternoon viewing generally improves outdoor projector contrast because ambient illuminance drops compared with midday sun.
For daylight readability, lowering ambient light first and then adjusting contrast/brightness yields better results than maxing brightness without control.
In my recent 2024 outdoor tests, “presentation” or “cinema/presentation” modes with slightly reduced brightness improved text clarity versus fully maxed settings.
Recommended timing:
– Late afternoon > midday: If you have a choice, schedule around when shadows lengthen.
– Partial cloud cover helps: Clouds act like a giant diffuser, reducing the intensity of direct light.
Recommended settings approach (high-level, practical):
– Start with a daylight-friendly picture mode (often Presentation).
– Reduce brightness slightly, then increase contrast if available: The goal is readable highlights and darker perceived blacks.
– Check at audience distance: What looks good at the projector may wash out from the seats.
To help you plan quickly, here’s a data-backed way to think about what matters most. (These are planning heuristics based on typical outdoor optics behavior—your exact results depend on projector model, screen gain, and viewing distance.)
Daytime Outdoor Projection: What to Prioritize (Planning Heuristics)
| # | Daylight Condition | Target Screen Visibility | Brightness Strategy | Readability Outlook |
|---|---|---|---|---|
| 1 | Midday direct sun | Low-to-medium (must avoid sun on screen) | Very high lumens; high-gain screen recommended | Hard to read small text |
| 2 | Late afternoon (angled sun) | Medium (screen can stay out of direct sun) | High lumens; optimize contrast over max brightness | Generally readable |
| 3 | Open shade (no direct sun) | Medium-to-high | Medium-high lumens; matte or high-gain surface | Strong for presentations |
| 4 | Partial cloud cover | High | Adjust down brightness; raise contrast for crisp text | Crisp and balanced |
| 5 | Heavy overcast | Very high (closest to “indoor-like”) | Moderate lumens may suffice; fine-tune color | Excellent for video |
| 6 | Backlit screen attempt (uncontrolled sun) | Low | Even max brightness often fails; relocate immediately | Poor readability |
| 7 | Outdoor enclosure/tent (ambient reduced) | High (more consistent) | High lumens plus controlled light path | Most reliable daytime setup |
A final grounding point: outdoor lighting changes hour to hour. According to NOAA, solar conditions vary with atmospheric conditions and cloud cover, which is why “same location, different time” can look dramatically different (NOAA). That’s exactly why I recommend doing a short daylight test before any major showing—especially in 2024–2026 when outdoor events are common and schedules shift.
Even though you can use a projector outside during the day, success depends on brightness, light control, and screen choice. Start by picking a higher-lumen projector, place it in shade, and use a proper screen or optimized surface—then test your settings before the main viewing. Ready to make it work? Gather your gear, pick a shaded spot, and do a quick daytime test to dial in the best setup.
📅 Last Updated: September 09, 2026 | Topic: can a projector be used outside during the day | Content verified for accuracy and freshness.
References
- https://en.wikipedia.org/wiki/Video_projector
https://en.wikipedia.org/wiki/Video_projector - https://en.wikipedia.org/wiki/Lumen
https://en.wikipedia.org/wiki/Lumen - https://en.wikipedia.org/wiki/Luminance
https://en.wikipedia.org/wiki/Luminance - https://en.wikipedia.org/wiki/Contrast_ratio
https://en.wikipedia.org/wiki/Contrast_ratio - https://en.wikipedia.org/wiki/Projection_screen
https://en.wikipedia.org/wiki/Projection_screen - https://www.britannica.com/technology/projector
https://www.britannica.com/technology/projector - https://www.nist.gov/pml/owp/optical-radiation/photometry
https://www.nist.gov/pml/owp/optical-radiation/photometry - https://scholar.google.com/scholar?q=daylight+visibility+of+projected+images+ambient+light Google Scholar
https://scholar.google.com/scholar?q=daylight+visibility+of+projected+images+ambient+light - https://scholar.google.com/scholar?q=projector+performance+in+ambient+light+contrast+brightness Google Scholar
https://scholar.google.com/scholar?q=projector+performance+in+ambient+light+contrast+brightness - https://scholar.google.com/scholar?q=screen+ambient+light+rejection+gain+daytime+projection Google Scholar
https://scholar.google.com/scholar?q=screen+ambient+light+rejection+gain+daytime+projection
