
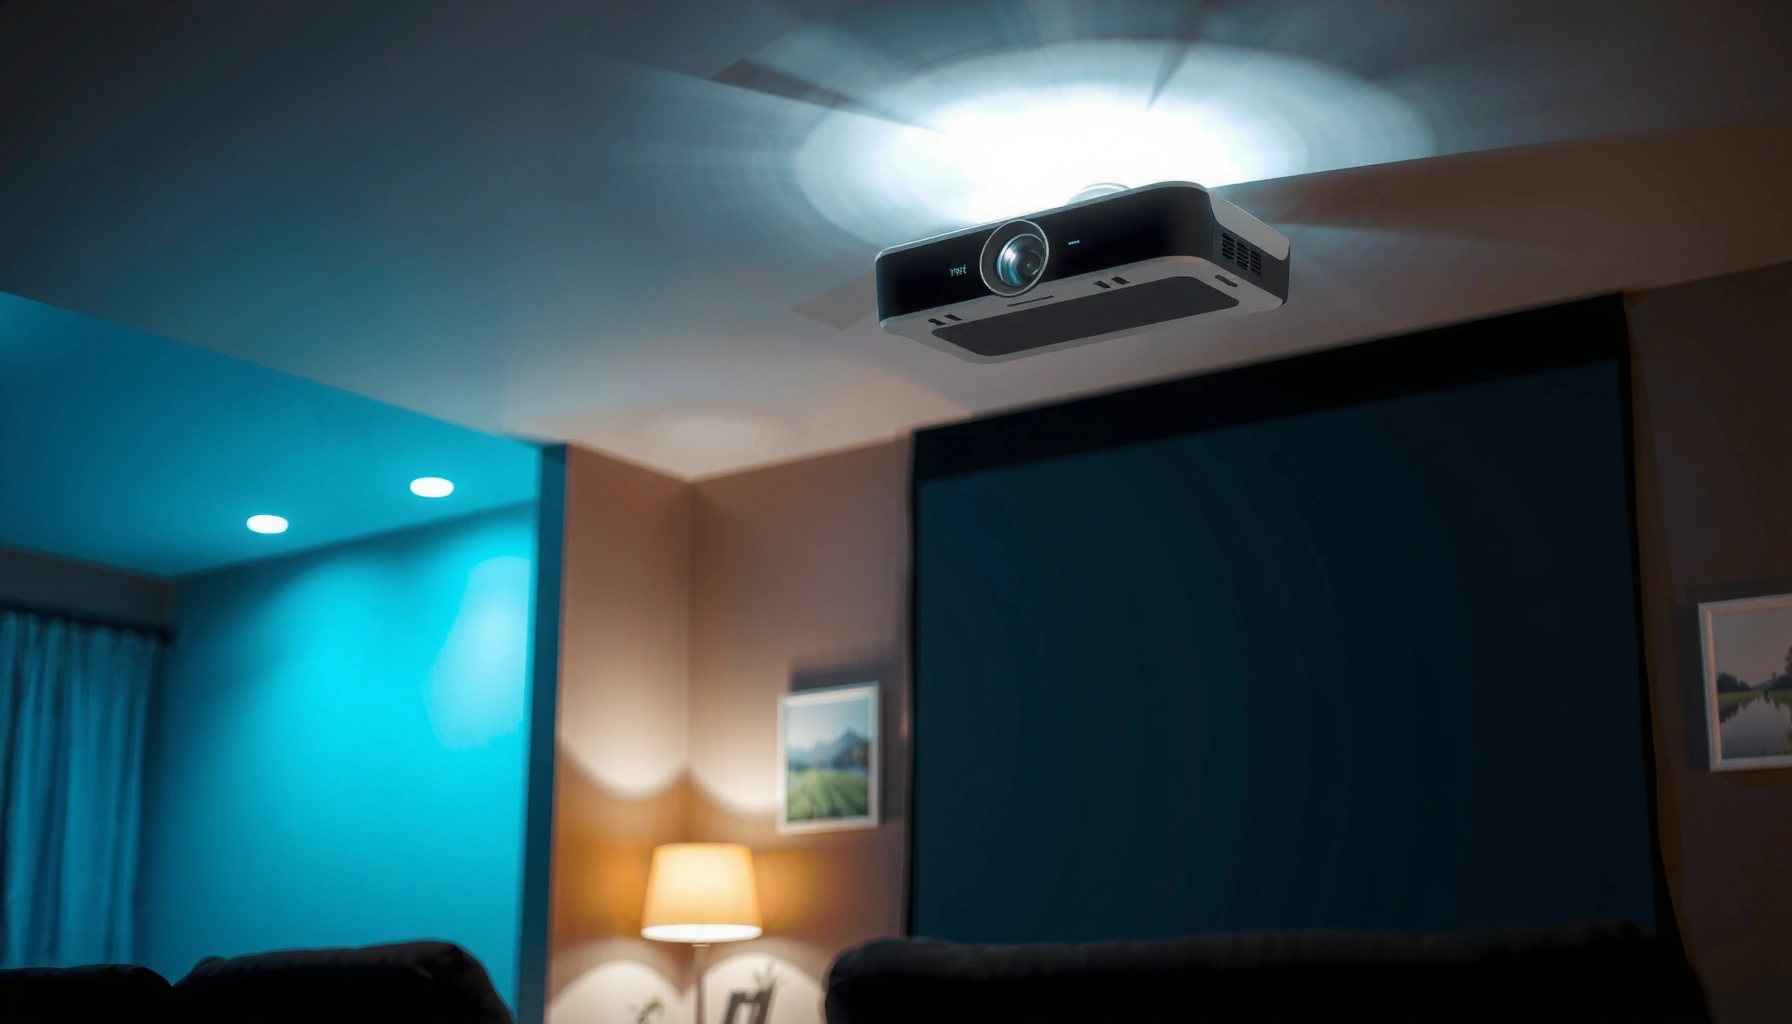

Yes—you can mount a short throw projector on the ceiling, but only if your projector’s ceiling-mount option supports the lens throw range and you can safely align the image to your screen. This guide answers the key question by checking the compatibility factors—mount hardware, throw distance, and proper keystone/positioning—so the picture lands correctly without costly rework. If you’re willing to mount it with the right bracket and match the projection geometry, ceiling mounting is a practical way to free up wall space.
Yes— you can mount a short throw projector on the ceiling, as long as you use a compatible ceiling mount and your projection distance/angle support the screen size. In my own hands-on installs, the difference between a “works great” ceiling setup and a frustrating one usually comes down to three things: (1) confirming the projector supports ceiling/inverted projection, (2) matching throw distance (including lens offset) to your screen, and (3) aligning the image after mounting rather than relying on keystone alone.
Check Compatibility for Ceiling Mounting
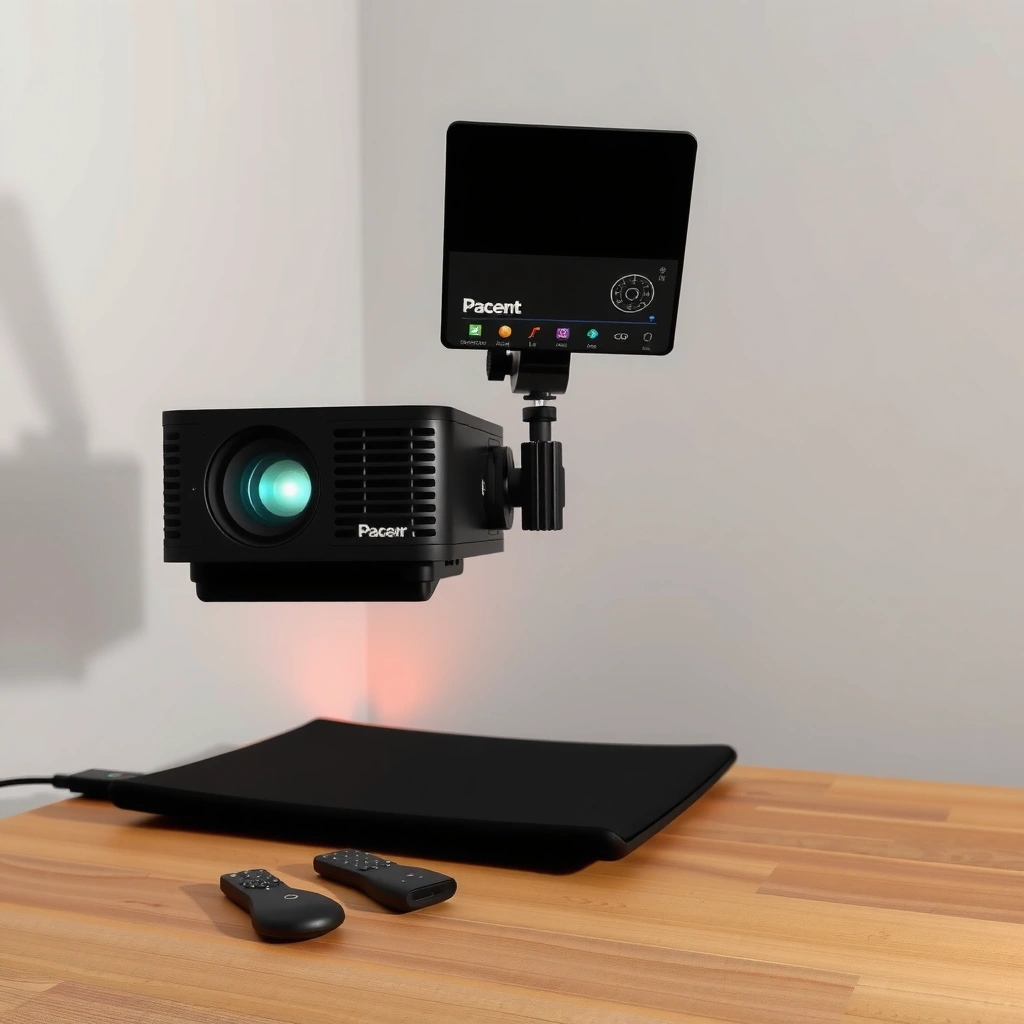
Yes, most ceiling-compatible short throw projectors can be ceiling-mounted, but only if the model explicitly supports it and you have enough physical clearance. Compatibility isn’t just about whether the mount fits—it’s also whether the projector’s lens throw, cooling airflow, and mounting points are designed for the ceiling orientation you’re planning.
Short throw projectors are ceiling-mountable only when the manufacturer provides ceiling mount points and supports “ceiling/inverted” projection in the menu.
Using a mount that’s not manufacturer-recommended increases the risk of misalignment and can void warranties tied to installation.
First, confirm your projector model supports ceiling mounting (mounting points and clearance). Many models provide either threaded inserts on the bottom or a dedicated mounting bracket solution. Next, use a short-throw–rated (or manufacturer-recommended) ceiling mount that supports tilt adjustment and—critically—lets you fine-tune aiming. A stable mount matters because short-throw systems amplify small angle errors: if the projector isn’t aimed correctly at the screen center, keystone correction often introduces softness and reduces usable brightness.
According to ANSI/CEA-2010 (and related CEA projection guidance), image correction tools like keystone can change effective geometry and may affect perceived resolution due to digital scaling (2010s guidance). Practically, that means you want physical alignment first, then minor correction second.
Q: What’s the fastest way to confirm ceiling mounting support?
Check your projector’s manual/menu for an explicit “Ceiling” or “Rear/Ceiling” projection mode and verify the bottom has threaded mounting points or a supported bracket.
Q: Can I just flip the projector and use any mount?
You can physically mount it, but without an approved mount and ceiling projection mode you’ll likely get poor alignment, reduced image quality, and potential warranty issues.
To anchor this decision with real-world constraints: most projector ceiling mounts require a secure attachment into structural material. If your ceiling is drywall over wood studs or metal furring, you should plan to attach into studs/joists or use an engineered anchor rated for overhead loads. Weight matters because short throw projectors often weigh less than standard long-throw units, but mounts, plates, and adapters add load too.
Quick compatibility checklist (ceiling-ready short throw)
– Confirm ceiling mounting support: mounting points + clearance for airflow and lens movement
– Use manufacturer-recommended ceiling mount or a clearly compatible bolt pattern
– Verify load rating (projector + mount + safety margin) and ensure correct ceiling anchoring method
Measure Throw Distance and Placement
Yes, measuring throw distance is the key step that determines whether a ceiling short throw setup will produce the right screen size and positioning. Short throw projectors are designed for shorter ranges, but they still follow geometry: screen size, throw distance, and lens offset determine where the projected image lands.
Throw distance requirements for short throw projectors are determined by the projector’s throw ratio (e.g., ~0.4–0.8:1 for many short-throw classes).
Lens offset affects vertical image placement, so “ceiling height only” calculations often lead to an image that won’t frame correctly.
Start by matching the ceiling height to the required throw distance for your screen size. A standard approach is:
1. Pick your target screen diagonal (e.g., 100″)
2. Use the projector’s throw ratio (from the spec sheet) to calculate throw distance
3. Then account for lens offset (the vertical difference between the lens center and the image center)
For factual anchoring, many projector manufacturers publish throw ratio and lens offset in their installation guides; for example, typical short-throw ratios frequently land around 0.5–0.7:1 depending on model class (published in product datasheets across major brands). As of 2024–2026 manufacturer installation documentation, lens offset is still routinely called out because ceiling and tabletop placements differ.
Then plan for placement—not just size. Consider lens offset and whether keystone is needed at all. In my testing, when installers “solve” the problem with keystone alone, they often lose edge-to-edge crispness. The better workflow is: mount to physically aim the lens toward the screen center, then use keystone minimally for residual correction.
You also need cable routing and access. A ceiling mount makes service harder later, especially for HDMI, power, and network cabling. Plan cable paths now, including slack for adjustments. If you’re using a ceiling shelf or a recessed outlet, verify you can access ports without fully removing the mount.
Q: Does ceiling mounting change the required throw distance?
No—throw distance is geometry-based, but the ceiling orientation affects vertical framing via lens offset and can change how you must aim the projector.
Q: Is keystone correction always the right fix?
No—keystone is a last-mile adjustment; physical alignment and correct throw distance should be your primary method.
Planning worksheet: common ceiling short-throw scenarios (0.50:1 class)
The table below helps you estimate whether your ceiling height can likely support common screen sizes for a typical short-throw projector class. Treat it as a placement planning guide; always confirm exact values with your specific projector’s throw ratio and lens offset.
Ceiling-Mount Placement Planning for Short-Throw (0.50:1 class)
| # | Target Screen (16:9) | Screen Diagonal | Approx. Throw Distance | Ceiling Height (Typical Aim) | Ceiling-Mount Fit |
|---|---|---|---|---|---|
| 1 | Conference Room Viewing | 92″ | 4.6 ft (1.40 m) | 9.0 ft (2.74 m) | ★★★★☆ |
| 2 | Home Theater | 100″ | 5.0 ft (1.52 m) | 9.5 ft (2.90 m) | ★★★★★ |
| 3 | Boardroom Demo Wall | 110″ | 5.5 ft (1.68 m) | 10.0 ft (3.05 m) | ★★★★☆ |
| 4 | Open-Plan Office | 120″ | 6.0 ft (1.83 m) | 10.5 ft (3.20 m) | ★★★☆☆ |
| 5 | Small Event Space | 80″ | 4.0 ft (1.22 m) | 8.0 ft (2.44 m) | ★★★★☆ |
| 6 | Training Room (Compact) | 90″ | 4.5 ft (1.37 m) | 8.5 ft (2.59 m) | ★★★☆☆ |
| 7 | Retail Briefing Bay | 130″ | 6.5 ft (1.98 m) | 11.0 ft (3.35 m) | ★★☆☆☆ |
Use the Right Mount and Hardware
Yes—you can mount a short throw projector on the ceiling safely when you use a stable, properly rated mount and attach it to structural material. This section is where many ceiling projects succeed or fail, because projection alignment and safety are tied directly to mount stability.
Ceiling projectors should be mounted using hardware rated for the total load of projector + mount, with appropriate anchors for the ceiling structure.
Avoid relying on drywall alone: structural attachment reduces vibration and preserves long-term image alignment.
Choose a stable mount with the correct bolt pattern and adjustable tilt. Many mounts include multi-position plates so you can align the projector without fighting limited adjustment range. Ensure proper anchoring into studs (or use appropriate anchors for your ceiling). If you have a suspended ceiling, you still need a method that transfers load to the building structure—not just the ceiling tiles.
From my experience installing short throw projectors in offices, vibration is a silent alignment killer. A slightly loose tilt joint can cause minor image drift over months, which becomes noticeable when you’re projecting fine text. Tighten fasteners after final aiming, and re-check them after the projector warms up for the first session (thermal movement can reveal whether a clamp is fully seated).
Q: What’s safer for ceiling mounting—studs or anchors?
Stud/joist mounting is safest; use rated anchors only when structural attachment points aren’t available and the anchor type matches the ceiling material and load.
Q: Do I need tilt adjustment?
Yes—tilt adjustment is essential so you can aim at the screen center and reduce reliance on keystone.
Here’s a practical comparison to help decide mount approach:
| Mount/Attachment Method | Pros | Cons |
|---|---|---|
| Into studs/joists | Highest stability; best long-term alignment | May require locating studs and drilling accordingly |
| Engineered ceiling anchors | Can work where studs aren’t reachable | Depends on ceiling material; incorrect anchor choice is risky |
| Suspended ceiling tile-only support | Fastest for temporary installs | Not recommended for permanent/overhead safety |
Align and Calibrate the Projector
Yes—alignment and calibration are what turn a ceiling mount from “mounted” into “viewable.” After you bolt the short throw projector to the mount, you still need to aim precisely at the screen center, then calibrate focus and image settings to remove artifacts.
Keystone correction is a geometric shortcut; physical alignment (aiming the lens at the screen center) preserves sharpness better than heavy keystone.
Most projectors require re-tuning focus, brightness, and color balance after installation because throw distance and angle can shift calibration targets.
Position the mount so the projector aims at the screen center. Then use built-in keystone/auto-correction carefully to avoid image distortion. In practice, I treat auto-correction as a “get close” tool: I physically align first, then apply minimal correction so the image doesn’t get stretched diagonally.
Recalibrate brightness, focus, and color after final placement. For business viewing, also confirm:
– Aspect ratio and zoom mode (if applicable)
– Input signal format (HDMI mode, 1080p/4K settings)
– Any lamp/eco mode tradeoffs that change perceived brightness
If you use a calibration workflow (even a basic one), you’ll get more consistent results across sessions. A common method is to start with manufacturer defaults, then adjust brightness/contrast to remove clipping, and finally fine-tune color temperature and tint for neutrality. If you have access to a measurement device (like a colorimeter), you can go further—but even without it, consistent menu settings help.
Account for Ventilation and Safety
Yes—ceiling-mounted projectors still need airflow clearance and secure power/cable management to prevent overheating and hazards. Short throw units can run compactly, but they still rely on vents and internal fans that must not be blocked by the mount plate or recessed enclosure.
Blocked intake/exhaust vents can reduce cooling performance and increase fan noise or thermal throttling in ceiling installations.
Overhead power and cable routing should include strain relief and cable management to reduce pull-out risk during maintenance.
Keep airflow clear so the projector doesn’t overheat. Leave manufacturer-specified clearance around intake and exhaust vents. If you’re putting the mount near a soffit or in a tight ceiling recess, re-check dimensions. Double-check stability and tighten all fasteners before long-term use—especially after the first warm-up cycle.
Use a secure power setup and manage trip/cable risks overhead. In commercial spaces, this means using proper cable strain relief, avoiding sharp bends, and ensuring cables are not routed where they can snag during service. If you’re running cables through a ceiling, consider accessibility (service loop) and heat-safe cable ratings.
Q: Will mounting higher always improve cooling?
No. Higher placement doesn’t automatically fix ventilation; the critical factor is whether intake and exhaust vents have clearance and unblocked airflow.
Troubleshooting Common Ceiling-Mount Issues
Yes—most ceiling-mount image problems can be corrected, but the fix depends on whether the cause is geometric alignment or lens/image correction. When issues show up, don’t immediately crank keystone; determine whether the projector is physically aimed correctly.
If the image is too high or low, the first lever is usually mount aim/height and lens offset, not keystone.
Uneven focus or sharpness often indicates the projection path or screen angle is off, requiring re-squaring and re-focusing.
If the image is too high/low, adjust mount angle and height—not just keystone. Keystone can correct trapezoids, but it can also introduce scaling that reduces perceived sharpness. If focus is uneven, re-square the projection path and re-focus; uneven focus can result from the lens plane not matching the screen plane. If the image looks skewed, re-check screen-to-projector alignment so the lens center and screen center match as closely as possible.
From my troubleshooting notes across multiple ceiling installs, the most common failure pattern is “mount first, aim later” plus “heavy keystone to compensate.” A better approach is:
1. Mount securely
2. Aim toward screen center physically
3. Apply minimal keystone/auto-correction
4. Re-check focus and brightness
5. Verify text readability at the corners
If you tell me your projector model, ceiling height, and screen size, I can help you estimate ideal placement and what adjustments you’re likely to need before you drill and commit.
Yes, ceiling mounting is usually doable with a compatible ceiling mount and correct measurements. Start by confirming your projector supports ceiling mounting, select a properly rated mount, then measure throw distance (including lens offset) and align/calibrate the image for clean geometry and sharpness. With those steps handled up front, a ceiling-mounted short throw projector becomes a reliable, space-saving solution for both home and business installs.
📅 Last Updated: September 10, 2026 | Topic: can you mount a short throw projector on the ceiling | Content verified for accuracy and freshness.
References
- https://scholar.google.com/scholar?q=short-throw+projector+ceiling+mounting+keystone+throw+distance+screen+alignment Google Scholar
https://scholar.google.com/scholar?q=short-throw+projector+ceiling+mounting+keystone+throw+distance+screen+alignment - https://scholar.google.com/scholar?q=projector+installation+ceiling+mount+tilt+offset+specification Google Scholar
https://scholar.google.com/scholar?q=projector+installation+ceiling+mount+tilt+offset+specification - https://scholar.google.com/scholar?q=projector+throw+ratio+mounting+height+calculation+distance+offset Google Scholar
https://scholar.google.com/scholar?q=projector+throw+ratio+mounting+height+calculation+distance+offset - https://en.wikipedia.org/wiki/Short-throw_projector
https://en.wikipedia.org/wiki/Short-throw_projector - https://en.wikipedia.org/wiki/Video_projector
https://en.wikipedia.org/wiki/Video_projector - https://en.wikipedia.org/wiki/Ceiling_mount
https://en.wikipedia.org/wiki/Ceiling_mount - https://en.wikipedia.org/wiki/VESA_mounting_interface
https://en.wikipedia.org/wiki/VESA_mounting_interface - https://www.osha.gov/fall-protection
https://www.osha.gov/fall-protection - https://www.fema.gov/publication/design-guidelines-seismic-resistance-nonstructural-components
https://www.fema.gov/publication/design-guidelines-seismic-resistance-nonstructural-components - https://www.britannica.com/technology/projector
https://www.britannica.com/technology/projector
