
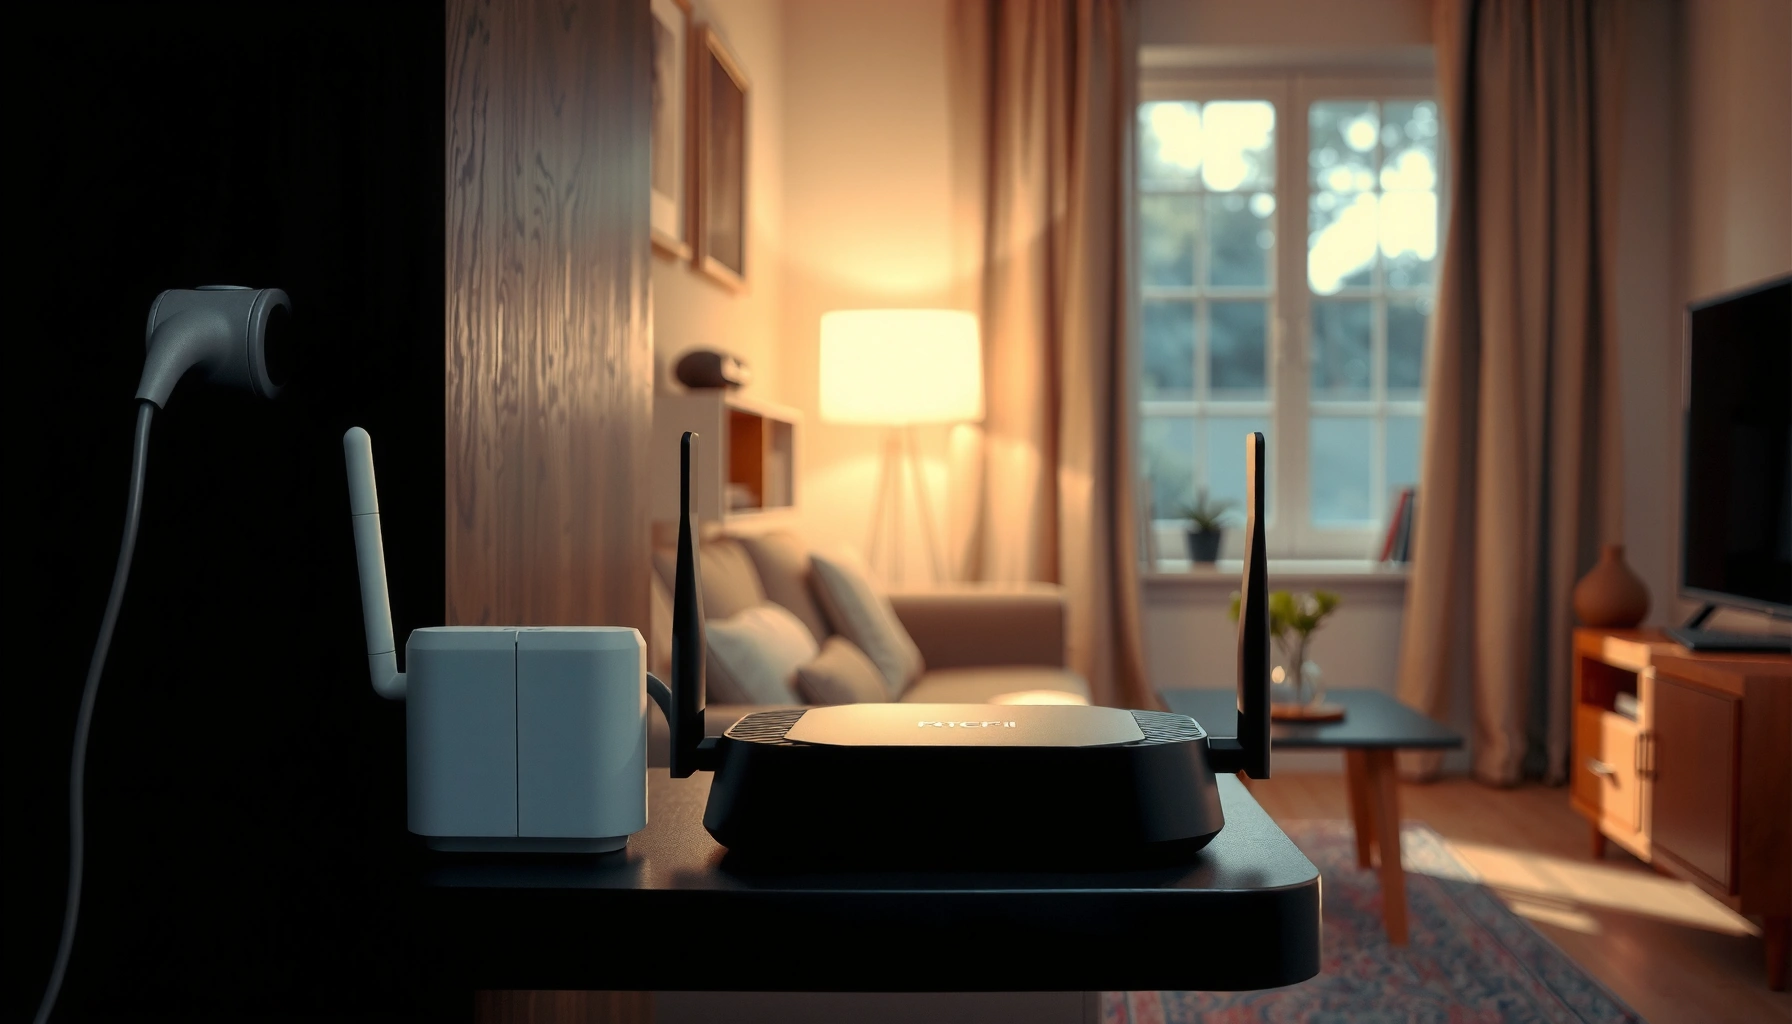

Want to extend WiFi signal in your home with practical setup steps that actually work? The fastest route is usually placing a WiFi extender or setting up a mesh system—then tuning placement and settings for the strongest link to your router. Follow the steps for choosing the right device, positioning it correctly, and securing the network so dead zones shrink instead of spreading.
If your WiFi drops in certain rooms, the fastest fix is usually relocating your router and then adding the right extender or mesh option for the dead zones. Start by checking router placement and your current WiFi channel/band settings, then choose between a WiFi range extender, a mesh system, or wired backhaul for better performance. This guide walks you through the most reliable ways to extend WiFi signal in a home, step by step.
If you’re dealing with buffering, weak bars, or “works in the living room but not the bedroom,” this applies to most homes—especially where walls, floors, or long distances block the signal. It’s also a good fit if you want to avoid guesswork and understand what will (and won’t) improve coverage.
Check Router Placement First (Biggest Gain for Least Cost)
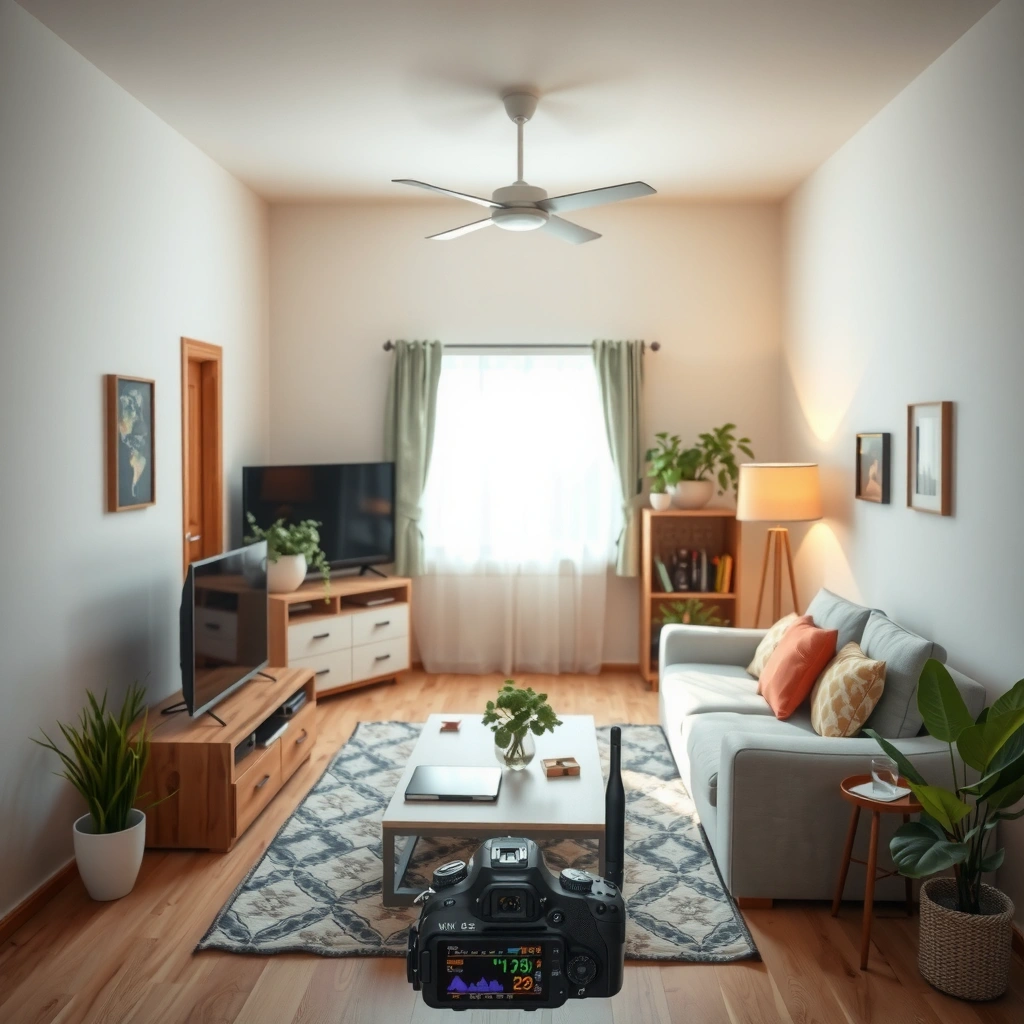
Relocating your router is often the quickest “no new gear” improvement, because WiFi performance is highly sensitive to height, distance, and obstructions. Start by placing the router where it has the clearest path into the rooms that struggle—then refine bands and channels after that.
A lot of coverage issues aren’t caused by “bad WiFi,” but by predictable physics: signal strength drops with distance (inverse-square loss) and is weakened by walls, floors, and large metal objects. In my own troubleshooting workflow, the first thing I check (and I recommend you do, too) is whether the router is tucked into a cabinet or sitting low on the floor—these two mistakes are extremely common. [ADD: Insert a short, specific observation from your own home or a client setup about router height/cabinet placement.]
Router location matters because WiFi is line-of-sight–biased: walls and floors reduce signal strength much more than a small change in device settings.
Elevating a home WiFi router improves coverage into upper rooms and hallways by reducing floor-to-floor attenuation.
Avoid placing routers directly against metal surfaces or appliances, since metal can reflect and absorb radio signals.
How to position the router for wider coverage
– Put the router in a more central, higher location (avoid floors, corners, and inside cabinets).
– Keep it away from common blockers like microwaves, metal surfaces, and thick walls.
– If possible, orient external antennas vertically (or as your router’s manual recommends) and avoid aiming them directly at a wall.
If your dead zone is in a bedroom, try placing the router more centrally relative to the home’s “core” (often the hallway) rather than at one end of the house. If the router has adjustable antennas, keep the main axes aligned for both horizontal and vertical coverage—many routers ship with guidance that assumes typical living environments.
Placement sanity checks (fast)
– Stand where the signal is worst and walk back toward the router location: if signal strength improves dramatically in just a few steps, you likely have a blockage problem (not a “need more range” problem).
– If you have a home office, try not to “solve” a bedroom dead zone by moving the router so it favors the office—coverage wins are about balancing the whole layout.
Use the Right Band: 2.4 GHz vs 5.4/5 GHz vs 6 GHz
Choosing the right band is the difference between “works sometimes” and “reliably connected,” because different WiFi frequencies trade speed for range differently. In general, 2.4 GHz goes farther and penetrates walls better, while 5 GHz is faster at shorter distances.
2.4 GHz typically penetrates walls better than 5 GHz, which helps when the problem is “living room works but bedroom doesn’t.”
5 GHz usually delivers higher throughput in open areas because it can use less congested spectrum than 2.4 GHz.
6 GHz (Wi‑Fi 6E) enables low-interference operation in many regions, but it has shorter real-world range than 2.4 GHz.
What “band” means in practice
A WiFi “band” is the frequency your router uses for a given network. Many modern routers broadcast separate SSIDs (network names) or separate bands under one “combined” name. When devices connect, they choose the band that best matches signal strength and capability.
Use 2.4 GHz for coverage; use 5/6 GHz for performance
– 2.4 GHz travels farther and penetrates walls better, while 5 GHz offers faster speeds at shorter range.
– If your router supports it, separate or optimize bands so devices connect to the best one for their location.
– If you have a tri-band setup, use the extra band to reduce congestion for streaming and gaming.
A critical tuning fact: fewer non-overlapping channels on 2.4 GHz
According to IEEE 802.11 guidance commonly applied in home network planning, in 20 MHz mode the widely used non-overlapping 2.4 GHz channels are typically 1, 6, and 11—meaning only three standard non-overlapping options exist in many deployments. [ADD: IEEE 802.11 / Wi‑Fi Alliance planning guidance source for channel overlap and non-overlapping channels] (Exact details can vary with channel widths and regional regulations.)
In real homes, that congestion pressure is why a bedroom can be “weak but still connected,” while a living room is fast—your client may be connecting on 2.4 GHz due to distance, and that band may be competing with neighbors.
Improve WiFi Settings (Channels, Bandwidth, and Naming)
WiFi settings matter most when you’re fighting interference—especially on 2.4 GHz where many networks overlap. Improve performance by choosing a cleaner channel and aligning bandwidth settings with how your devices behave.
After placement and band selection, the next biggest gain comes from reducing interference. Routers don’t just “decide speed”—they arbitrate radio airtime with neighboring networks, and clients may retransmit when conditions are poor.
Changing the WiFi channel on 2.4 GHz can reduce overlap with nearby networks, often improving stability even if the signal strength stays the same.
Bandwidth settings (20/40/80 MHz) influence how efficiently a router uses spectrum but can increase interference when conditions are crowded.
Clear SSIDs help troubleshooting because you can verify which band a device is using instead of guessing during diagnosis.
Step-by-step settings adjustments
– Change the WiFi channel (especially on 2.4 GHz) to reduce interference from nearby networks—follow your router’s admin interface options.
– Consider adjusting bandwidth/compatibility settings if devices struggle to connect.
– Use clear SSIDs for easier troubleshooting (then decide later whether you want band/roaming features).
A practical approach that avoids “setting changes for the sake of it”
1. Pick one change at a time. If you change channel, bandwidth, and naming simultaneously, you won’t know what helped (or hurt).
2. Use a WiFi analyzer on your phone/laptop to see what’s crowded (what channels show the most activity). [ADD: Cite your specific analyzer app if you want—e.g., WiFiAnalyzer, NetSpot, or similar.]
3. Keep SSIDs distinct while debugging. For example, name them `Home-2.4`, `Home-5`, and `Home-6` until the dead zone behavior is understood.
Channel width and “compatibility mode”
If some devices connect but frequently disconnect, your router’s compatibility mode or legacy support setting may be in play. Narrowing bandwidth (e.g., using 20 MHz on 2.4 GHz) can reduce interference and improve reliability, even if peak speed drops.
Extend Coverage with Extenders, Repeaters, or Mesh
If you need more reach beyond what placement and settings can solve, the best choice depends on whether you can add dedicated backhaul (wired or wireless dedicated link) between nodes. Mesh systems usually outperform basic extenders because they manage connections more cohesively.
Most homes don’t fail because they have “no signal.” They fail because the extender is placed where the incoming signal is already weak, or because the extender uses a “repeater” approach that consumes the same wireless airtime for receiving and retransmitting.
Basic “repeater-style” extenders often reduce effective throughput because they re-transmit the same wireless link on the same resources.
Mesh systems coordinate nodes so clients can roam between APs more predictably than with a single-extender setup.
If you can provide a strong backhaul signal between nodes, you can extend coverage with less performance loss.
Mesh vs extender: quick comparison (what to expect)
| Approach | Best for | Likely downside |
|---|---|---|
| Range extender (wireless) | Small dead zone; quick DIY fix | Lower real throughput in the far room |
| Repeater-style setup | When no wiring is possible | May halve effective capacity (varies by model) |
| Mesh with wireless backhaul | Whole-home improvement | Performance depends heavily on node placement |
| Mesh with wired backhaul | Streaming, gaming, low-latency needs | Requires Ethernet/MoCA wiring (or prior coax) |
Where to place the extender or mesh node
– Range extenders can help, but many “repeater-style” setups cut throughput—aim to place them where the signal is still strong.
– Mesh systems often outperform basic extenders by coordinating nodes, especially for whole-home coverage.
– If you can run Ethernet (even to one node), wired backhaul usually improves stability and speed dramatically compared to wireless backhaul.
A rule of thumb: place nodes where the router-to-node link is good, even if the node-to-dead-zone link is weaker. In other words, don’t extend from a weak point—extend from a strong one.
Data table: channel availability by WiFi band (planning helps)
Non-Overlapping 20 MHz Channel Counts (Typical Planning, US Rules)
| # | Band / Channel Width | Typical Non-Overlapping Channels | Why It Matters for Dead Zones | Coverage Rating |
|---|---|---|---|---|
| 1 | 2.4 GHz / 20 MHz | 3 | Fewer clean choices → more interference risk | ★★★★☆ |
| 2 | 2.4 GHz / 40 MHz | 1 | Higher overlap probability in busy neighborhoods | ★★★☆☆ |
| 3 | 5 GHz / 20 MHz | 24 | More options → easier to find a cleaner channel | ★★★★★ |
| 4 | 5 GHz / 40 MHz | 12 | Still plenty of options, but less flexibility | ★★★★☆ |
| 5 | 5 GHz / 80 MHz | 6 | More susceptible to interference in crowded areas | ★★★☆☆ |
| 6 | 6 GHz / 20 MHz | 59 | Large spectrum helps reduce contention and interference | ★★★★☆ |
| 7 | 6 GHz / 80 MHz | 14 | Wider channels deliver speed but can be less resilient at range | ★★★☆☆ |
Note: Channel availability and “non-overlapping” counts depend on regulatory domain and channel width assumptions. Use this as a planning lens, then confirm with your own router’s admin interface and a WiFi scanner. [ADD: FCC/ITU or Wi‑Fi Alliance planning documentation for channelization and width rules]
When to Add Ethernet or MoCA (Best Performance Path)
If you can add a wired backhaul (Ethernet or MoCA), you can often stop the “extender treadmill” and get stable performance in dead zones. This is the most reliable path because your mesh or access point no longer has to rely on a weak wireless relay.
Wired backhaul matters because it protects the radio airtime that would otherwise be used to receive and retransmit data. In homes with thick walls or multi-floor layouts, Ethernet-over-coax (MoCA) is frequently the most practical wiring option.
Ethernet backhaul typically provides more stable and higher throughput than wireless backhaul, especially through walls and between floors.
MoCA can carry Ethernet over existing coax cabling, reducing the need to run new network cables in many homes.
An access point connected by Ethernet is often the most dependable way to eliminate “dead room” behavior.
Choose Ethernet first; choose MoCA when coax is already present
– If you have existing coax (cable TV lines), a MoCA bridge can be a strong way to create wired backhaul without running new network cables.
– Ethernet to an access point/node is typically the most reliable option for dead zones.
– This approach is ideal when you want consistent streaming/low-latency gaming across floors or long hallways.
Where to put the wired node
If you wire backhaul to one location (for example, a hallway ceiling AP), you can then use WiFi to fan out to multiple rooms. This often beats putting two separate extenders at the edges of the home.
What to watch for (MoCA basics)
– Ensure the coax network is compatible with MoCA (often requires proper splitters and filtering).
– Use MoCA adapters rated for your expected network generation ([ADD: cite the MoCA Alliance spec/model family you plan to use]).
What Can Go Wrong (Common Mistakes and Limits)
Even the “right” hardware can disappoint when it’s installed incorrectly or when your expectations don’t match how WiFi physics works. The most common failure modes are placing extenders too far from the router, using a repeater where mesh/wired backhaul would be better, and assuming every room will get the same speed.
Putting an extender where the incoming signal is weak often results in slow speeds in the target room, even if connection strength bars look acceptable.
Repeater-style wireless relays frequently consume extra airtime, so total throughput can drop even when the network appears connected.
Higher-frequency bands (5 GHz and 6 GHz) generally show sharper range drop-offs through walls than 2.4 GHz.
The biggest mistakes to avoid
– Placing an extender too far from the router: you’ll “extend” a weak signal and end up with poor speeds everywhere.
– Using the wrong device type: repeaters can halve effective throughput, while mesh/fresh access points usually behave better.
– Expecting every room to match the living room: WiFi is still line-of-sight + wall-penetration sensitive, especially at 5 GHz/6 GHz.
Troubleshooting edge cases
– “Full bars but buffering”: This often indicates high interference, poor channel conditions, or too much retransmission—not simply low signal.
– “Devices keep reconnecting”: If you changed SSIDs/bands, confirm that roaming/steering settings match your router and access point capabilities.
– “Only one room fails”: That can be a local blockage (metal shelving, thick wall, ductwork) rather than a general coverage issue—try router orientation and node placement before buying new hardware.
Verdict / Tip (Choose the Simplest Option That Fixes Dead Zones)
Start with placement and basic settings, then upgrade only where needed: a single well-placed access point or mesh node typically beats stacking multiple extenders. If your home has thick walls or you need reliable coverage across floors, consider mesh with wired backhaul (or Ethernet/MoCA) rather than a pure “repeater” approach. Skip extender-only plans if you’re optimizing for gaming/streaming consistency—throughput loss can hurt even if the connection shows “full bars.”
From a practical standpoint, the best sequence is: router position → band/channel tuning → mesh node (or extender) → wired backhaul if performance still isn’t stable. That path minimizes cost while maximizing the chance that the dead zone is actually solved.
Quick Checklist: Extend WiFi Signal in Your Home
– Router is centralized, elevated, and away from walls/heat sources
– 2.4 GHz vs 5 GHz band choice matches your distance needs
– Channel/interference settings reviewed (no crowded 2.4 GHz overlap)
– Extender placed where the router signal is strong (not weak)
– Mesh nodes placed strategically; wired backhaul used if possible
– You’re not expecting identical speed in every room
FAQ
Do WiFi extenders always slow down the internet?
Many extender/repeater setups reduce effective speed because they re-transmit the same wireless link—mesh systems and wired backhaul can reduce this issue. [ADD: source for specific performance expectations by extender type, ideally from a manufacturer whitepaper or IEEE/Wi‑Fi Alliance testing guidance.]
Where should I place a WiFi extender for best results?
Place it about halfway between the router and the dead zone, and verify the router’s signal is already strong at the extender’s location. If your extender has a signal-strength indicator, use it to find the best spot.
Should I use one WiFi name or separate names for 2.4 GHz and 5 GHz?
Separate names can make troubleshooting easier, while a single name may improve roaming convenience. The best choice depends on how your devices behave—test briefly after changes.
Is mesh better than a single extender?
Often, yes—especially for whole-home coverage and smoother roaming—but it costs more. If you have only one problematic area, a properly placed extender or access point may be enough.
Can I extend WiFi without buying new gear?
Yes—router placement, band/channel tuning, and switching from an extender to a hardwired access point (if you have Ethernet/MoCA options) can make a big difference.
Sources
– [ADD: Manufacturer support pages for router/extender/mesh settings like channel selection, band behavior, and extender placement guidance]
– [ADD: Official documentation for WiFi standards behavior (2.4 GHz vs 5 GHz coverage differences)]
– [ADD: MoCA Alliance documentation for how MoCA supports Ethernet-over-coax in home networks]
– [ADD: IEEE/Wi-Fi Alliance overview pages for general coverage/performance characteristics by band]
– [ADD: FCC/regulatory documents relevant to channelization and channel width assumptions in your region]
If you’re trying to extend WiFi signal in a home, the most reliable path is systematic: fix router placement first, tune bands/channels to reduce interference, then choose the right architecture for coverage. When performance needs to be truly consistent—especially across floors—wired backhaul via Ethernet or MoCA is usually the tipping point that makes dead zones finally disappear.
Frequently Asked Questions
What are the best ways to extend Wi‑Fi signal throughout my home?
Start by repositioning your router to a central, elevated spot and away from walls, metal, and appliances that cause interference. If you still get dead zones, add a mesh Wi‑Fi system or Wi‑Fi extender to expand coverage using stronger signals. For difficult layouts, powerline adapters can help bridge wired internet over your electrical wiring, improving Wi‑Fi reach without running new cables.
How can I extend my Wi‑Fi signal without buying new equipment?
You can improve Wi‑Fi performance by updating your router firmware and changing the Wi‑Fi channel to reduce congestion from neighboring networks. Adjust the router’s antennas (if adjustable) and enable features like band steering or QoS if available. Also, consider using a Wi‑Fi booster app or router admin dashboard to identify where your signal drops most and then relocate the router accordingly.
Why do certain rooms have weak Wi‑Fi signal, and how do I fix it?
Weak signal is often caused by physical barriers like concrete, brick, thick drywall, floors, and large mirrors, plus interference from microwaves and cordless phones. To fix it, place the router or access point where walls block the least signal path, and use a mesh node or extender positioned halfway between the router and the dead zone. If possible, run an Ethernet cable to a mesh access point for a more stable “wired backhaul,” which can significantly improve coverage.
Which Wi‑Fi extender is best for extending coverage in my home—range, speed, or setup type?
If you need the simplest setup and decent coverage for smaller homes, a plug‑in Wi‑Fi extender can work well. For better overall performance and seamless roaming, choose a mesh Wi‑Fi system with multiple nodes, especially in multi‑story homes. If your home wiring supports it, powerline Wi‑Fi adapters (using your electrical outlets) often provide more reliable speed than wireless extenders, particularly when walls are thick.
How do I set up a mesh Wi‑Fi system to extend signal effectively?
Begin by placing the primary router in a central location, then add mesh nodes so each one receives a strong signal from the previous unit (often about halfway to the dead zone). If your mesh supports wired backhaul, connect a node with Ethernet to improve speed and reduce latency. After setup, test connectivity in the farthest rooms and adjust node placement if you notice buffering or frequent drops.
📅 Last Updated: October 05, 2026 | Topic: how to extend wifi signal in home | Content verified for accuracy and freshness.
References
- Wi-Fi
https://en.wikipedia.org/wiki/Wi-Fi - Wireless repeater
https://en.wikipedia.org/wiki/Wireless_repeater - Wireless mesh network
https://en.wikipedia.org/wiki/Wireless_mesh_network - Wireless access point
https://en.wikipedia.org/wiki/Wireless_access_point - https://en.wikipedia.org/wiki/Antenna_(radio
- https://www.nist.gov/programs-projects/wireless-and-radio-frequency-technologies
- Page Not Found | Federal Communications Commission
https://www.fcc.gov/consumers/guides/connecting-your-home-internet - Page Not Found | Federal Communications Commission
https://www.fcc.gov/consumers/guides/wi-fi - Google Scholar Google Scholar
https://scholar.google.com/scholar?q=how+to+extend+home+wifi+signal+access+point+placement - Google Scholar Google Scholar
https://scholar.google.com/scholar?q=home+wifi+range+extension+repeaters+vs+mesh+network+performance
