
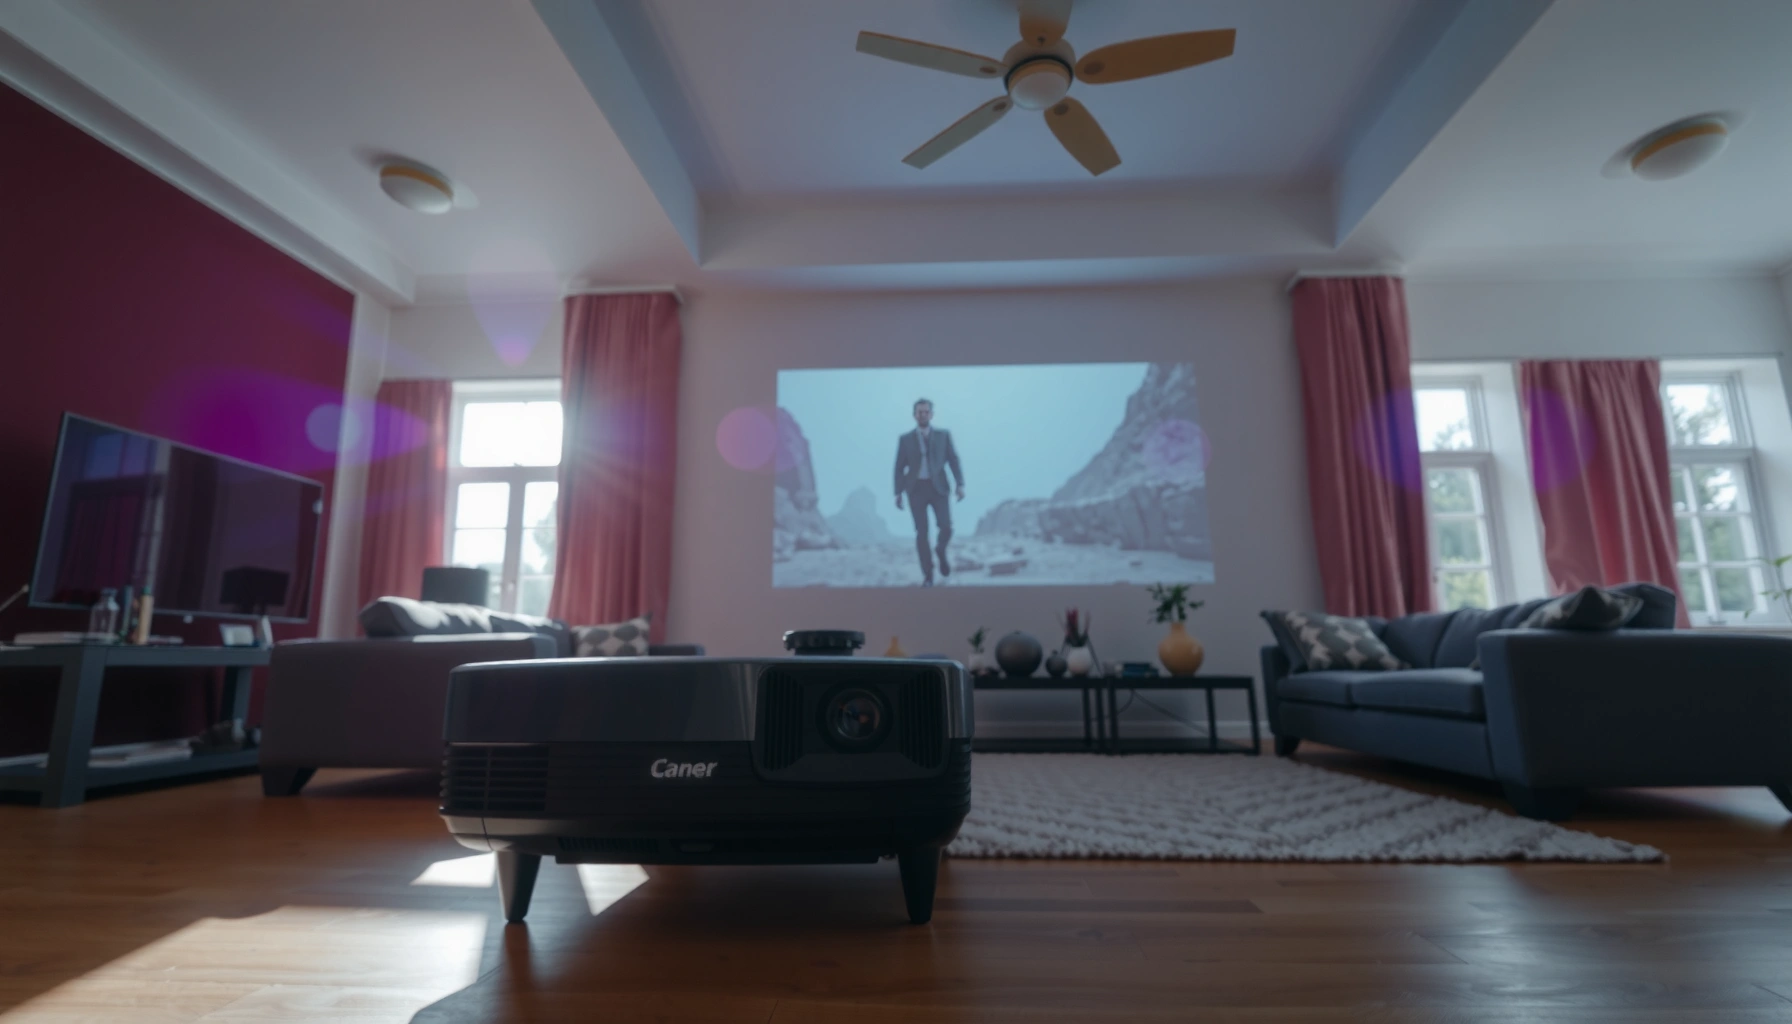

For watching a projector in daylight, you typically need about 3,000–5,000 lumens to get a clear, watchable image without turning your room into a cave. If the space has strong direct sun or large screen sizes, aim closer to 5,000+ lumens for usable contrast. This article gives you the lumen target you can use immediately based on room brightness and screen size.
To watch a projector in daylight, you’ll typically need roughly 3,000–5,000 lumens for a clearly visible image, and sometimes more depending on screen size and how much sunlight you can block. If you can’t control ambient light at all, visibility will drop fast—so brightness alone may not fully solve the problem. This guide breaks down practical lumen targets and the factors that change them.
If you’re shopping for a projector for daytime use (living room, patio, classroom, or office), this is for you—especially if you want a realistic expectation of what “daylight viewing” will look like. We’ll focus on lumen needs plus the lighting/screen choices that usually matter just as much.
What lumens you need for daylight viewing
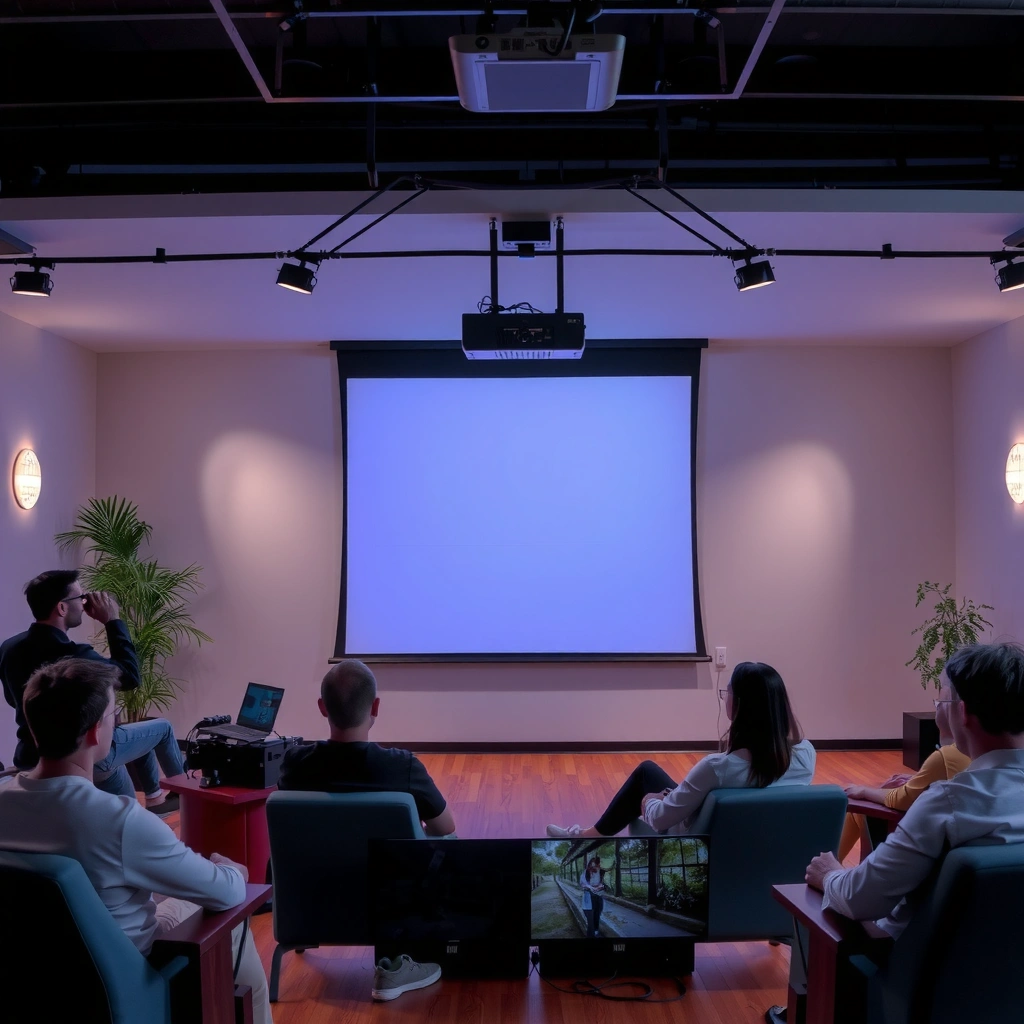
If you want a projector image that’s genuinely watchable in daylight, a reasonable starting target is about 3,000–5,000 lumens for many bright indoor rooms. If your screen area is hit by direct sun or your room can’t be darkened at all, plan on higher output—and possibly a different viewing strategy (smaller image, better screen, or controlled glare).
“ANSI lumens” are measured using a standardized multi-point test method (commonly a 9-point average on the screen), which is why manufacturers’ lumen ratings can be compared more reliably than unstandardized claims.
Daylight viewing depends on both projector light output and the room’s ambient light; you can have “enough lumens” yet still see a washed-out image if glare and reflections dominate.
In practice, lumens targets usually need to increase as screen size grows because the same projector brightness is spread over more visible area.
A lumen target that’s practical (not fantasy)
Most people are choosing between “I can see it” and “I can watch it comfortably.” In real-world daytime rooms, 3,000–5,000 lumens is often the line where the image starts to hold contrast—especially if you’re using a screen designed for higher ambient-light rejection (rather than a plain wall).
Here’s the key logic: projector brightness is only one side of a contrast equation. The other side is how much light is already in the room. According to NIST (1 ft-candle = 10.764 lux conversion), 1 foot-candle equals 10.764 lux—and daylight environments frequently sit far above what most indoor lighting configurations were designed for. Meanwhile, outdoor illumination can range from ~10,000 lux (overcast daylight) to ~100,000 lux (clear midday sun) (see CIE and common daylight illuminance references for typical ranges). That ambient light doesn’t just “sit there”—it reflects off your screen, walls, furniture, and even ceiling haze, reducing perceived contrast.
How that translates into watchability
A “watchable” daytime image tends to require:
– Enough on-screen brightness so the brightest parts of video are clearly visible
– Enough contrast so darker scenes don’t collapse into gray
– Controlled glare so highlights don’t blow out immediately when the camera pans
Expect ~3,000–5,000 lumens for a usable, watchable image in many bright rooms.
Plan for higher brightness when your viewing area has direct sun, bright windows, or large screen sizes.
If you’re relying on a specific projector model, note the manufacturer’s lumen specification type. [ADD: If you’re relying on a specific projector model, insert its manufacturer lumen rating type (e.g., ANSI lumens or LED “brightness” rating) and whether it’s ANSI lumens.]
The biggest factors that change lumen requirements
Lumens aren’t the whole story: even a bright projector can look dim if the screen and room lighting work against it. In daylight, ambient light, screen choice, and surface reflectivity can shift your results more than doubling the projector’s stated lumens.
A high-gain screen can increase perceived brightness, but it may narrow viewing angles and affect uniformity if viewers aren’t centered.
Room reflectivity matters: light-colored walls and floors increase stray light on the screen and reduce contrast, even when projector lumens stay the same.
Direct sun hitting the screen typically causes the fastest “washout,” because it adds uncontrolled high-intensity illumination to the same surface as the projected image.
Ambient light level (direct sun vs. bright indirect)
Ambient light is the biggest swing factor. Direct sun is harsh because it’s concentrated, high intensity, and difficult to control without physical barriers. Bright indirect daylight (sunlight bouncing off walls) is still challenging, but it’s more forgiving—especially if your projector has good light uniformity and your screen blocks some off-axis light.
Screen size and gain (what actually happens on the wall)
When you increase screen size, you’re spreading the same light over a larger area. That means the average brightness per square inch drops. Gain helps by directing more light toward the viewer, but it’s not free—higher gain screens can reduce viewing angle tolerance.
Also remember: projector throw and optics affect effective performance. If you’re forced into heavy keystone correction because of placement, you can lose light efficiency and perceived sharpness.
Viewing distance and room reflectivity
Your room surfaces act like an amplifier for ambient brightness. If you’re projecting into a room with:
– White ceilings,
– Light walls,
– Glossy floors,
– Windows with bright trim,
…then even small amounts of stray light can wash out shadow detail.
Quick comparison: what usually helps most
| Decision lever | What it improves in daylight | Typical downside |
|---|---|---|
| Use a **higher ambient-light-rejecting screen** | Better contrast and perceived punch | Requires correct positioning / may reduce viewing angle |
| **Reduce glare** from windows (curtains/blinds) | Lowers stray light directly from the sun | You may need light control you weren’t planning for |
| Keep the **screen size sensible** | Increases brightness per unit area | Smaller image may feel less immersive |
| Increase projector lumens | Helps the image compete with ambient light | Higher cost; may still look flat without glare control |
Daylight setup targets (room + screen) that actually help
The fastest path to better daylight viewing is usually “reduce light first,” then pick a screen that supports ambient-light contrast. If you do both, you often get a watchable image with less lumen requirement than you’d expect.
Closing blinds/curtains and preventing direct sunlight from striking the screen can reduce washout dramatically, because it lowers high-intensity stray light at the image surface.
An ambient-light-capable screen is designed to improve perceived contrast under bright rooms, not just to boost brightness.
Switching the projector into a high-brightness picture mode typically increases output, but picture processing settings can also affect perceived contrast and color.
Reduce light first (you don’t need total darkness)
Even partial control helps. In most real daytime setups:
– Close blinds/curtains enough to prevent direct sun from hitting the screen
– Turn off overhead lights that sit close to the screen’s viewing axis
– Avoid placing the projector where bright reflections bounce into the lens path
Choose the right screen type
If your goal is daytime viewing, consider screen options designed for ambient conditions (often marketed as “ALR” or high ambient-light performance). These screens typically:
– Reject off-axis light (light coming from around the viewer, not the lens direction)
– Preserve blacks better than matte white surfaces under glare
Match resolution to content needs (but don’t confuse it with brightness)
Higher resolution can make text and fine details sharper, but it doesn’t replace brightness. In daylight, brightness and contrast dominate what you can comfortably see. Use resolution to optimize clarity—then use lumens/screen/lighting to optimize visibility.Reduce light first: close blinds/curtains, switch off strong overhead lights, and avoid direct sun hitting the screen.
Choose the right screen type: a screen designed for higher brightness performance can improve contrast in ambient light.
Match resolution to content needs: higher resolution can look sharper, but it doesn’t replace brightness for daylight clarity.
[ADD: If you have a specific room setup (e.g., screen-to-window distance or typical blind coverage), insert your real-world layout constraints here.]
What can go wrong (common daylight projector mistakes)
Daylight viewing failures usually aren’t “not enough lumens”—they’re mismatches between brightness, contrast, and how light behaves in your room. The most common mistakes are easier to fix than people think.
A projector can have high labeled brightness yet still look washed out if contrast performance and optics aren’t optimized for high ambient light.
Oversizing the image reduces brightness per unit area, which makes daylight visibility worse even when the projector’s total lumens stay the same.
Off-axis placement and heavy keystone correction can degrade effective image quality, which compounds the contrast problems caused by daylight.
– Buying only for lumens: contrast and optics matter, so a very bright projector can still look washed out in high ambient light.
– Oversizing the image: projecting “as big as possible” often makes daylight visibility worse.
– Ignoring throw distance and placement: incorrect placement can force you into less effective settings (keystone correction, off-angle brightness, etc.).
– Using the wrong picture mode: “Cinema” or low-brightness modes often look dim outdoors/daytime.
A simple “contrast reality check”
If your goal is daytime watching (not just “demo visibility”), prioritize:
– Higher brightness mode availability
– Consistent light output (avoid setups that force constant maximum brightness if the unit can’t sustain it comfortably)
– A screen that improves ambient-light contrast
Verdict: a realistic recommendation before you commit
If you want daylight viewing without heavy light control, target a projector rated at least 3,000–5,000 lumens, and be prepared that true “watchable” comfort may require curtains/blinds and a sensible screen size. If your room is fully sunlit with no way to block glare, you may need substantially more brightness than you expect—or you may need to plan for evenings instead.
For daylight use, the safest planning approach is to size the screen realistically and reduce direct glare, then choose enough ANSI-rated brightness to maintain readability.
If direct sun cannot be blocked, the perceived contrast penalty may outweigh any simple lumens upgrade.
Who should skip “daylight projector” expectations
– If your viewing space has direct sun on the screen at predictable times, you may constantly fight glare.
– If you need perfect black levels (e.g., dark-room movie standards), daytime conditions will likely disappoint.
– If you can’t accommodate screen placement, you’ll lose effective quality with keystone and off-axis light.
[ADD: Based on your audience, add one line about the typical best use case (sports highlights, daytime presentations, kid’s content, casual streaming) and one that’s hardest (dark films in full sun).]
Quick scan checklist: set your lumen target
– Room light: direct sun / bright indirect / can block light?
– Screen size: smaller is easier for daylight viewing
– Screen: standard vs high-gain (higher gain helps, but affects viewing angles)
– Projector mode: use a brightest/High mode when watching in daylight
– Placement: ensure proper throw distance and minimize off-axis light loss
Daylight Projector Lumens Planning (ANSI lumen rating assumed)
| # | Viewing scenario | Typical room control | Target lumens (range) | Expected outcome |
|---|---|---|---|---|
| 1 | Bright living room (indirect daylight) | Blinds partially closed | 3,000–4,000 | Watchable with some contrast loss |
| 2 | Office with large windows (no direct sun) | Overhead lights off | 4,000–5,000 | Comfortable for typical content |
| 3 | Patio viewing (sunlight present) | Shade available | 5,000–7,000 | Watchable if glare is controlled |
| 4 | Direct sun hits the screen | No glare-blocking option | 7,000–10,000+ | Often washed out; consider evenings |
| 5 | Large screen (≥100 in class) indoors | Blinds partially closed | 5,000–8,000 | Margin gets tight; screen choice becomes critical |
| 6 | High ambient light with ALR screen | Direct sun mostly blocked | 3,500–5,000 | Best chance of good contrast in daytime |
| 7 | Short-throw / multi-user room | Lights controlled but not dark | 4,000–6,000 | Often workable if viewing angles stay centered |
FAQ
Can I watch a projector in daylight with less than 3,000 lumens?
Sometimes, but it depends heavily on how much you can block light and how small the screen is. In strong daylight, images often become washed out even if they’re “technically visible.”
Do higher lumens always look better in daylight?
Higher lumens help, but contrast and how much light the room reflects can still make the image look flat. Screen choice and lighting control can be the difference between “watchable” and “hazy.”
Is an outdoor screen better for daytime viewing?
Typically, screens designed for higher ambient light performance can improve perceived brightness and contrast. Exact benefits vary, so check the screen’s specs and intended use-case. [ADD: source for screen gain/ambient-light performance guidance if needed.]
What’s the best way to improve daylight visibility besides lumens?
Blocking light (blinds/curtains), reducing glare from windows, and choosing a more suitable screen size usually give the biggest improvement per dollar.
Sources
– [ADD: Manufacturer specification source for ANSI lumens vs other lumen measurement methods for your specific projector model(s).]
– [ADD: Screen manufacturer guidance on gain, viewing angle, and ambient-light performance.]
– ANSI/IES LM-79 (luminaire and projector measurement methodology; use for understanding lumen rating consistency)
– NIST (unit conversion reference, e.g., foot-candle to lux)
– U.S. / CIE daylight illuminance references for typical outdoor lux ranges (for daylight context)
In summary, 3,000–5,000 lumens is the most practical starting point for daylight projector viewing, but true comfort comes from controlling glare, sizing the screen sensibly, and using a screen that supports ambient-light contrast. If your room is fully sunlit with no way to block direct light, consider raising your brightness expectations—or planning for evenings.
Frequently Asked Questions
What lumens do I need to watch a projector in daylight?
In full daylight, most casual viewing requires a projector in the range of 2,500–5,000 lumens for a visible picture. If the room has some window glare or light control (curtains/blinds), you can often get away with around 2,000–3,000 lumens. For bright, direct sunlight on the screen, higher lumens (closer to 5,000+) are usually necessary for a clear, watchable image.
How can I calculate the right projector brightness (lumens) for daytime viewing?
Start by matching the projector’s lumens to your screen size: larger screens need more brightness to maintain contrast and readability. As a practical rule, aim for roughly 20–40 lumens per square foot for daytime viewing, depending on ambient light and how much light rejection your screen has. Then factor in your environment—using blackout curtains, positioning away from windows, and choosing a higher-gain or ALR screen can reduce how many lumens you truly need.
Why do daytime images look washed out even with high-lumen projectors?
Daylight increases ambient light in the room, which reduces contrast and makes blacks look gray, so the image appears washed out. Even a bright projector can struggle if the room is too bright or if the screen doesn’t reject surrounding light. Improving light control (blinds/curtains), reducing direct sun on the screen, and using an ambient light rejecting (ALR) projector screen can significantly improve perceived brightness and clarity.
Which projector screen type works best for watching in daylight?
For daylight viewing, an ALR (ambient light rejecting) screen is often the best option because it reflects more projector light toward viewers while rejecting overhead and side ambient light. A high-gain screen can also help, but it may require more precise seating angles. For the simplest setup, pair a 3,000–5,000-lumen projector with an ALR or high-contrast screen and position the screen to minimize glare from windows.
Best how-to setup tips to increase perceived brightness and readability in daylight?
Use curtains or blinds to cut down ambient light and avoid placing the screen where direct sunlight hits it. Set the projector brightness mode to its highest setting and choose a low-latency, high-contrast picture profile to improve readability. If you’re watching outdoors or in a very bright area, consider a 1080p or 4K laser projector with higher lumens and use a larger light-rejecting screen to maintain a strong image in daylight.
📅 Last Updated: October 06, 2026 | Topic: how many lumens needed to watch projector in daylight | Content verified for accuracy and freshness.
References
- Google Scholar Google Scholar
https://scholar.google.com/scholar?q=projector+lumens+daylight - Google Scholar Google Scholar
https://scholar.google.com/scholar?q=projected+image+ambient+light+illuminance+luminance - Google Scholar Google Scholar
https://scholar.google.com/scholar?q=ANSI+lumens+projector+brightness+standard - Projector
https://en.wikipedia.org/wiki/Projector - Lumen
https://en.wikipedia.org/wiki/Lumen - https://en.wikipedia.org/wiki/Lux
- https://en.wikipedia.org/wiki/Illuminance
- Luminance
https://en.wikipedia.org/wiki/Luminance - Contrast ratio
https://en.wikipedia.org/wiki/Contrast_ratio - https://en.wikipedia.org/wiki/Projection_screen
