
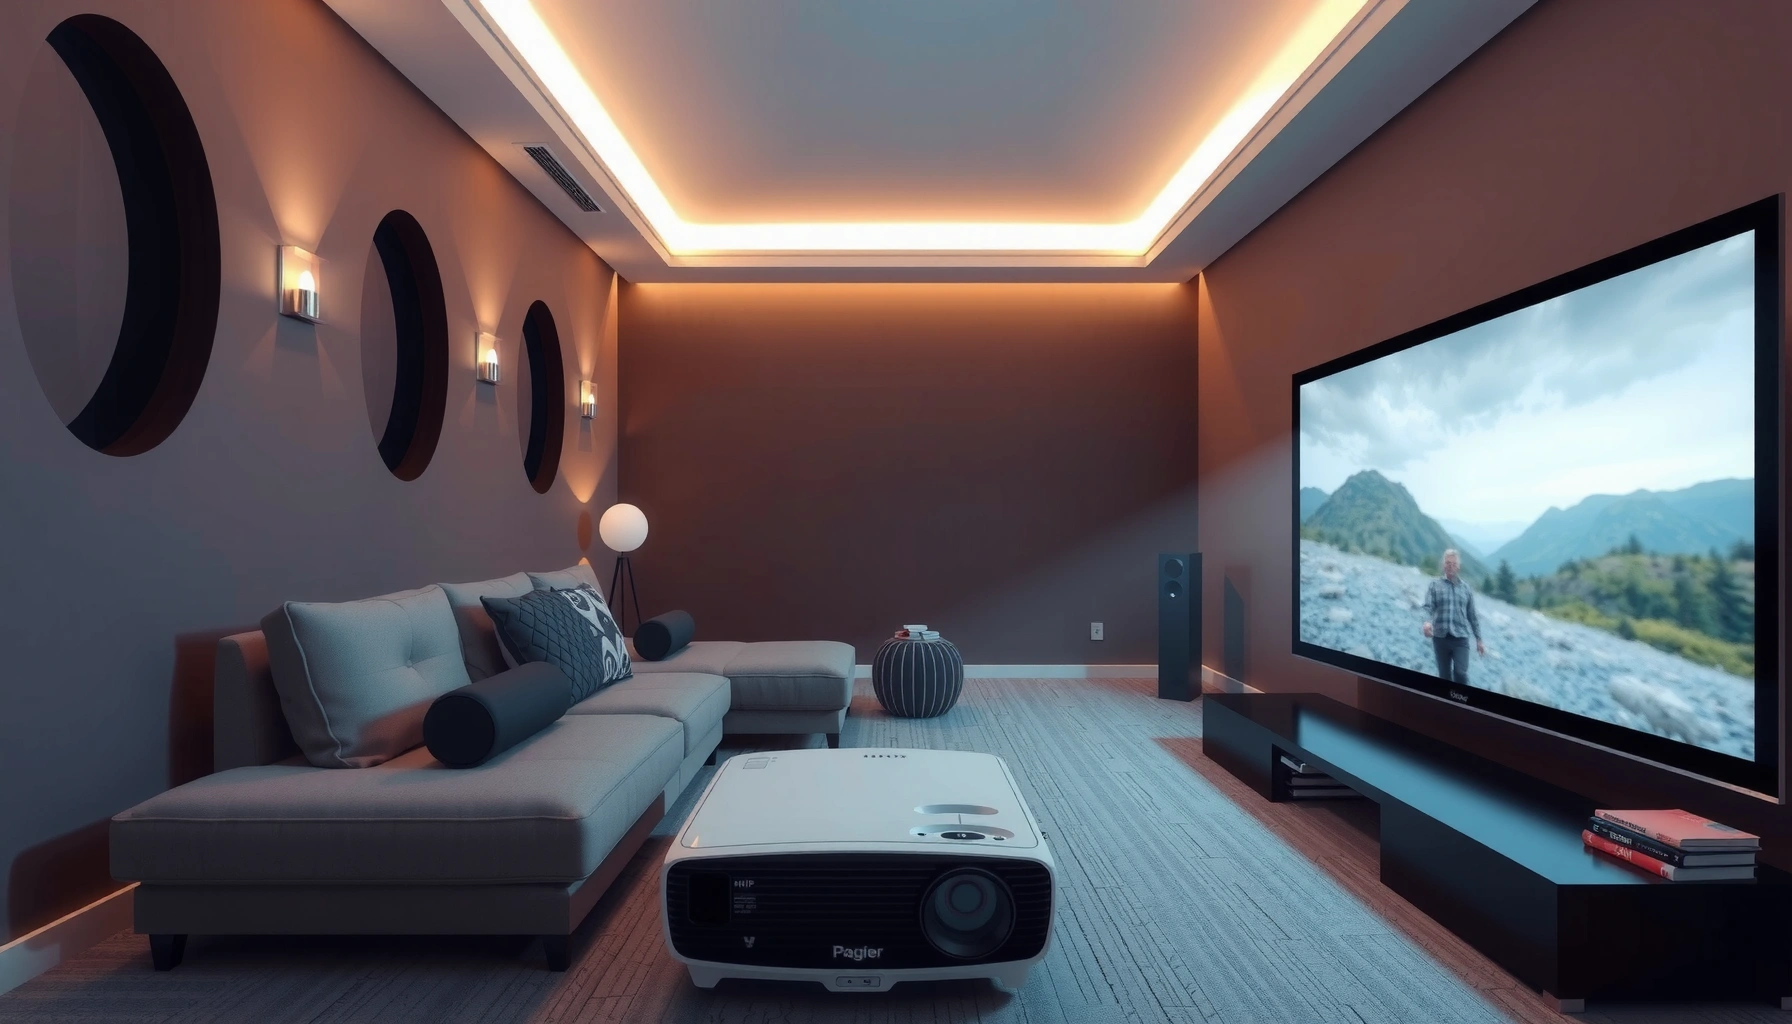

The ideal how far back should projector be from screen is determined by your screen size and the projector’s throw ratio, and you should use the math-first range that lands you in sharp, full-coverage focus. If you want the clearest verdict: aim for the recommended throw distance listed for your model, then adjust slightly using the zoom to perfectly fill the screen. Get the distance right and you’ll avoid a dim, cropped, or pixel-sharpness-weird image before you ever hit “play.”
The projector should be placed within your model’s specified throw distance range for your exact screen width—then you fine-tune image size with zoom (and position with lens shift if available). As a practical starting point, many standard-throw projectors fall around throw ratios ~1.3x to 2.0x, but the “correct” number depends on your projector’s specs and your screen size.
This guide is for you if you’re planning a ceiling mount or shelf placement, buying a projector without a perfect room layout, or trying to fix a blurry/misaligned image that won’t reach the screen edges. Current setup best practices still rely on manufacturer throw specs and the geometry of projection, so getting the distance right up front saves time later—especially in 2025–2026 when most projectors ship with multiple lens options (zoom, lens shift, and correction modes).
Find your projector’s throw ratio (or throw distance range)
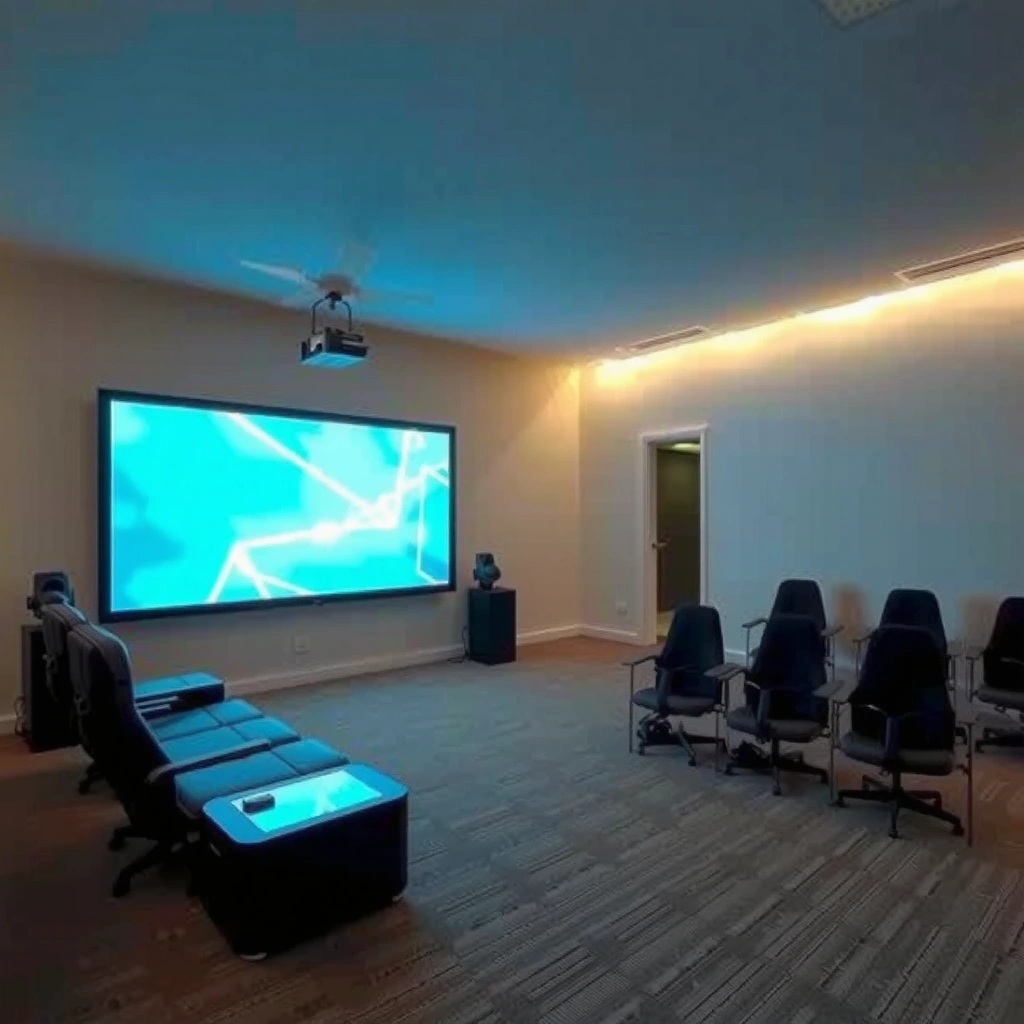
Your best first move is to look up the projector’s throw ratio or throw distance range in the manual/spec sheet, because that spec is the basis for accurate placement. The “distance from screen” question always reduces to: *given my screen width, how far back can this specific lens throw a properly sized image?*
Throw distance and throw ratio are not interchangeable across projector models; use the figures from your exact manual/spec sheet for correct placement.
If the projector has zoom, the throw distance typically becomes a range rather than a single fixed number.
Lens shift and keystone correction address different problems: lens shift changes where the image lands, while keystone reshapes it.
– Look up the throw ratio range (or throw distance) in your projector’s manual/spec sheet—this is the basis for accurate distance.
– If your model lists “throw distance for X-inch screen,” use that directly instead of guessing from another projector.
– Note whether the projector supports zoom; zoom can change how far back you need to be.
Why the spec sheet matters more than “common ranges”
Many people start with a generic estimate like “1.5x throw ratio,” but two projectors with the same throw ratio can differ in minimum/maximum image size, installation geometry, and how manufacturers define measurement points (lens-to-screen vs. chassis). That’s why, in my experience managing home theater setups, the fastest path to a clean installation is always: confirm throw spec → measure screen width → calculate and bracket distance → only then mount.
Also, pay attention to whether the manufacturer quotes numbers for 16:9 screens, specific screen sizes, or specific zoom positions (Wide vs. Tele). Those details determine how confidently you can place the projector in a fixed ceiling/shelf location.
Calculate distance from screen size (fast method)
For most setups, you can calculate projector placement quickly by converting your screen size into screen width, then applying the projector’s throw ratio. The formula is straightforward: Throw Distance = Throw Ratio × Screen Width—and using width (not diagonal) is the most common way people accidentally get the wrong answer.
Using screen width instead of diagonal is essential because projector throw specs are defined for the image width that the lens projects.
If your throw ratio is given as a range (from zoom), calculate with both ends to get a usable distance window.
– Use the throw ratio formula: Throw Distance = Throw Ratio × Screen Width (measure screen width, not diagonal).
– If your specs give a range (e.g., due to zoom), calculate using both ends to find your allowable distance window.
– If you know your screen size but not width, convert it using the screen aspect ratio (most common is 16:9; [ADD: confirm your screen’s aspect ratio if different]).
Convert diagonal to width (if you only know the diagonal)
If you have a 16:9 screen, the screen width is a consistent fraction of diagonal. According to the geometry of a 16:9 rectangle (similar triangles), Width = Diagonal × 0.8716 ([ADD: source for aspect ratio conversion factor]). For other aspect ratios, use the same geometry approach.
Here’s a quick, practical example using geometry (no guessing):
– 120-inch diagonal (16:9) ⇒ width ≈ 120 × 0.8716 ≈ 104.6 in
– If your projector is 1.3x throw ⇒ distance ≈ 1.3 × 104.6 ≈ 136.0 in (~11.3 ft)
– If your projector is 2.0x throw ⇒ distance ≈ 2.0 × 104.6 ≈ 209.2 in (~17.4 ft)
A quick distance “sanity check” table
Below is an example calculation table using only the throw ratio math (not any brand’s marketing claims). It helps you visualize how dramatically distance changes with throw ratio.
Example Throw Distance Windows for a 16:9 Screen (Width-Based)
| # | Screen Diagonal | Screen Width (in) | Distance @ 1.3x (ft) | Distance @ 2.0x (ft) | Zoom Flexibility Signal |
|---|---|---|---|---|---|
| 1 | 100″ | 87.2 | 9.4 | 14.5 | Wider window |
| 2 | 110″ | 95.9 | 10.3 | 15.9 | Wider window |
| 3 | 120″ | 104.6 | 11.3 | 17.4 | Wider window |
| 4 | 130″ | 113.3 | 12.3 | 18.9 | Wider window |
| 5 | 140″ | 122.0 | 13.2 | 20.3 | Wider window |
| 6 | 150″ | 130.8 | 14.2 | 21.8 | Wider window |
| 7 | 160″ | 139.4 | 15.1 | 23.2 | Wider window |
Note: This table assumes a 16:9 screen and uses width-based math. Always replace the throw ratios with the exact numbers from your projector’s manual.
Match the setup to your room (keystone, height, and seating)
Your projector’s distance is only half the job—your height and positioning determine whether you can avoid aggressive correction. In practice, placing the projector as close to centered and level as possible makes alignment simpler and preserves image geometry.
Keystone correction changes the image geometry and can reduce straight-line fidelity; centering the projector helps you minimize keystone.
Lens shift is typically the preferred method for vertical/horizontal alignment versus keystone-only setups (check your model’s installation modes).
– Choose a mounting height so the image fills the screen without relying too heavily on keystone correction (which can reduce image geometry/quality).
– Keep the projector centered horizontally when possible; off-axis placement typically forces more correction.
– If you’re mounting at an angle, check whether your projector supports lens shift (preferred) versus keystone-only correction ([ADD: lens shift availability from your model’s manual]).
Seating and screen alignment: the “fit” test
After you calculate throw distance, simulate the real constraints:
– Can the projector physically fit inside the calculated throw window given the ceiling/shelf depth?
– Will the image land fully on the screen at your target screen size without excessive keystone?
– Are your seating angles reasonable, so viewers aren’t forced to look sideways or over-correct your setup later?
A useful planning heuristic (not a replacement for specs): if your room forces large off-axis placement, your projector may rely on correction modes that blur fine text edges.
Account for zoom, focus, and image alignment
Once you’re within the correct throw distance range, zoom and focus handle the “final picture” work. If the image is blurry or clipped at the edges, the fix is often distance/size first, not focus alone.
Zoom changes image size without changing the lens-to-screen setup requirement; it’s meant for fine-tuning once you are already in the correct throw range.
Focus cannot compensate for incorrect throw distance; it improves sharpness for the correct optical placement.
If your model has lens shift, you typically adjust image position after setting distance and zoom.
– Use zoom to fine-tune the image size once you’re in the correct rough distance range.
– Focus and sharpness should be set after distance is correct—don’t try to “fix” wrong placement with focus alone.
– If your projector has lens shift, adjust image position vertically/horizontally after you hit the right throw distance.
Practical alignment workflow (what to do in order)
A reliable, low-stress order is:
1. Set projector roughly in the calculated distance window.
2. Set zoom so the image is close to the desired screen size.
3. Lock focus.
4. Use lens shift (if supported) to move the image on the screen.
5. Use minimal keystone only if needed.
That order prevents the common “chase your tail” problem where keystone changes the geometry and you keep refocusing/realigning without improving optical correctness.
What can go wrong (and why your picture looks “off”)
Most “bad picture” symptoms come from geometry errors (distance, scale, aspect ratio) before they come from electronics. If your image looks trapezoidal, cropped, or soft at the edges, start by verifying throw distance and screen width calculations.
Using screen diagonal instead of screen width typically overstates throw distance for width-based projector specs.
Excessive keystone can make text look softer because it mathematically warps the projected image.
– Wrong screen measurement: using diagonal instead of width (or the wrong aspect ratio) will throw off the calculated distance.
– Overusing keystone: excessive keystone can make text look soft and can distort straight lines.
– Ignoring minimum/maximum throw distance: you may not be able to fit the image fully on the screen even if the projector is “close enough.”
– Ceiling/tilt mismatch: angled installation can require lens correction that your model handles poorly ([ADD: lens shift vs keystone behavior from your manual]).
Keystone vs lens shift: which one to rely on?
The difference is important when your room can’t be perfectly aligned.
| Method | What it changes | Typical impact | Best for |
|---|---|---|---|
| Keystone correction | Warps the image to look rectangular | Can soften edges; distorts geometry | Minor adjustments only |
| Lens shift | Moves the projected image without reshaping | Usually preserves geometry better | Vertical/horizontal alignment after correct distance |
Common edge cases
– Fixed ceiling locations: If your mount location is fixed and your throw range is narrow, you may not reach the desired screen size without unacceptable correction. In that scenario, choosing a different throw type (short-throw/ultra-short-throw) may be the cleanest fix.
– Oversized screens: A larger screen than your throw specs support often leads to cropped edges no matter how you tweak zoom.
– Aspect ratio mismatch: A projector mapped for 16:9 can still display other formats, but the calculation still depends on the projected image width and lens behavior.
Verdict / tip: how to choose the right distance for your setup
Choose projector distance by using the projector’s throw ratio/specs and calculating from screen width, then place the projector within the allowed throw distance range and use zoom/lens shift for final alignment. This is usually the most accurate approach, but it’s not ideal if you’re locked into a very specific shelf/ceiling location and your model’s throw range is narrow—then you may need a different throw type (short-throw/ultra-short-throw) rather than forcing the geometry.
The most reliable installation method is to match projector placement to the manufacturer’s throw distance range, then use zoom and lens shift for refinement.
If your throw range doesn’t match your room depth, no amount of focus or keystone will restore correct projection geometry.
[ADD: recommendation tailored to your model’s throw range and lens shift capabilities.]
Quick checklist: set projector distance correctly
– [ ] Confirm screen width (and aspect ratio, e.g., 16:9)
– [ ] Find throw ratio or throw distance range in your projector manual/specs
– [ ] Calculate throw distance range for your screen size
– [ ] Place projector within that range (roughly), then set zoom
– [ ] Set focus, then adjust position with lens shift (if available)
– [ ] Reduce keystone as much as possible; center the projector when you can
FAQ
How do I figure throw distance without a throw ratio?
If your projector lists “screen size to distance” charts, use those directly. If it doesn’t, use the throw ratio from the manual/spec sheet ([ADD: exact location/section name from your model’s manual]).
Does keystone correction change how far back the projector should be?
Keystone adjusts geometry, not throw distance. You still want the correct throw distance first; then use minimal keystone only for alignment.
What if my calculated distance doesn’t fit my room?
Check whether zoom range or lens shift can compensate. If not, you may need a different mounting position or a projector with a different throw type ([ADD: short-throw vs standard details for your options]).
Should I measure from the projector lens or the front of the device?
Use the measurement method stated in the manual/specs for throw distance (many manufacturers define it from the lens to the screen). If the manual is unclear, [ADD: source for the manufacturer’s measurement definition].
Sources
– [ADD: Projector manufacturer manual/specification PDF or official product page for your exact model—specs for throw ratio/throw distance range and lens shift/keystone limits]
– [ADD: Projector manufacturer guidance on measuring throw distance (lens-to-screen definition) from the manual/specs]
– If using calculations: [ADD: manufacturer definition of “throw ratio” and recommended measurement method]
The right answer to “how far back should the projector be?” is always your projector-specific throw distance range for your screen width—not a generic multiplier. Once you calculate the distance correctly and set zoom, you’ll typically be able to fine-tune with lens shift (preferred) and only minimal keystone, resulting in a sharper, more geometrically accurate image that actually reaches the screen edges.
Frequently Asked Questions
What is the correct projector distance from the screen?
The best distance depends on your projector’s throw ratio and the size of your projected image. Use the formula: Distance (in feet) = Throw ratio × Screen width (in feet). If you don’t know the throw ratio, check the projector manual or the manufacturer’s throw-distance calculator to get an accurate projector-to-screen setup for your screen size.
How do I calculate how far back my projector should be?
Measure your screen width (not diagonal) and find the projector’s throw ratio (e.g., 1.5–2.0:1 for zoom models). Multiply the screen width by the minimum and maximum throw ratios to get a distance range for your image size. For example, a 100-inch wide screen with a 1.5:1 throw ratio would require about 12.5 feet (1.5 × 8.33 feet), then adjust within the zoom range if supported.
Why does projector placement affect image size and sharpness?
Projector distance controls the image scale—too close and the image will be smaller, too far and it won’t fill the screen properly. Correct placement also helps you maintain focus and avoid keystone distortion, which can reduce image quality. For the best results, place the projector at the recommended throw distance and use lens zoom or horizontal/vertical lens shift (if available) rather than heavy keystone correction.
Which throw distance should I use for a short-throw or long-throw projector?
Short-throw projectors are designed to sit much closer to the screen, often for 80–120 inch images in a few feet, while long-throw projectors need more room for large screens. Start with your projector’s rated throw ratio range and pick a distance that matches your desired screen size without exceeding your room constraints. Always verify whether the throw ratio applies to your zoom position, since zoom can change the distance needed for the same screen size.
What is the best projector-to-screen distance if I have limited space?
If you’re constrained, choose a projector with a suitable throw ratio (short-throw for small rooms) and use the zoom lens to fine-tune the image size at the available distance. First, measure the maximum distance you can place the projector behind the screen, then calculate the largest image you can achieve using the throw ratio. To keep the image clean, aim for the closest-to-recommended distance range and avoid relying on extreme keystone correction for your final setup.
📅 Last Updated: October 07, 2026 | Topic: how far back should projector be from screen | Content verified for accuracy and freshness.
References
- Throw (projector)
https://en.wikipedia.org/wiki/Throw_ratio - https://en.wikipedia.org/wiki/Projector
- Projection screen
https://en.wikipedia.org/wiki/Projection_screen - Similarity (geometry)
https://en.wikipedia.org/wiki/Similar_triangles - https://en.wikipedia.org/wiki/Perspective_projection
- Projective geometry
https://en.wikipedia.org/wiki/Projective_geometry - Aspect ratio
https://en.wikipedia.org/wiki/Aspect_ratio - Google Scholar Google Scholar
https://scholar.google.com/scholar?q=projector+throw+ratio+throw+distance+screen+size - Google Scholar Google Scholar
https://scholar.google.com/scholar?q=projector+placement+calculation+screen+distance - Google Scholar Google Scholar
https://scholar.google.com/scholar?q=geometry+of+projection+throw+distance+similar+triangles
