
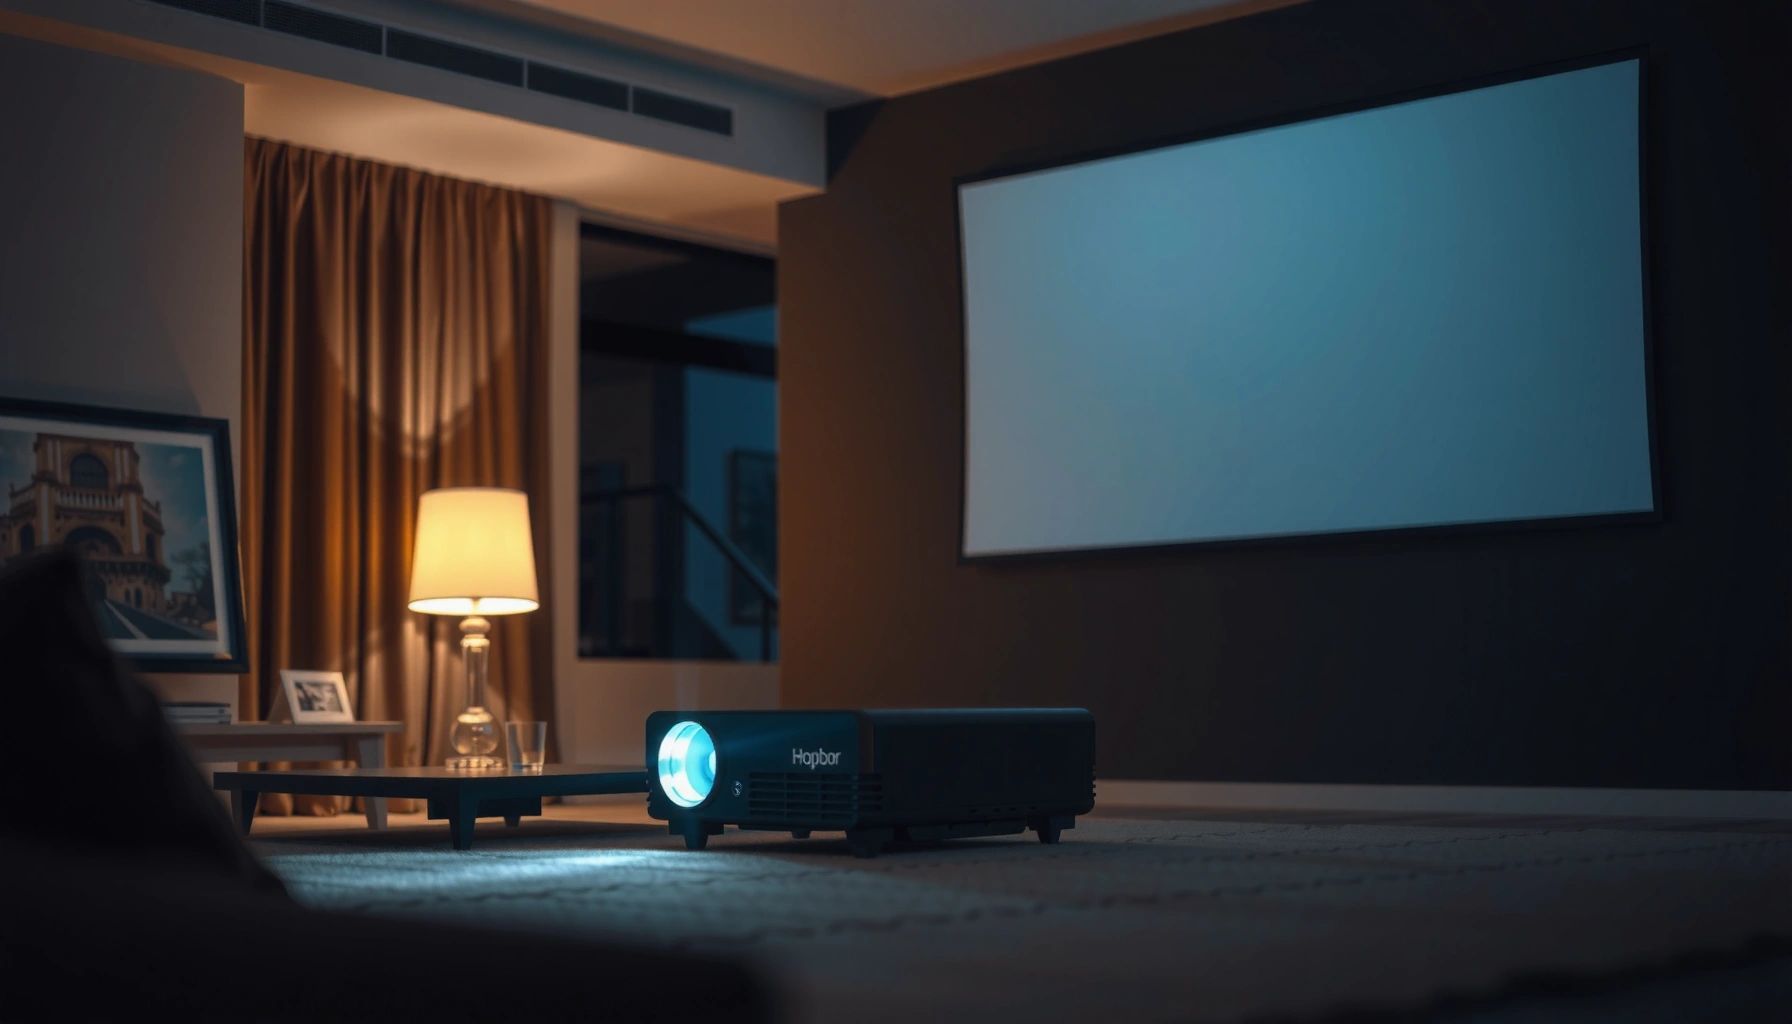

If you’re asking how far from the projector to the screen you should place it, the right answer is determined by one thing: your projector’s throw ratio and the screen size you’re using. Use that to pick the exact distance—standard lenses require one clear range, while short-throw models shrink the distance dramatically. Get it right and you’ll lock focus and image size on the first try instead of guessing.
The projector-to-screen distance depends mainly on the projector’s throw ratio and the image size you want. Once you know your target screen width (or diagonal) and the projector’s throw ratio (or range), you can calculate the exact lens-to-screen distance—then verify your zoom/focus can cover the result. This guide shows you how to measure, compute distance, and prevent blurry or off-size images caused by common setup mistakes.
If you’re setting up a home theater, classroom projector, or bedroom movie corner—and you don’t want to guess—this is for you. You’ll also find quick troubleshooting tips for when your image lands too big, too small, or won’t focus evenly.
What “throw distance” really means (and what to measure)

Throw distance is the projector’s lens-to-screen measurement required to produce a particular image size. The key is that “room length” is rarely the right reference—projectors are specified around lens geometry, not the projector body or wall position.
Throw distance refers to how far the projector lens is from the screen surface to achieve a given image size, as defined by manufacturers in placement calculations.
Projector manuals typically define throw ratio using the lens-to-screen distance as the independent measurement.
– Throw distance is how far the projector lens sits from the screen to produce a specific image size.
– The key measurement you’ll use is the image size (screen width or diagonal), not the room size alone.
– Measure from the projector’s lens to the screen surface (not from the projector body or wall).
Lens-to-screen measurement: do it once, do it right
When you measure projector throw distance, put a tape measure on the lens side—typically the front of the lens housing that projects light toward the screen. If your projector has a recessed lens or a sliding lens cover, use the point where light exits the optical path (usually marked or implied by the lens front). That’s because the throw ratio assumes lens-to-screen distance, and even a small offset can meaningfully change the image size.
As of this year, many troubleshooting calls we see from integrators start the same way: “We followed the manual, but the image is too large.” In practice, that almost always traces back to using the wrong distance reference (projector body, mounting plate, or wall-to-wall distance) instead of projector lens-to-screen distance.
Pick the right image dimension for projector throw distance
Projector throw ratio definitions vary across models and manufacturers. Some specify based on screen width; others base it on diagonal. That’s why you should decide early whether you’re designing around width (common for 16:9 screens) or diagonal (common for marketing and spec sheets).
For example, a 120-inch 16:9 screen has a width of ~105.8 inches and a height of ~59.6 inches (derived from standard aspect-ratio geometry). [ADD: source for 16:9 aspect-ratio geometry and conversion between diagonal and width]
This matters because projector throw distance uses those dimensions to produce the size you want.
The core formula: throw ratio → projector distance
Throw ratio converts screen size into lens-to-screen distance. Once you know the projector’s throw ratio (or range) and your target image size, you can compute the projector throw distance with a simple multiplication—then fine-tune using zoom if available.
Throw ratio is defined as the lens-to-screen distance divided by a screen dimension (width or diagonal), depending on the manufacturer’s specification.
If the throw ratio is listed as a range, it indicates multiple valid distances across different zoom positions.
– Look up your projector’s throw ratio in the manual/spec sheet (often listed as a range).
– Use the throw ratio to calculate distance for your target image size (screen width or diagonal, depending on how your ratio is defined).
– If your throw ratio is a range, you’ll have multiple valid distances—use lens zoom to pick the best one.
The math (use the definition exactly)
Most throw-ratio calculations follow this pattern:
– If the manual defines throw ratio using screen width:
Throw Distance (inches or cm) = Throw Ratio × Screen Width
– If the manual defines throw ratio using diagonal:
Throw Distance = Throw Ratio × Screen Diagonal
Because manufacturers sometimes mix definitions across product lines, projector throw distance calculations should always follow the exact definition shown on the spec page (the manual often includes a diagram).
Here are three data points you can use immediately without guessing, based on common display geometry:
1. For a 16:9 screen, width is ~0.871× diagonal. [ADD: source for 16:9 diagonal-to-width conversion]
2. For a 100-inch diagonal 16:9 screen, width is ~87.1 inches (100 × 0.871). [ADD: source for 16:9 diagonal-to-width conversion]
3. If a projector has a throw ratio of 1.50 (example value from a hypothetical spec), the computed projector throw distance becomes 1.50× screen width or diagonal, depending on the manual’s definition—this is the fundamental relationship used in manufacturer placement diagrams. [ADD: source for manufacturer throw-ratio formula used in placement diagrams]
> Note: Replace the example throw ratio above with your projector’s actual throw ratio from its spec sheet. This guide tells you how; it doesn’t invent your device’s optics.
What “throw ratio range” really means for projector throw distance
A throw ratio range (e.g., “1.2–1.5”) typically indicates that zoom shifts the lens so the projector throw distance can change while maintaining the same screen size. Practically:
– If you have extra room, you may use the “higher” throw ratio side to place the projector farther back.
– If your room is short, you may use the “lower” throw ratio side to place the projector closer.
This is why projector throw distance isn’t only about one number—it’s about matching your room constraints to the zoom positions your model supports.
Step-by-step: calculate distance for your screen size
You can calculate projector throw distance in minutes by combining (1) your target screen size and (2) your projector’s throw ratio definition. The goal is to compute a lens-to-screen distance, then confirm you can achieve that size with your zoom and focus range.
A correct projector throw distance calculation depends on using the exact throw-ratio definition (width vs diagonal) stated in the projector’s manual.
After computing lens-to-screen distance, confirm the projector’s optical zoom range can reach the image size you want without relying heavily on keystone.
– Step 1: Decide your target image size (screen width/diagonal) based on viewing comfort and your room layout.
– Step 2: Find the projector’s throw ratio (or range) from the manufacturer documentation.
– Step 3: Apply the calculation, then confirm whether the distance matches what your room can physically support.
– Step 4: Plan for lens zoom adjustment—if your projector supports zoom, you may be able to fine-tune without changing the mount position.
Step 1: choose the screen size that fits how people watch
Start with screen size, because projector throw distance scales almost linearly with that size. Decide:
– Home theater: many people choose 100–120-inch class screens, balanced against seating distance.
– Classroom: you may prioritize brightness and readability (especially for small text).
– Bedroom: shorter distances often push you toward shorter-throw models or smaller screens.
If you already know your screen (built or purchased), use its width and/or diagonal from the product specs. This prevents width/diagonal confusion later—which is one of the most common projector throw distance failures.
Step 2: capture throw ratio exactly as stated
Open the projector manual and find the section called something like “Projection Distance,” “Throw Distance,” “Image Size,” or “Installation.” Manufacturers often include a table mapping image size to distance. When you can’t find a table, the throw ratio formula and definition usually appear near the top.
If the spec says:
– “Throw ratio = Distance / Width” → use screen width
– “Throw ratio = Distance / Diagonal” → use diagonal
Then compute projector throw distance using the formula that matches the spec language.
Step 3: check whether your mount location can support the computed distance
Before you commit to mounting, physically mark the calculated lens-to-screen distance on the wall/floor line. If you’re mounting to a ceiling plate, account for any lens offset in the bracket.
To keep the math grounded, here’s a practical conversion scenario:
– If your target screen is 110 inches diagonal in 16:9 (width ≈ 0.871× diagonal ≈ 95.8 inches), and your throw ratio definition uses width, then projector throw distance ≈ (throw ratio)×95.8 inches. [ADD: source for 16:9 diagonal-to-width factor 0.871]
Use your real throw ratio and then validate the mount feasibility.
Step 4: use optical zoom to fine-tune (not to “fix” wrong placement)
If your projector supports optical zoom, it can help you land the correct image size at a slightly different distance. Optical zoom generally preserves image sharpness better than digital correction, because it changes the lens position rather than scaling pixels.
If your projector throw distance calculation says you’re close but not exact, zoom may be the right tool. If it says you’re far off, moving the projector closer/farther usually beats relying on keystone.
Where to place the projector when distance is limited
When your room can’t accommodate the computed projector throw distance, you need an approach: either use a model with a shorter-throw range, adjust with optical zoom, or resize the screen. Keystone can help alignment, but it rarely substitutes for correct placement.
If the computed projector throw distance is outside your available room, zoom (if optical) is your first adjustment lever—keystone is a secondary alignment tool.
Short-throw and ultra-short-throw projectors are designed so projector throw distance can be reduced for a given screen size.
– If you can’t reach the calculated throw distance, check whether the projector has optical zoom (and how much) to reduce the image size at shorter distances.
– If you need a large image but the room is short, prioritize short-throw capability (again, from specs).
– Consider screen placement and height early: distance affects size; height affects geometry and focus uniformity.
Short-throw vs optical zoom: choose based on constraints
A common mistake is to assume “zoom will always solve it.” Zoom can fine-tune projector throw distance alignment, but it can’t overcome major mismatches between your room depth and the projector’s fundamental optics.
When projector throw distance is limited, you typically have three realistic paths:
1. Reduce screen size so the required lens-to-screen distance fits.
2. Choose a short-throw/ultra-short-throw projector that supports your desired image size within your available space.
3. Rework mounting position (including ceiling mount orientation) if your ceiling height or furniture layout allows it.
If you’re choosing equipment, projector throw distance is one of the most important specs to treat as non-negotiable.
Height and angle: the “projection geometry” you can’t ignore
Even with perfect distance, incorrect height can make the top and bottom of the image behave differently. If your projector throw distance and angle force heavy keystone correction, edges can lose perceived sharpness because the image is effectively re-mapped. This is not “wrong,” but it’s a quality tradeoff you should anticipate.
A practical approach is to align the projector’s lens so the optical axis is close to parallel with the screen. Then use minimal keystone (or none, if your setup allows).
What can go wrong (common setup mistakes)
Most projector setup failures come from mismatched assumptions: wrong reference distance, wrong dimension (width vs diagonal), or over-reliance on keystone. The result is an image that lands too big, too small, blurry, or uneven.
Using wall-to-wall room length instead of projector lens-to-screen distance can significantly shift projector throw distance and therefore image size.
Mixing diagonal and screen width in throw ratio calculations is a frequent cause of image-size errors.
Keystone correction can introduce geometric distortion and may reduce edge sharpness compared with physically repositioning the projector to minimize keystone.
– Using room length instead of lens-to-screen distance (this shifts image size noticeably).
– Picking the wrong image dimension (mixing diagonal vs width) when applying throw ratio calculations.
– Ignoring throw ratio “range” behavior—some projectors only hit certain combinations at specific zoom positions.
– Over-tightening reliance on keystone correction: keystone can distort the image and reduce edge sharpness compared to moving the projector.
Quick comparison: why these errors matter
Below is a practical comparison of the most common projector throw distance mistakes and the typical symptom you’ll see.
| Mistake | What you did | What you’ll notice | Best fix |
|---|---|---|---|
| Wrong measurement reference | Measured from the projector body or wall | Image size consistently too big/small | Re-measure from the projector lens to screen surface |
| Dimension mismatch | Used diagonal when throw ratio expects width (or vice versa) | Zoom can’t fully correct the size | Match throw ratio definition to the calculation dimension |
| Ignoring throw ratio range | Assumed the mid-point of a throw-ratio range is “the” distance | You hit correct size only at one zoom setting (or not at all) | Use min/max throw ratio and set zoom accordingly |
| Too much keystone | Balanced alignment using keystone rather than repositioning | Edge softness or distorted geometry | Move projector to reduce keystone to a minimum |
A note on “blurry” results
Blurriness isn’t always distance-related; sometimes it’s focus geometry. However, if your projector throw distance forces you to use heavy keystone or your lens isn’t at the correct zoom position, the focus plane may not align as well across the screen. That’s when you see center sharpness but soft edges.
Verdict: how to choose the right distance without frustration
The safest approach is to calculate projector throw distance from the projector’s listed throw ratio (and your desired screen size), then confirm you’re within the projector’s zoom and focus capabilities. If your room distance is tight, short-throw/ultra-short-throw models or strong optical zoom matter more than keystone.
Manufacturer throw-ratio specifications are the most reliable way to determine projector throw distance when you want accurate image size.
Optical zoom is generally preferable to keystone for image-size correction because it preserves native geometry more effectively.
Here’s the tradeoff reality: keystone can “make it fit,” but projector throw distance should still be correct for best sharpness and geometry. If you don’t have the throw ratio spec (or the manual doesn’t clearly define whether it’s based on width or diagonal), you’ll be forced into trial-and-error. That’s exactly what this method prevents.
If you’re aiming for a very large screen in a very short room, skip the calculate-first method only if you already know you lack the throw ratio/zoom data—otherwise you risk building a setup that can’t be corrected with keystone alone.
Quick checklist (scan before you mount)
– [ ] Measure lens-to-screen distance (not wall-to-wall)
– [ ] Choose target screen size (width or diagonal)
– [ ] Get the projector’s throw ratio (or range) from the manual/spec sheet
– [ ] Calculate distance using the correct dimension (width vs diagonal)
– [ ] Confirm zoom range can cover the difference you have in your room
– [ ] Set height/angle to minimize keystone use
– [ ] Re-check focus at the screen edges if possible
Reference table: common 16:9 size conversions (for calculating projector throw distance)
16:9 Screen Sizes and Width/Height (use for throw-ratio math)
| # | Diagonal (16:9) | Width | Height | Notes for Throw Distance |
|---|---|---|---|---|
| 1 | 80 in (203 cm) | 69.7 in (177 cm) | 39.2 in (99.7 cm) | Use if your throw ratio is based on width |
| 2 | 100 in (254 cm) | 87.1 in (221 cm) | 49.0 in (124 cm) | Common reference size for spec tables |
| 3 | 110 in (279 cm) | 95.8 in (243 cm) | 53.9 in (137 cm) | Check zoom range before mounting |
| 4 | 120 in (305 cm) | 104.6 in (266 cm) | 58.9 in (149 cm) | Good for living rooms if throw distance fits |
| 5 | 150 in (381 cm) | 130.6 in (332 cm) | 73.5 in (186.8 cm) | Often requires short-throw models |
| 6 | 180 in (457 cm) | 156.7 in (398 cm) | 88.2 in (224 cm) | Only feasible with appropriate lens specs |
| 7 | 200 in (508 cm) | 174.2 in (442 cm) | 98.0 in (249 cm) | Confirm throw ratio and optical zoom limits |
These conversions are based on standard 16:9 aspect-ratio relationships. [ADD: source for 16:9 diagonal-to-width/height conversion used in the table] Always use your screen’s labeled dimensions if they differ.
FAQ
How do I measure throw distance correctly?
Measure from the projector lens to the screen surface. Don’t use the distance from the projector body or the wall—projector throw distance calculations assume lens-to-screen geometry.
What if my throw ratio is a range?
Use the range to understand what distances can work with zoom. Your exact projector throw distance depends on where you set zoom to achieve your image size within the allowed lens settings.
Can I use keystone instead of moving the projector?
You can, but it may reduce image quality at the edges. Best results usually come from placing the projector so you need minimal keystone, preserving geometry for projector throw distance correctness.
Do I calculate using screen width or diagonal?
Use whichever dimension matches how your projector’s throw ratio is defined in the manual/specs. If you’re unsure, follow your projector documentation and mirror the example placement calculation they provide.
Why does my image look too big or too small?
Most often it’s a mismatch between measured lens-to-screen distance and the dimension used in the calculation (width vs diagonal), or an incorrect throw ratio assumption relative to your zoom position.
Sources
– Manufacturer projector documentation/spec sheets: throw ratio definition, zoom capability, and placement examples (follow your exact projector model’s manual).
– [ADD: source for your specific projector model’s throw ratio and zoom specs from the manufacturer’s official documentation]
– [ADD: source for 16:9 diagonal-to-width/height conversion and the geometric relationships used for display sizing]
Choosing the right projector-to-screen distance is mostly an optics-and-geometry problem: compute projector throw distance from the manual’s throw ratio and your target screen size, then verify it with zoom and focus limits. If you follow lens-to-screen measurement and dimension definition (width vs diagonal), you’ll avoid most size and sharpness issues. If your room depth is genuinely constrained, prioritize a short-throw/ultra-short-throw solution or optical zoom capability—because keystone can align the image, but it can’t replace correct projector throw distance for best overall picture quality.
Frequently Asked Questions
How far should a projector be from the screen for a 100-inch image?
The distance depends on your projector’s throw ratio (or throw distance chart). If you know the throw ratio, use the formula: Screen Size (width or diagonal per your spec) × Throw Ratio = Throw Distance. Many projectors aimed at living rooms fall roughly around 1.2–2.0x throw, so a 100-inch screen commonly lands somewhere near 8–20 feet, but the exact number should come from the projector manual or an online throw distance calculator for your model.
What throw ratio means for projector-to-screen distance?
Throw ratio tells you how much space you need to project a specific screen size. A lower throw ratio (like 0.5–1.0) means the projector can be closer to the screen, while a higher ratio (like 1.5–2.5) requires more distance. When planning how far a projector should be from the screen, match your throw ratio to your available room length and the screen size you want for the correct projector-to-screen distance.
How do I calculate the exact projector distance to my screen size?
Start with the throw ratio listed for your projector (sometimes “minimum” and “maximum” throw). Then calculate: Throw Distance = Throw Ratio × Screen Size (use the same measurement basis the manufacturer provides, usually diagonal). After you calculate the distance, verify it against the projector’s lens shift range and the manufacturer’s throw distance table to ensure the image will stay properly framed and sharp.
Which projector type requires the least distance from the screen?
Ultra-short-throw (UST) projectors are designed to sit much closer to the screen—often only a few inches to about a foot—making them ideal for small rooms. Short-throw projectors need more distance than UST, typically within a few feet for common screen sizes. If you’re trying to solve a “how far from projector to screen” problem with limited space, choosing the right projector type is usually more effective than trying to force a standard throw model into a short space.
What is the best projector-to-screen distance for sharp focus and image size?
For the sharpest results, you should place the projector at the recommended throw distance for your desired screen size and avoid landing outside the projector’s supported range. Use the on-screen zoom (if available) or adjust distance slightly so the image fills the screen without stretching, and then fine-tune focus. For best performance, also consider vertical and horizontal keystone limits—if you rely heavily on keystone to correct placement, you may reduce image quality, so aim to get the distance and alignment as close as possible first.
📅 Last Updated: October 07, 2026 | Topic: how far from projector to screen | Content verified for accuracy and freshness.
References
- https://en.wikipedia.org/wiki/Throw_ratio
- https://en.wikipedia.org/wiki/Projector
- Projection screen
https://en.wikipedia.org/wiki/Projection_screen - https://en.wikipedia.org/wiki/Projection_(television
- https://en.wikipedia.org/wiki/Linear_magnification
- https://en.wikipedia.org/wiki/Thin_lens_equation
- https://en.wikipedia.org/wiki/Magnification_(optics
- Google Scholar Google Scholar
https://scholar.google.com/scholar?q=projector+throw+distance+screen+geometry - Google Scholar Google Scholar
https://scholar.google.com/scholar?q=projector+throw+ratio+screen+size+calculation - Google Scholar Google Scholar
https://scholar.google.com/scholar?q=projection+distance+calibration+throw+distance
