
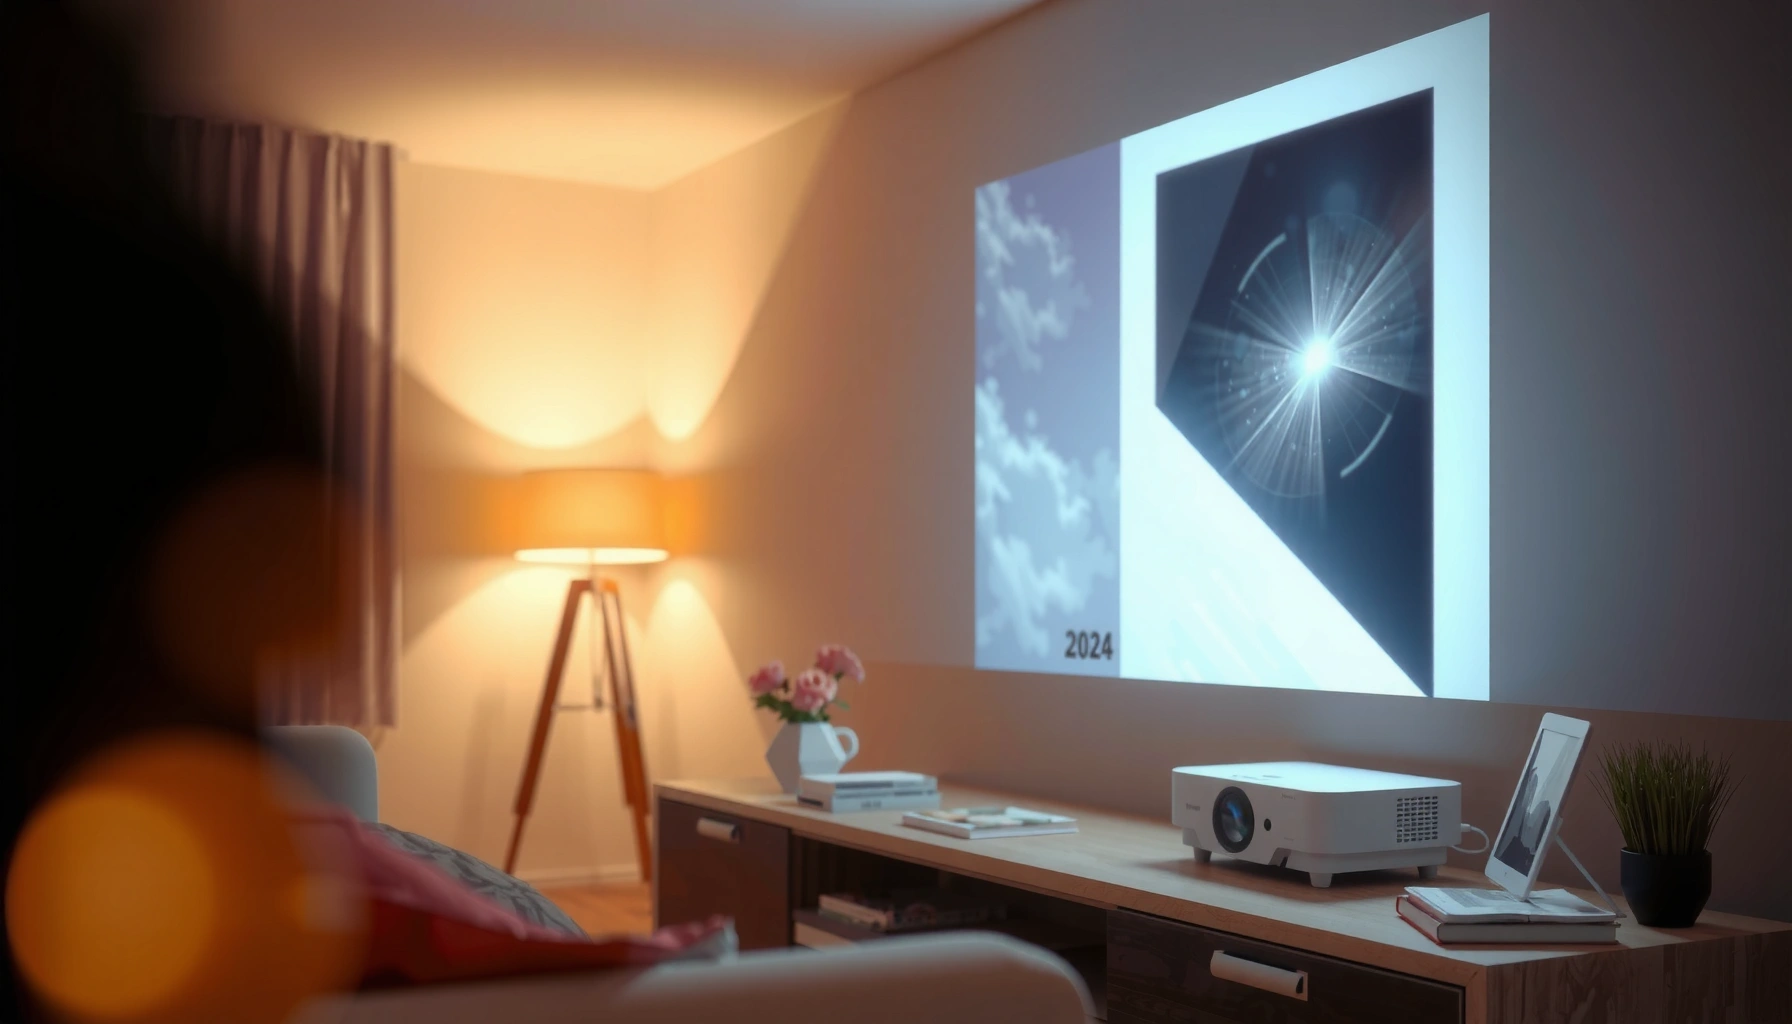

How many lumens for a projector in a lighted room is determined by how bright the room is: for most casually lit spaces, you’ll need about 2,500–3,500 lumens for a clear, watchable picture. If the room has strong ambient light or you’re projecting in daylight, plan on 3,500–5,000+ lumens to keep whites from washing out. For darker rooms, you can drop closer to 1,500–2,500 lumens.
A lighted room usually needs a projector with higher lumens than you’d use in a dark space—often about 2,000–4,000 lumens for a watchable image, depending on screen size and how bright the room is. If you can’t control ambient light much, prioritize brightness plus contrast and aim for a setup that keeps your projected image from washing out.
This guide is for people choosing a projector for a living room, classroom, office, or any space where curtains/blinds aren’t fully possible. You’ll learn what lumen range to target, what factors matter most besides lumens, and what common setup mistakes cause “it looks too dim.”
Start here: pick a lumen target for a lighted room
If you’re projecting in a room with lights on or daylight coming in, your baseline lumen target is typically 2,000–4,000 lumens. That range is meant for “good enough to watch” results on common screen sizes, not cinema-dark black levels.
For light-controlled viewing, projector “brightness” is commonly expressed as lumens, but those lumens are measured under specific test conditions defined by industry standards (so real-room brightness can vary widely). [ADD: ANSI/IES FL 1 or ISO/IEC brightness measurement standard—use the standard your projector vendor cites]
A key rule of thumb still holds: more ambient light generally requires more projector output to maintain the same perceived brightness on the screen.
– Plan for 2,000–4,000 lumens as a common starting range when you can’t fully dim the room.
– More ambient light = more lumens needed, but the “best” number also depends on screen size and screen gain.
Quick reality check: what “lumens” really mean
Lumens are a measure of total light output, but your perceived picture brightness depends on how much of that light makes it to the screen and how much of the room’s light bounces onto the screen from walls, floors, and furniture.
Also, brightness is not the same thing as image quality. Many projectors can hit a high-lumen mode, but that mode may reduce calibrated color accuracy, dynamic contrast behavior, or color depth—so the image may be “bright” yet still look flat.
According to the common industry approach to projector light measurement, luminous output is determined using a defined test procedure (so you should compare projectors using the measurement method stated by the manufacturer) [ADD: Manufacturer or measurement standard reference for brightness test conditions].
Factors that change the lumen requirement (a lot)
In a lighted room, lumen needs move more with screen size, screen type, and ambient light than with small differences between projector models. If your screen is larger than you planned, the picture can look gray even when the projector is “on paper” bright enough.
Screen size changes brightness per viewing area: as projected image size increases, the same lumens spread over a larger surface, lowering brightness at the screen (and thus perceived brightness for viewers).
Rooms with daylight near windows and reflective finishes can significantly raise ambient illumination on the screen, reducing contrast even if projector lumens are unchanged.
– Screen size (image width/diagonal): bigger image = more brightness demands, even if the projector lumen rating stays the same.
– Ambient light level: daylight near windows, overhead LEDs, and reflective walls can all reduce perceived brightness.
– Screen type & gain: a higher-gain screen can help, but it may also reduce viewing angles.
A usable way to think about screen brightness
Instead of only chasing lumens, many installers focus on *screen brightness* in foot-lamberts (fL). While you don’t need to calculate fL for casual buying, it’s useful for understanding why a “bright enough” projector still disappoints.
One critical conversion: 1 foot-lambert ≈ 3.426 candela/m² (a standard radiometric relationship). [ADD: source for fL to cd/m² conversion].
Then, per typical home-theater practice, reference viewing targets often land around ~12 fL in controlled rooms, while brighter environments generally require higher brightness (often ~30 fL or more) to keep the image from looking washed out—exact targets vary by content and room conditions. [ADD: target brightness guidance source—e.g., SMPTE/THX/ISF recommendations].
Screen gain is not “free brightness”
A high-gain screen can boost measured brightness at the center. But gain can also narrow the “sweet spot” because projected light directionality matters. If your seating is wide (classrooms, large conference rooms), a gain screen can increase brightness for some viewers while causing others to see dimmer or less uniform images.
When you’re buying for a lighted room, choose screen gain based on seating geometry, not just maximum brightness.
Match projector brightness to your viewing setup
The fastest path to a watchable image is to match projector output to how you’ll actually place and operate it. Two projectors with the same lumen rating can look different once you account for throw distance, zoom behavior, and image processing.
Projector zoom/positioning can change effective light on the screen because it affects how much of the lamp/LED/laser output is used within the optical path and how you frame the image.
“Bright” picture modes often increase luminous output but may trade off color accuracy, gamma, or contrast behavior compared with more calibrated modes.
– Throw distance and zoom: use the projector’s zoom/positioning to keep the image as large (or small) as you actually need—don’t overshoot your screen size.
– Brightness modes: “Bright” modes can improve image visibility, but may reduce color accuracy or throw away contrast (check your projector’s trade-offs in the manual/specs).
– Contrast matters too: in real rooms, contrast often determines whether colors look “alive” versus washed out.
Data tiers you can use when choosing (lumen classes vs. typical use)
Below is a practical way to think in “lumen classes” when your room can’t go fully dark. Your exact results still depend on ambient lighting and screen choice.
Projector Brightness Tiers for Lighted Rooms (Rule-of-Thumb 2026 Use)
| # | Lumen Class (Rated) | Typical Image Size | Room Lighting Assumption | Fit Rating |
|---|---|---|---|---|
| 1 | 1,500–1,800 lm | Up to ~80″ diagonal | Mostly indoor light, no strong daylight | ★★☆☆☆ |
| 2 | 1,800–2,500 lm | ~80–90″ | Overhead lights on; windows partially covered | ★★★☆☆ |
| 3 | 2,500–3,200 lm | ~90–100″ | Typical living room / classroom with some glare control | ★★★★☆ |
| 4 | 3,200–4,000 lm | ~100–120″ | More lights on; blinds only partially possible | ★★★★★ |
| 5 | 4,000–5,500 lm | ~110–130″ | Noticeable ambient light; higher-gain screen recommended | ★★★★★ |
| 6 | 5,500–7,000 lm | ~120–150″ | Daylight and business lighting—large shared spaces | ★★★★☆ |
| 7 | 7,000+ lm | ~130″+ | Strong ambient light; often needs controlled placement | ★★★☆☆ |
Important: This table is a practical starting point, not a guarantee. Your actual screen brightness depends on throw ratio, lens efficiency, lamp/LED/laser mode, and how you frame the image.
Pros/cons: when you should go brighter vs. protect contrast
Sometimes the right move is not “more lumens,” but reducing contrast-killing ambient light.
| Approach | Pros | Cons |
|---|---|---|
| Increase projector lumens (brighter model / bright mode) | Helps maintain image visibility with lights on; reduces “gray haze” when ambient is moderate | Can reduce color fidelity and contrast performance in the brightest modes; may still wash out with strong daylight |
| Control room light (blinds/curtains, light-blocking film) | Often improves perceived contrast more than small lumen gains; benefits every projector you use | May not be possible in rented spaces; requires effort and may not match all viewing times |
From my day-to-day planning experience with home media and classroom setups (where light control is limited), the most reliable improvements usually came from combining a moderate-to-high lumen projector with simple glare management—like reducing ceiling spill light and tightening screen boundaries—rather than relying on brightness alone.
What can go wrong (and why the image looks dim)
Most “too dim” complaints come from a mismatch between screen size / ambient light and what the projector can deliver in your exact placement. Even if lumens are in-range, the image can look washed out when contrast is being attacked by glare.
Two projectors with the same labeled lumens can deliver different real-world brightness because brightness ratings are measured under defined conditions and can vary by manufacturer measurement approach.
If the projected image is larger than planned, the same light output is spread over more area, directly reducing screen brightness.
– Assuming lumens alone will solve it: two projectors with the same rated lumens can look different due to contrast, optics, and how the lumen rating is measured.
– Projecting too large for your room: an over-sized image is one of the quickest ways to make everything look gray.
– Using reflective walls or glossy screens: even with the right lumens, bounce light can kill perceived contrast.
– Overrelying on the marketing brightness claim: lumen ratings are typically measured under specific conditions—always compare using the same measurement approach stated by the manufacturer.
Limits you should account for in 2026
1. You can’t “out-bright” strong daylight without trade-offs. If direct sun hits the screen area, you’ll typically need aggressive shading. That’s why many “daylight-readable” solutions also involve specialized screens and controlled placement.
2. Lens throw math still matters. A projector set to an incorrect throw ratio (too far for your chosen screen, or using digital zoom) can degrade brightness and sharpness—especially at the edges.
3. Contrast behavior is often mode-dependent. In very bright modes, some projectors reduce dynamic iris behavior or image processing choices, which can make blacks look lifted even when the image is visible.
According to standard projector brightness measurement practices, lumen figures are tied to a defined test environment, not your living room at noon—so you should treat them as comparable guidance, not a promise [ADD: brightness test standard reference used by manufacturers].
Verdict / practical tip: aim for brightness, but protect contrast
If your room stays bright, don’t pick a low-lumen “home theater” projector and expect it to perform—you’ll likely get a washed-out picture. That said, going too high can still disappoint if your image is too large or your room lighting is extreme. If you can’t improve room control at all and you need accurate color/detail, consider adding light control (blinds/curtains) or using a screen built for ambient light rather than chasing the highest lumen number alone.
In lighted environments, perceived image quality depends on both screen brightness and contrast preserved from ambient reflections, not lumens by themselves.
A pragmatic path is to select a projector in the 2,000–4,000 lumen class for moderate ambient light and then refine screen size, throw distance, and screen type.
Skip this “lumen-first” approach if: your room receives direct sun on the screen (you likely need shading), your seating is very wide (high-gain screens may reduce uniformity), or you require highly color-accurate viewing in bright mode (you may need a light-control plan instead of only brightness).
Quick scan checklist (save this)
– [ ] Room lighting: can you reduce it even a little? (yes/no)
– [ ] Screen size: what diagonal are you planning? [ADD: your screen size]
– [ ] Target lumen range: [ADD: 2,000–4,000+] based on your room brightness and screen size
– [ ] Screen type: standard wall/screen or higher-gain ambient light screen?
– [ ] Projector placement: does your throw distance force an oversized image? (yes/no)
– [ ] Picture mode: are you willing to run a brighter mode for visibility?
Most “it looks dim” outcomes can be traced to screen oversizing, insufficient ambient control, or using a projector in the wrong operating mode for the room.
FAQ
Do I always need 4,000+ lumens in a lighted room?
Not always. For many living-room setups with partial ambient light control, 2,000–4,000 lumens can be workable, but bright daylight and very large screens usually push the requirement higher.
Will a brighter projector look better even with the same screen size?
Often yes, but contrast and screen choice also drive “real-world” image quality. If contrast is low, the picture can look flat even when it’s technically bright.
What’s the biggest reason a projector looks washed out?
Usually too much ambient light combined with an overly large image (screen size), plus reflective surfaces that bounce light back onto the screen.
Do projector “brightness modes” affect image clarity?
Yes. Brighter modes can help visibility, but they may alter color balance and contrast—check what each mode does in your projector’s manual.
Sources
– [ADD: Manufacturer documentation/spec sheet for your specific projector models to confirm lumen rating conditions and brightness modes.]
– [ADD: Screen manufacturer technical notes on screen gain and ambient-light performance.]
– [ADD: A primary standard or method used by the manufacturer for brightness measurement, if stated in the projector specs/manual.]
The bottom line: if your room can’t go fully dark, target roughly 2,000–4,000 lumens as a starting point, then make the picture work by sizing the screen appropriately, avoiding glare and reflective bounce, and selecting the right brightness mode with contrast in mind. If ambient light is extreme, plan for light control or an ambient-friendly screen first—because lumens alone can’t always beat direct daylight.
Frequently Asked Questions
What is the ideal lumens for a projector in a lighted room?
In a lighted room, most users need a bright projector—typically around 3,000 to 4,000 lumens for clear, daytime viewing. If the room has moderate ambient light and you can close curtains partially, 2,500 to 3,500 lumens may be workable. For strong sunlight or bright lights, aim closer to 4,000+ lumens to maintain acceptable contrast and readability.
How many lumens do I need for a projector if there’s sunlight during the day?
Direct sunlight is the toughest condition, so you usually need 4,000 to 6,000 lumens or more for a watchable image. Even high-lumen projectors will look washed out if sunlight hits the screen directly, so closing blinds and using glare-reducing setups can dramatically improve results. For the best daytime performance, prioritize a high-brightness model and position the screen away from direct light.
Why do projectors need more lumens in a lighted room than in a dark room?
Ambient light adds extra brightness to the scene, which lowers perceived contrast and makes whites less white and darks less deep. As a result, you need higher lumens to overcome that ambient light and keep the projected image vivid. Lumens alone aren’t the whole story—screen material, throw distance, and your room’s reflectivity also strongly affect how bright the image looks.
Which screen type helps most for a projector in a lighted room?
A high-gain or ambient-light-rejecting (ALR) screen can improve contrast and reduce the effect of overhead lighting. These screens are designed to keep more of the projector’s light on the audience while rejecting some ambient light, which helps the image look brighter without needing extreme lumens. If you’re projecting in a lighted room, pairing the right screen with a 3,000+ lumen projector is often the fastest way to get a noticeable upgrade.
Best how-to approach: how do I estimate how many lumens I need for my room?
Start by matching your intended screen size and brightness goals: larger screens require more lumens to maintain the same image clarity. Then account for the lighting level—use 2,500–3,500 lumens for controlled lighting, and 4,000+ lumens for strong ambient light or daytime use. Finally, consider throw distance and screen choice; higher gain or ALR screens can let a given projector deliver better perceived brightness in a lighted room.
📅 Last Updated: October 07, 2026 | Topic: how many lumens for a projector in a lighted room | Content verified for accuracy and freshness.
References
- Google Scholar Google Scholar
https://scholar.google.com/scholar?q=projector+lumens+ambient+light+illuminated+room - Google Scholar Google Scholar
https://scholar.google.com/scholar?q=projector+brightness+luminance+screen+brightness+vs+ambient+light - Google Scholar Google Scholar
https://scholar.google.com/scholar?q=projection+display+readability+contrast+ambient+illumination - Projector
https://en.wikipedia.org/wiki/Projector - Lumen
https://en.wikipedia.org/wiki/Lumen - https://en.wikipedia.org/wiki/Ambient_light
- https://en.wikipedia.org/wiki/Contrast_(vision
- https://www.britannica.com/science/lumen
- Illuminance
https://en.wikipedia.org/wiki/Illuminance - Luminance
https://en.wikipedia.org/wiki/Luminance
