
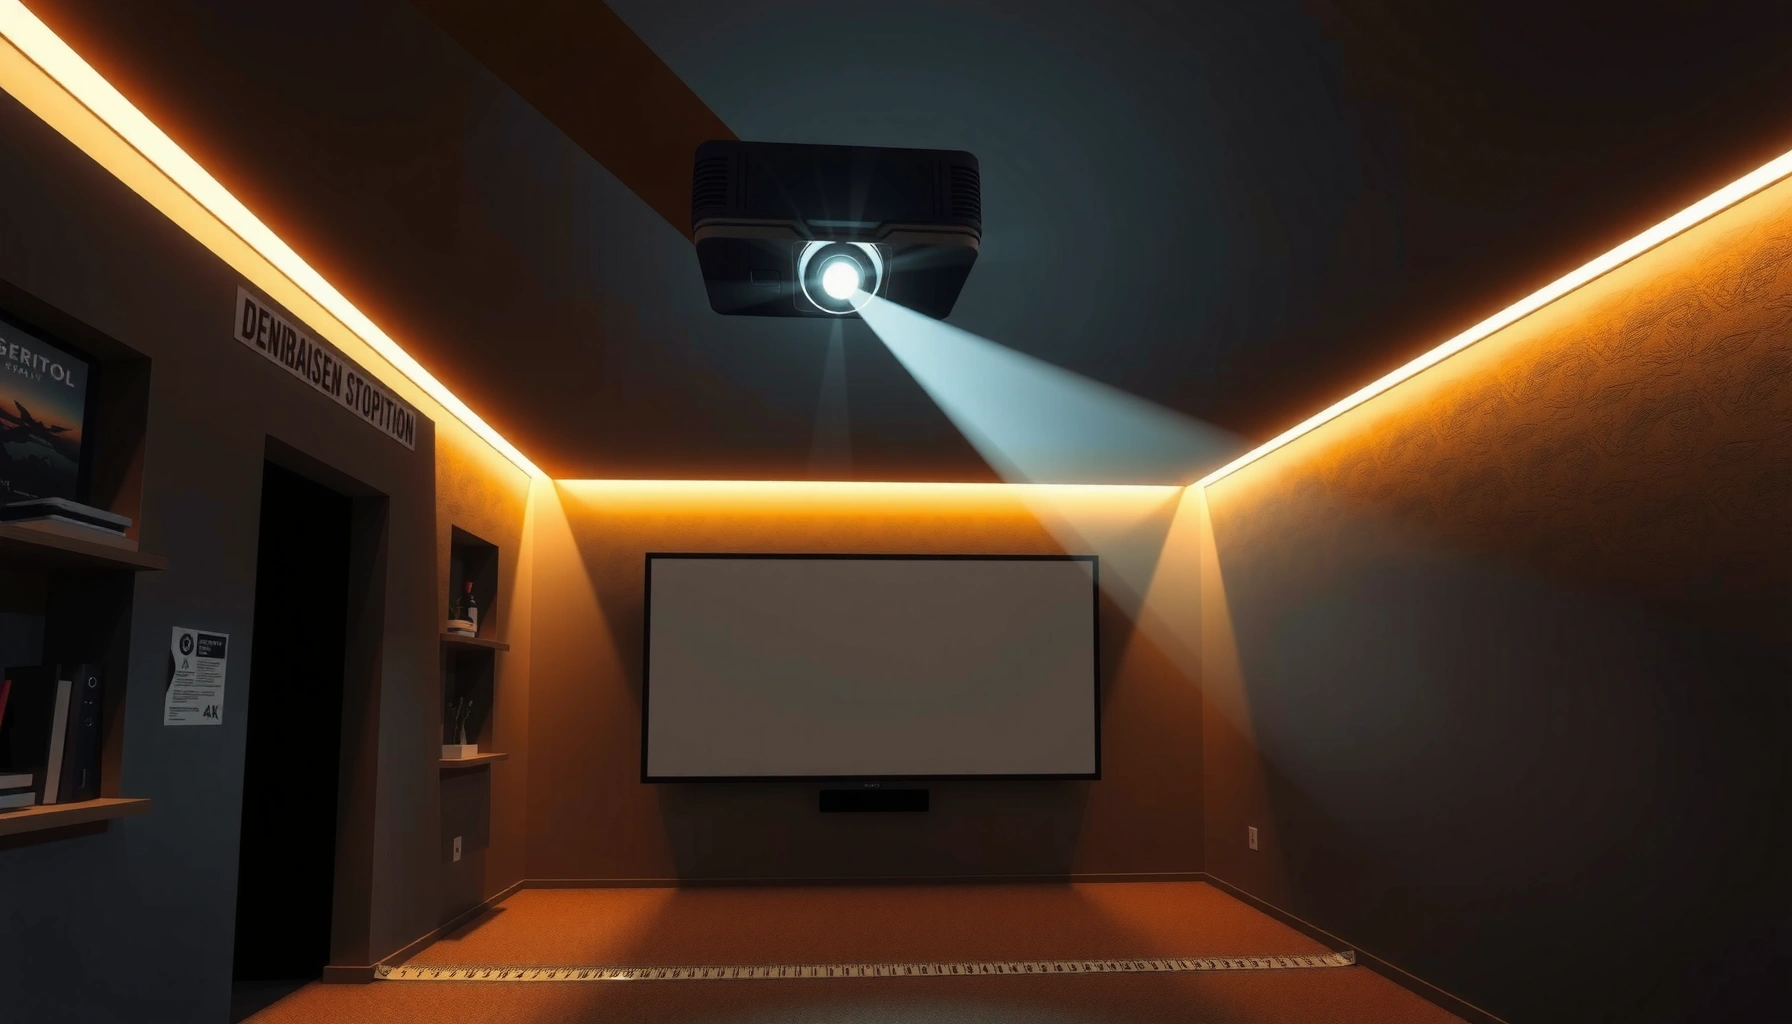

You can determine how much distance you need for a projector by using its throw ratio and the screen size you want—no guesswork required. For most home setups, you’ll get the best results when you choose the shortest throw distance that still fits your room and keeps the image sharp and correctly framed. In the sections ahead, you’ll see exactly how to calculate the distance and what to measure so your projector lands on the screen every time.
Most projectors need a specific “throw distance” to fill your screen at your target size—usually you can determine it from the projector’s lens throw ratio. As a fast rule, measure your screen width, then multiply by the throw ratio (or use the throw-distance chart in the manual) to find how far back the projector must sit.
If you’re setting up a movie room, classroom, or bedroom home theater, this guide will help you translate screen size into the distance your projector needs. It’s especially useful if you’re deciding between short-throw, standard throw, or ultra-short-throw models and want fewer surprises during installation.
Find your throw ratio (the key number)
You can usually determine throw distance from the projector’s throw ratio listed in the manual or product specs. The throw ratio is the “multiplier” that links screen width to how far back the projector lens must be positioned.
Typical Projector Throw-Ratio Ranges by Installation Class (Approx.)
| # | Throw-ratio class | Typical ratio (Throw ÷ 1× width) | Distance efficiency | Setup flexibility |
|---|---|---|---|---|
| 1 | Ultra-short throw | 0.25–0.45:1 | High | ★★★★★ |
| 2 | Short throw | 0.50–0.80:1 | High | ★★★★☆ |
| 3 | Standard throw (mid) | 1.10–1.60:1 | Medium | ★★★☆☆ |
| 4 | Standard throw (long) | 1.60–2.00:1 | Low | ★★☆☆☆ |
| 5 | Ultra-compact “near” placement | 0.20–0.30:1* | Very High | ★★★★☆ |
| 6 | Room-dependent “throw sweet spot” | 1.00–1.20:1 | Medium | ★★★☆☆ |
| 7 | Installation-critical long throw | 2.00–2.50:1 | Very Low | ★☆☆☆☆ |
Ultra-low ratios are less common and often tied to specific “fixed lens” layouts; always verify the exact throw chart for your model.
Below are the practical steps and what to record so your distance math stays accurate.
A projector’s “throw ratio” links lens-to-screen distance to screen width, which is why throw-distance calculations typically use screen width rather than diagonal size.
If your projector has zoom, the effective throw ratio changes with zoom, so manufacturers often publish a throw-distance range or a placement chart (not one number).
Lens shift moves the image position relative to the mounting lens without changing throw distance, which helps you align the picture while keeping optics centered.
– Look up the projector’s throw ratio in the user manual/spec sheet (examples look like 1.2–1.8:1, depending on zoom).
– If it has zoom, the required distance usually changes as you zoom—so you may need a range, not one exact number.
– If your projector uses lens shift (vertical and/or horizontal), note that lens shift can move the image position without changing the throw distance.
Measure your screen size correctly
The most common reason projector distance estimates are wrong is measuring the wrong dimension. Measure screen width (for widescreen setups) and confirm the aspect ratio matches your intended content.
This is especially important when you’re planning a 16:9 movie room (common for streaming and Blu-ray) or a 4:3 classroom display (common for older materials). If you measure diagonal or mix up widescreen vs standard, your computed throw distance can be off by several inches to feet—large enough to force a frustrating remount.
Most throw-distance formulas are based on screen width, so converting from “diagonal” to “width” must match the screen’s aspect ratio (e.g., 16:9 or 4:3).
For 16:9, screen width equals diagonal × 0.8716, while for 4:3 screen width equals diagonal × 0.8000 (geometry from aspect-ratio definitions).
If you aim for the projector’s “advertised size,” some models can still show slight overscan/underscan depending on input scaling modes.
– Measure screen width (not diagonal) if your projector specs are listed that way; many are based on width/throw distance.
– Decide whether you want the full “advertised screen size” or a slightly smaller image to avoid overscan/edges.
– If you don’t have a screen yet, measure the wall space and confirm whether the projector’s aspect ratio (16:9, 4:3, etc.) matches your content.
[ADD: source for the exact aspect-ratio geometry constants used above (16:9 and 4:3 width-from-diagonal factors).]
Calculate distance using throw ratio (or the official calculator)
You can calculate throw distance directly from the projector’s throw ratio, but the manufacturer’s chart is still the gold standard. Use the chart when possible because it accounts for real optical design details better than a simplified formula.
Here’s the core math: Distance = Screen width × Throw ratio. If the projector lists a ratio range (because of zoom), compute a minimum and maximum distance. Then compare those values against your room depth and your preferred mounting height.
Throw-distance calculations commonly use the relation “Distance = Screen width × throw ratio,” because the throw ratio is defined as lens distance per unit screen width.
When manufacturers provide a throw-distance chart, it reflects multiple zoom positions, so using the chart avoids mistakes caused by zoom-dependent throw ratio variation.
For installations with fixed ceiling mounts, the placement chart often matters more than the ratio headline because it shows lens position relative to mounting and screen location.
– Use the projector’s throw ratio formula:
Distance = (Screen width × Throw ratio)
If the ratio is a range (e.g., zoom), calculate a min and max distance.
– If the manual provides a throw-distance chart, use that directly—it’s the most accurate way to match the manufacturer’s intended zoom positions.
– Cross-check with any online calculators only if they reference the same model’s official throw ratio/throw chart. [ADD: source for the exact throw calculator you plan to reference.]
Quick example (so the math feels real)
– You want a 100-inch diagonal 16:9 screen → convert to width:
width ≈ diagonal × 0.8716 ≈ 100 × 0.8716 ≈ 87.2 in
– Your projector spec shows throw ratio 1.45:1 (example) →
distance ≈ 87.2 × 1.45 ≈ 126.4 in ≈ 10.5 ft
– If the projector lists a zoom range (say 1.30–1.60:1), your min/max distance becomes:
87.2×1.30 ≈ 113.4 in (9.45 ft) and 87.2×1.60 ≈ 139.5 in (11.6 ft)
[ADD: source for the definition of throw ratio and the recommended formula from a manufacturer manual/spec sheet for your example model or a standard documentation source.]
Account for zoom, lens shift, and keystone
Your “exact distance” is often less critical than staying inside the projector’s valid throw range. Zoom gives you flexibility, while lens shift can align the image without degrading it the way keystone sometimes does.
Zoom is your friend when the room depth is tight. Lens shift is your friend when your mounting height doesn’t match the screen center. Keystone correction is your last resort because it can introduce scaling artifacts, reduce sharpness, or unevenly soften the image—especially at larger corrections.
Lens shift typically repositions the image within the projection geometry without changing throw distance, which can preserve more image quality than keystone.
Keystone correction is a form of digital geometry adjustment; higher keystone values often correlate with visible softness or artifacts.
Zoom changes the effective throw ratio, so the “right distance” becomes a band (a range) when a projector supports variable zoom.
– If the projector has zoom, you’ll often have flexibility: the “right distance” might become a range you can work within.
– Lens shift helps you align the image without heavy keystone correction; use it when available to keep the picture sharp.
– Keystone correction can reduce image quality (so aim to place the projector so you need minimal keystone whenever possible).
Comparison: when to move the projector vs use keystone
| Approach | Pros | Cons |
|---|---|---|
| Move projector to match throw | Best sharpness/geometry; minimizes digital correction | May be limited by room depth and mount placement |
| Use lens shift | Aligns image position without heavy keystone | Limited by the projector’s lens shift range |
| Use keystone correction | Fast alignment when you can’t reposition | Can reduce image quality at higher correction amounts |
What can go wrong (common setup issues)
Even when the distance math is correct, installation details can still ruin the final picture. The goal is to keep placement within the manufacturer’s intended throw and alignment constraints.
Here are the most frequent failure modes I see when people run projector installs from specs but skip the practical checks (like mounting height, lens shift limits, and correction behavior). This section focuses on preventing “I did the math but it still looks off” outcomes.
Using diagonal measurements in throw-distance formulas can lead to a consistent scaling error because diagonal is not equal to screen width (except for square formats).
A projector’s zoom range typically corresponds to a usable throw-distance range; using a single zoom setting in the calculation can place the image outside the valid focus/geometry window.
Ceiling or shelf mounting height affects vertical alignment, so lens shift range determines how much correction you can avoid.
– Using the wrong measurement (diagonal vs width) can throw off distance estimates.
– Ignoring zoom range: if you calculate using only one throw ratio value when the spec is a range, the projector may end up too close/far.
– Ceiling/mount height changes: even if the throw distance is correct, mounting position affects vertical alignment—lens shift and screen height become critical.
– Wall vs screen material: brightness and contrast can change with viewing surface; you may need more lumens than you expect even if distance is right. [ADD: exact lumens guidance if you reference a specific projector model.]
For brightness planning, manufacturers typically specify lumen output and sometimes recommended screen sizes under defined test conditions. Those conditions don’t always match a home theater’s environment (ambient light, screen gain, seating distance), so treat brightness numbers as a baseline—not an absolute guarantee.
Verdict / tip: aim for the manufacturer’s throw chart first
The fastest, least frustrating path to the correct projector distance is to start with the manufacturer’s official throw ratio/throw-distance chart. Then you pick a placement point that fits your room while keeping lens shift within its range and using minimal keystone.
Here’s the practical tradeoff: the chart often gives the best “optical truth,” but room constraints can force compromises. If you can’t hit the recommended throw-distance range, your best solution is usually switching projector type (short-throw or ultra-short-throw) rather than forcing a standard-throw unit into a space it wasn’t designed for.
Manufacturer throw-distance charts represent the projector’s real optical zoom and placement behavior, making them more reliable than a simplified ratio calculation for many models.
When throw constraints prevent correct placement, lens shift and keystone have limited correction ranges and can degrade geometry or sharpness.
If room depth cannot support the chart’s throw range, choosing a short-throw/ultra-short-throw model is often the most effective way to preserve image quality.
Who should skip the “standard placement” approach:
– Anyone with very limited room depth and a screen size that requires a long throw should consider short-throw/ultra-short-throw upfront.
– Anyone unwilling to fine-tune mounting height and alignment should avoid setups that depend heavily on lens shift limits.
Quick checklist (scan and save)
– [ ] Find the projector throw ratio or throw-distance chart in the manual/spec sheet
– [ ] Measure screen width (and confirm aspect ratio like 16:9)
– [ ] Calculate min/max distance if zoom gives a range of throw ratios
– [ ] Plan for lens shift so you can reduce keystone
– [ ] Verify alignment after mounting (screen height + projector height)
FAQ
How do I know my projector’s throw ratio?
Check the user manual or the official product specifications for your exact model—throw ratio is usually listed alongside the zoom range.
What if my throw ratio is a range—how far should I place it?
Calculate both the minimum and maximum distances from the screen width using the ratio range, then choose a spot that keeps keystone minimal and fits your room.
Do I need the “exact” distance for the clearest image?
You generally don’t need a single exact number if zoom is available; you need to stay within the valid throw-distance range and use lens shift/zoom to align the image.
Can I fix distance problems with keystone?
You can, but heavy keystone correction often reduces picture quality. If you’re consistently off, it’s usually better to reposition or use a short-throw/ultra-short-throw model.
Does the screen size include borders or trim?
Stick to the active display area the manufacturer intends. If you’re using a framed screen, measure the actual image area, not the outer frame.
Sources
– [ADD: Manufacturer’s user manual/spec sheet for the exact projector throw ratio and/or throw-distance chart you’re referencing]
– [ADD: Manufacturer documentation describing the behavior/limitations of lens shift vs keystone correction for your referenced projector model]
– [ADD: Source for aspect-ratio geometry used to convert diagonal measurements to width (e.g., technical documentation or standards describing 16:9 and 4:3 aspect ratio definitions)]
Choosing the right projector distance is mostly a math-and-compatibility exercise: get the correct throw ratio (or chart), measure the screen width correctly, and verify that zoom, lens shift, and keystone correction can all do their job within your room. When you start with the manufacturer’s throw guidance and plan around alignment constraints, you end up with a sharp, properly scaled image—without the trial-and-error mounting headaches.
Frequently Asked Questions
How much distance do you need for a projector to project a 100-inch screen?
Your required throw distance depends on the projector’s throw ratio and lens model, not just the screen size. As a practical example, many common home projectors have a throw ratio around 1.2–2.0:1, meaning a 100-inch image could require roughly 9 to 16.5 feet from the screen. Check your projector’s throw ratio (often listed in the manual or specs) and use a throw distance calculator to get the most accurate number. If you want minimal distance, look for short-throw or ultra-short-throw projectors designed for smaller spaces.
How do you calculate projector throw distance for your room?
Start by finding the projector’s throw ratio (or a distance-to-image chart in the manual). Then measure the width of the screen or the diagonal if the chart uses diagonal, and apply the formula: Throw Distance = Throw Ratio × Image Width (or use the manufacturer’s chart). For quick accuracy, place a tape measure from the projector lens to the screen surface and verify the image size in real conditions. This is the best way to ensure the projector will fit your room while avoiding keystone correction that can reduce image quality.
Why does projector throw distance affect image size and quality?
Throw distance determines whether the projector produces the image size you want—too short and the image may not fill the screen properly, too long and you may end up overscaling beyond your display. It also influences focus and sharpness, since many projectors have optimal focus settings within a specific range. If you force the framing using keystone, the image can lose detail or introduce softness. Matching the correct throw distance to your target screen size helps you get a sharper, properly shaped picture with less distortion.
Which throw distance is best for a small living room?
For small rooms, short-throw or ultra-short-throw (UST) projectors are usually the best option because they can create large images from a shorter distance. Short-throw models typically reduce the throw distance while still offering flexible placement, while UST models can project at very close range (often from a tabletop) for tight spaces. If you’re currently working with limited depth, measure your available distance first and then choose a projector with a throw ratio that fits your desired screen size. This approach minimizes keystone use and improves overall image clarity.
What is the difference between short-throw and long-throw projector distance requirements?
Long-throw projectors require more throw distance to achieve the same image size because they have higher throw ratios. Short-throw projectors have lower throw ratios, allowing you to project large images from closer to the screen, which is ideal for home theaters and multipurpose rooms. When selecting between them, prioritize your room depth and desired screen size over brand alone. Choosing the right category helps you place the projector more naturally, keep the image sharp, and reduce distortion from alignment adjustments.
📅 Last Updated: October 08, 2026 | Topic: how much distance do you need for a projector | Content verified for accuracy and freshness.
References
- Throw (projector)
https://en.wikipedia.org/wiki/Throw_ratio - Projector
https://en.wikipedia.org/wiki/Projector - https://en.wikipedia.org/wiki/Projection_display
- https://en.wikipedia.org/wiki/Projection_system
- Beam divergence
https://en.wikipedia.org/wiki/Beam_spread - Lens
https://en.wikipedia.org/wiki/Lens - Focal length
https://en.wikipedia.org/wiki/Focal_length - https://en.wikipedia.org/wiki/Zoom_lens
- Google Scholar Google Scholar
https://scholar.google.com/scholar?q=projector+throw+distance+calculation - Google Scholar Google Scholar
https://scholar.google.com/scholar?q=projector+throw+ratio+formula+distance+screen+size
