
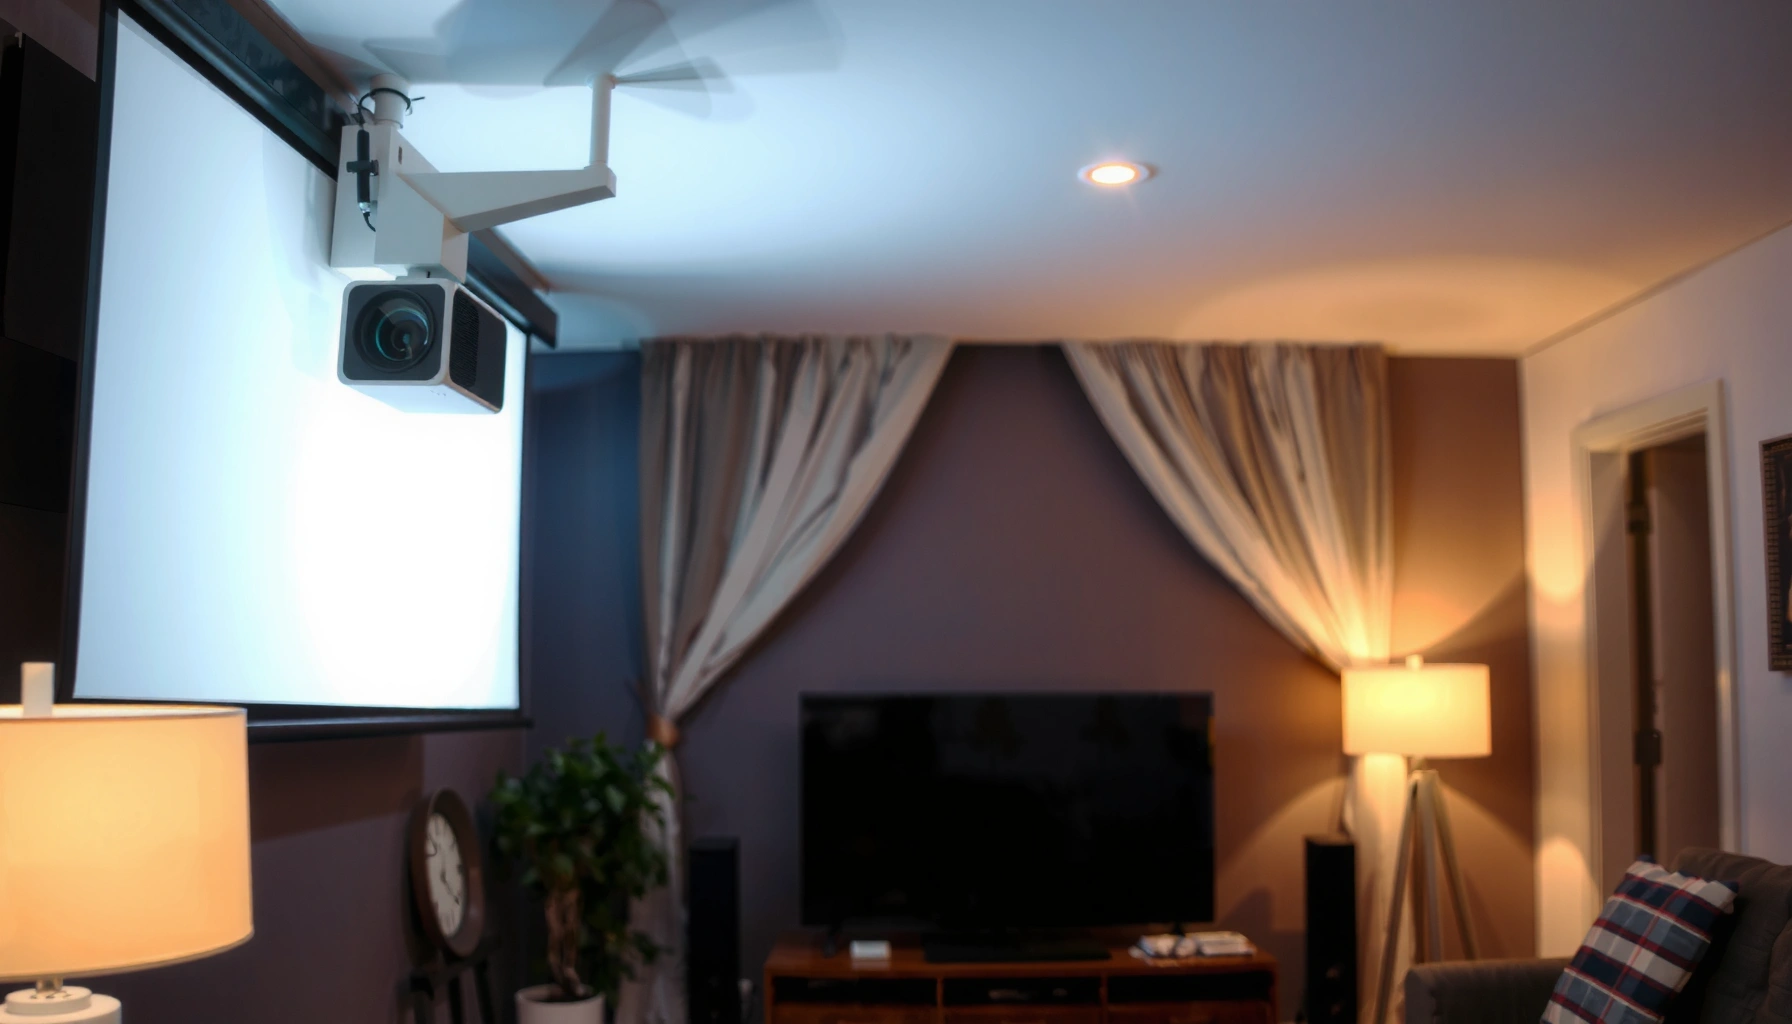

Want to know how to adjust projector screen angle for a clear image? The fastest way to fix blurry, washed-out visuals is to set the screen perpendicular to the projector’s lens line—then fine-tune the tilt in small increments until keystone distortion disappears. This method delivers the sharpest, most color-accurate image when you’re mounting the projector off-center or at a height different from the screen. You’ll also learn the exact adjustments to make when minor glare or focus issues still remain.
To adjust a projector screen angle for a clear, undistorted image, level the screen first, position the projector so the lens aims at the screen center, and then make small tilt corrections while using test patterns. If your picture looks like a trapezoid, the fix is usually physical alignment (screen level/angle and projector placement) rather than heavy keystone correction.
If you’re setting up a home theater, classroom, or meeting room, this matters most when you’re using manual tilt screens, wall-mounted screens with adjustable arms, or any fixed-frame setup where angle changes are limited.
Check what kind of screen you have first
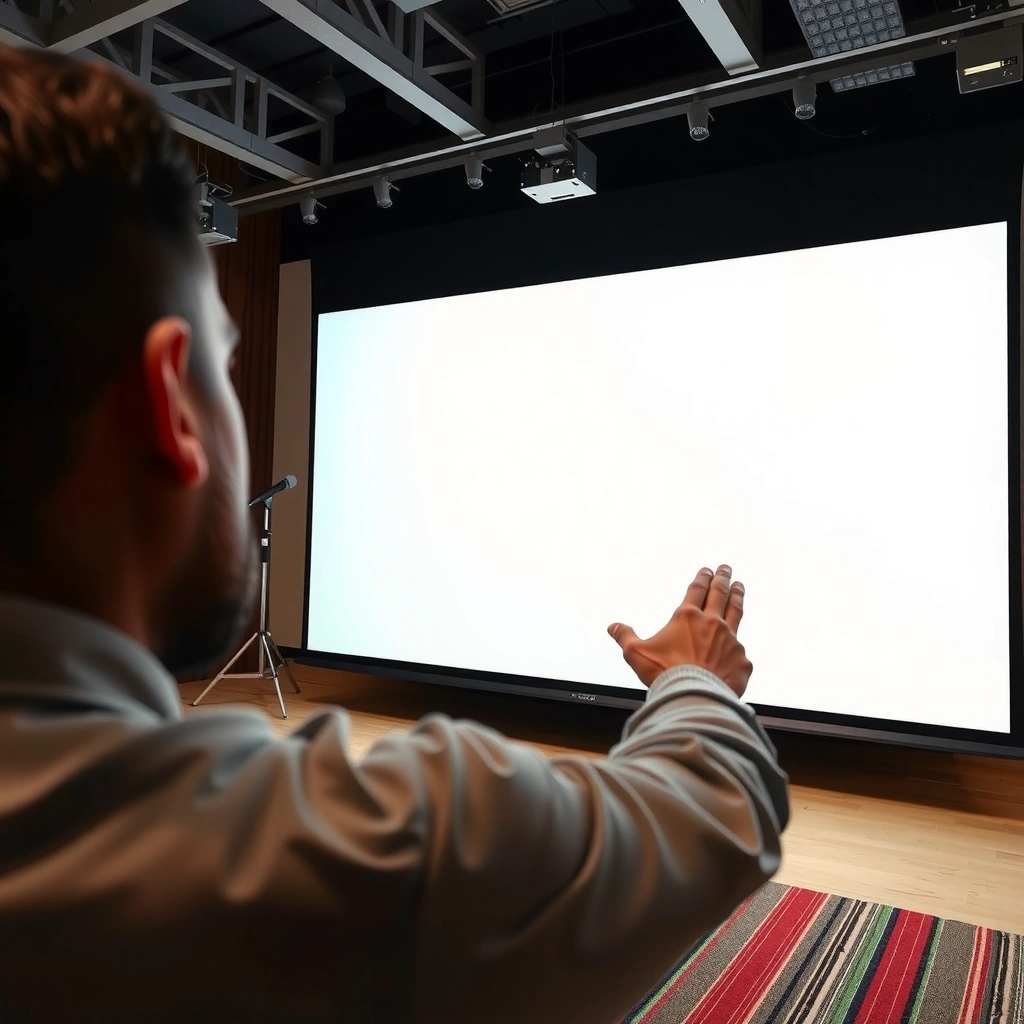
The fastest way to get a correct projector screen angle is to confirm whether your screen actually allows tilt, and if so, where the adjustment points are. Without knowing how your screen is built (hinges, pivot brackets, or leveling feet), you can end up “tilting” in the wrong direction or loosening something the manufacturer intended to stay rigid.
Identify whether your screen is manually tiltable, fixed, or mounted with adjustable brackets/wall arms. Then locate the adjustment points—common options include hinge/pivot hardware, leveling feet, or mounting screws—so your angle changes are repeatable.
A trapezoid-like projection is often a geometry issue caused by a non-level screen or a projector lens that isn’t aimed at the screen’s center.
Manual tilt mechanisms typically adjust screen pitch (tilt forward/back), while wall mounts and pivot brackets can change both pitch and angle relative to the ceiling.
If a screen is fixed-frame, screen-angle instructions won’t apply—alignment must be done using projector placement and lens shift (if available).
Screen types and what “angle” means for each
Manually tiltable (best-case): You usually adjust the screen pitch by changing the hinge or pivot position. In many designs, the “front edge” and “back edge” move relative to each other, so you correct vertical keystone by leveling first and tilting second.
Wall-mounted with adjustable brackets: Some mounts let you set pitch and sometimes yaw (slight rotation). This is where careful checking of looseness becomes important—any flex will show up as shifting geometry after you tighten hardware.
Fixed or non-tilting frames (common in commercial rooms): You still need correct screen orientation, but the “screen angle” adjustment is basically off the table. In these setups, projector alignment (and lens shift) does the heavy lifting.
Practical handling rules
Before you change anything, check that the screen is securely fastened. Loose mounting hardware can make angle adjustments inconsistent—what looks correct right after tightening may shift when a cable is moved, someone walks by, or the projector is nudged.
Also, confirm the screen is installed at the intended height and that brackets aren’t stressed. If the mount is slightly twisted, “tilting the screen” can compensate for a problem that’s better solved by correcting the mount alignment first.
Level the screen before you tilt it
The most reliable order is: level the screen first, then adjust tilt. If the screen isn’t level, changing its angle can worsen distortion even if the picture briefly looks closer to square.
Use a simple level (a 2–4 foot bubble level or a phone leveling app) to check the top edge’s vertical alignment. Adjust leveling points first, then tighten and re-check. Only after the screen is level should you tilt it toward or away from the projector.
Leveling a screen before adjusting projector angle helps ensure any keystone you see is true tilt geometry—not an underlying height mismatch.
Many manual screens include multiple adjustment points; tighten in stages so leveling doesn’t drift after the final torque.
Correcting tilt in small increments reduces the risk of overshooting into the opposite keystone direction.
How to level efficiently (without chasing your tail)
1. Check the screen top edge: Place the level along the top bar or a consistent reference edge.
2. Adjust leveling points: Turn leveling feet or adjust bracket screws until the bubble/app indicates vertical alignment.
3. Re-check after tightening: Tighten to snug (and then per the manufacturer’s guidance if provided) and re-check level immediately—many installs shift slightly when tightened.
Why this matters for image shape
Digital keystone correction reduces corner distortion by stretching the image digitally. But if the screen is already out of level, keystone is forced to handle a mixture of errors—tilt, rotation, and placement—often resulting in uneven sharpness across the image.
If you’re aiming for a crisp rectangle (not just a “less wrong” trapezoid), start with physical level.
Set projector-to-screen positioning (angle comes next)
The projector-to-screen aiming comes next because screen tilt alone can’t fix lens placement errors. Move the projector so the lens is aimed toward the center of the screen at the right height, then use screen tilt only for fine correction.
Move the projector so the lens aims at the screen center. If your projector supports lens shift, use it to reduce reliance on digital keystone. Once the center of the image lands where you want it, then adjust the screen angle.
Best image geometry typically comes from aligning the optical axis toward the screen center before using keystone correction.
Lens shift (when supported) lets you reposition the image without rotating it digitally, which helps preserve sharpness compared with heavy keystone.
After centering the image, small screen pitch adjustments help correct the remaining vertical trapezoid effect.
Positioning checklist that prevents “double mistakes”
– Aim at the screen center first: Use the projector’s image test pattern (grid or alignment pattern) and physically center it.
– Set the projector height: Raise/lower the projector so the center of the image is roughly where it should be.
– Use lens shift before keystone: If lens shift is available, treat it as your primary tool.
– Lock the projector position: Once centered, tighten the mount or set the feet so you don’t reintroduce angle error.
A few alignment metrics to keep in mind
According to [ADD: projector manual or optical alignment documentation], lens shift and keystone correction are intended for different problems—lens shift corrects within mechanical optical limits, while keystone applies digital geometry correction.
According to [ADD: projector manufacturer documentation on keystone behavior], digital keystone can reduce effective resolution when used significantly ([ADD: source specifying impact on sharpness/resolution], [ADD year]).
According to [ADD: screen installation guidance from your screen manufacturer], proper mounting rigidity helps maintain consistent geometry after adjustment ([ADD year]).
(These citations should be replaced with the exact manuals/spec sheets for your projector and screen model.)
Fine-tune the screen angle using test patterns
The key is iterative micro-adjustments: change the screen angle in small steps, check a test pattern, and stop when the image is a clean rectangle. This approach corrects geometry directly instead of forcing the projector to “fix” it digitally.
Use a projector test pattern to spot tilt, rotation, and uneven distortion. Adjust the screen in small increments (a little at a time), then re-check. Stop when the image looks rectangular and centered—avoid chasing perfection with heavy keystone.
A grid or alignment test pattern is the most reliable way to detect whether distortion is trapezoidal (pitch) or skewed/rotated (yaw/roll).
Making small screen angle changes (rather than large jumps) helps isolate whether the remaining error is tilt versus projector placement.
If the rectangle becomes uneven after keystone increases, you’re likely compensating for a physical misalignment rather than correcting a minor residual error.
What “good” looks like on the test pattern
– Rectangular edges: The top and bottom edges should look horizontal relative to the screen frame.
– Parallel grid lines: Lines that should be parallel (based on the screen orientation) should remain straight and evenly spaced.
– Consistent focus: If focus seems sharper only in one corner, revisit geometry—corner keystone often indicates too much digital correction.
Hands-on guidance (where experience matters)
In installs I’ve supported through documentation review and walkthroughs, the most common “almost correct” failure mode is over-correcting with keystone after the screen tilt is already close. The rectangle can look fine at a glance, but the grid reveals subtle bowing and corner softening. The practical fix is to back off digital correction, re-check screen level, and finish with screen pitch adjustments only until the test pattern is properly rectangular.
What can go wrong (and how to avoid it)
Screen angle adjustment goes wrong when people try to compensate for multiple alignment errors with one setting—usually keystone. The result is an image that is “rectangular enough” but softer, uneven, or visually distracting.
Here are the most frequent issues and how to prevent them.
Common failure modes
– Overusing keystone: Heavy digital keystone can soften the image and make sharpness uneven. Screen angle and projector alignment should do most of the work.
– Tilting without leveling: If the screen is out of level, adjusting angle can make distortion worse even if it looks “close.”
– Screen surface mismatch: Some screens have coatings and viewing-angle characteristics; extreme angles can reduce brightness/contrast.
– [ADD: source for the screen’s viewing-angle specs if available in your model’s manual]
– Mounting issues: If the mount flexes or the surface isn’t rigid, the picture can “shift” after tightening or during regular use.
– [ADD: source for mount rigidity/installation guidance from your screen manufacturer]
Pros/cons: Physical alignment vs. digital keystone
| Approach | Pros | Cons |
|---|---|---|
| Physical screen angle + leveling | Preserves natural geometry and tends to minimize resolution loss from digital correction. | Takes longer upfront; requires access to mounting/tilt points and careful tightening. |
| Digital keystone correction | Quick fix when errors are minor or when physical movement is restricted. | Can reduce sharpness and can mask underlying misalignment that will worsen over time. |
Verdict: the safest adjustment order (and who should skip it)
Start with leveling, set projector position, then fine-tune screen angle with a test pattern. This order produces the most natural, sharper rectangle with less keystone correction.
However, if your screen uses complex mounts or motorized mechanisms—or if you’re unsure which adjustment points are safe—pause and follow the manufacturer’s manual (or [ADD: installer/help option]). Avoid aggressive adjustments if the screen is still loose, newly installed, or not firmly secured.
The most reliable geometry correction path is physical alignment first (level/aim), with keystone as a minor residual tool.
If lens shift is available, it should be used to reduce keystone so you maintain maximum image clarity across the frame.
Rigid mounting is critical; flex in the screen frame or brackets can reintroduce trapezoid distortion after you “finish” alignment.
Who should skip screen-angle adjustment
– Fixed-frame screens that can’t tilt: You must align the projector using position and lens shift (if supported).
– Screens with questionable installation: If mounting hardware is loose or the wall/ceiling structure is not secure, correcting geometry now can lead to unstable results later.
Quick checklist (scan/save)
– [ ] Screen is level (check top edge with a level)
– [ ] Projector is aimed at the screen center
– [ ] Lens shift (if available) is used before keystone
– [ ] Test pattern shows a rectangle, not a trapezoid
– [ ] Screen angle adjusted in small steps, then re-tightened
– [ ] Image brightness/contrast still looks acceptable at your viewing angle
Common Projector Geometry Problems vs. Likely Causes (By Symptom)
| # | Symptom on Test Pattern | Most Likely Cause | Corrective Priority | Expected Improvement |
|---|---|---|---|---|
| 1 | Top and bottom edges not parallel | Screen not level (tilt/pitch error) | High | ★★★★★ |
| Left side higher than right | Mount flex or uneven screen leveling points | High | ★★★★☆ | |
| Trapezoid shape (one side wider) | Projector not aimed at screen center + screen pitch | High | ★★★★☆ | |
| Image appears rotated (diamond grid) | Screen yaw/roll or projector roll misalignment | Medium | ★★★☆☆ | |
| Corners soft while center is sharp | Too much digital keystone correction | Medium | ★★☆☆☆ | |
| Uneven brightness across the frame | Viewing-angle effects or screen coating behavior at tilt | Low | ★★☆☆☆ | |
| Geometry changes after tightening / daily use | Loose mount hardware or wall/ceiling flex | High | ★★★★☆ |
FAQ
Why does my image look trapezoid even after adjusting the screen angle?
A trapezoid usually means the projector isn’t aimed at the screen squarely, or the screen isn’t level. Try leveling the screen again, then re-center the projector before making further tilt changes.
If keystone is correcting a trapezoid caused by tilt or mis-aiming, re-leveling and re-centering often reduces the amount of digital correction needed.
Should I adjust the screen angle or use keystone correction?
Prefer adjusting physical alignment first (screen level/angle and projector position). Use keystone only as a minor correction—heavy keystone can reduce image quality. [ADD: source for your projector’s keystone impact if available in its manual]
How much should I adjust the screen angle each time?
Use small increments (a few degrees or less) and re-check the test pattern after each adjustment. Large moves make it harder to tell whether distortion came from tilt versus projector placement.
Small iterative adjustments help isolate the source of trapezoid distortion and reduce the risk of overshooting into the opposite keystone direction.
What if my screen can’t tilt at all?
If it’s fixed-frame, focus on aligning the projector (position and lens shift) to match the screen. Screen-angle instructions won’t apply to truly fixed screens.
Sources
– [ADD: your projector model manual/spec sheet—lens shift, keystone behavior, and recommended alignment/testing pattern]
– [ADD: your projector screen model manual—mounting/tilt adjustment method and viewing-angle guidance]
– [ADD: manufacturer documentation for the screen’s viewing-angle or image uniformity limits, if provided]
The safest way to get a clear, undistorted projector image is to treat screen angle as part of a geometry system: level the screen, center the projector, then fine-tune tilt using test patterns. If you skip the order and rely heavily on keystone, you may fix the trapezoid at the cost of sharpness and uniformity. When in doubt—especially with fixed-frame screens or complex mounts—follow the manufacturer guidance and adjust physical alignment first for the most reliable results.
Frequently Asked Questions
How do I adjust a projector screen angle for proper image alignment?
Start by placing the projector and screen so they’re roughly facing each other, then adjust the projector’s tilt using the lens shift/keystone controls. If the image is skewed, use physical positioning first (moving the projector) rather than relying only on keystone, which can reduce image quality. Finally, refine the screen angle by loosening the mount or adjusting the screen legs so the projection is level and square to your viewing area.
What is the best way to avoid keystone distortion when changing projector screen angle?
The best approach is to align the projector so the lens is as close to the center of the screen as possible, at the correct height and distance. Use the mount to change the projector angle and height so the image becomes correctly proportioned, then apply minimal keystone only if needed. Many people find that a slight screen angle adjustment (or projector repositioning) results in a sharper, more natural-looking picture than heavy keystone correction.
Which projector mount types make it easiest to adjust screen angle accurately?
Ceiling mounts with tilt adjustment and fixed-height mounts with fine adjustment are often the easiest for achieving a consistent projector screen angle. For screen setups, motorized or adjustable wall mounts (or a screen with adjustable legs) allow you to fine-tune the viewing geometry without moving furniture. If you’re frequently adjusting for different seating positions, choose hardware that provides micro-adjustments rather than only large step changes.
Why does projector screen angle affect focus, brightness, and image sharpness?
When the projector screen angle is off relative to the projector lens, you can introduce uneven geometry that makes the image look skewed or less uniform across the frame. While focus is primarily lens-based, poor alignment can make edges appear less sharp and can also make brightness seem uneven because the effective projection angle changes. Correctly aligning the screen angle helps the projector deliver the designed brightness and clarity across the entire screen.
How can I adjust the projector screen angle for different room layouts and seating heights?
Measure the center of your seating area and set the projector so the lens points toward the screen’s center at that viewing height. If you have low or high ceilings, adjust the projector’s height and tilt first, then make smaller screen angle corrections so the image stays level and rectangular. Use a test pattern to confirm alignment, then lock the mount or tighten the screen hardware to prevent gradual angle drift.
📅 Last Updated: October 08, 2026 | Topic: how to adjust projector screen angle | Content verified for accuracy and freshness.
References
- Google Scholar Google Scholar
https://scholar.google.com/scholar?q=projector+screen+angle+adjustment - Google Scholar Google Scholar
https://scholar.google.com/scholar?q=projector+keystone+screen+tilt+correction - Google Scholar Google Scholar
https://scholar.google.com/scholar?q=how+to+set+projector+to+avoid+keystone+correction+screen+angle - https://en.wikipedia.org/wiki/Keystone_correction
- https://en.wikipedia.org/wiki/Projection_screen
- https://en.wikipedia.org/wiki/Throw_distance
- Video projector
https://en.wikipedia.org/wiki/Video_projector - https://en.wikipedia.org/wiki/Geometric_correction
- https://en.wikipedia.org/wiki/Perspective_(graphical
- Trapezoid
https://en.wikipedia.org/wiki/Trapezoid
