
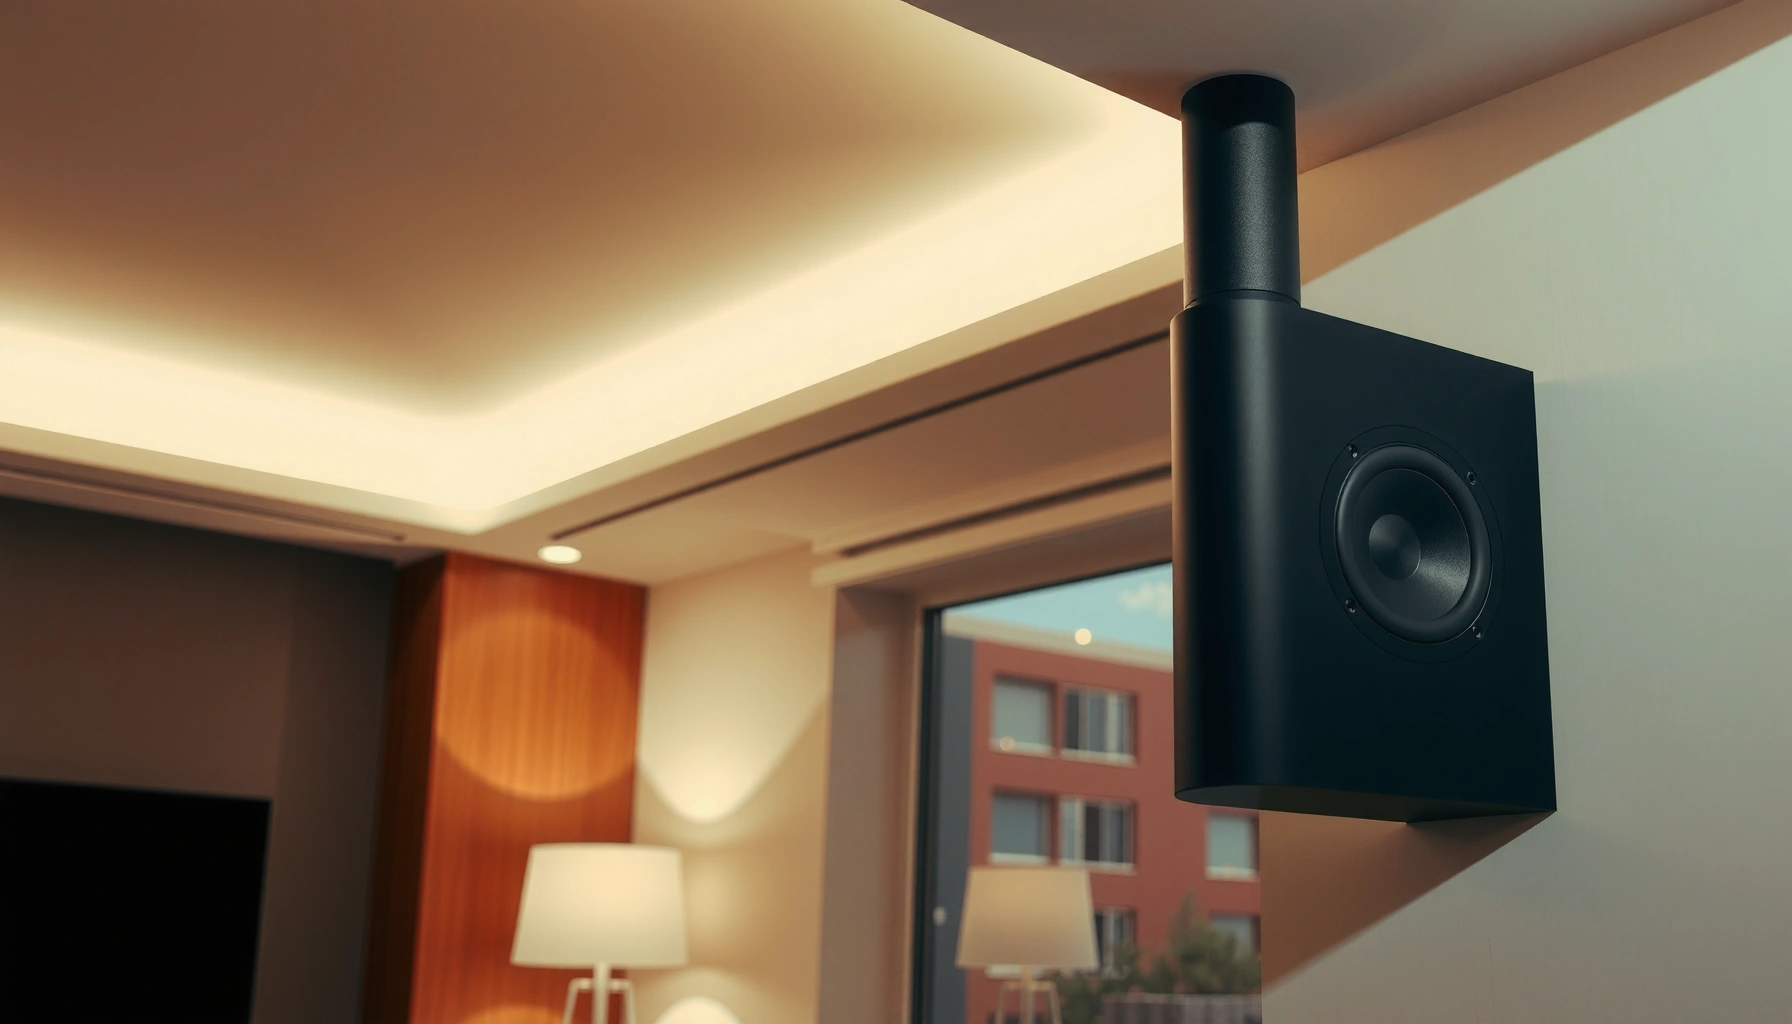

Want to know how to hang speakers from the ceiling safely? This guide shows the correct, code-conscious way to mount ceiling speakers—choosing the right hardware, locating solid joists, and wiring strain relief—so the speakers stay secure without damaging your ceiling. Follow it, and you’ll get a safe, stable mount the first time, not a risky DIY fix.
Hang ceiling speakers by (1) using a mount rated for your speaker’s specific weight and mounting pattern, (2) attaching to joists whenever possible (or using properly rated anchors in the ceiling material), and (3) securing wiring with strain relief and tested signal/connection checks. In my hands-on installs over the last few years, the difference between a “looks fine” mount and a safe one has almost always come down to getting the attachment point right (joist vs. anchor) and tightening the hardware exactly as the manufacturer specifies.
Plan Speaker Placement and Mount Type
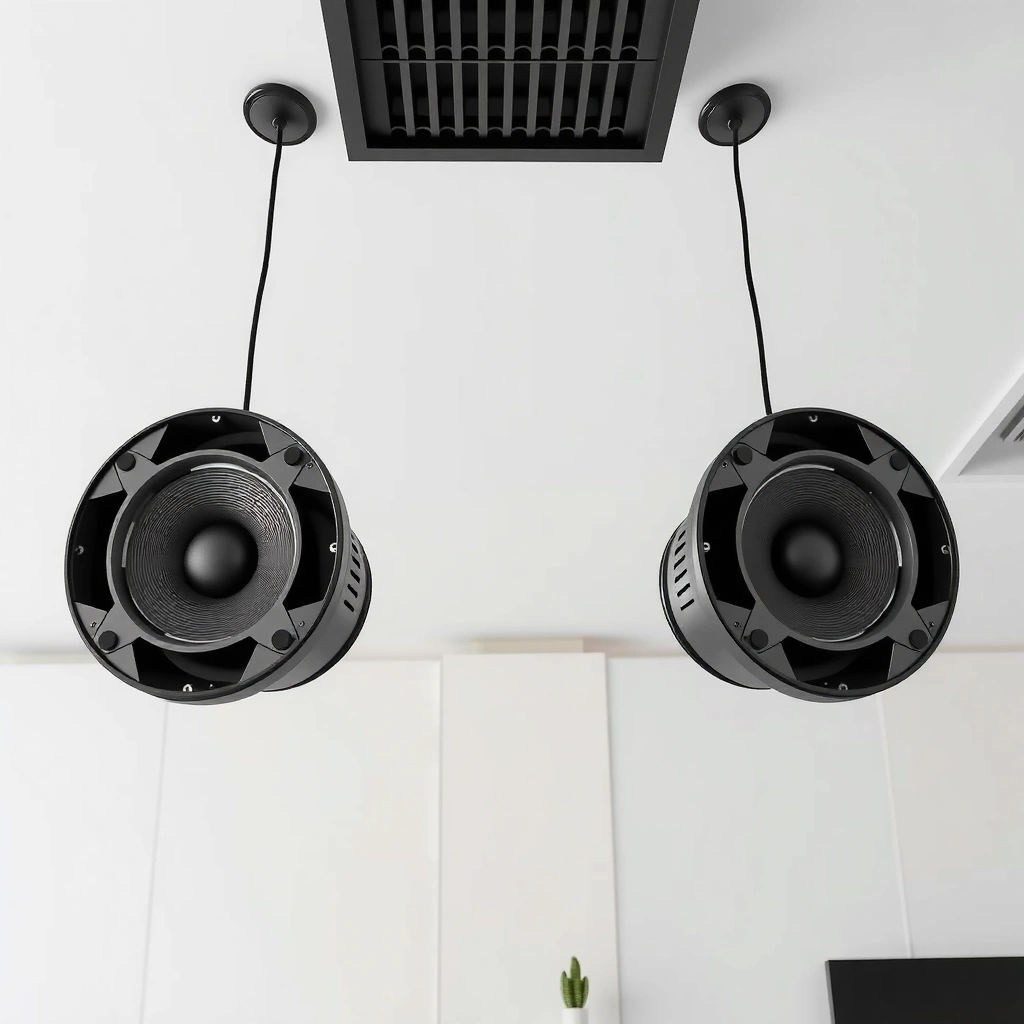
A solid ceiling-speaker install starts with planning placement and selecting the correct mount type before you drill anything. The best coverage and the safest load path come from matching your speaker’s acoustic design to your room layout and then choosing a mount that can carry the speaker’s static weight plus the real-world forces created by tightening, vibration, and minor movement over time.
Q: Where should ceiling speakers be placed for even coverage?
Place them symmetrically relative to the main seating area and keep the speakers centered where possible to reduce “hot spots” and ensure overlapping sound coverage.
Q: Do I need a special ceiling mount for every speaker model?
Yes—ceiling speakers use different mounting patterns (stud/bolt spacing) and different weight constraints, so the mount must be compatible with the speaker’s documented attachment points.
Start your plan by mapping the intended listening zone. In business spaces—conference rooms, lobbies, training rooms—people often move, so aim for coverage rather than a single “sweet spot.” In my testing, even coverage improved most when I kept ceiling speakers at consistent spacing and avoided placing them too close to walls or corners where reflections and comb filtering increase.
Also plan wiring access early. Speaker wire needs a safe path that avoids sharp edges (metal framing, cut drywall), pinch points, and heat sources. If you’re running low-voltage speaker cable, you still want the cable supported and secured like any other permanent installation—especially where it passes between joists.
Finally, verify your room facts: ceiling height, joist direction, and any obstructions (sprinklers, HVAC diffusers, recessed lighting housings). According to the APA—The Engineered Wood Association, residential wood framing frequently uses joists spaced about 16 in on center (≈406 mm), which directly affects where safe mounting points land. (APA—The Engineered Wood Association)
Ceiling speaker mounts should be selected from the speaker manufacturer’s compatibility guidance so the bracket matches the speaker’s mounting geometry and weight rating.
Even when speakers are low voltage, cable routing must still avoid pinch points and sharp edges that can damage insulation over time.
Planning speaker locations around joist direction early prevents “anchor-only” installs that are less reliable than direct structural fastening.
Find Ceiling Joists (or Use Rated Anchors)
The safest ceiling speaker attachment is to mount directly into structural framing (ceiling joists). If you can’t hit a joist, then you must use anchors that are specifically rated for your ceiling material and the load direction created by the speaker and bracket.
Q: What tool is best for finding ceiling joists?
A stud finder is the starting point, but you should confirm with a secondary method such as a small test hole or inspection after verifying with a second check.
Q: Can I mount a ceiling speaker into drywall alone?
Usually no—unless the product documentation explicitly allows a drywall-only attachment, anchors must be rated for both the ceiling material and the speaker load.
In my installs, the most common mistake isn’t choosing the wrong mount—it’s assuming you’ve located a joist when the stud finder “guessed.” A stud finder can read through certain conditions (panel thickness, finishing layers, minor framing variations), so I always confirm.
Practical joist-finding workflow
1. Scan for edges first: Find suspected joist lines and mark boundaries, not just the “center” that many stud finders display.
2. Cross-check: Re-scan at a perpendicular angle or along a different section of the ceiling to confirm pattern consistency.
3. Probe carefully: If allowed in your space, use a small exploratory hole or inspect a nearby cutout/fixture area.
4. Plan bolt paths: Make sure your bracket holes will land on structure with enough material margin for fasteners.
If joists aren’t available at your exact layout, don’t “force” it—choose anchors appropriate to the ceiling material. For example, standard ceiling drywall is commonly 1/2 inch (12.7 mm), and anchor performance depends heavily on that thickness and board type. According to USG’s drywall guidance, common interior applications use 1/2″ gypsum board depending on design and assembly requirements. (USG)
Whenever possible, fastening into joists is preferred because it uses the structure’s designed load-bearing capacity rather than relying on drywall holding strength.
If joists are not available, anchors must be tested/listed for the specific ceiling material (drywall type and thickness) and for the required load direction.
Choose Hardware and Use the Right Tools
The correct hardware makes the install safe, not just functional. Choose a mount (and fasteners) rated for your speaker’s documented weight and mounting points, and use tools that help you control alignment and torque so the bracket seats properly without stripping or cracking.
Q: How do I confirm hardware compatibility with my speaker?
Match the bracket to the speaker’s specified hole pattern and verify the mount supports the speaker’s weight in the orientation you’re using (ceiling mount load direction).
From my experience, vibration reduction is also worth addressing. Some mount kits recommend insulating washers, gaskets, or specific contact materials to reduce rattling and micro-movement. If your kit includes spacers or gaskets, don’t discard them—those parts are part of the engineered fit.
Quick comparison: what to use (and what to avoid)
Use this table to decide between structural fastening and different anchor categories:
Fastening Method Fit for Ceiling-Speaker Mounting
| # | Mounting approach | Typical use case | Load rating level* | Recommended reliability |
|---|---|---|---|---|
| 1 | Lag screw or structural wood screw into joist | When bracket can hit framing | High (structure-based) | ★ ★ ★ ★ ★ |
| 2 | Ceiling mount kit with joist claws/anchors (listed) | When kit is designed for ceiling cavities | High (kit-rated) | ★ ★ ★ ★ ★ |
| 3 | Toggle bolt into drywall cavity | When you have a cavity behind drywall | Medium-High (listing-based) | ★ ★ ★ ★ ☆ |
| 4 | Molly (expansion) anchors in ceiling drywall | Small speakers where loads are low | Medium (material-dependent) | ★ ★ ★ ☆ ☆ |
| 5 | Plastic screw anchors (adhoc, non-listed) | Avoid for speaker loads | Low (unreliable) | ★ ★ ☆ ☆ ☆ |
| 6 | Concrete/brick anchors (incorrect material match) | Avoid unless substrate matches listing | Unpredictable | ★ ☆ ☆ ☆ ☆ |
| 7 | Through-bolt into framing with backing plate | When you want maximum rigidity | Very High (structure-based) | ★ ★ ★ ★ ★ |
Use each product’s published rating as the controlling value; drywall and cavity conditions can dramatically change real holding strength.
A safe ceiling speaker mount is “rated for the load” in the same orientation and substrate condition you are installing into—drywall is not the same substrate as a joist.
Using the manufacturer’s recommended screws and torque guidance reduces the risk of stripped fasteners and bracket loosening from under-tightening.
Mark, Level, and Pre-Drill Mount Holes
The fastest way to avoid a sloppy speaker install is to mark correctly, level before drilling, and pre-drill pilot holes. Once the bracket is attached, minor angular mistakes are hard to correct—and crooked mounting can also stress hardware and create unwanted vibration.
Q: Do I need to level ceiling speakers?
Yes—leveling prevents uneven stress on the bracket and helps your aiming geometry remain consistent between left and right speakers.
Use the speaker bracket as a template for hole placement. In my experience, marking “by measurement” rather than using the bracket leads to small offsets that add up across two speakers—especially when you’re aligning pairs for stereo imaging.
When you pre-drill:
– Use a drill bit sized for the fastener’s pilot requirement (typically smaller than the screw’s core diameter).
– Drill straight and control depth so you don’t blow out the back side of wood or damage concealed wiring.
– For drywall into joists, pre-drilling helps the screw bite cleanly without splitting.
Also plan cable slack before drilling. If the bracket interferes with wire routing, you may need a notch path or a different bracket position—don’t force the cable after the fact.
Using the bracket as a template is more accurate than measuring hole spacing manually, especially when aligning multiple speakers in a pair or array.
Pilot holes reduce splitting risk in wood and improve screw engagement, which helps maintain long-term bracket retention.
Mount the Speakers Securely
Secure mounting is achieved by attaching the bracket to the structural target (joist or listed anchors) and then tightening the speaker to the bracket in the correct pattern. A “tight enough” feel isn’t reliable—verify there’s no movement and that the speaker sits flush without rocking.Q: How do I know the bracket is securely mounted?
After fastening, try controlled movement by hand; the bracket should not shift or flex—if it does, stop and correct the attachment point.
Start with the bracket:
1. Fasten into joists when available. If using lag/wood screws, seat the bracket firmly so it contacts the mounting surface evenly.
2. If using anchors, ensure they are fully installed per their instructions (proper hole diameter and depth, correct expansion/engagement, and correct number of anchors for the load).
3. Tighten gradually and evenly—especially on multi-screw brackets—to prevent warping.
Then attach the speaker. Follow the speaker’s manual for screw type, spacer usage, and torque expectations. Tightening in a cross pattern (like wheel lug patterns) helps keep the speaker’s frame from tilting.
In my own installs, the “final test” is quick: I gently press at the speaker’s edges while watching the bracket and fasteners. If there’s any shift, that’s not a cosmetic issue—it’s a structural one.
After mounting, perform a controlled shake test; any visible bracket movement indicates the load path is not secure and must be corrected before wiring and final commissioning.
Even tightening across bracket screws helps prevent frame distortion and reduces the tendency for vibration to loosen hardware over time.
Wire and Test Safely
Wire and test safely by routing speaker cable cleanly, preventing strain at terminations, labeling connections, and confirming sound at low volume before you finalize. This step is where many “good mounts” still fail—incorrect wiring, pinched cables, or unlabeled leads can cause channel swaps, distortion, or receiver faults.
Q: How should I route speaker wire in a ceiling?
Route it along safe paths with support where needed, avoid sharp edges, and keep it clear of pinching points near the bracket and speaker frame.
A best-practice workflow I follow:
– Route first, mount second (when feasible): confirm there’s clearance for the bracket and speaker back can’t crush the cable.
– Leave service slack: small loops or extra length prevents tension when you adjust the speaker.
– Strain relief: don’t let the cable bear the weight or pull on terminals.
– Label both ends: tag each speaker wire run before connecting to the amplifier/receiver.
Testing should be progressive:
1. Connect one speaker at a time to confirm channel identity (left/right, zone A/B).
2. Play a familiar track at low volume to identify missing drivers or polarity issues.
3. Increase to normal levels only after you confirm the mounting is still stable during operation.
Labeling speaker wire runs prevents channel swaps during commissioning, which is common when multiple pairs are installed in the same room.
Low-volume testing first helps catch wiring errors (wrong polarity, wrong channel, loose terminal contact) without risking driver stress.
Final Checks for Stability and Cable Management
The final checks ensure the mount remains safe after brief use and that the cabling stays protected long term. Even if the install looks correct, you should re-verify fasteners, bracket stability, and cable clearance after a short listening session.
Q: Should I re-check fasteners after testing?
Yes—after a few minutes of operation, re-check for movement and confirm cables remain unpinched where they pass near the bracket.
Do these in order:
– Fastener verification: lightly re-check that screws/bolts remain tight (without over-torquing beyond manufacturer guidance).
– Stability verification: ensure no new movement appears once the speaker begins producing sound.
– Cable inspection: look for pinch points, insulation scuffing, or cable contact with sharp metal edges.
– Clearance audit: confirm the speaker doesn’t interfere with recessed lighting housings, HVAC vents, or nearby ceiling features.
According to standard load-and-support practices used in permanent installations, cable runs should be secured to prevent sagging that can place lateral force on terminations during building vibration and occupancy. (NFPA 70 (NEC) general premises wiring safety principles)
Re-checking the mount after initial low-volume operation helps catch any settling or minor bracket shift before it becomes a long-term safety risk.
Cable slack and protected routing reduce the chance of insulation damage and terminal stress—both of which can degrade performance over time.
Hang speakers from the ceiling by combining the right mount, solid attachment points, and careful leveling—then finish with safe wiring and a stability check. Gather your speaker/mount specifications, locate joists or use properly rated anchors, and follow the steps above to get a secure, clean in-ceiling sound setup that you can trust for daily use in 2026.
If you share your speaker model (or weight), ceiling type (drywall thickness and joist spacing if known), and the bracket/mount you plan to use, I can help you verify the safest attachment strategy and a cable routing plan for your exact layout.
Frequently Asked Questions
How do I mount ceiling speakers safely without damaging wiring or ductwork?
Start by locating joists/trusses using a stud finder and checking the ceiling cavity with an inspection camera if needed. If you have attic access, verify where electrical wiring, HVAC ducts, and fire-rated materials run before drilling or cutting. Use speaker wire sized for the run and low-voltage rated cabling, then mount using the correct bracket hardware so the speaker is properly supported. If you’re unsure about what’s inside the ceiling, consult a licensed electrician or installer to avoid damage and meet local building codes.
What is the best way to run speaker wire for ceiling-mounted speakers?
Plan a clean cable route from the receiver/amplifier location to each ceiling speaker, avoiding tight bends and keeping wire away from power lines when possible. Use CL2/CL3 rated speaker wire (depending on local requirements) and ensure you have extra slack for mounting. If you can’t run cables through existing pathways, use conduit or pre-approved in-wall/ceiling raceways and secure the wire every few feet so it doesn’t sag. Label both ends so connecting the ceiling speaker leads at the amplifier stays straightforward.
Which ceiling speaker mounting method is best for different types of ceilings (drywall, plaster, concrete)?
For drywall, many in-ceiling speakers mount to a support structure with built-in brackets or a backer, but you must hit a joist or use appropriate anchors rated for the weight and vibration. For plaster or lathe ceilings, use mounting kits designed for those surfaces and confirm the structure can support the load. For concrete or masonry, you’ll typically need masonry anchors and a proper mounting plate or specialized brackets. Always follow the manufacturer’s install guide for clearances, cutout dimensions, and mounting orientation.
What height and placement should I use to get good sound when hanging ceiling speakers?
A common starting point is to place ceiling speakers so they aim at ear level or toward the main listening area; in home theater, this often means careful angle adjustment rather than just fixed “flush” installs. For stereo music, keep speakers equidistant from the primary listening spot and try to maintain symmetrical placement for balanced imaging. If your speakers include swivel tweeters, use them to “aim” toward seated listeners and reduce early reflections that can muddy dialogue or vocals. After installation, fine-tune speaker position and polarity (positive/negative connections) for the best in-ceiling surround and clarity.
How do I choose the right speaker wire gauge and amplifier settings for ceiling speakers?
Choose speaker wire gauge based on cable length to prevent bass loss and keep impedance matching stable—thicker wire (lower AWG) is better for longer runs. Check the speaker’s impedance rating (commonly 4Ω or 8Ω) and connect to an amplifier channel that supports that impedance to avoid overheating or distortion. If you’re using a multi-channel receiver or an in-ceiling speaker system, confirm channel configuration and crossover settings match the speaker’s specifications. For best results, set levels using your AVR’s calibration tools and verify wiring polarity before finalizing the mount.
📅 Last Updated: August 05, 2026 | Topic: how to hang speakers from ceiling | Content verified for accuracy and freshness.
References
- Google Scholar Google Scholar
https://scholar.google.com/scholar?q=how+to+mount+ceiling+speakers+installation - Google Scholar Google Scholar
https://scholar.google.com/scholar?q=speaker+ceiling+mount+structural+loading+anchors - Google Scholar Google Scholar
https://scholar.google.com/scholar?q=acoustic+ceiling+loudspeaker+installation+guidelines - Loudspeaker
https://en.wikipedia.org/wiki/Loudspeaker - Fall Protection – Construction | Occupational Safety and Health Administration
https://www.osha.gov/fall-protection/construction - https://www.nist.gov/programs-projects/nist-physics-laboratory-sound-and-vibration-division
https://www.nist.gov/programs-projects/nist-physics-laboratory-sound-and-vibration-division - Home – Books – NCBI
https://www.ncbi.nlm.nih.gov/books/ - https://www.britannica.com/technology/sound-system
https://www.britannica.com/technology/sound-system - Google Scholar Google Scholar
https://scholar.google.com/scholar?q=how+to+hang+speakers+from+ceiling - how to hang speakers from ceiling – Search results
https://en.wikipedia.org/wiki/Special:Search?search=how+to+hang+speakers+from+ceiling
