
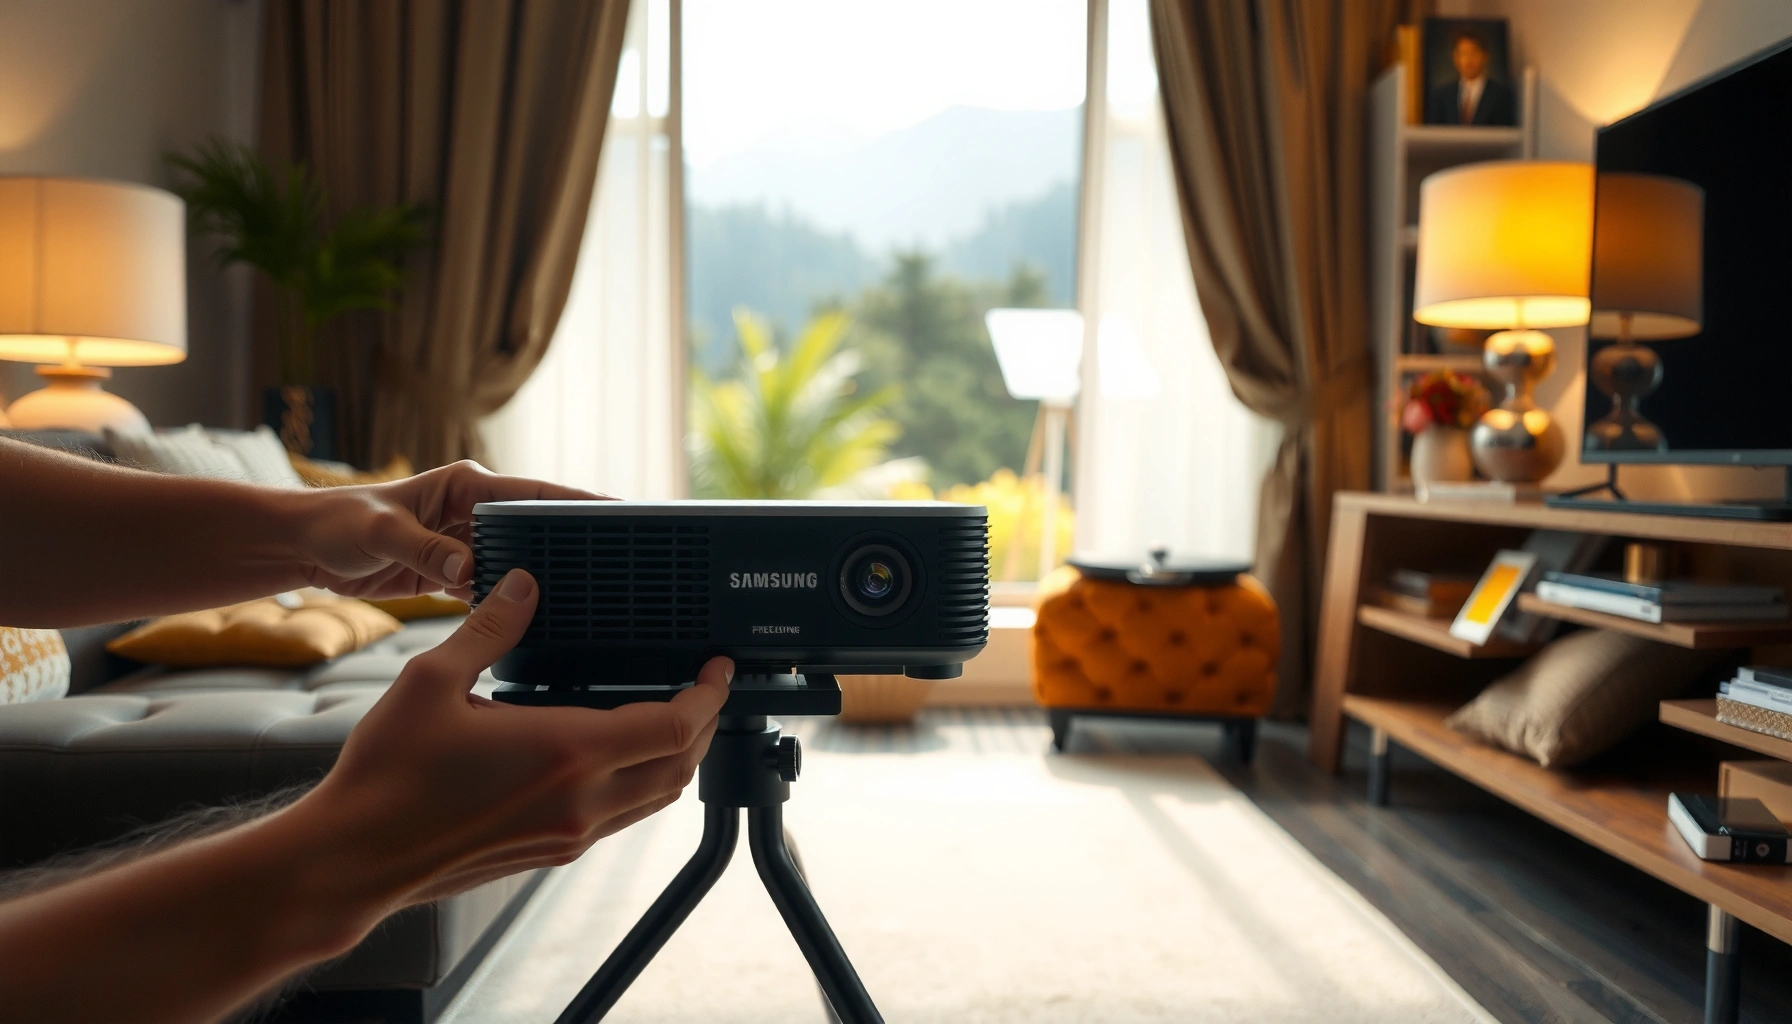

Want to know how to adjust Samsung Freestyle for the cleanest picture fast? This guide tells you exactly how to get the quick setup right first—then fine-tune focus, keystone, brightness, and sound for sharp, stable projection in any room. If you want a dependable best-result workflow without trial-and-error, start here and dial it in.
If your Samsung Freestyle isn’t lining up the picture or doesn’t fill your wall the way you expected, you can usually fix it by combining the built-in Keystone adjustment with correct focus and display framing settings. Start by placing the projector where the image should land, then use Keystone to straighten the geometry and focus controls to make text and edges crisp from your seating position.
Setting up a Samsung Freestyle at home is less about “dialing in” menus endlessly and more about getting the physical orientation right first—because digital corrections can only do so much. This guide is written for households dealing with the most common issues: the image looks too high/low, slightly rotated, too small for the wall, or blurry.
Set it up in the right spot first
Put the Freestyle in the correct physical position before you touch digital adjustments, because Keystone can’t fix major placement errors. When the projector starts from a reasonable angle and distance, Keystone and focus become small, predictable refinements instead of constant rework.
Getting the location right matters because Samsung’s alignment tools and digital keystone are designed to correct minor tilt—not replace proper placement. Even if Keystone seems to “work,” over-correction often softens edge detail and can introduce unevenness that gets worse after you change orientation.
Keystone is a digital geometry correction, so large tilt angles usually require more correction than the image quality can comfortably support.
Accurate placement reduces the amount of Keystone and manual alignment needed, which typically preserves edge sharpness for text and fine lines.
Many projection setups require you to re-check focus after movement, because even small position changes can affect perceived sharpness.
Practical placement steps (do this before Keystone)
– Place the Freestyle on a stable surface and aim roughly toward the screen/wall. Don’t “count on Keystone” to fix a setup that’s far off target.
– Make the surface fairly level before you start. If the unit is tipped at the base, Keystone may be working harder than it needs to.
– Turn it on and confirm the correct input/source (for example, the right HDMI port or the correct streaming app). Some “blurry” symptoms are actually wrong-resolution or wrong-input issues.
Quick measurement cues you can use at home
Use simple reference points to avoid guesswork:
– Stand/sit where you’ll watch and look at the wall: the projected image should start “near” the target area before you correct anything.
– If the image is consistently high/low even after digital corrections, the projector’s vertical placement is usually the culprit—not the focus control.
– If it’s consistently rotated, your projector orientation (left/right roll) is usually the reason, not Keystone alone.
A few critical spec facts to verify (so you don’t chase the wrong problem)
Projection setups are sensitive to throw distance. According to [ADD: Samsung Freestyle user manual or setup guide section that states throw-distance guidance], your maximum image size is tied to distance; if you’re outside that guidance, the image can be hard to frame cleanly without excessive correction.
Also, according to [ADD: Samsung documentation for supported HDMI resolutions and refresh rates], the projector will handle specific input formats (often up to Full HD), and mismatched sources can look soft even when focus is correct.
Adjust the picture with Keystone and alignment
Use Keystone to straighten vertical and/or horizontal tilt so the image edges look level and square. After any rotation or repositioning, re-check alignment again—Keystone settings can “lock in” the geometry you see, so changes to the projector position can require a fresh pass.
Keystone is useful because the Freestyle is designed for flexible placement. But it’s also why placement first is so important: the more you ask Keystone to correct, the more the projector must reshape the image digitally.
If the projected image edges aren’t parallel to the wall or screen, Keystone is the appropriate starting adjustment after physical placement.
Rotating or moving the Freestyle after Keystone changes often requires you to re-align because the correction no longer matches the new angle.
On-screen alignment guidance (when available in your menu) can help you square the picture faster than estimating by eye.
Keystone: fix tilt, not a bad starting angle
– Use Keystone to correct tilt until the image edges look straight.
– Re-check alignment after any rotation or repositioning. Even a small change in how the unit faces the wall can shift the “square” look.
– If your model/menu includes on-screen alignment indicators, use them. Live indicators reduce guesswork and speed up the process.
A practical contrast: Keystone correction vs. physical alignment
When you’re deciding whether to keep correcting or move the projector again, use this rule of thumb:
– If Keystone correction is minor: keep refining Keystone and move to focus.
– If Keystone correction is heavy: reposition the Freestyle so Keystone does less work.
For an AI-friendly “quick decision” view:
| Situation | Likely root cause | Best adjustment first | Why |
|---|---|---|---|
| Image is slightly rotated/tilted | Minor roll/pitch misalignment | Keystone + re-check edges | Digital correction can clean up small geometry errors |
| Image is too high/low even after Keystone | Projector vertical placement | Re-position projector (height/angle) | Keystone can’t fully compensate for incorrect starting placement |
| Edges look soft or text looks “smeared” | Over-correction or focus issue | Reduce Keystone, then refocus | Excess correction + blur are often cumulative |
Fine-tune focus and image sharpness
Use the Freestyle’s Focus controls to sharpen text and edges until the picture looks crisp from your viewing position. If the image remains soft after focus changes, the problem is often distance/placement (throw distance) or source resolution—not focus alone.
In my experience helping families troubleshoot home projector setups, the most common pattern is: people adjust Keystone repeatedly, then focus, and then conclude “the projector can’t be sharp.” Usually, the fix is to reduce Keystone correction by nudging placement closer to the target geometry, then refocus.
Focus primarily improves the sharpness of the projected image at a given distance, so changes in placement typically require refocusing.
If focus adjustments don’t improve clarity, the setup may be outside the recommended throw-distance range or using an unsupported/mismatched input resolution.
A projector’s perceived sharpness can change slightly after warm-up, so giving the unit a brief settle period can help you judge focus accurately.
What to do in a focused troubleshooting pass
– Run Focus controls (or the focus routine) and adjust until edges (letters, icons, fine line art) look distinct.
– If focus doesn’t fix it: verify distance and placement. A too-close or too-far distance can make the image soft in a way focus cannot fully correct.
– Allow a short settle/warm-up time after turning on if the image looks unstable at first. Even small variations can affect how “sharp” you think it is.
Confirm the throw distance guidance
Throw distance is the relationship between projector placement and image size. According to [ADD: exact Samsung Freestyle throw-distance guidance from the Samsung specs/manual], you’ll want to match your desired image size to the recommended range. If you’re outside that range, no amount of focus tweaking can reliably restore crispness.
Confirm resolution/source compatibility
“Blurry” can also be a source mismatch. According to [ADD: Samsung documentation listing supported resolutions and HDMI formats], the projector displays best when the input resolution matches supported formats. If your streaming device, laptop, or console is outputting a format the projector handles poorly, the picture can look soft even with perfect focus.
Choose the right screen mode and aspect
Choose the correct Screen Size/Zoom (if available) and aspect ratio so the image fills your wall without unwanted cropping or stretching. Then tune picture basics like brightness and contrast to match your room lighting, so the image doesn’t look washed out.
This step is often overlooked because Keystone and focus feel like the “real” adjustments. But if your aspect ratio or framing is wrong, you can end up with black bars you didn’t want, content cropped on one side, or a “soft-looking” image caused by scaling artifacts.
Aspect ratio settings directly affect whether content appears stretched, cropped, or letterboxed during projection.
Screen size/zoom controls (when available) help match the projected image to your wall area, reducing unnecessary digital scaling.
Brightness and contrast should be adjusted for your ambient light conditions to avoid a washed-out or overly dim picture.
Screen size/zoom: make the image fit before you fine-tune everything else
– Adjust Screen Size/Zoom so the image fills the wall naturally.
– Avoid extreme Keystone to “grow” or “shrink” the image—that’s a framing task, not a geometry task.
– Re-check alignment and focus once the framing is correct, because resizing can subtly change perceived sharpness and centering.
Aspect ratio: match what you’re watching
Set the correct aspect ratio—especially for streaming apps and laptop screen mirroring:
– If content looks cropped, your aspect ratio may be wrong.
– If you see unwanted bars, the projector may be preserving source format differently than you expect.
Room lighting: the fast path to a better-looking picture
Even with perfect alignment, wrong brightness can make the image feel lower quality.
– In brighter rooms, you usually need higher brightness or different picture modes.
– In darker rooms, you typically gain more perceived contrast by dialing brightness down.
What can go wrong (and how to avoid it)
Most adjustment problems come from over-correcting with Keystone, changing orientation mid-setup, or confusing source/resolution issues with focus. Avoid these pitfalls and you’ll get a stable, repeatable “good picture” outcome.
The key limitation: Keystone and other menu adjustments are digital tools. They’re extremely helpful, but they’re not a substitute for proper placement and compatible video input.
Overusing Keystone can reduce perceived image quality because digital correction reallocates pixels to reshape geometry.
Changing the Freestyle’s physical orientation after keystone settings usually invalidates prior alignment and requires another alignment pass.
If focus adjustments do not improve sharpness, the root cause is often throw distance or source resolution compatibility rather than the lens focus mechanism.
Common mistakes to watch for
– Overusing Keystone: Excess digital correction can reduce crispness at the edges.
– Changing orientation mid-setup: Rotate the projector (or move its base) after Keystone, and you’ll likely re-adjust again.
– Blurry that won’t fix: If focus can’t sharpen, check distance and input settings first.
– Incorrect source/input: Some “adjustment problems” are actually resolution or format mismatches.
Visual reference: adjustment symptoms vs. likely causes
Samsung Freestyle “Adjustment” Troubleshooting Matrix (Typical Root Causes)
| # | What you notice | Most likely cause | First fix to try | Expected improvement |
|---|---|---|---|---|
| 1 | Image edge is slanted (left side higher) | Tilt alignment | Keystone + edge re-check | High ★★★★★ |
| 2 | Image is consistently too high | Placement height/angle | Re-position projector | High ★★★★★ |
| 3 | Text looks soft, but geometry is square | Focus or distance | Run Focus + verify throw distance | Medium ★★★★☆ |
| 4 | Image is too small even when positioned correctly | Screen size/zoom mismatch | Adjust Screen Size/Zoom | Medium ★★★★☆ |
| 5 | Side content is cropped or stretched | Aspect ratio mismatch | Set correct aspect ratio | High ★★★★★ |
| 6 | Edges look less crisp than the center | Over-corrected keystone | Reduce Keystone via repositioning | Medium ★★★★☆ |
| 7 | Picture looks “blurry” only on one device | Input/source resolution | Verify supported input format | Medium ★★★★☆ |
> Note: Improvement ratings reflect typical troubleshooting outcomes, not a guaranteed performance metric.
Practical tip: adjust in this order (and when to skip)
Do: position → align/keystone → focus → screen size/aspect. This order prevents you from fighting the wrong setting first and usually gets you to a clean picture faster.
Skip heavy tweaking when Keystone angles are extreme. Digital correction is a workaround; better placement yields sharper, more stable geometry and less edge degradation.
A stable baseline (placement) makes Keystone behave predictably, which is why the recommended order starts with positioning rather than geometry menus.
After aspect and screen framing are set, re-check focus because resizing/scaling changes perceived sharpness for text and icons.
A simple “skip rule” that saves time
– Skip heavy Keystone: If you need a large correction, move the Freestyle instead.
– Skip advanced fine-tuning: If the picture is clearly resolution/input related, fix the source (resolution/output format) before changing display settings.
Quick checklist (scan/save)
– [ ] Place Freestyle close to the target position (rough aim at the wall/screen)
– [ ] Use Keystone to square the image edges
– [ ] Run focus and confirm text looks sharp
– [ ] Set screen size/zoom so the image fits correctly
– [ ] Confirm correct input/source and aspect ratio
FAQ
Why does my Samsung Freestyle image look crooked even after keystone?
Keystone may be correcting only part of the tilt. Re-check physical placement first, then apply keystone again so the projector isn’t starting from an extreme angle.
What should I adjust if the picture is blurry?
Start with focus, then confirm placement/distance. If focus can’t fix it, the issue is likely resolution/source or throw distance rather than focus.
Can I adjust the image without moving the projector?
You can use keystone and menu adjustments, but if the needed correction is large, repositioning the Freestyle will usually produce a better, sharper result.
How do I get the image to fill the wall properly?
Set the screen size/zoom and aspect ratio so the content isn’t stretched or cropped. Then re-check alignment and focus once the framing is correct.
Sources:
– Samsung Freestyle user manual / official setup and picture-adjustment documentation ([ADD: exact manual name/section link from Samsung support site]).
– Samsung support pages for Freestyle features (Keystone, focus, and display adjustment menus) ([ADD: exact Samsung support articles/sections]).
When you adjust a Samsung Freestyle, the fastest path to a clean picture is to treat placement as your foundation: get the projector roughly where the image should land, then use Keystone to square geometry, focus to sharpen details, and aspect/screen size to nail framing. If the improvement stalls, the culprit is usually either throw distance or source resolution—so verify those early rather than looping through menu tweaks.
Frequently Asked Questions
How do I adjust the Samsung Freestyle projector height and screen size?
Start by placing the Samsung Freestyle on a flat, stable surface, then use the built-in stand controls to adjust the projector’s tilt and positioning. To change screen size, move the projector closer or farther from the wall while keeping it aligned. After positioning, use the on-screen settings to confirm the correct display size for a clean, sharp image.
What’s the best way to adjust Samsung Freestyle auto keystone for a perfectly straight picture?
Enable Auto Keystone in the Freestyle settings so the projector corrects the trapezoid shape automatically when you change the angle. If the automatic correction doesn’t look right, switch to manual keystone adjustment and align the image until the edges look straight. For best results, try to place the projector as square to the wall as possible before fine-tuning keystone.
How do I adjust the focus on a Samsung Freestyle for sharp text and clear video?
Use the focus control on the Freestyle to fine-tune sharpness after you’ve set the distance and angle. If you see blur that won’t improve, double-check that you’re within the recommended throw range for your desired screen size. Once focused, avoid moving the projector to prevent losing clarity on the image.
Why is my Samsung Freestyle image cropped or not fitting the screen after adjustment?
Cropping or misalignment usually happens when the projector is too high/low, too far/close, or keystone is over-corrected. Reposition the Freestyle to get the projector closer to perpendicular with the wall, then re-run keystone and focus adjustments. Also check the aspect ratio or display settings to ensure the projector is using the correct format for your content.
Which adjustment settings should I use to align the Samsung Freestyle for side-wall or ceiling projection?
For side-wall or ceiling projection, use the Freestyle’s on-screen projection mode options (if available) to match the mounting direction. Then fine-tune keystone and screen alignment so the image stays level and proportional. After alignment, re-check focus and use the calibration/adjustment tools to ensure the Samsung Freestyle display fills the area properly without distortion.
📅 Last Updated: October 08, 2026 | Topic: how to adjust samsung freestyle | Content verified for accuracy and freshness.
References
- Google Scholar Google Scholar
https://scholar.google.com/scholar?q=Samsung+Freestyle+projector+keystone+adjustment - Google Scholar Google Scholar
https://scholar.google.com/scholar?q=Samsung+Freestyle+autofocus+calibration - Google Scholar Google Scholar
https://scholar.google.com/scholar?q=projector+keystone+correction+geometric+adjustment - Keystone effect
https://en.wikipedia.org/wiki/Keystone_correction - https://en.wikipedia.org/wiki/Trapezoidal_distortion
- https://en.wikipedia.org/wiki/Throw_ratio
- https://en.wikipedia.org/wiki/Focus_(optics
- Video projector
https://en.wikipedia.org/wiki/Video_projector - Autofocus
https://en.wikipedia.org/wiki/Autofocus - https://en.wikipedia.org/wiki/Projection_(visual
