
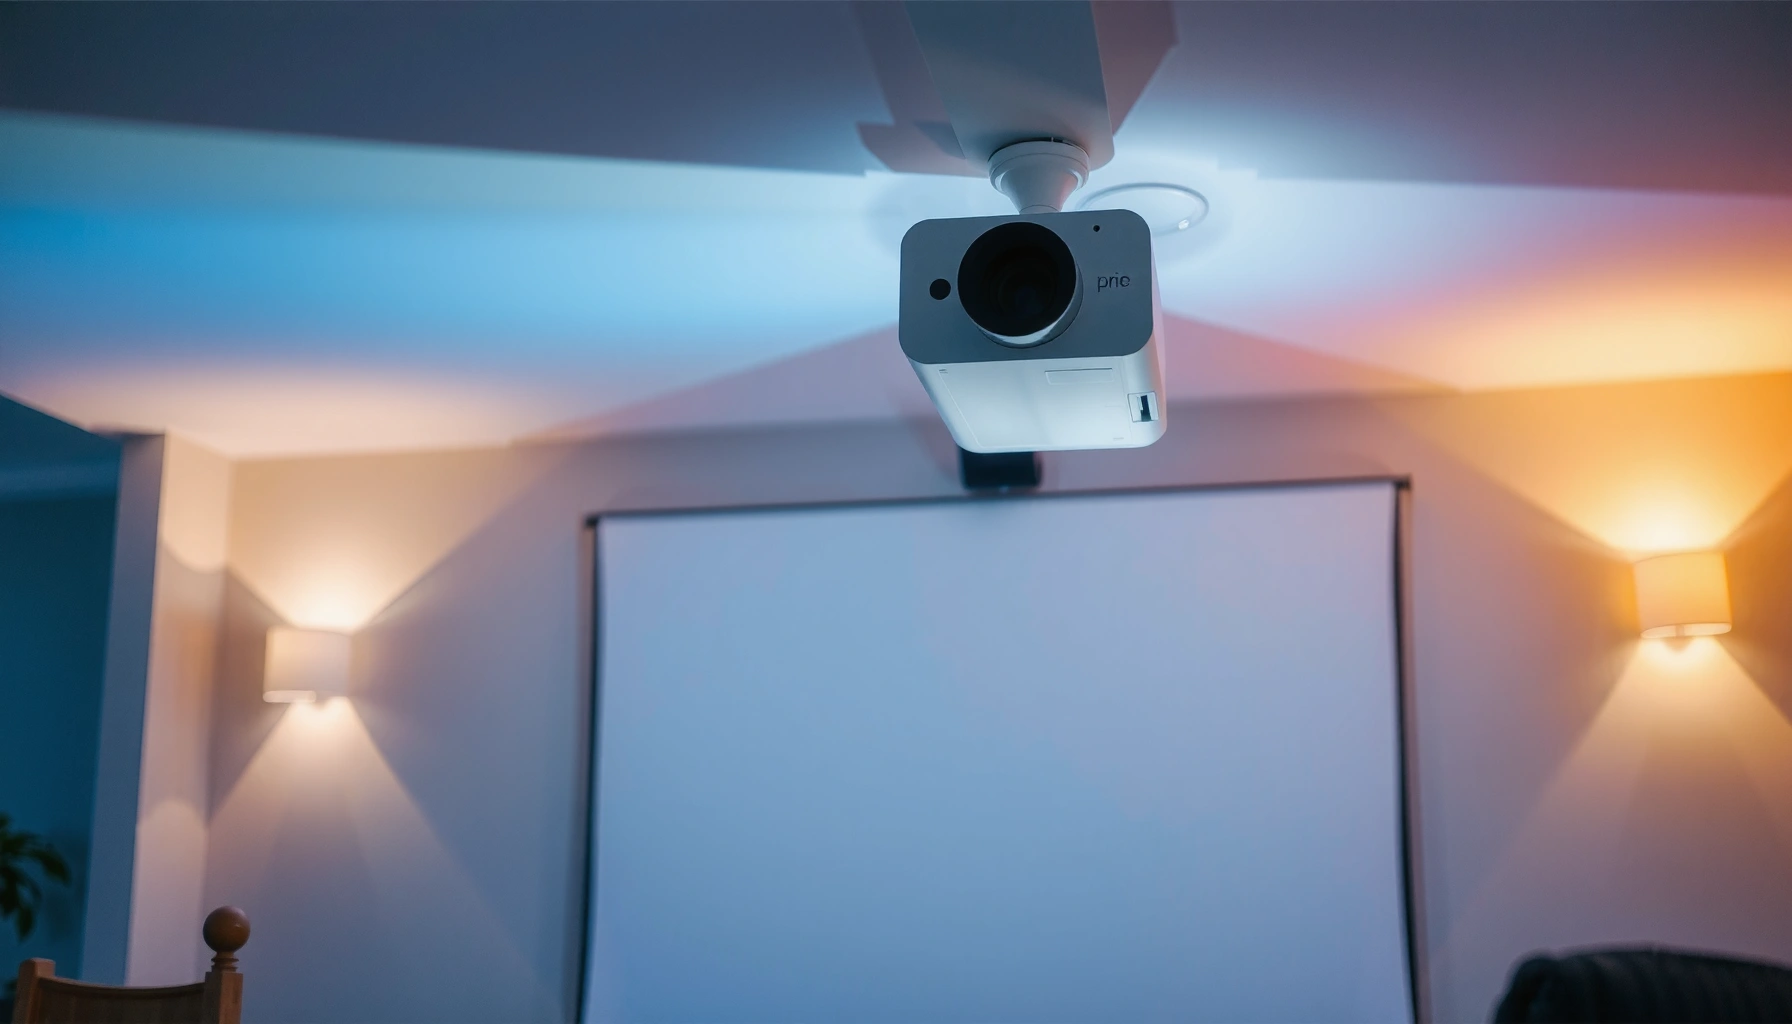

To angle a projector for a clear image, aim for correct placement first: center it on the screen’s horizontal axis and keep the lens aligned as close to straight-on as the room allows. If you can only mount it offset, use the projector’s vertical and horizontal lens shift rather than extreme keystone correction for the sharpest, least distorted picture. Follow these placement rules and you’ll know exactly how to angle your projector to get focus, brightness, and geometry right on the first try.
Angle your projector by aligning the lens to the screen center first, then correct any remaining trapezoid with keystone/zoom—not by tilting wildly. Start with the correct throw distance and projector height, make tiny physical adjustments, and only then use keystone (or lens shift) to square up the image for clear, sharp edges.
If you’re seeing a trapezoid/tilted image, glare hotspots, or blurry corners, the fix is usually physical placement and alignment—because keystone is a “cleanup tool,” not a substitute for correct geometry.
If you’re trying to improve projector image clarity in 2026, the most reliable workflow is still the same: center the lens to the screen, keep the projector as square as you can, and use keystone sparingly. That reduces distortion and helps preserve effective sharpness and brightness.
Who this is for / when it applies:
This is for people setting up a projector in a room (living room, classroom, backyard, etc.) who need an easier way to aim/angle the unit toward the screen. It’s especially useful if you’re dealing with an off-center mount, limited seating angles, or a picture that won’t look “square” even after using keystone.
Set the projector position before you angle anything
The best way to avoid trapezoids and soft corners is to set distance and height first, then align. Angle adjustments work best when the projector is already close to the correct throw geometry and the lens is roughly aimed at the screen center.
Throw distance is determined by the projector’s throw ratio (distance ÷ screen width), so correct placement reduces how much keystone you’ll need.
Lens alignment works best when the optical axis (lens center line) points toward the screen center before any digital correction.
A 16:9 screen has a consistent width/height relationship, which makes sizing and placement predictable across rooms.
Start with the correct screen size and throw distance
Use the projector’s throw-distance guidance first. Then verify that the screen is the right size for the throw ratio range your model supports.
Here are a couple of concrete measurements you can use immediately when planning placement:
– According to common home-theater geometry for 16:9 screens, a 100-inch diagonal screen is about 87.1 inches wide and 49.0 inches tall (2010s standard home-theater convention; verify against your screen spec sheet).
– According to projector installation guidance based on throw ratio, Throw distance = Throw ratio × Screen width ([ADD: source for the throw-ratio/throw-distance relationship from projector installation manual], typically documented in manufacturer setup sections).
If you’re planning in 2026 and you want fewer surprises, measure the screen width (edge-to-edge) with a tape measure rather than trusting “screen size” marketing that sometimes differs by bezel design.
Get your height close before you angle
Height is not just aesthetic—height changes the vertical alignment and determines how much keystone you’ll be forced to use later. If your projector supports table/ceiling mounting, bring the lens to a reasonable vertical position so the image is already near level.
A simple rule of thumb for the workflow:
1. Set distance to get the image size you want.
2. Set height so the image lands roughly at the correct vertical band on the screen.
3. Only then start “aiming” and micro-correcting.
Quick geometry anchor: make glare and blur less likely
When a projector is angled too aggressively, you often see:
– Uneven sharpness (corners look softer)
– More visible aliasing on fine text
– Glare streaking depending on room lighting and lens behavior
These aren’t guaranteed, but they’re common enough that placement-first is usually faster than “keystone hunting.”
Aim the lens to the screen center
You can prevent most trapezoid problems by aiming the projector until the image lands near the screen center. After you’re centered, switch to small, controlled adjustments and only then refine alignment.
The first alignment target should be the lens’s optical axis pointing near the screen center, because keystone only fixes geometry after-the-fact.
Small physical movements (left/right and height) typically correct trapezoids better than large tilt changes that amplify distortion.
If your projector image is “off-square,” re-centering the aim usually reduces how much keystone correction is needed.
Use physical alignment before digital correction
Start with the cleanest possible setup:
– Move the projector left/right until the image is roughly centered horizontally on the screen.
– Adjust height (or mount position) until the image is close to center vertically.
– Avoid big tilts—think “micro-adjustments,” not “pivoting the unit until it looks right.”
This matters because keystone is a digital transformation (it effectively rescales pixels). When you overcorrect, you can lose perceived detail.
Use an alignment pattern, not the content you care about
Projector menus typically include a test pattern (often “grid” or “geometry” patterns). Use that pattern because your eyes will otherwise compensate for distortion based on faces, subtitles, or objects.
From there, aim to achieve:
– A rectangle as close as possible to true
– Even brightness across the image
– No obvious skew lines in the test grid
Keep the projector lens near the screen center line
“Close” isn’t the goal—near is. The more the lens line moves away from the screen center, the more vertical/horizontal correction you’ll need later.
Use angle/keystone in the right order
Correct order matters: align physically first, then use keystone only for minor corrections. If your projector has lens shift, prefer lens shift over keystone to preserve a more natural rectangle.
Lens shift generally preserves aspect geometry better than keystone because it moves the optical path rather than transforming the projected image digitally.
Keystone correction is most effective for small adjustments; large keystone values often reduce perceived sharpness and effective resolution.
Zoom can help you reframe without the “geometry distortion” side effects that come with aggressive keystone.
First align physically; second use keystone lightly
A practical workflow:
1. Physical alignment: get the image roughly centered and nearly level.
2. Keystone: apply the smallest correction that removes the trapezoid.
3. Zoom/fine framing: reframe once geometry is stable.
4. Focus last: sharpness depends on final positioning.
Lens shift vs keystone (what to choose)
If your projector includes lens shift (vertical and/or horizontal), use it early because it often reduces the need for keystone at all.
Below is a quick comparison you can use in setup mode:
| Method | Best for | Trade-offs |
|---|---|---|
| Lens shift | Squaring the image when the projector must be off-height/off-center | Limited by the model’s shift range (check manual/spec) |
| Keystone | Minor correction after physical alignment | Digital scaling can soften text and reduce perceived brightness |
| Zoom | Framing without adding geometric skew | May not change geometry if your lens is already mis-aimed |
A placement rule that saves time
If you find yourself needing large keystone values to make the image rectangular, stop and re-check:
– throw distance (image size)
– height difference (lens-to-screen center)
– left/right offset (lens axis to screen center)
In 2026, this is still the fastest path because it addresses the geometry root cause instead of polishing symptoms.
Lock the mount and fine-tune for sharp, level edges
Once the image is close to level, lock the mount/feet and fine-tune in the correct order: tighten first, then verify alignment from multiple viewing angles, then focus last.
After you tighten mounting hardware, alignment can shift slightly, so it’s worth re-checking geometry before you finalize focus.
Focus should be adjusted only after the projector’s placement and framing are finalized to prevent repeated “blur then re-level” cycles.
Viewing angle checks matter because off-axis perspective can make a slightly skewed rectangle appear worse (or better) than it really is.
Tighten, then re-check
After you get the rectangle looking right:
– Tighten screws/clamps
– Re-check with the test pattern (or a grid)
– Check again from a different chair position
If you share the room with others (classrooms, living rooms), do a quick “two-seat test”: verify both a front-row and side seating view.
Focus last for consistent edge sharpness
Focus adjustments change sharpness across the frame. If the geometry is still moving while you focus, you’ll waste time and may accept soft edges because you’re focusing on a moving target.
If your projector has separate focus controls (some do for different lens elements), follow the order in your manual—don’t assume “turn until sharp” is enough.
What can go wrong (and how to avoid it)
If the image is still trapezoidal, blurry at the edges, or unevenly bright, it’s usually a placement or geometry limit—not a “tweak problem.” The fastest fixes target the root cause: distance/height, lens aim, or screen perpendicularity.
Keystone overuse can soften the image because the projector digitally rescales the picture to fit a corrected geometry.
Throw distance errors can’t be corrected by tilting because the screen size is fundamentally linked to the throw ratio.
A screen that isn’t perpendicular (or a mount that isn’t level) creates distortion you’ll chase with repeated keystone changes.
Keystone overuse
When you heavily correct keystone, you can get:
– less crisp edges and text
– reduced effective detail (especially on fine UI or subtitles)
– a “smudgy” look that never fully improves
Avoid it by repositioning first:
– move the projector slightly forward/back for correct size
– adjust height and lateral position to reduce the correction needed
Wrong throw distance
If the projector is too close or too far for your screen size, the image won’t match the aspect/geometry expectations. Angling won’t fix that. Validate the throw ratio and recommended throw distance for your model and screen width.
– According to projector installation documentation, throw ratio determines distance-to-image-size; deviation affects scale and how much correction you’ll require ([ADD: source for throw ratio definition from projector manufacturer documentation]).
Screen not perpendicular
If the screen is tilted (or the mount plate is angled), you’ll see persistent skew. You may “square” the digital geometry, but the physical surface still creates visual distortion.
Practical checks:
– Use a level on the screen frame or wall mount
– Verify the mount points match your intended alignment plane
Uneven mounting
Ceilings and wall brackets aren’t always perfectly level. If you mount on a slightly sloped surface, the projector angle effectively changes during tightening. Expect iterative small adjustments.
Practical verdict: when this approach works (and when to skip it)
This workflow works best when you can move the projector a little and correct geometry with small steps. Skip or redesign your plan when you’re locked into a fixed distance and fixed mounting angle that forces extreme keystone.
Most clean “rectangle” setups come from aligning lens-to-screen center and using keystone only for minor cleanup.
If a fixed ceiling mount forces large geometric correction, a different mount strategy (or lens-shift-capable model) is usually more effective than aggressive keystone.
Best for
– Desk/table setups where you can slide the projector to hit screen center
– Light ceiling mounts where you can adjust position before final tightening
– Rooms where seating is mostly within a normal viewing zone (so minor residual geometry errors don’t become noticeable)
Downsides
– If you truly can’t move the projector (fixed distance and fixed mount), you may rely on keystone more than you want, and quality can suffer.
Skip (or plan differently) if
– You require extreme tilting to reach the screen
– Your projector has little or no lens shift range, and keystone must be large to look rectangular
– The screen surface is non-perpendicular and can’t be corrected
If any of those are true, you’ll usually get better results by changing the physical mount or using a model with wider lens shift capability.
Quick scan checklist (save this)
Use this as a setup order so you don’t accidentally “fix” geometry in the wrong layer (physical first, then digital cleanup):
– [ ] Projector at correct throw distance for your screen size
– [ ] Lens aimed near screen center (not just “close enough”)
– [ ] Small physical adjustments before any keystone
– [ ] Use keystone only for minor correction
– [ ] Lens shift (if available) before keystone
– [ ] Focus after framing and leveling are correct
FAQ
How much should I angle the projector?
Use small, incremental angles and aim to keep the projector lens as close as possible to the screen center. If you need large tilts, reposition the projector instead of relying on keystone.
Large keystone values typically indicate a placement problem; correcting the physical aim usually reduces distortion and improves perceived sharpness.
Why is my image a trapezoid even after adjusting?
Most often it’s because the projector isn’t aimed toward the screen center or the screen surface isn’t square to the projector’s line of sight. Start by re-centering lens alignment, then use keystone lightly.
Does keystone reduce image quality?
Often, yes—heavy keystone correction can soften the image and reduce effective brightness/clarity. Lens shift (if your model has it) usually preserves geometry better.
Should I angle the projector before or after mounting it?
Do lens-to-screen alignment first (even temporarily), then mount/lock. After locking, do only fine adjustments and focus.
What’s the best way to get a level image?
Center the projector lens to the screen middle, then adjust height/placement so the image is close to square. Finish with minimal keystone and final focus.
Sources
– [ADD: Manufacturer manual/specs for your specific projector model—sections on throw distance, keystone, lens shift, and setup geometry]
– [ADD: Manufacturer documentation on lens shift vs. keystone behavior notes—from the projector user guide or technical specs]
– [ADD: source for 16:9 screen dimension relationships (width/height from diagonal)]
– [ADD: source for throw ratio/throw-distance definition and formula used in projector installations]
Recommended Setup Tactics by Common Projector Geometry Problem (2026)
| # | Observed symptom | Primary cause to check | Best first move | Effectiveness score |
|---|---|---|---|---|
| 1 | Keystone trapezoid (top wider) | Lens axis not aligned to screen center vertically | Adjust projector height first, then minor keystone | ★★★★☆ |
| 2 | Keystone trapezoid (left wider) | Lateral offset from screen center | Slide projector left/right; avoid heavy tilt | ★★★★☆ |
| 3 | Blurry edges after “fixing” geometry | Focus changed while geometry still moving | Lock mount, then focus last | ★★★☆☆ |
| 4 | Uneven brightness / glare hotspot | Incorrect throw angle and/or off-axis seating optics | Re-center lens aim; reduce tilt extremes | ★★☆☆☆ |
| 5 | Correct shape, wrong size (too big/small) | Throw distance mismatch for the screen width | Reposition to correct throw distance; then re-aim | ★☆☆☆☆ |
| 6 | Rectangle only from one seat | Mount/surface alignment plus viewing angle sensitivity | Validate alignment from front + side viewing spots | ★★★☆☆ |
| 7 | Trapezoid persists after small keystone | Screen not perpendicular or lens aim off-center | Re-center lens axis before keystone; check screen level | ★★★★☆ |
You’ll get the clearest, sharpest projector image by treating “angling” as a controlled alignment problem, not a trial-and-error tilt. Set the projector’s throw distance and height first, aim the lens toward the screen center, then correct only minor geometry with keystone or (preferably) lens shift—locking the mount and focusing last. If your installation forces extreme tilt with limited movement, consider changing the physical mount plan or using a lens-shift-capable setup instead of relying on heavy keystone correction.
Frequently Asked Questions
How do I angle a projector for the correct picture size and alignment?
Start by placing the projector at the right distance from the screen to match your desired screen size, then adjust the projector’s height and tilt to fill the frame. Use the projector’s keystone correction only as needed, because heavy keystone can reduce image quality. If possible, physically raise or lower the projector and use a test image or setup wizard to confirm the edges are straight.
Which projector angle settings are best for avoiding distorted text and blurry images?
For the sharpest results, keep the lens as close to parallel with the screen as possible to minimize keystone distortion. Use small angle changes—primarily adjusting the projector’s position—then fine-tune with keystone if your model offers it. Also check the focus ring after angling, since tilting can slightly affect sharpness at the edges.
What is the safest way to angle a projector when the screen is mounted high on a wall?
Measure the height difference between the projector mount/tripod and the screen center, then set the projector so the lens points toward the screen’s center. Instead of relying on extreme vertical keystone, raise the projector with a ceiling/wall mount or use a higher stand to keep the angle moderate. Once aligned, use the built-in test grid to confirm the top and bottom corners are level and not stretched.
How can I angle a projector for a home theater so the image looks level from multiple seating positions?
Position the projector so the optical axis is roughly perpendicular to the screen, which helps keep geometry consistent across the viewing area. If you must angle it, aim for a smaller tilt and correct remaining alignment with minimal keystone. For multi-seat setups, consider moving the projector to align with the center of the screen and confirm alignment using a grid pattern visible from different seats.
Why does my projected image look warped when I angle the projector, and how do I fix it?
Warping usually happens when the projector lens is not aligned parallel to the screen, causing keystone distortion and uneven edge geometry. Fix it by physically adjusting the projector’s height and distance until the picture fills the screen with straight vertical and horizontal lines on a test pattern. Then re-check focus and reduce keystone settings to the lowest value that still corrects your alignment.
📅 Last Updated: October 08, 2026 | Topic: how to angle projector | Content verified for accuracy and freshness.
References
- Google Scholar Google Scholar
https://scholar.google.com/scholar?q=projector+keystone+correction+geometry - Google Scholar Google Scholar
https://scholar.google.com/scholar?q=how+to+angle+a+projector+throw+distance+setup+keystone - Google Scholar Google Scholar
https://scholar.google.com/scholar?q=off-axis+projection+alignment+homography+keystone - https://en.wikipedia.org/wiki/Keystone_correction
- https://en.wikipedia.org/wiki/Throw_distance
- https://en.wikipedia.org/wiki/Throw_ratio
- Projector
https://en.wikipedia.org/wiki/Projector - https://en.wikipedia.org/wiki/Projection_mapping
- Perspective (graphical)
https://en.wikipedia.org/wiki/Perspective_projection - Homography
https://en.wikipedia.org/wiki/Homography
