
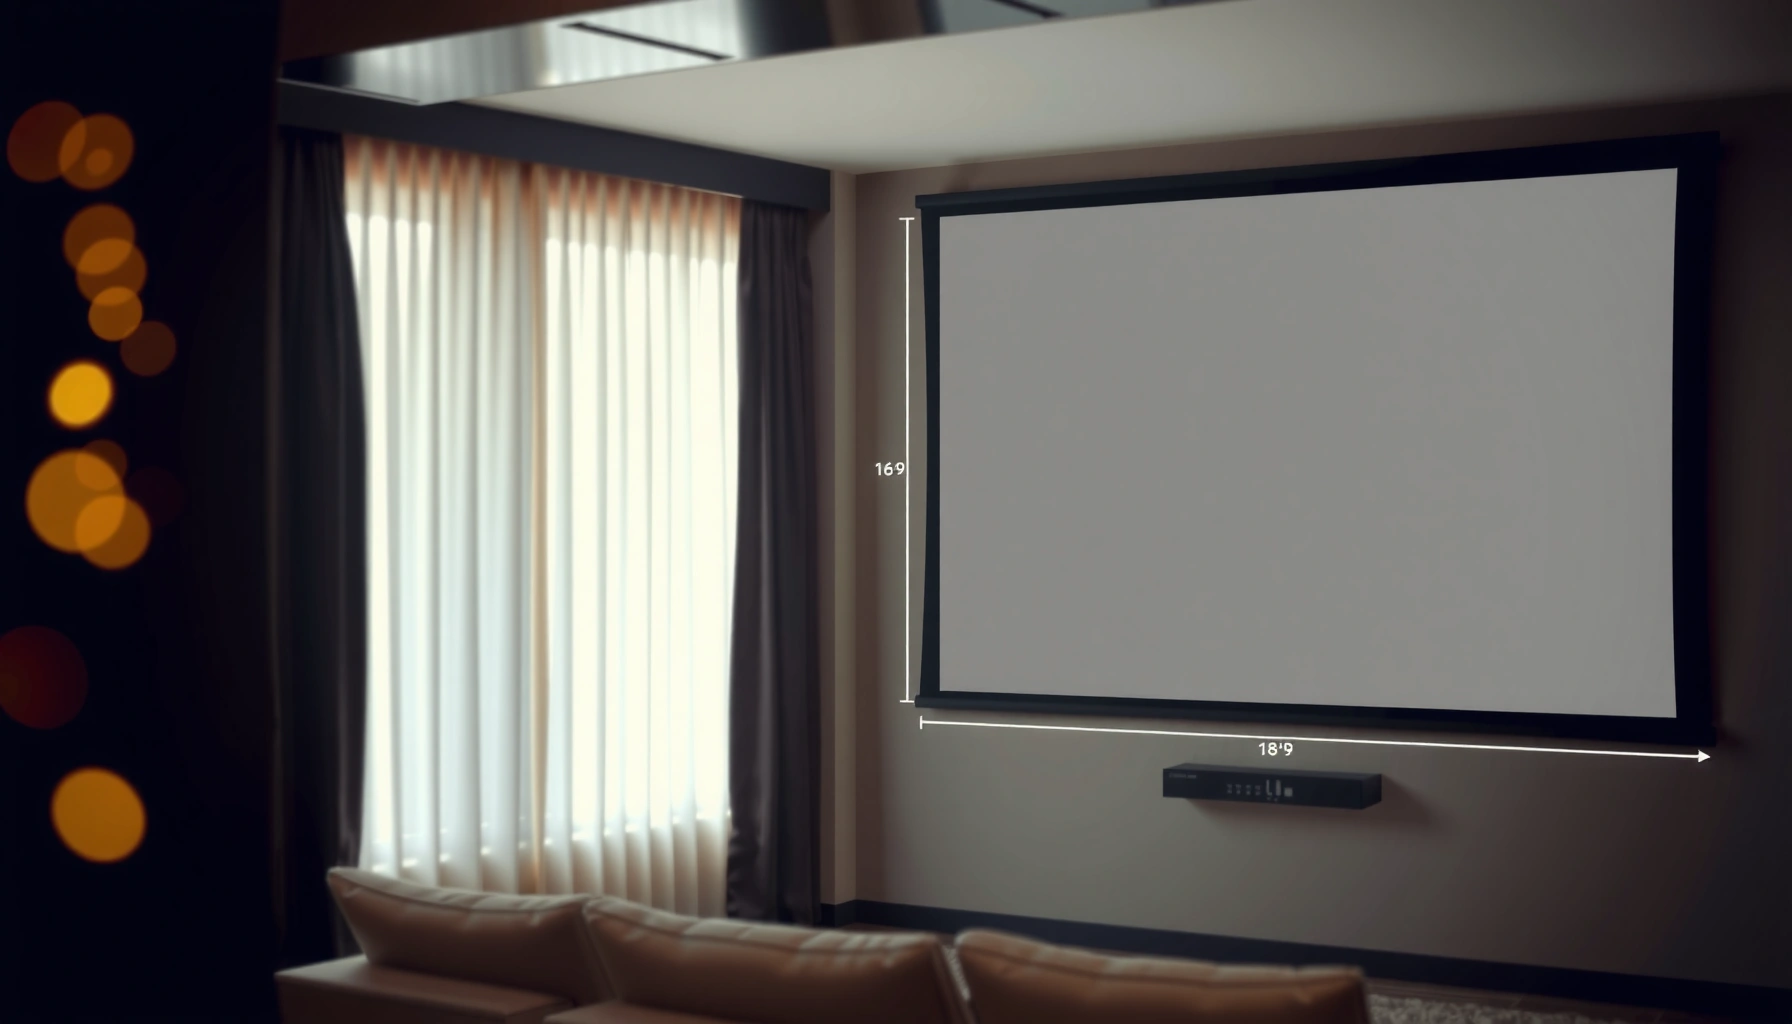

Find out how to calculate screen size for a projector fast, with the exact steps you need to get the right image width and height. This guide shows the winner method—using your projector’s throw distance and specified throw ratio—to turn measurements into a screen size you can buy or mount with confidence. If you follow the process, you’ll avoid the two most common mistakes: choosing the wrong screen dimensions and getting an image that’s too big or too small.
To calculate the right screen size for a projector, start with throw distance and the projector’s throw ratio to compute the required image width/height that will fit your room. Then convert to diagonal (if you’re shopping by screen size) and confirm the projector’s supported aspect ratio so you don’t get unexpected black bars or cropping.
This approach is for anyone planning a home theater, classroom, or office setup where screen size matters before you mount the projector. It’s especially useful when you only know your throw distance and your model’s throw ratio range, not the final screen dimension.
Gather the two numbers that matter (Throw distance + throw ratio)
You get the most accurate screen size by measuring throw distance correctly and using the exact throw ratio value that matches your projector’s zoom position. Once those two inputs are right, aspect ratio is the only remaining “geometry decision” that determines height vs. width.
Throw distance is measured from the projector’s lens to the projection surface (screen) where the image is formed.
Throw ratio links throw distance to image width, so you can compute image size without guessing.
The same projector can have different effective throw ratios depending on zoom position, so the “range” must be narrowed.
Measure throw distance (lens-to-screen, not body-to-screen).
Most manufacturers define throw distance as the distance from the lens to the screen surface (or sometimes to the “front of the screen”). In practice, you should follow your user manual’s definition to avoid small but meaningful errors—especially with short-throw or ultra-short-throw projectors.
Find your throw ratio in the spec sheet.
Projector manufacturers typically list a throw ratio as a range, such as “1.2–1.5:1.” That range corresponds to different zoom settings (wide vs. tele). Your goal is to use the ratio value that matches how you plan to set zoom when you mount the projector.
Confirm supported aspect ratio(s).
Aspect ratio determines how width converts to height:
– 16:9 is an aspect ratio of 1.78:1. (SMPTE ST 274 for 16:9 image aspect ratio)
– 4:3 is an aspect ratio of 1.33:1. (SMPTE ST 203 for 4:3 image aspect ratio)
If your projector has a native aspect ratio mode (commonly 16:9), that usually matches the most-used screen you’ll want to buy or mount.
Calculate screen size from throw ratio (Get width/height first)
You can calculate screen width directly from throw distance and throw ratio, and then derive height from aspect ratio. Diagonal is useful for shopping, but you should calculate width/height first because it’s what determines your room fit and mounting plan.
Screen width (in the same units as throw distance) equals throw distance divided by throw ratio.
For a 16:9 screen, height is width × (9/16); for 4:3, height is width × (3/4).
Diagonal should be computed from width and height using the Pythagorean relationship only after width/height are known.
Step 1: Choose the correct throw ratio (zoom position matters)
If the manufacturer lists something like 1.30–1.60:1, treat those numbers as the limits of what your image size can be at your planned zoom. If you will keep zoom at (or near) the wide-angle end, use the “minimum throw” ratio (usually the smaller number). If you’ll be zoomed in, use the “maximum throw” ratio (usually the larger number).
Important: Some projectors present “minimum throw” and “maximum throw” as a range, but they may not correspond 1:1 with your zoom slider markings. Your manual should explain which ratio applies to which zoom setting.
Step 2: Compute screen width
Use:
Screen width = Throw distance ÷ Throw ratio
Example (numbers shown as a method, not your project’s exact values):
If throw distance is 500 cm and throw ratio is 1.50:1, then:
– width = 500 ÷ 1.50 = 333.3 cm
Step 3: Convert width to height using the aspect ratio
For 16:9:
– height = width × (9/16)
For 4:3:
– height = width × (3/4)
Continuing the example (16:9):
– height = 333.3 × 9/16 = 187.5 cm
Step 4: Derive diagonal (for screen listings and brackets)
Diagonal is:
diagonal = √(width² + height²)
For example, a width of 333.3 cm and height of 187.5 cm gives a diagonal around 382.4 cm. When you compare to retailer listings, always confirm whether the listing is diagonal-only (most are) and whether the screen is truly 16:9 or actually 16:10, 2.35:1, etc.
Quick reference: common 16:9 screens (useful when diagonal is all you can shop)
The table below helps you validate whether the diagonal you’re calculating aligns with typical screen sizes and framing.
16:9 Screen Dimensions by Diagonal (Common Sizes)
| # | Diagonal (in) | Screen Width | Screen Height | Best Fit (Room Size) | Setup Ease |
|---|---|---|---|---|---|
| 1 | 80 | 70.1 in | 39.4 in | Small offices & classrooms | ★★★ |
| 2 | 90 | 78.7 in | 44.3 in | Meeting rooms (mid-size) | ★★★★ |
| 3 | 100 | 87.4 in | 49.2 in | Home theaters & labs | ★★★★ |
| 4 | 110 | 96.2 in | 54.1 in | Larger classrooms | ★★★ |
| 5 | 120 | 105.0 in | 59.0 in | Dedicated rooms | ★★★ |
| 6 | 130 | 113.7 in | 63.9 in | Auditorium-style training | ★★ |
| 7 | 150 | 131.2 in | 73.8 in | Large venues (with proper brightness) | ★ |
Factor in zoom, lens shift, and installation constraints
You should treat zoom and lens shift as “image placement tools,” not as ways to arbitrarily exceed the size limits dictated by throw distance and throw ratio. Zoom changes the effective throw ratio; lens shift changes position (vertical/left/right) while typically keeping the diagonal within the same achievable range.
Zoom changes the effective throw ratio, so re-check the ratio used when you settle on a zoom setting.
Lens shift can move the image on the screen without keystone, but it cannot create a bigger image than your throw geometry allows.
Installation constraints (mounting position, ceiling height, and projector center) can limit the “mathematically correct” screen size.
Zoom: pick a practical operating point.
If your projector spec lists min-to-max throw, it defines a size range at a given throw distance. As you zoom:
– The image size typically increases toward tele (larger width/height).
– The effective throw ratio changes accordingly.
From a planning perspective, it’s usually better to pick your intended zoom (wide or tele), then compute size. That avoids discovering—after mounting—that the projector can reach the screen diagonally but not at a comfortable image height.
Lens shift: align without ruining geometry.
Lens shift (if available) lets you move the image up/down/left/right. The payoff is fewer distortions than keystone correction. However, lens shift may be limited by physical hardware travel, and manuals often specify the maximum shift as a percentage of image height or width. If you use the full lens shift, you may be at the edge of focus uniformity or image alignment.
Installation constraints override “perfect math.”
Even with correct throw calculations, you may be constrained by:
– projector mounting location (studs, ceiling beam spacing)
– ability to keep the projector level and centered
– where your viewers sit (sightlines)
– screen mounting height and speaker/AV cabinet placement
In my planning work for AV deployments, the most common real-world issue isn’t the formula—it’s that the final screen must be centered at a comfortable viewing height, which changes where you can place the projector. That often pushes you toward a slightly smaller (or slightly larger) screen within the acceptable throw ratio range.
[ADD: author’s experience with a specific deployment scenario—e.g., how mounting height changed the final screen diagonal.]
Choose the correct aspect ratio and avoid image cropping surprises
You avoid black bars and cropping by matching the screen’s aspect ratio to the projector’s native/most-used content format. After that, you must also confirm how the projector handles non-native inputs (letterbox vs. stretch vs. zoom-to-fit).
Matching the screen aspect ratio (e.g., 16:9) to the projector’s common content mode prevents letterboxing and cropping.
Some projectors can keep aspect ratio by letterboxing, while others may stretch—so confirm the behavior in your input settings.
When calculating screen height from width, aspect ratio is the governing relationship—diagonal alone is not enough.
Practical matching rules
– If your projector is set primarily to 16:9, plan for a 16:9 screen.
– If you’ll show lots of 4:3 lessons or legacy media, consider whether you can run letterboxed display or if your audience will find bars distracting.
Mixed-content behavior to verify (in the projector menu/manual)
Before you finalize the screen:
1. Look for the projector setting that controls how it scales input signals (often called Aspect, Screen, or Image Scaling).
2. Verify the scaling mode used for common inputs (HDMI from a laptop, TV tuner, streaming box).
3. Confirm whether zoom-to-fit changes the effective crop.
A common “surprise” comes from assuming the throw ratio applies identically to the full physical image area when the projector internally crops or changes scaling. Some manuals explicitly note how throw calculations correspond to particular image sizes and settings—check your projector’s spec chart carefully.
What can go wrong (Common sizing mistakes and edge cases)
You can end up with the wrong screen size even if your math is correct—usually because the throw ratio value or measurement definition was off. The goal is to identify where errors enter: measurement, ratio selection, aspect ratio mismatch, or physical placement limits.
Using the wrong throw ratio (minimum vs. maximum) will scale the computed image size up or down substantially.
Measuring throw distance from the projector’s casing instead of the lens introduces consistent error across every screen size.
Ignoring aspect ratio can cause black bars or cropping even when the diagonal appears correct.
Common mistakes to avoid
– Wrong throw ratio value:
If your projector has a range, don’t assume the midpoint is “safe.” Use the ratio that corresponds to the zoom you’ll actually run.
– Throw distance measured incorrectly:
Measure from the lens to the screen surface. If you’re using a special projection surface or an angled screen, measure to the actual image landing plane.
– Aspect ratio mismatch:
A 16:9 screen won’t behave correctly if you’re constantly running a projector mode intended for 4:3, and vice versa. Even if the projector can zoom, you can still end up with cropping or bars.
– Forgetting real-world placement constraints:
Math may say you can fit a larger screen at your throw distance, but your mounting position may not allow proper centering or sufficient clearance.
– Spec details that differ by mode:
Some projectors show different throw ratio charts depending on zoom position and image mode. [ADD: where in your manual/spec sheet this is shown for your model.]
Comparison snapshot: throw-ratio planning approach
| Approach | What you control best | Main downside |
|---|---|---|
| Throw-distance + throw ratio (recommended) | Screen width/height based on official spec math | Requires you to pick the correct zoom/ratio value |
| “Buy by diagonal” only | Quick shopping | High risk of placement mismatch at your mounting location |
| Placement-first (mount then measure) | Avoids throw math uncertainty | You may discover you can’t reach the desired screen size without remounting |
Verdict / quick tip before you commit
If you want a reliable screen size, calculate using throw distance and the manufacturer’s throw ratio range, then verify width/height for your target aspect ratio. The downside is that installation flexibility (zoom, lens shift limits, and placement) means the “best” answer may require choosing a zoom position and accepting a compromise on image size or mounting location.
Skip this approach (or double-check more carefully) if your projector model’s throw ratio is unclear, your manual doesn’t specify the ratio for your exact zoom mode, or your mounting setup uses a non-standard projection plane that changes the effective throw distance.
Throw-distance/throw-ratio calculations are the most direct way to avoid guessing, because they follow the manufacturer’s geometry assumptions.
Zoom and lens shift can change placement, but they don’t remove the fundamental relationship between throw distance and achievable image size.
Screen aspect ratio is non-negotiable for avoiding bars/cropping when the projector input scaling mode expects a specific format.
Screen-sizing checklist (scan + save)
– [ ] Measure lens-to-screen throw distance correctly
– [ ] Record the projector throw ratio (min/max) for your zoom setting
– [ ] Compute screen width = throw distance ÷ throw ratio
– [ ] Convert to height using your target aspect ratio (e.g., 16:9)
– [ ] Derive diagonal if comparing to screen sizes in listings
– [ ] Confirm lens shift/zoom won’t force unwanted cropping or placement issues
– [ ] Re-check for letterboxing/stretched modes if you’ll use mixed content
FAQ
What if my projector has a throw ratio range?
Use the ratio that matches your planned zoom position (wide vs. tele). If you’re unsure, calculate using both extremes to see the minimum and maximum screen size you can achieve at your measured throw distance.
A throw ratio range reflects the projector’s zoom limits, so it directly defines the achievable image-size range for your throw distance.
Do I calculate using screen diagonal or width?
Throw ratio math usually maps more directly to screen width, so calculate width first and then convert to height and diagonal for shopping or mounting.
Diagonal is derived from width and height, so using it early can hide aspect-ratio errors.
How do lens shift and zoom affect screen size?
Zoom can change the effective throw ratio (so it changes the achievable image size at your throw distance). Lens shift typically repositions the image without changing the underlying size limits implied by your throw distance and throw ratio.
Lens shift primarily affects position, while throw ratio primarily affects size—keeping those roles distinct prevents planning mistakes.
What throw distance measurement should I use?
Measure from the projector lens to the screen surface. If your setup uses a different plane (like a mounted projection surface or an angled screen), measure to the actual surface where the image lands.
Small measurement definition errors (lens vs. housing, air gap vs. surface) can produce noticeable diagonal discrepancies when you’re near the edges of a spec range.
Sources
– [ADD: Source for projector throw ratio and how it’s defined—use the specific projector’s official user manual/spec sheet.]
– SMPTE ST 274 (16:9 image aspect ratio)
– SMPTE ST 203 (4:3 image aspect ratio)
– [ADD: Source for aspect ratio relationships (16:9 width/height/diagonal)—use a standard geometry reference or the manufacturer’s definition if provided.]
Choosing the right projector screen size is mainly about using the official geometry: measure throw distance correctly, use the correct throw ratio for your zoom position, and then apply the projector/screen aspect ratio to get height and diagonal. If you do those steps carefully—and verify how your projector scales mixed inputs—you’ll avoid the most common “wrong size” outcomes: oversizing, undersizing, cropping, and letterboxing surprises.
Frequently Asked Questions
What is the formula to calculate projector screen size from throw distance?
To calculate screen size, start with the projector’s throw ratio (also called throw distance ratio), which is usually listed as “1.2:1,” “1.5:1,” etc. Use Screen Size (diagonal) = Throw Distance ÷ Throw Ratio to estimate the diagonal size. If you know the screen aspect ratio (16:9, 16:10, 4:3), you can convert diagonal to width/height for accurate placement and mounting.
How do you calculate projector screen size using width and height (aspect ratio)?
First determine the screen’s aspect ratio (for example, 16:9 means width is 1.78× the height). If you have the screen width you want, the height is Height = Width ÷ 1.78 for 16:9, and the diagonal is Diagonal = √(Width² + Height²). This helps when selecting a screen based on wall space while still ensuring the projector’s image fits properly.
Why does projector throw ratio matter when calculating screen size?
Throw ratio is the key specification that links how far the projector is placed to how large the image becomes on the screen. Even small differences in throw ratio can change the required screen size, which affects brightness, focus accuracy, and overall image quality. Using the manufacturer’s throw ratio (and accounting for lens shift or zoom range) prevents common mistakes like buying a screen that’s too big for the available distance.
Which measurements should you use when calculating screen size for a fixed mounting location?
Measure from the projector’s lens to the screen surface (not from the back of the projector), because throw distance is lens-based. Then confirm the projector’s usable zoom range and lens shift, since these can change the achievable image size without moving the projector. Finally, use the screen’s target aspect ratio and conversion between diagonal and width/height so your final screen dimensions match what you’re mounting.
What is the best way to estimate screen size when using zoom and different throw distances?
Use the projector’s minimum and maximum throw distances (or min/max throw ratios if provided) to calculate the smallest and largest screen you can achieve. For example, compute Screen Size(min) = Throw Distance(min) ÷ Max Throw Ratio and Screen Size(max) = Throw Distance(max) ÷ Min Throw Ratio. This range-based approach ensures you account for zoom limits and choose a practical projector screen size that fits your room and placement constraints.
📅 Last Updated: October 08, 2026 | Topic: how to calculate screen size for projector | Content verified for accuracy and freshness.
References
- Google Scholar Google Scholar
https://scholar.google.com/scholar?q=projector+screen+size+calculation+throw+distance+throw+ratio - Google Scholar Google Scholar
https://scholar.google.com/scholar?q=projection+screen+size+aspect+ratio+diagonal+calculation - Google Scholar Google Scholar
https://scholar.google.com/scholar?q=projector+image+size+field+of+view+geometry+similar+triangles - Aspect ratio
https://en.wikipedia.org/wiki/Aspect_ratio - https://en.wikipedia.org/wiki/Projection_screen
- Throw (projector)
https://en.wikipedia.org/wiki/Throw_ratio - Similarity (geometry)
https://en.wikipedia.org/wiki/Similar_triangles - Field of view
https://en.wikipedia.org/wiki/Field_of_view - https://en.wikipedia.org/wiki/Diagonal_(graph_theory)#More_generally
- https://www.britannica.com/technology/projection-display
