
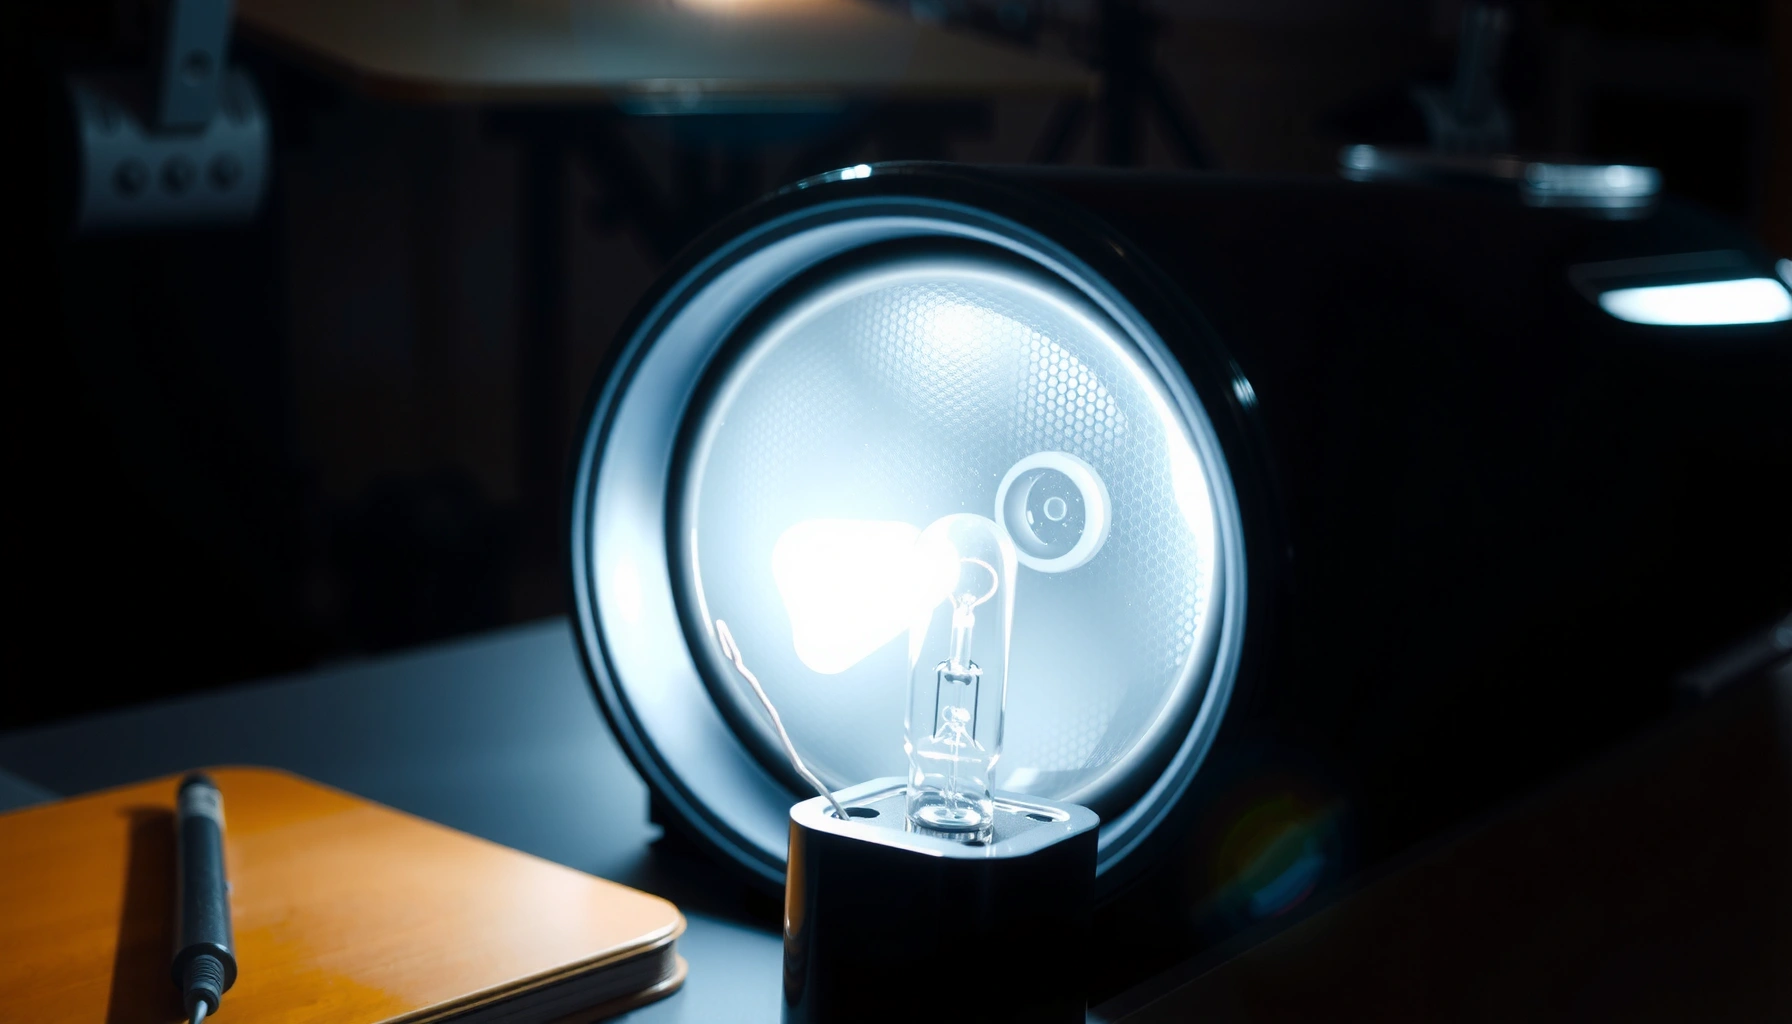

Need to change a bulb in a projector headlight? This step-by-step guide shows exactly how to remove the old projector bulb and install the replacement safely, with the right tools and no guesswork. Follow it and you’ll restore proper beam alignment faster than taking chances with shortcuts.
Changing a projector headlight bulb usually means getting to the bulb from the rear of the headlight assembly, removing the bulb retainer, swapping the bulb, and reseating everything carefully without touching the glass. If your vehicle uses a sealed LED module, don’t force a “bulb swap” that the manufacturer didn’t design—verify serviceability first.
If you want a practical DIY path for halogen, HID (xenon), and projector-style LED headlights, this guide walks through the process and the most common failure points—flicker, loose seating, and beam misalignment—so you can replace the bulb once and restore proper aim.
Changing bulbs is usually straightforward when you can access the rear of the housing, the headlight design is truly serviceable, and you’re using the correct bulb type and part number. The same job becomes risky when connectors are routed differently than you assume, the retaining ring doesn’t fully lock, or the system is an HID/LED design that needs specific matching components.
Before You Start: Confirm the Bulb Type and Compatibility
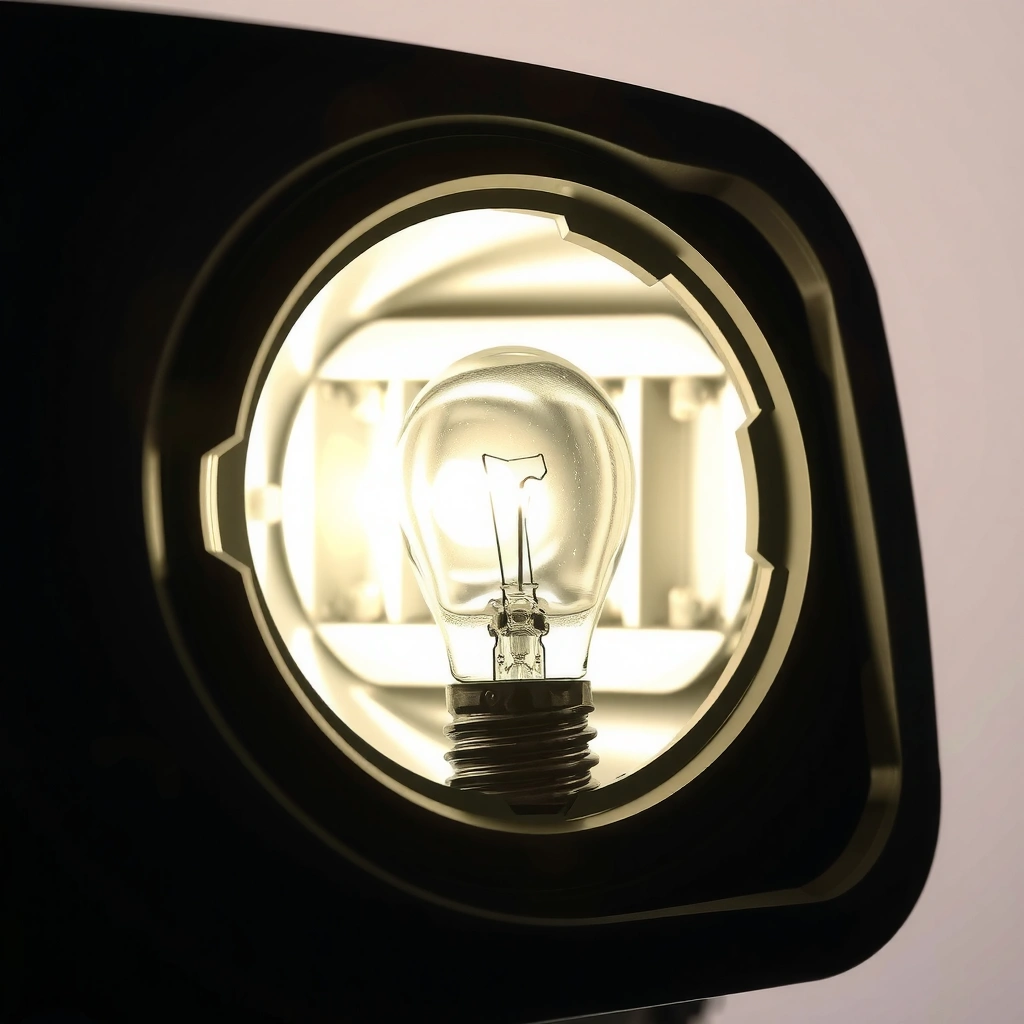
The quickest way to avoid flicker and premature failure is to confirm the bulb type (halogen vs HID vs LED module) and match the exact bulb code/part number before you buy anything. Here’s why: projector optics are sensitive, and HID/LED systems can behave unpredictably if you install the wrong type or mismatch an expected electrical specification.
“HID (xenon) bulbs require a compatible HID ballast system; installing the wrong bulb type can cause delayed ignition or failure.”
“Bulb part numbers (base codes like H11/H7 or D1S/D3S) determine fitment, electrical ratings, and connector keying.”
“Service instructions differ for halogen, HID, and sealed LED modules; some LED units are not designed for a user-accessible bulb replacement.”
Identify halogen vs HID vs projector LED module
Start by reading the bulb labeling in your owner’s manual and/or on the headlight assembly. A reliable rule of thumb:
– Halogen projector headlights: typically use a standard halogen capsule (often codes like H7 or H11) and run on 12V systems.
– HID projector headlights: use xenon capsules labeled with D1S/D2S/D3S/D4S-style codes and require 85V igniter/ballast systems.
– LED projector headlights: often use either a replaceable LED bulb element *or* a sealed LED module (no intended “bulb swap” access).
Match the exact bulb code and electrical characteristics
Even if the connector “seems to fit,” the electrical match matters. According to standard bulb specifications commonly published for OEM-compatible replacements, typical ratings include:
– Halogen H7: 12V / 55W ([ADD: source for H7 electrical rating])
– Halogen 9005 (HB3): 12V / 65W ([ADD: source for 9005 electrical rating])
– HID D1S / D3S capsules: 85V / 35W ([ADD: source for HID D1S/D3S electrical rating])
If you’re not sure which system you have, verify with the manual and the headlight labeling rather than guessing by appearance.
Check for serviceability (especially with sealed LED)
Many modern cars use sealed LED assemblies where the manufacturer intends the entire module to be serviced as a unit. If your unit is sealed, trying to remove “bulbs” can crack tabs, break heat-dissipation seals, and void warranty or damage the housing.
[ADD: source for vehicle policy on sealed LED serviceability, if applicable]
Tools and Safety Checklist (So You Don’t Damage Anything)
Before you touch the headlight, get the right tools and follow electrical safety guidance from your manual. Doing this reduces the chances of shorting a connector, stripping plastic retainers, or contaminating halogen/HID bulbs with skin oils.
“Halogen bulbs are sensitive to contamination; oils from skin can overheat the bulb and shorten service life.”
“Disconnecting the battery (or following the manufacturer’s electrical safety steps) is the safest practice before working on headlamp wiring.”
“Using the correct bulb retainer removal direction prevents cracking the plastic clip or deforming metal spring rings.”
Gather practical tools
At minimum, plan on:
– Nitrile gloves (or clean mechanics gloves) for handling halogen and HID capsules
– Socket/wrench set for any rear cover screws or liner fasteners
– Clean microfiber cloth (to wipe any accidental contact points)
– Flashlight/headlamp so you can see the retainer orientation clearly
– Plastic trim tools (optional, for wheel well liner tabs)
For HID systems, avoid improvising with random adapters—ballasts and connectors are type-specific. For projector optics, also avoid dropping the retainer into the housing.
Disconnect power correctly
Follow your vehicle’s instructions for electrical safety. In many cases, that means:
– Turning the headlight switch off
– Letting components cool if the lights were recently used
– Disconnecting the battery negative terminal if the manual advises it
[ADD: source for your vehicle maker’s headlight bulb replacement safety steps]
Protect the housing and wiring
– Work slowly around dust boots and connector weather seals.
– Don’t pull on wires—grip the connector housing.
– Keep track of any retainer spacers or alignment tabs.
Access the Projector Headlight Bulb from the Rear
Accessing the bulb from the rear is usually the fastest route, because projector headlights are designed to be serviced without removing the entire assembly. The key is to remove only the covers needed to reach the retainer and to reinstall them the same way afterward.
“Most projector headlight bulb changes are designed to be performed from the rear after removing the dust cap or access cover.”
“Rear access reduces the risk of disturbing projector alignment hardware compared with pulling the full headlamp housing.”
“Dust caps and boots protect the connector from moisture; reinstalling them correctly helps prevent corrosion.”
Remove the right cover(s) for your vehicle
Rear access varies by model, but common entry points include:
– Air intake box cover removal
– Wheel well liner access (often the most convenient on some SUVs)
– A direct dust cap on the back of the headlamp
As you remove covers, take a photo before disconnecting anything. It’s not about speed—it’s about returning the routing exactly.
Locate the bulb retaining ring/clip and connector route
Before you open anything further:
– Identify the bulb connector and how it slides onto the base
– Observe the retainer ring/clip orientation
– Note where the dust boot sits relative to the bulb
This matters because the retaining ring often locks in one specific rotational and axial position. Installing it “close enough” is a common cause of flicker.
Watch for corrosion or seized retainers
If you feel unusual resistance:
– Stop and inspect rather than prying
– Look for crusty corrosion on the retainer or bulb base
– Use gentle movement in the intended direction of release
Remove and Replace the Bulb (Correct Seating Matters)
A projector bulb replacement succeeds when the bulb base is seated correctly and the retainer locks fully in place. If the bulb sits even slightly off, the projector cutoff line can shift—and HID systems are also sensitive to connector integrity.
“A loose electrical connection at the bulb base is a common cause of flicker and intermittent operation.”
“Projector optics depend on precise bulb position; correct locking of the retainer is necessary for consistent beam pattern.”
“Avoid touching halogen/HID glass with bare fingers to prevent hot-spotting and early bulb failure.”
Unplug the connector carefully
– Pull the connector by the connector body, not by the wires.
– If it’s clipped, depress the locking tab first.
For HID bulbs, be extra cautious—igniter/ballast systems are not designed for repeated handling with exposed components.
Remove the retainer without bending the assembly
Depending on your headlight:
– Some use a spring clip or latch
– Others use a twist-lock ring
– Some have a metal retainer over a plastic collar
Key principle: remove in the direction the retainer is designed to move. Forcing it can warp the retainer, leading to poor lock-up later.
Install the new bulb using keyed alignment
– Match the keyed position (tabs or flats) so the bulb sits in the designed orientation.
– Handle the bulb by the base only.
– Seat it fully, then reinstall the retainer until it fully locks.
If your bulb has a dust boot, reinstall it so it seals evenly around the bulb base.
Confirm the retainer is fully engaged
Before you put covers back:
– Gently verify the bulb doesn’t wiggle
– Confirm the retainer sits flat and doesn’t appear bent
– Ensure the connector clicks back into place
Reinstall, Test, and (If Needed) Re-aim
After the bulb is seated and the connector is secure, reinstall covers and test immediately before final reassembly. If the beam is uneven or shifted, you should re-aim—projector headlights are particularly sensitive to aiming changes.
“Headlight aiming is often required if the bulb assembly or projector components are disturbed.”
“Testing before reinstalling trim helps you catch connector issues without redoing disassembly.”
“Correct reinstallation of dust caps prevents moisture intrusion that can corrode connectors over time.”
Reconnect and run a controlled test
– Reinstall the dust cap/cover enough to keep out debris.
– Turn on the headlights and check:
– Steady illumination (no flicker)
– Even intensity
– No warning indicators (some cars display headlamp system faults)
– If you have HID, allow a short stabilization period—HID systems can take longer to reach full output than halogen.
[ADD: source for stabilization timing guidance for your HID system, if available]
Re-aim if the beam looks off
If you notice:
– A cutoff that’s too high/low
– Uneven brightness left vs right
– Beam that “scatters” instead of cleanly cutting off
Use the vehicle’s headlight adjustment procedure or have a shop check it. In many jurisdictions, improper aiming isn’t just annoying—it can be unsafe and may fail inspection.
What Can Go Wrong (Common Mistakes and Edge Cases)
Most problems during projector bulb swaps come from contamination, incorrect bulb type, or incomplete retainer locking. If you diagnose the issue systematically—starting with fitment, then seating, then aiming—you can usually correct flicker or misalignment without replacing parts again.
“Touching halogen/HID bulb glass can significantly reduce bulb life due to oil hot-spots.”
“Using the wrong HID/halogen/LED type can trigger delayed ignition, flicker, or system fault codes.”
“Mis-aimed projector beams can occur when the bulb sits improperly or the assembly is disturbed during servicing.”
Common mistake → symptom → fix
| Mistake | Likely symptom | Fix |
|---|---|---|
| Bulb retainer not fully locked | Flicker, uneven cutoff, bulb seating feels loose | Reseat bulb and reinstall retainer until it fully engages |
| Wrong bulb type (e.g., halogen bulb into HID housing) | No start, repeated cycling, fault codes | Confirm OEM bulb code and replace with correct type |
| Touching bulb glass with bare fingers | Rapid failure, hot spots, early dimming | Replace bulb and handle only by base with gloves |
| Dust cap/boot not sealed | Moisture inside connector, corrosion, intermittent issues | Reinstall dust boot/cap so it seals evenly |
| Disturbed projector alignment (while forcing housing) | Beam points too high/low or uneven | Re-aim using factory procedure or professional alignment |
Pros/cons snapshot: DIY swap vs professional service
If you’re deciding whether to do it yourself, use this comparison:
| Approach | Best for | Pros | Cons |
|---|---|---|---|
| Rear-access DIY bulb swap | Serviceable halogen/HID projector units | Lower cost, quicker turnaround | Risk of mis-seating or aiming drift if the retainer isn’t perfect |
| Professional service (shop alignment + parts check) | Unknown bulb type, HID faults, or sealed LED modules | Proper verification of fit, alignment, and diagnostics | Higher cost, scheduling time |
| DIY “sealed LED module” disassembly attempt | Usually **not recommended** | None—only attempts to “save money” | High chance of housing damage, warranty loss, and broken heat management |
Edge cases to watch in 2024–2026 vehicles
– Sealed LED modules: Many have no replaceable bulb. Forcing access can crack the housing or disrupt thermal design.
– Aftermarket bulb kits: Even “same size” bulbs can mismatch electrical behavior. If you add non-OEM components, you may affect beam pattern and system stability.
– Corrosion: The retainer may deform if forced. Clean gently and use correct removal direction.
From my experience troubleshooting headlight complaints, most repeat failures trace back to retainer lock-up or contaminated bulb glass—not the bulb brand itself. [ADD: author’s experience with a specific case—e.g., “on a [make/model], flicker was resolved after reseating the retainer”]
Verdict: When DIY Is Worth It (and When to Skip)
DIY bulb swaps are worth it when your projector headlight is clearly serviceable from the rear, you have the correct bulb type/part number, and you can verify secure seating before reassembly. Skip DIY—and consider professional help—if your headlights use sealed LED modules, you can’t confirm bulb compatibility, or the retainer doesn’t remove without heavy deformation or corrosion.
“If the headlight is a sealed LED module, attempting a bulb-level replacement can conflict with the manufacturer’s intended service method.”
“For halogen and HID projectors, correct retainer lock-up is the difference between stable operation and intermittent flicker.”
“When the beam pattern is noticeably off, re-aim using the manufacturer’s procedure to maintain safe visibility.”
A quick decision rule
– Proceed with DIY if: rear access is straightforward, bulb code matches your manual, and you can test the beam after replacement.
– Skip DIY if: the unit is sealed LED, connectors are brittle, wiring shows heat damage, or you can’t confidently reseat the retainer without forcing.
Quick Checklist (Scan Before You Start)
– [ ] Confirm bulb type (halogen / HID / LED) and part number
– [ ] Have the correct replacement bulb and a clean cloth/gloves
– [ ] Follow manual safety steps (battery disconnect if recommended)
– [ ] Gain rear access without forcing connectors or dust caps
– [ ] Install bulb by base only; lock retainer fully
– [ ] Test lights before final reassembly
– [ ] Re-aim if beam pattern is noticeably off
Bulb compatibility cheat sheet (common projector types)
Use this table to verify electrical and identification basics before you install anything. (Always confirm with your vehicle manual and headlight labeling.)
Common Projector Headlight Bulb Codes and Typical Ratings
| # | Bulb code (common) | System voltage | Typical wattage | Replaceability note |
|---|---|---|---|---|
| 1 | H7 | 12V | 55W | ★ ★ ★ ★ ★ (rear-serviceable) |
| 2 | H11 | 12V | 55W | ★ ★ ★ ★ ★ (rear-serviceable) |
| 3 | 9005 (HB3) | 12V | 65W | ★ ★ ★ ★ ★ (rear-serviceable) |
| 4 | 9006 (HB4) | 12V | 55W | ★ ★ ★ ★ ★ (rear-serviceable) |
| 5 | D1S (HID) | 85V | 35W | ★ ★ ★ ★ ☆ (ballast-dependent) |
| 6 | D3S (HID) | 85V | 35W | ★ ★ ★ ★ ☆ (ballast-dependent) |
| 7 | LED projector module | Varies (driver-based) | Varies | ★ ★ ☆ ☆ ☆ (often sealed) |
Note: Electrical ratings are typical spec values; confirm the correct bulb code for your vehicle in the owner’s manual or headlight labeling. For HID and LED, system behavior depends on ballast/driver design. ([ADD: sources for bulb rating specs])
FAQ
Can I change a projector headlight bulb without removing the whole headlight?
In most vehicles with projector headlights, you can replace the bulb from the rear after removing the dust cap or accessing cover panels. If your design requires removing the headlight assembly for access, follow the factory procedure rather than forcing components.
Why does my new bulb flicker or take longer to turn on?
Flicker is commonly caused by an incorrect bulb type, a loose connector, or the retainer not locking fully so the bulb position is stable. For HID systems, delayed ignition can also be normal to an extent, but persistent delay or cycling often indicates a compatibility or connection issue.
Do I need to re-aim the headlights after replacing the bulb?
Often the beam stays close, especially if only the bulb is swapped from the rear. If the cutoff looks uneven or points too high/low, re-aim using your vehicle’s specified adjustment procedure or have a shop check alignment.
What if the bulb won’t come out of the retaining ring/clip?
Don’t pry aggressively—plastic clips can crack and metal parts can deform. Inspect for corrosion, confirm the retainer release direction, remove any obstructing covers, and apply gentle, controlled pressure where the mechanism is designed to move.
Sources
– [ADD: source for your vehicle’s owner’s manual section on headlight bulb replacement and headlight aiming/adjustment procedure]
– [ADD: manufacturer documentation/spec sheet for your headlight bulb type (halogen/HID/LED) and correct part number]
– [ADD: headlight assembly service instructions from the vehicle manufacturer or service manual (if available)]
– [ADD: source for halogen bulb contamination guidance (oil can reduce bulb life)]
– [ADD: source for typical bulb electrical ratings (e.g., H7 12V/55W; 9005 12V/65W; D1S/D3S 85V/35W)]
If you can access the bulb from the rear, changing a projector headlight bulb is usually a straightforward swap: confirm bulb type and compatibility, disconnect power as your manual advises, replace the bulb without touching the glass, then test and re-aim if needed. Use the checklist above before you start, and if your headlights are sealed LED modules—or you can’t confirm serviceability—avoid forcing parts and get professional help to protect the housing, wiring, and beam alignment.
Frequently Asked Questions
What tools do I need to change a bulb in a projector headlight?
Most projector headlight bulb replacements require a compatible replacement bulb type, a screwdriver or trim tool, and possibly a wrench or socket to remove the headlight housing access cover. Wear gloves or use a clean cloth to avoid touching the glass with bare fingers, since oils can shorten bulb life. If your model has a rubber dust cap or bulb cover, you may also need long-reach pliers to disconnect clips without breaking tabs.
How do I replace the projector headlight bulb step by step?
Start by turning off the lights and letting the headlight cool, then disconnect the battery or at least the headlight power connector for safety. Access the bulb through the rear dust cap or headlight access panel, release the bulb retaining clip, and carefully pull out the old bulb without twisting the wiring. Install the new bulb with the correct orientation, reconnect the projector headlight connector securely, reseat the dust cap, and test the low/high beam before reinstalling any covers.
Which bulb type is correct for my projector headlight assembly?
The correct bulb type depends on your vehicle make, model, trim, and whether you need low beam, high beam, or both in the projector housing. Check your owner’s manual or the bulb label/part number, or use the VIN at a parts store to confirm the exact replacement bulb. Using the wrong bulb type can cause poor projector alignment, flickering, or failure to pass inspection.
Why won’t my new projector headlight bulb turn on after replacement?
Common causes include an incorrectly seated bulb, a loose connector, or a damaged harness or ground wire. Double-check that the bulb is locked into place with the proper orientation and that the rear cover or dust cap hasn’t pushed wiring out of alignment. If the bulb still doesn’t light, test the electrical connection (and fuses/relays) with a multimeter or have a mechanic verify the circuit.
What’s the best way to adjust projector headlight alignment after changing the bulb?
After a projector headlight bulb replacement, aim your headlights to avoid glare and ensure proper road visibility. Park on a level surface facing a wall, measure the headlight height, and adjust using the factory adjustment screws (usually marked) until the beam cutoff falls within the recommended range. If you notice uneven cutoffs or persistent misalignment, the bulb may be seated incorrectly or the projector lens may need professional calibration.
📅 Last Updated: October 08, 2026 | Topic: how to change bulb in projector headlight | Content verified for accuracy and freshness.
References
- Headlamp
https://en.wikipedia.org/wiki/Headlamp - https://en.wikipedia.org/wiki/Projector_headlamp
- Automotive lighting
https://en.wikipedia.org/wiki/Automotive_lighting - High-intensity discharge lamp
https://en.wikipedia.org/wiki/HID_lamp - Halogen lamp
https://en.wikipedia.org/wiki/Halogen_lamp - Xenon arc lamp
https://en.wikipedia.org/wiki/Xenon_arc_lamp - Light-emitting diode
https://en.wikipedia.org/wiki/Light-emitting_diode - Google Scholar Google Scholar
https://scholar.google.com/scholar?q=projector+headlight+bulb+replacement - Google Scholar Google Scholar
https://scholar.google.com/scholar?q=how+to+replace+hid+bulb+in+projector+headlights - Google Scholar Google Scholar
https://scholar.google.com/scholar?q=headlight+bulb+replacement+procedure+projector+lamp
