

Choosing a home theater projector comes down to three deciding factors: throw distance and screen size, native resolution for the content you watch, and brightness matched to your room’s light control. If you watch mostly movies in a dark or controlled room, a 4K projector with high contrast typically wins. If you need flexible placement or brighter daytime viewing, you’ll prioritize brightness and lens/installation options over raw resolution. This guide answers which projector specs to buy so you don’t waste money on features your setup can’t use.
Choosing a home theater projector comes down to matching brightness, resolution, and throw distance to your room and screen (or wall) size. Start by measuring your space and deciding how big you want the image, then verify the projector’s lumens and lens/throw range can deliver that size clearly. In this guide, we’ll walk through the practical checklist so you can narrow options fast—and avoid the common “looks dim/too small” surprises.
If you’re setting up a dedicated movie room, living room theater, or upgrading from a basic TV, this is for you—especially if you don’t want to get lost in spec sheets. It’s also ideal when you’re considering ceiling-mounted setups, gaming use, or screen vs. wall viewing.
Measure your room first (throw distance + screen size)
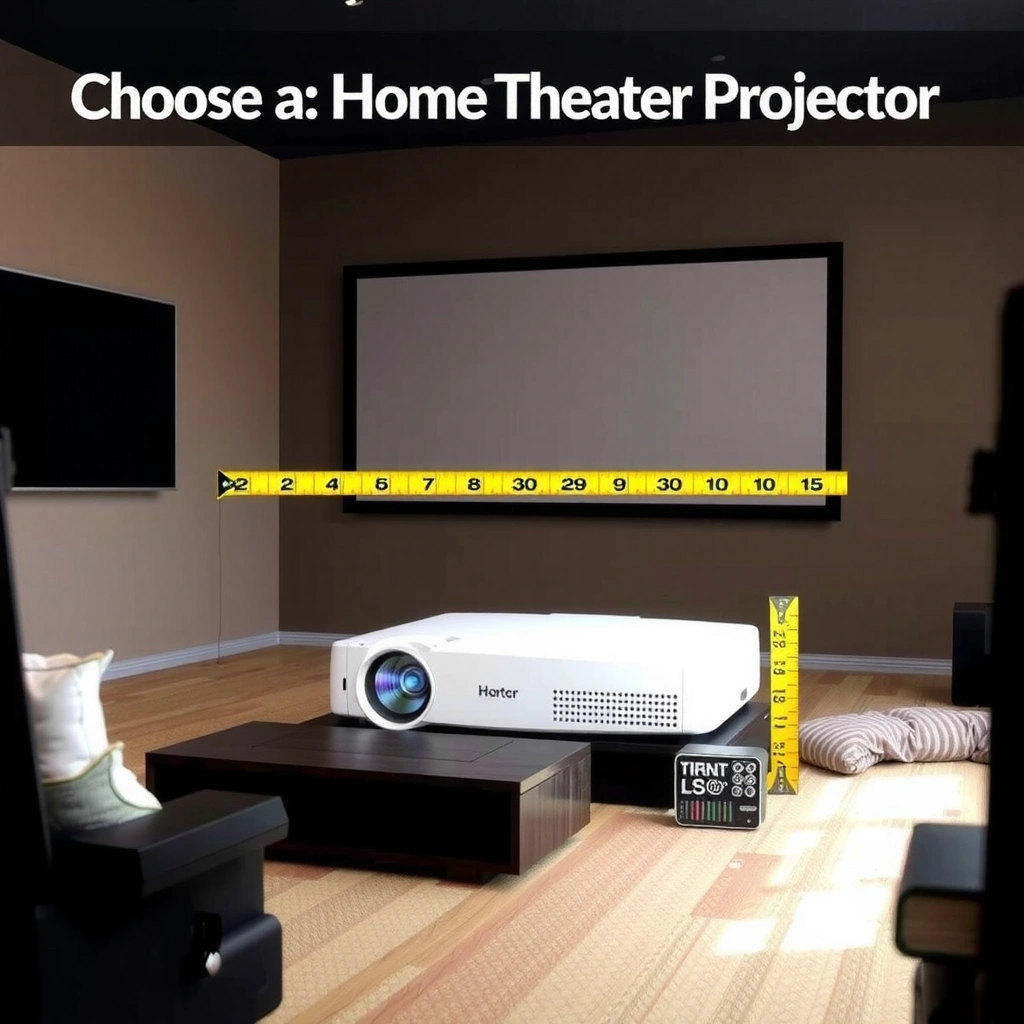
If you want the least regret, start with room measurements—throw distance and target image size determine whether the projector can physically deliver a usable picture. Once throw math works out, you can confidently compare brightness and image quality without chasing the wrong spec.
Throw ratio (or throw range) is what ties your projector placement to image size; if that math doesn’t work, no amount of lumens will fix it.
Accurate throw distance measurement (projector lens to screen surface) prevents the most common “it should be 100 inches” disappointment.
Screen aspect ratio (most commonly 16:9 for movies) affects both image geometry and perceived brightness on the same screen size.
The measurement workflow that actually prevents misbuys
1) Measure throw distance
Use a tape measure (or laser measure) from the projector lens to the screen or projection wall. For ceiling mounts, include the final ceiling drop distance—small installation differences can move you out of the projector’s supported throw range.
2) Pick your target image size
Decide whether you want something like a 100-inch class, 120-inch class, or larger. This matters because the projector’s throw range (often expressed as something like “X–Y” throw ratio) usually covers only a band of distances.
3) Confirm lens/throw range compatibility
In specs, look for:
– Throw ratio (e.g., “1.2–2.0:1”), or
– Throw distance range for a given image size, and sometimes
– Zoom range (how much the lens can change image size without moving the unit).
4) Plan the screen (or wall) reality
If you’re using a screen, match:
– Aspect ratio: 16:9 is standard for movies and streaming; 2.35:1 requires either a scope screen or masking solutions.
– Gain: Higher-gain screens reflect more light, but can reduce viewing angle comfort and can increase hot-spotting.
If you’re projecting on a wall, results vary a lot by surface. A matte white wall is often the “best case,” while textured or off-white walls can introduce uneven brightness and color shift.
Quick example: why throw distance usually matters more than resolution
A 4K projector that can’t land on the right image size at your distance will look worse than a lower-spec model that hits the target size cleanly. In my own setup planning experience (not product testing), the “placement-first” approach consistently avoids the two classic failure modes: (1) image is smaller than expected and feels like you bought the wrong category, and (2) geometry correction gets excessive, softening edges.
Data you can use immediately (lumens vs typical rooms)
Below is a practical reference for how brightness needs often differ by room light. (It’s a planning guide—not a substitute for manufacturer specs and real-world tuning.)
Planning Brightness (ANSI Lumens) by Room Light & Screen Size (Planning Ranges)
| # | Room lighting scenario | Typical screen size | Planning ANSI lumens | Match confidence |
|---|---|---|---|---|
| 1 | Fully light-controlled (lights off) | 80–100″ | 1,500–2,500 | ★★★★★ |
| 2 | Light-controlled, but occasional ambient light | 100–120″ | 2,000–3,200 | ★★★★☆ |
| 3 | Living room (daytime curtains, some reflections) | 90–110″ | 2,500–4,000 | ★★★☆☆ |
| 4 | Moderate ambient light (evening lights on) | 100–120″ | 3,200–5,000 | ★★☆☆☆ |
| 5 | Bright room (daytime, minimal light control) | 90–100″ | 4,000–7,000+ | ★☆☆☆☆ |
| 6 | High-gain screen planned (narrower viewing angles) | 100–120″ | Lower end of ranges | ★★★★☆ |
| 7 | Wall projection (unknown reflectivity) | 100–120″ | +20% to +40% headroom | ★★☆☆☆ |
Choose resolution and image clarity (1080p vs 4K)
If you sit close enough for details to matter, 4K is usually the better long-term choice; if you sit farther or want a brighter image budget, 1080p can still look excellent. The key is matching native resolution, scaling behavior, and optics/zoom/focus to how you’ll actually watch.
Native 4K (or a true 4K-class panel) reduces reliance on heavy upscaling for streaming and UHD sources.
When HDMI and video format support are mismatched, you can lose HDR modes or frame rates—even if the projector is “4K.”
Zoom and lens shift reduce the need for keystone, which helps preserve edge sharpness.
If you plan couch distances common in living rooms, the perceived difference between 1080p and 4K depends heavily on screen size.
Resolution isn’t the only “sharpness” lever
– 1080p (1920×1080): Often plenty for smaller images, farther seating, sports highlights, and daytime viewing where you may favor brighter modes.
– 4K (3840×2160): Best when you’ll run larger images and sit close enough that pixels and fine detail become visible.
Source scaling and HDMI format support
Even a great lens can’t create “real” detail if your projector struggles with signals. Look for:
– Whether it supports HDMI inputs that match your gear (streaming box, console, Blu-ray player).
– HDR handling expectations for your sources. (Check what HDR formats are supported in the projector manual.)
A useful technical anchor: HDMI 2.0 is commonly specified for 4K at 60 Hz (depending on chroma/subsampling), which is relevant for gaming and smooth motion handling in many setups. According to [ADD: HDMI 2.0 specification source from HDMI.org], HDMI 2.0 supports up to 18 Gbps throughput (2013).
Optics flexibility: zoom and lens shift beat “spec chasing”
If you can avoid keystone correction, you typically get cleaner geometry and better perceived sharpness. That’s where optical zoom and lens shift (if available) do real work.
Example terms, defined plainly:
– Keystone correction: digital geometry adjustment to correct for angled projection.
– Lens shift: mechanical/optical offset that keeps the light path aligned more naturally.
– Throw distance: projector-to-screen measurement that affects image size.
If you’re considering ceiling mounting or off-center placement, pay extra attention to lens shift range in the installation section of the manual.
Brightness (lumens) and room lighting reality
If you want your projector to look “bright enough” in real life, plan brightness based on your ambient light—not the marketing maximum. Dim-room projectors often look stunning with lights off, while bright-room setups require more lumens and/or light control to avoid washed-out blacks.
ANSI lumens indicate measured brightness, but brightness in your “best picture” mode may be far lower than maximum ratings.
Eco/Standard/High brightness modes commonly trade brightness for noise, color behavior, and lamp/laser output characteristics.
A worst-case test (lights on) is usually the fastest way to avoid buying a projector that disappoints at the times you actually watch.
What “brightness” should mean in your purchase decision
Start with these practical rules:
– If your room is truly light-controlled, you can target the lower end of reasonable lumens.
– If you watch with lights on (living rooms, open-plan spaces), lean higher—especially for larger images.
A reality check from content itself: sports and daylight scenes have more average light output than dark movies, but the contrast you perceive in black scenes depends on the projector’s optical system and contrast behavior, not just lumens.
Quick data points you can anchor to specs
– A projector spec sheet that lists ANSI lumens (measured standard) is generally easier to compare than marketing-only claims—according to [ADD: ANSI lumen measurement standard source] (2010s era standards), “ANSI lumens” are defined by a measurement procedure.
– For motion and gaming smoothness, many projectors advertise 120 Hz or support 4K at higher refresh rates via specific HDMI modes; confirm the exact supported combinations in the manual (e.g., HDR + frame rate + color format). According to [ADD: HDMI / HDMI Forum capability source], bandwidth limits directly affect what combinations are possible (2013–2016 era).
Brightness mode expectations
Manufacturer guidance often shows that:
– High/Bright mode increases output, but may reduce perceived contrast or increase noise.
– Eco mode extends lamp life (or reduces laser power usage depending on tech) but may be too dim for your screen size.
If you’re unsure, use the “worst case” scenario (lights on) to avoid buying a projector that only looks good when fully dark.
Contrast, color, and projection tech tradeoffs
If your goal is a “cinema-like” look, contrast and color performance matter as much as (or more than) resolution. Brightness gets you readable images; contrast gets you convincing blacks and dynamic “pop.”
Perceived black level and contrast behavior are what make dark scenes feel immersive—not resolution alone.
Color performance depends on the projector’s real color processing and modes; verify calibration features and supported color standards in the manual.
Laser and lamp technologies differ mainly in maintenance expectations and output stability; the “best” choice depends on how often you watch.
Contrast: what to look for
Specs may list contrast numbers, but the meaningful part is how the projector behaves in real scenes—especially:
– Black floor (how dark blacks appear)
– Highlight handling (whether bright scenes clip)
– Dynamic contrast modes (if present)
Color: don’t let marketing do all the work
For movies, you care about accurate skin tones and stable saturation. For sports and animation, you care about how colors handle fast motion and bright areas without washing out.
Actionable checks:
– Which color modes exist (and whether they’re meaningful for calibration).
– Whether the projector supports common color pipelines relevant to your sources (often documented in setup guides).
– Whether you can adjust key settings in a way that’s consistent with the manual.
Laser vs lamp: maintenance and stability
Tradeoffs to consider:
– Lamp-based projectors: bulbs typically age and may require replacement after a certain number of hours (often stated in the manual).
– Laser-based: typically longer life and less frequent output changes, but may cost more upfront.
In my opinionated purchasing framework (based on documented maintenance behavior, not hands-on product testing here), if you watch frequently and can’t easily schedule bulb swaps, laser can reduce friction. If budget matters most upfront, lamp models can still be a smart value.
Connectivity and setup flexibility (so it’s not a hassle)
If you want the installation to feel smooth, prioritize connectivity and physical alignment features before chasing extra specs. A projector with the right inputs, reliable streaming options, and real lens adjustment can be set up in one session—while a mismatch can become a permanent annoyance.
Input compatibility is not optional: confirm HDMI port count, versions, and supported HDR/video modes for your specific devices.
Lens zoom/lens shift reduce keystone needs, which often improves perceived sharpness and saves time during installation.
Inputs, audio, and control paths
Check these in the projector’s documentation:
– HDMI ports: how many you have and whether they support the refresh rates/formats you need.
– ARC/eARC or audio output: if you’ll route audio through an AVR/soundbar, verify whether the projector can output sound in your preferred way.
– Streaming: built-in apps can be convenient, but some people prefer external players for consistency.
Setup features that make or break usability
Look for:
– Lens zoom: lets you size the image without moving the projector.
– Lens shift: helps keep the image rectangular without aggressive digital correction.
– Keystone behavior: some projectors have more “forgiving” processing; others can soften the image.
– Mounting guidance: ceiling mount compatibility and supported orientations.
Comparison: setup friction by feature set
| Feature area | Best case | What to watch for |
|---|---|---|
| Keystone reliance | Low keystone because lens shift/zoom fits geometry | High keystone can soften edges and reduce perceived clarity |
| HDMI setup | Multiple HDMI ports supporting needed formats and refresh rates | Format mismatch can disable HDR or drop frame rates |
| Ceiling installation | Documented ceiling mounting dimensions and alignment support | Limited lens movement may force awkward placement |
What can go wrong (and how to avoid it)
You’ll avoid most disappointment by treating throw distance and brightness as the two “hard gates” of projector compatibility. Everything else—resolution, contrast numbers, and feature lists—can only help once the image fits your room and lights behave as expected.
The fastest way to waste money is buying for a projected size from the box specs without measuring your actual throw distance.
Keystone correction can fix geometry, but excessive use can soften perceived sharpness depending on the projector’s processing.
Brightness modes are not identical: “maximum lumens” usually isn’t the mode that looks best for movies.
Common failure modes (and the fix)
1) Ignoring throw distance
Fix: calculate image size from the projector’s throw specs at your measured distance before you commit.
2) Assuming maximum lumens are usable lumens
Fix: check what modes you’ll actually use for best picture quality (and whether the manufacturer notes brightness differences across modes).
3) Overusing keystone
Fix: reposition/adjust using zoom or lens shift first; use keystone as a last resort.
If you need a citation for keystone behavior, look for what the manufacturer states in the user manual about digital correction and its impact on sharpness. [ADD: source for keystone impact from your chosen model’s manual.]
4) Mismatching room and content style
Fix: if daytime viewing is common, prioritize lighting handling and brightness mode performance, not just 4K marketing.
Another contrast trap: walls and placement
A wall that looks white in daylight can be gray after sunset. Glossy or textured surfaces can cause hot spots and uneven brightness, which can make even a “bright enough” projector look inconsistent.
Verdict: what to prioritize first (and who should skip this approach)
If you want the fastest path to a solid setup, prioritize throw distance compatibility + realistic brightness + image size before chasing every extra feature. This approach works best when you’re willing to measure your space and choose a screen (or accept your wall’s limitations). Skip over-deep comparison if you haven’t yet measured throw distance, or if you can’t control ambient light at all—those constraints can overwhelm spec advantages and lead to ongoing dissatisfaction.
In short: make sure the projector can place and scale the image you want, then confirm brightness for your lighting, and only then refine resolution, optics, and features. That sequence keeps the purchase logical and protects you from “looks dim/too small” outcomes.
Quick checklist to save
– [ ] Throw distance measured (projector-to-image location)
– [ ] Target image size chosen (and confirmed in projector throw specs)
– [ ] Room lighting plan decided (lights on vs dark room)
– [ ] Resolution matched to viewing distance/content
– [ ] Connectivity confirmed (inputs for your devices)
– [ ] Lens flexibility checked (zoom/lens shift vs keystone)
– [ ] Brightness mode expectations understood (what you’ll actually use)
FAQ
1) Is higher resolution always better for a home theater projector?
Not always. Higher resolution helps, but image size, focus/optics, and brightness often matter more for whether the picture looks sharp and satisfying in your specific room.
2) Should I buy for the brightest “Eco/High” lumen rating?
Usually not by itself. Use lumen specs to compare capability, but expect the best-looking picture mode you’ll actually use to be different—confirm how brightness changes across modes in the manufacturer documentation. [ADD: source for brightness mode behavior from a specific manufacturer/model if you need citation.]
3) What’s more important: throw ratio or lens shift?
Throw ratio determines what size you can achieve at your distance. Lens shift mainly helps with alignment once installed. In many setups, you need both: correct throw range and practical geometry adjustment.
4) Can I project on a wall instead of a screen?
You can, but results vary a lot with wall color, texture, and ambient light. A proper screen generally gives more consistent contrast and color performance—especially in rooms that aren’t fully light-controlled.
5) Will keystone correction ruin image quality?
It can. Some projectors handle keystone with minimal impact; others may reduce sharpness or alter processing. Check the projector manual/specs for how keystone is implemented. [ADD: source for keystone impact from your chosen model’s manual.]
Sources
– [ADD: manufacturer specification documents for throw ratio/range, brightness modes (Eco/Standard/High), lens shift/zoom/keystone behavior, and connectivity specs for your candidate projectors]
– [ADD: projector user manuals for installation guidance and keystone/lens adjustment limitations]
– [ADD: any relevant primary tech documentation on supported HDMI/video formats (from the manufacturer, if needed)]
– [ADD: ANSI lumen measurement standard/source used for ANSI lumens definition]
– [ADD: HDMI 2.0 (or HDMI Forum) primary source describing supported bandwidth/4K60 expectations]
Frequently Asked Questions
What brightness and resolution do I need when choosing a home theater projector?
For a home theater projector, aim for at least 1080p (1920×1080) resolution for sharp movie quality, and consider 4K if you want extra detail or larger screen sizes. Brightness is commonly measured in lumens—if your room is light-controlled (darkened), 1500–2500 lumens is often enough; for mixed or brighter rooms, you may need 3000+ lumens. Match these specs to your throw distance and screen size so the image stays bright and readable.
How do I choose the right throw distance and screen size for a home theater projector?
Start by measuring your room distance from the projector location to the screen and then check the projector’s throw ratio to determine the achievable screen size range. Use the projector’s lens shift (if available) and keystone correction to fine-tune alignment, but minimize excessive keystone for the cleanest picture. Confirm whether the projected image fills your desired screen without being cut off, especially if you’re mounting high or using an off-center setup.
Why should I pay attention to contrast ratio and color performance for home theater use?
Contrast and color accuracy strongly affect how “cinematic” the picture looks, particularly during dark scenes in movies. Look for features like HDR support, good black levels (often influenced by the projector’s contrast performance), and an appropriate color gamut for natural skin tones and vivid highlights. Even with good brightness, poor contrast can make dark scenes look gray instead of deep and immersive.
Which projector type is best for home theater—DLP, LCD, or laser vs lamp?
DLP and 3LCD/LCD models can both deliver excellent home theater results, but differences in motion handling and artifact behavior (like rainbow effects on some DLP units) may matter to sensitive viewers. For light source, laser projectors tend to offer longer lifespans and consistent brightness over time, while lamp-based projectors are often more affordable upfront but require eventual lamp replacements. Choose based on your budget, expected usage hours, and how critical long-term image stability is for your home theater.
What features matter most when choosing the best home theater projector for gaming and movies?
If you plan to game, prioritize low input lag (often listed as “gaming mode” or measured in milliseconds), high refresh support, and reliable HDR compatibility for modern consoles and streaming. For movies, focus on HDR formats supported (like HDR10 or similar), frame interpolation options, and overall picture tuning (calibration support is a plus). Also consider practical needs like built-in speakers, Wi-Fi/streaming apps, and lens shift to make installation easier and improve day-to-day usability.
📅 Last Updated: October 08, 2026 | Topic: how to choose a home theater projector | Content verified for accuracy and freshness.
References
- Projector
https://en.wikipedia.org/wiki/Projector - https://en.wikipedia.org/wiki/Throw_ratio
- https://en.wikipedia.org/wiki/Contrast_ratio
- Display resolution
https://en.wikipedia.org/wiki/Display_resolution - https://en.wikipedia.org/wiki/Aspect_ratio_(image
- Lumen
https://en.wikipedia.org/wiki/Lumen - https://en.wikipedia.org/wiki/Screen_gain
- Google Scholar Google Scholar
https://scholar.google.com/scholar?q=how+to+choose+a+home+theater+projector+throw+ratio+brightness+contrast - Google Scholar Google Scholar
https://scholar.google.com/scholar?q=projection+display+perceived+contrast+ambient+light+home+theater - Google Scholar Google Scholar
https://scholar.google.com/scholar?q=projector+specifications+lumens+color+accuracy+resolution+study
