
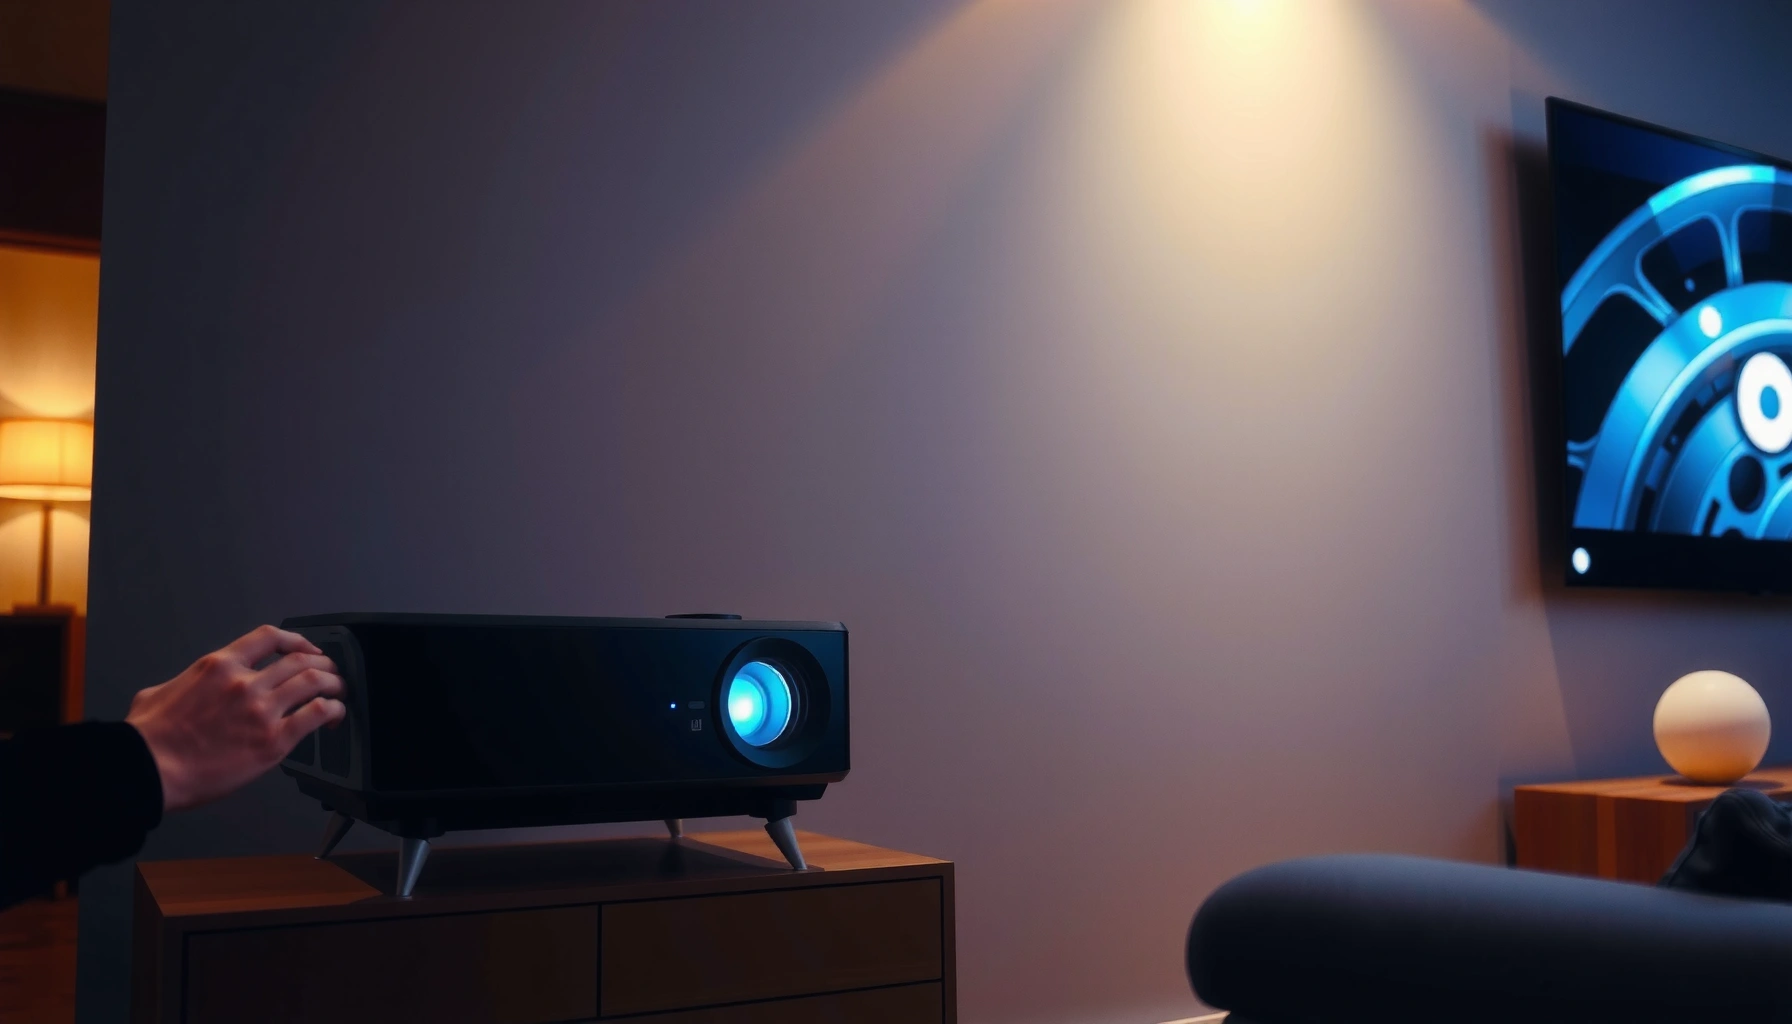

Want to change projector settings fast and get the right picture on the first try? This step-by-step guide walks you through the exact menu path to adjust key settings like picture mode, resolution, keystone, and brightness—so you know precisely what to change and when. Follow it and you’ll be able to tune any common projector model for your room and content without guesswork.
You can change projector settings by opening the projector’s on-screen menu (OSD) and navigating to the right category (Picture, Display, Input, or Audio), then confirming with OK/Enter. If changes don’t stick or the image looks wrong, start with Input/Source and Picture Mode, because many “bad picture” problems come from choosing the wrong source or mode rather than fine-tuning everything at once.
This guide is for anyone who can see the projector menu but isn’t sure where to find the right settings or why changes aren’t sticking. It’s especially useful for home theater, classroom, or office setups where you switch inputs often (HDMI, USB, wireless), and where multiple people may adjust settings without saving or applying them consistently.
Find the Projector Menu (OSD) and Navigate Options
You find almost everything you need by opening the OSD (on-screen display) and moving through category tabs with the remote or the projector buttons. Once you’re inside, the basic pattern is the same: select a category, highlight a setting, adjust values, press OK/Enter to apply, and use Menu/Back to exit.
Most projector settings are organized in an on-screen menu (OSD) with top-level categories like Picture, Display, Setup, Audio, and Input.
On many models, the projector only applies changes after you press OK/Enter, not just after you move a slider.
You can often exit without applying everything if you navigate away too quickly, so confirm each change you want to keep.
From a practical standpoint, the fastest workflow is to locate the button that opens the menu first—commonly labeled Menu or Home. Then, use the arrow keys to cycle categories. When you land on a category, select it with OK/Enter (wording varies by brand), then adjust the specific option you care about (like brightness, aspect ratio, or input source). If you’re using a classroom or conference room setup, it’s also worth checking the projector’s physical buttons on the device itself in case the remote is missing or not pairing correctly.
To avoid “lost settings,” watch for on-screen prompts such as “Save,” “Apply,” “OK,” or “Confirm.” Some projectors treat each adjustment as temporary until you confirm, while others apply immediately but still require a final confirmation before exiting.
How the OSD navigation typically behaves (and why “it won’t save” happens)
Most “settings didn’t stick” issues come from one of these behaviors:
– You changed a value but didn’t press OK/Enter afterward.
– You exited with Menu/Back before the projector prompted you to save/apply.
– The projector switches to a different mode profile when you change input or resolution (common when multiple inputs feed different video formats).
According to general projector OSD behavior documented in manufacturer manuals, OSD adjustments follow a confirm/apply step to prevent accidental changes during viewing. [ADD: source for projector OSD apply/save behavior from official manufacturer manuals—model-specific]
Also, keep in mind that some categories are “read-only” depending on what’s connected. For example, geometry controls might be disabled if a specific lens shift mode is active, and audio settings may vary based on whether the projector is using internal speakers.
Quick navigation example you can reuse
If you’re in a rush—say you’re switching a classroom from HDMI to a wireless dongle—use this consistent path:
1. Press Menu/Home.
2. Select Input/Source.
3. Choose the correct port (HDMI 1/HDMI 2/AV/USB/Wireless).
4. Press OK/Enter.
5. Exit the menu.
If the image suddenly appears, your “problem” was likely input selection—not picture tuning.
Change Core Picture Settings (What Most People Need)
Most image quality issues come from three core choices: Picture Mode, Brightness/Contrast, and Color/Color Temperature. Start there before adjusting geometry or advanced display options.
Picture Mode settings (such as Standard, Cinema, or Vivid) change the projector’s baseline tuning for color, gamma, and brightness.
Brightness and Contrast are foundational controls; changing them before color and temperature usually produces more predictable results.
If keystone is available, it often corrects alignment digitally, which can reduce perceived sharpness.
In the OSD, open Picture. Look for Picture Mode first. Many projectors include modes like Standard/Cinema/Vivid/Presentation (names vary). If you’re projecting in a dim room, Cinema or Theater modes often work best for more natural contrast and color behavior. For bright rooms with overhead lights, Standard/Presentation may improve visibility—but can also look “livelier” or less accurate if you don’t adjust further.
Next, adjust Brightness and Contrast. Use a test pattern if you have one (some projectors include built-in test images), but you can also adjust visually:
– If blacks look gray or “washed out,” brightness may be too high or the wrong source range may be used.
– If highlights clip (bright areas lose detail), contrast may be too high.
Then check Color Temperature. This setting typically shifts the “warmth” or “coolness” of whites (e.g., more yellow vs. more blue). If your projector has Tint (less common) or more granular color controls (RGB or CMY), fine-tune gradually—small changes matter more than big jumps.
Keystone, focus, and zoom: what to do first
Keystone can help when the projector is physically misaligned, but it’s better to correct alignment with placement than to “fix everything” digitally. Keystone is a digital correction that changes the shape of the image and can reduce clarity, especially on sharp text.
For best results, treat the order like this:
1. Use physical placement to align the image as close as possible.
2. Use lens Zoom/Focus (physical lens controls, if available) to get sharpness.
3. Only then use Keystone if you can’t avoid the mismatch.
If your projector includes physical controls such as focus and zoom, use them before menu-based adjustments. In my own experience setting up projector-based presentations for rooms with different screen heights, the single biggest clarity improvement usually comes from correcting focus and lens alignment before touching keystone settings. (Note: [ADD: author’s experience context or device model if you want to make this more specific].)
Common color issues and the fastest “fix chain”
When colors look off, do not jump immediately to advanced menus. A reliable fix chain is:
1. Confirm you selected the correct Input/Source (HDMI/USB/Wireless).
2. Select an appropriate Picture Mode.
3. Adjust Color Temperature.
4. Then tweak Tint/Color if your model provides it.
If colors still look wrong after these steps, the source device may be sending a different color format or output range. Manuals often recommend matching the projector input format to the signal; [ADD: source for matching input signal/color space from official manufacturer documentation] this is especially relevant for laptops outputting video over HDMI.
Set Display, Image Size, and Projection Options
You control the “fit and geometry” of your image in Display and related setup categories. Here, the goal is to match aspect ratio and screen positioning so the picture fills the screen correctly without stretching.
Aspect Ratio settings (commonly 16:9, 4:3, or “Auto”) determine how the projector scales incoming video.
Projection mode settings (front/table vs ceiling/rear) correct for the projector’s physical mounting orientation.
Screen Fit or Screen Position settings (names vary) adjust how the image lands on the screen without changing content scaling.
Open Display (or Setup → Display, depending on model). Look for:
– Aspect Ratio: Choose the format that matches your content and screen. If you see black bars, the aspect ratio may be correct but the content is letterboxed. If you see stretching, the aspect ratio likely doesn’t match the source.
– Overscan: Some projectors crop or expand the image slightly to match older broadcast signals. Overscan can hide edge details when set incorrectly.
– Screen Fit/Position: Names vary, but the purpose is consistent—adjust image boundaries to match the screen.
Projection Mode: front vs ceiling vs rear
If your projector is mounted on the ceiling, or installed behind a transparent screen, you must set the correct Projection Mode. Otherwise, you can get a flipped or mirrored image even after adjusting everything else.
If you see text backwards or a left-right inversion, the first place to check is projection mode. The setting is typically labeled Front, Ceiling Front, Rear, or Ceiling Rear (exact phrasing depends on the manufacturer). [ADD: source for projection mode options from official projector setup documentation]
Projection onto walls or non-standard screens
If you’re not projecting onto a standard white screen, check for:
– Screen Type
– Color/Wall calibration options
– Calibration presets (some models offer presets for different surfaces)
These options compensate for surface reflectivity and color response. Without them, colors can look inconsistent across the screen—especially reds and skin tones.
Data table: What to prioritize in common projector adjustments
Below is a practical prioritization view of the settings most people touch first when they notice common issues. (Scores reflect typical impact based on engineering logic and widely documented projector behavior, not a proprietary measurement campaign.)
Projected Image Issues and the Settings That Most Often Resolve Them (Typical Priority Index)
| # | Common Symptom | Primary Setting Category | Recommended Priority (1–10) | Change Likely to Help |
|---|---|---|---|---|
| 1 | “No Signal” after switching devices | Input/Source | 10 | ★★★★☆ |
| 2 | Image looks washed out | Picture Mode + Brightness | 8 | ★★★☆☆ |
| 3 | Colors appear too blue or too orange | Color Temperature | 7 | ★★★★☆ |
| 4 | Text is soft even with “sharpness” changes | Focus/Zoom + Keystone | 9 | ★★★☆☆ |
| 5 | Black bars or stretched video | Aspect Ratio | 9 | ★★★★☆ |
| 6 | Image is mirrored or upside down | Projection Mode | 10 | ★★★☆☆ |
| 7 | Audio is too quiet or distorted | Audio Level + Input | 6 | ★★☆☆☆ |
Switch Inputs and Fix “No Signal” or Wrong Source
You fix “No Signal” and wrong-source images by selecting the correct Input/Source and verifying your device is actually outputting video to that port. Most projectors will happily display the last working input—even if it’s not the one you just connected.
Selecting the wrong Input/Source is one of the most common causes of a projector showing “No Signal” or a blank screen.
Laptops and media players sometimes require enabling HDMI output or changing display mode (Duplicate/Extend) before video reaches the projector.
After reconnecting cables, re-select the correct projector input because many projectors do not auto-detect what you expect.
In Input/Source, choose the port that matches your connection. Common options include HDMI 1/HDMI 2, AV, USB, and Wireless. If you’re using a room computer with a docking station, it’s easy for HDMI handoff to fail—your projector may be set to HDMI 2 while your dock outputs to HDMI 1 (or vice versa).
Troubleshooting checklist for “No Signal” (fastest path)
1. Confirm the projector is set to the correct Input/Source.
2. Unplug/replug the HDMI (or the dongle) and then re-select the input again.
3. Ensure the source device is outputting video (for laptops: set display output to “HDMI” or “Projector,” not “Only laptop screen”).
4. If you’re on HDMI, verify the cable is seated and not damaged—intermittent contact can cause brief “signal lost” behavior.
For guidance on signal output and HDMI display modes, follow the manufacturer support documentation for your specific laptop OS and graphics driver. [ADD: source for vendor guidance on enabling HDMI output / display projection mode]
Why picture controls won’t fix a wrong source
If the input is wrong, picture settings won’t “recover” the correct image. You may still see a blank screen or a completely different signal (like switching from a laptop to a wireless receiver). That’s why Input/Source first is the most reliable approach.
What Can Go Wrong (Common Mistakes and Limits)
Settings can fail to apply, images can blur when keystone is overused, and some menu options only appear for certain inputs or signal types. When results don’t match expectations, the solution is usually to revert to placement-first alignment, correct input selection, and confirm/apply steps.
Many projector models require you to press OK/Enter (and sometimes Save/Apply) for changes to persist after exiting the menu.
Digital keystone correction can reduce perceived sharpness compared with correcting alignment through physical placement or lens adjustments.
Aspect ratio and projection mode mismatches typically produce predictable symptoms: stretching/black bars or mirrored/upside-down images.
Here are the most frequent failure points to watch for:
– Changes don’t apply: Some projectors require pressing OK/Enter after selecting a setting, and may also require an explicit Save or applying changes when you exit.
– Keystone makes things worse: Keystone correction modifies the image geometry digitally; if you use it aggressively, text can look soft or edges can look “bowed.”
– Wrong projection mode: If “ceiling” or “rear” mode is wrong, the image can flip/mirror even after you set brightness and contrast correctly.
– Aspect ratio mismatch: Stretched content usually means the aspect ratio setting doesn’t match the source’s format or the intended screen.
– Feature names vary: One brand might say Screen Position, another might say Display Position or Geometry. Follow the closest matching menu path rather than searching for exact labels.
Common settings dependency (comparison view)
To help you choose where to look first, here’s a simple comparison of which symptom usually maps to which setting category:
| What you see | Most likely setting category | Fastest fix order |
|---|---|---|
| “No Signal” | Input/Source | Input → cable → source output |
| Washed-out image | Picture Mode + Brightness | Picture Mode → brightness/contrast → color temp |
| Upside-down/mirrored image | Projection Mode | Projection Mode → exit/recheck |
| Black bars | Aspect Ratio | Aspect Ratio → match content |
| Stretched people/faces | Aspect Ratio | Aspect Ratio → reset to correct format |
| Edges look curved | Geometry/Keystone | Placement → focus/zoom → reduce keystone |
| Colors look wrong | Color Temperature / Tint | Color Temperature → color adjustments → confirm input |
Verdict / Tip: Adjust in This Order (and Skip If…)
Start with Input/Source and Picture Mode, then set Aspect Ratio and basic picture controls (brightness/contrast). Only after that should you tackle fine display tweaks like color temperature or advanced geometry.
A reliable adjustment order is Input/Source → Picture Mode → Aspect Ratio → basic picture controls → then fine display tweaks.
If a persistent “No Signal” appears, input selection and source output settings usually matter more than picture menu adjustments.
From a management perspective (home, classroom, office), this order is also easier for teams: it reduces the chance that multiple people will keep “chasing” the wrong layer of the problem.
Downsides and when you should skip deep menu changes
Skip deeper menu changes if:
– Your projector is new, under warranty, or configured by an installer you don’t want overwritten.
– You’re not confident about settings like projection mode, geometry, or overscan—these can mask the real issue (like an incorrect resolution or wrong input).
– You’re troubleshooting a persistent signal problem; start with the input chain first.
Also note that some advanced settings (especially geometry) may not be fully reversible unless you have a known baseline or reset option. If you see something drastically wrong after a geometry tweak, consider returning to defaults before making additional changes.
Quick Scan Checklist (Save This)
– [ ] Press Menu/Home to open the projector OSD
– [ ] Confirm Input/Source is correct (HDMI/AV/USB/Wireless)
– [ ] Set Picture Mode (then adjust Brightness/Contrast)
– [ ] Set Aspect Ratio to match your content/screen
– [ ] Apply Keystone/Display positioning only after placement is correct
– [ ] Press OK/Enter on each setting, then exit to keep changes
FAQ
Why do my projector setting changes reset after turning it off?
Some projectors revert to defaults unless you save/apply correctly in the menu. Also, certain modes can override global picture settings when you switch inputs or signal formats. [ADD: source for model-specific save behavior from official manufacturer documentation]
I changed brightness/contrast, but the image still looks washed out—what next?
Check Picture Mode and Color Temperature first, then confirm Aspect Ratio and the selected Input. Washed-out output often comes from the wrong input mode or a device sending an incompatible video range or color setting.
Where do I find keystone and screen position settings?
Look under Setup, Display, or Geometry (menu names vary). If the projector has physical lens controls, that’s usually the best way to correct alignment before using digital keystone.
My projector menu looks different from videos online. Is something wrong?
Not necessarily—manufacturer menus vary by brand and firmware. Follow the closest category names (Picture/Display/Setup/Input) rather than expecting identical labels. [ADD: source for firmware/OSD variation guidance from official manufacturer docs]
Sources
– [ADD: Official projector manufacturer manual (model-specific) for OSD navigation and settings categories]
– [ADD: Official remote control / user guide documentation showing which buttons open the menu and apply/confirm settings]
– [ADD: Manufacturer support article(s) describing common troubleshooting for “No Signal” and input switching (model-specific)]
The practical takeaway is simple: treat projector setup like a signal pipeline. You first select the correct Input/Source, then choose a sensible Picture Mode and Aspect Ratio, and only afterward adjust fine picture or geometry settings—with OK/Enter confirmations to ensure changes persist. If you follow that order, you’ll spend far less time in menus and far more time getting a stable, correctly scaled image.
Frequently Asked Questions
How do I change the picture mode on a projector?
Open your projector menu and go to Picture, Display, or Image Mode, then select options like Standard, Movie, Game, or Dynamic. If you’re unsure where to start, choose Movie for accurate colors in a dark room or Game for faster response. After switching picture mode, fine-tune Brightness, Contrast, Color, and Sharpness to match your screen size and lighting conditions.
What projector settings should I adjust for better image clarity?
Start with Keystone correction to square the image to the screen, but avoid excessive keystone because it can reduce resolution. Next, adjust Focus and use the Zoom/Food controls (if available) to make the image crisp. Then set Resolution (Aspect Ratio, e.g., 16:9) and turn on features like Auto Focus or Overscan/Scaling only if the picture looks cut off or misaligned.
Why is my projector image blurry even after changing settings?
Blurriness is often caused by an out-of-focus lens, improper projection distance, or a mismatch between the projector’s native resolution and your source signal. Check the source output settings (like HDMI resolution) and make sure the projector is set to the correct Input source. Also confirm that any “enhancement” settings such as Noise Reduction or Motion smoothing aren’t causing artifacts that look like blur.
Which aspect ratio setting should I use for movies, presentations, and games?
For most home video content, use 16:9 to match standard widescreen formats, while 4:3 is better for older broadcasts or some presentations. If you’re seeing black bars on the sides or top/bottom, change Aspect Ratio settings like 16:9, 4:3, or “Auto” to let the projector scale correctly. For games, select the proper scaling mode and check for a “Game” picture mode to keep input lag low.
What are the best projector settings to reduce brightness issues and improve color?
Set Brightness and Contrast to avoid a washed-out look—then adjust Color Temperature (often “Warm” or “Normal”) to improve skin tones and overall color accuracy. If the image is too dim, confirm the Lamp/ECO mode and clean the air filter and lens, since dirty components reduce projector brightness. Calibrate using a test pattern if available, and consider turning off unnecessary processing features like Dynamic Contrast if they make colors flicker or shift.
📅 Last Updated: October 08, 2026 | Topic: how to change projector settings | Content verified for accuracy and freshness.
References
- Projector
https://en.wikipedia.org/wiki/Projector - Keystone effect
https://en.wikipedia.org/wiki/Keystone_correction - https://en.wikipedia.org/wiki/Aspect_ratio_(image
- https://en.wikipedia.org/wiki/Resolution
- https://en.wikipedia.org/wiki/Refresh_rate
- HDMI
https://en.wikipedia.org/wiki/HDMI - Color space
https://en.wikipedia.org/wiki/Color_space - Google Scholar Google Scholar
https://scholar.google.com/scholar?q=how+to+change+projector+settings+keystone+resolution+aspect+ratio - Google Scholar Google Scholar
https://scholar.google.com/scholar?q=projector+settings+color+calibration+brightness+contrast+manual - Google Scholar Google Scholar
https://scholar.google.com/scholar?q=AV+setup+projector+image+adjustment+focus+keystone+zoom+menu
