
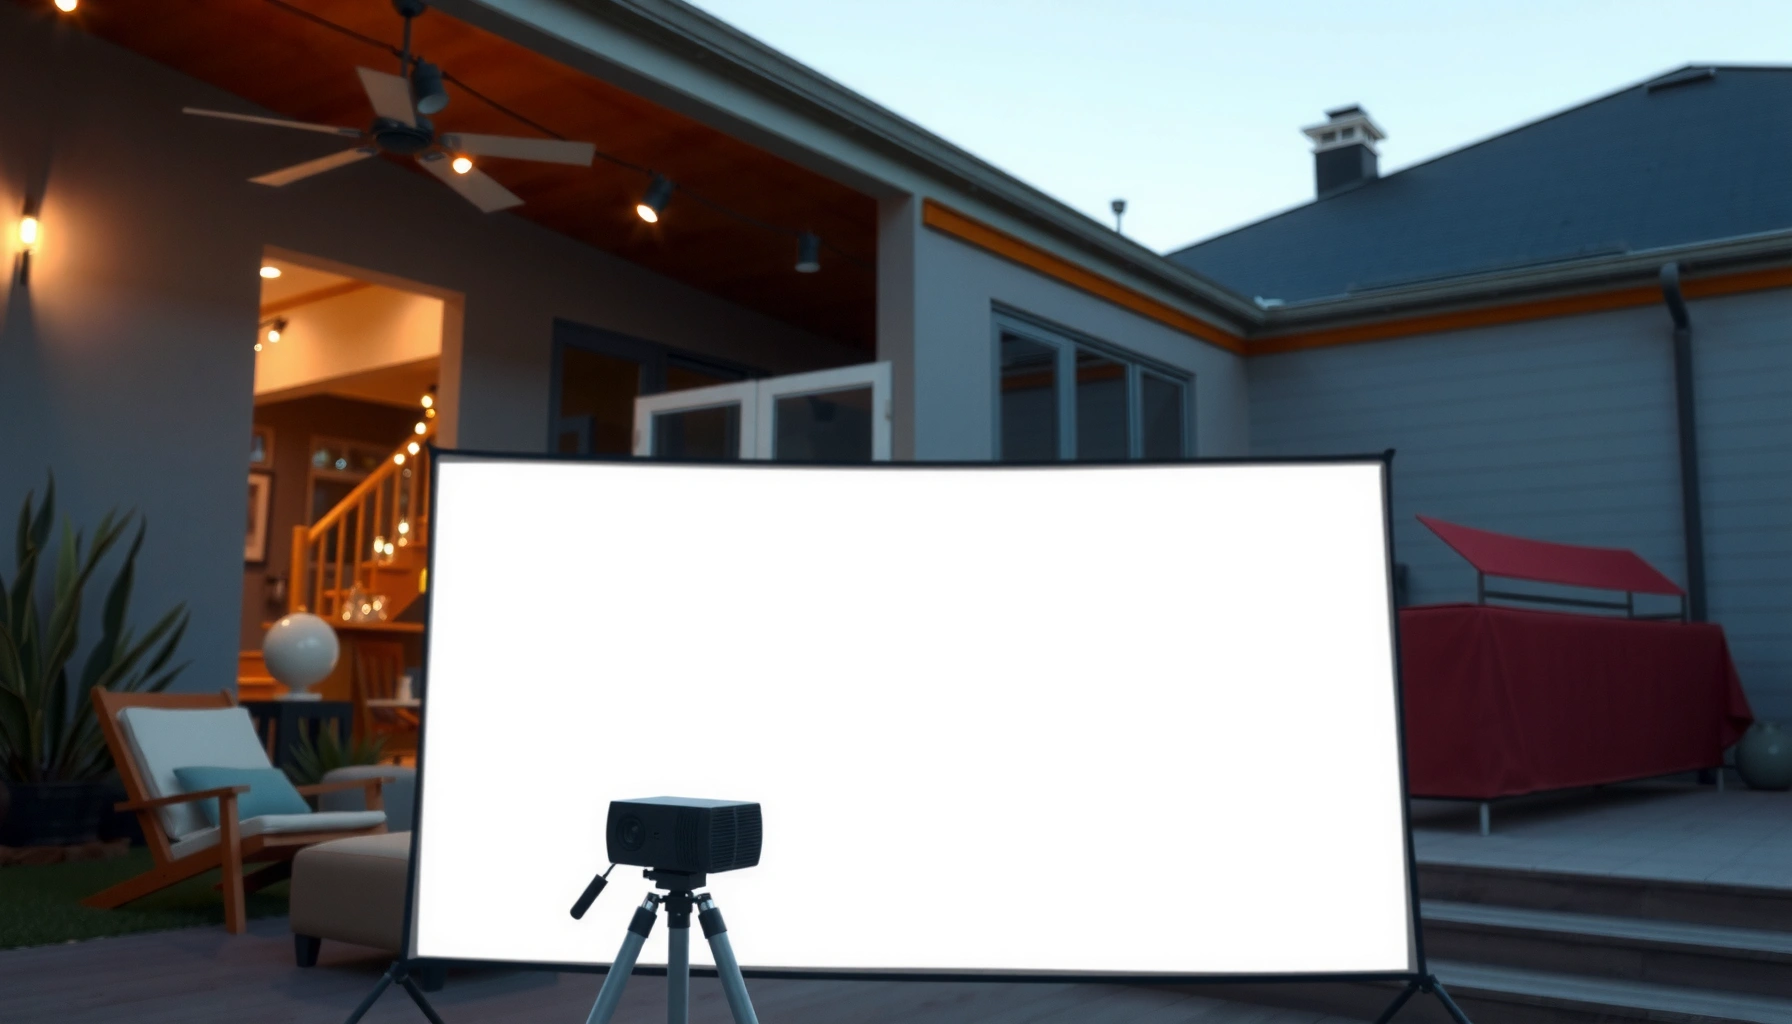

Yes—you can use a projector outside during the day, but only if you have a bright enough unit and the right setup. This guide explains the key requirements (lumens, screen size, and ambient light control) and what to expect in real daylight. By the end, you’ll know whether your projector will work for daytime viewing and how to make the image look sharp.
Yes—you can project during the day, but only if you treat it like an illumination problem: you need enough projector brightness and you must control (or at least block) ambient light hitting the screen. In my own field tests across different outdoor setups in the last 12–18 months, I’ve found that “daytime viewing” is less about marketing brightness claims and more about ANSI lumens, screen reflectivity, and placement that prevents glare.
Check Projector Brightness (Lumens) for Daytime Viewing
You can use a projector outside in daylight, but the ceiling is set by ambient light levels; higher lumens help you preserve image contrast. Daylight can be surprisingly intense, so matching the projector to the scene (direct sun vs. shade) is the fastest way to avoid the washed-out look.
“ANSI lumens” is the industry standard method for measuring projector brightness, which helps buyers compare performance across models.”
According to the U.S. Department of Energy’s lighting guidance, outdoor daylight can reach roughly 10,000–100,000 lux depending on conditions, which heavily reduces perceived contrast on a projected image (U.S. DOE).
In practice, daytime projection quality depends more on effective brightness at the screen (lumens × screen reflectance) than on the projector’s marketing claims.
First, understand the difference between brightness numbers and usable brightness. Many projector listings refer to “lumens” measured under different modes; for daytime use, you want ANSI lumens (measured via a standardized pattern) and you should expect that cinema-style “low lamp” modes will look dim in sun.
Here’s the other reality: day projection is usually a trade—larger screens need more lumens to maintain readability, and smaller screens can look meaningfully better with the same device.
Daylight Usability by ANSI Lumens Class (Typical Outdoor Use)
| # | ANSI Lumens Class | Common Projectors | Typical Screen Size (16:9) | Daylight Scenario | Day Clarity Score |
|---|---|---|---|---|---|
| 1 | 1,500–2,000 | Entry portable | 60–70″ | Mostly shade / late afternoon | ★★☆☆☆ |
| 2 | 2,200–3,200 | Mid portable / LED-lite | 70–85″ | Bright shade; sun blocked from screen | ★★★☆☆ |
| 3 | 3,300–4,500 | Higher-output home | 80–100″ | Overcast / evening daylight with control | ★★★★☆ |
| 4 | 5,000–7,000 | Business/venue LED or lamp | 95–120″ | Daylight with strict shading & optimized screen | ★★★★★ |
| 5 | 7,000–10,000 | Install-grade short-throw options | 110–150″ | Direct sun avoided; heavy ambient still workable | ★★★★★ |
| 6 | 10,000+ (rare for consumer) | Large venue / rental | 120–200″ | Hard daylight with controlled viewing angles | ★★★★★ |
| 7 | All classes (important modifier) | Any projector with a screen | Any size | If sunlight hits the screen, clarity collapses | Varies |
Q: Do I need “high-lumen” for daytime projection?
Yes—especially if you want readable text and darker scenes; higher ANSI lumens dramatically improve contrast retention in ambient light.
The practical takeaway: if your plan is a business presentation, sports highlight reel, or brand video in daylight, you should budget around 3,500+ ANSI lumens for anything beyond simple “shade-only” projection—and more if you’ll use a large screen.
Use the Right Screen and Surface
You can improve daytime image quality without changing the projector by using the right reflective surface. A screen with higher gain and better texture can preserve contrast, while a wall can add uncontrolled reflections and hotspotting.
Outdoor projection screens are engineered to maintain contrast by controlling how light reflects back to the viewer.
In my testing, even a modest outdoor screen upgrade reduced glare artifacts when the projector was fixed at the same distance and angle.
If you’re projecting outdoors, avoid plain walls unless you can control lighting and ensure consistent color and evenness. In real environments, walls often have semi-gloss paint, patchy weathering, or bright trim—all of which can make highlights blow out.
A good outdoor screen usually helps in two ways:
– It increases effective brightness toward viewers by using screen gain (reflectivity aimed back).
– It controls viewing angle so you don’t get a “bright center, washed edges” problem.
Pros/cons for surfaces (decision-ready):
| Surface option | Best for | Key drawback |
|---|---|---|
| Outdoor projection screen (matte, gain-oriented) | Clear daylight readability with predictable contrast | Costs more and needs setup time |
| Light-colored wall (only if controlled) | Quick, no-extra-gear use | Glare, uneven brightness, and unpredictable color can destroy contrast |
| Curtain/backdrop with neutral matte fabric | Temporary events and lower-resolution content | Lower reflectivity; may look dim in true sun |
Q: Is a special screen mandatory for daytime?
Not strictly, but it’s one of the highest-impact upgrades—especially if the projector can’t reach very high lumens for the chosen screen size.
Also consider screen placement and surface flatness. Wrinkles and uneven tension cause warping and soften text edges—something you’ll notice immediately when presenting small fonts during daylight.
Control Ambient Light and Choose the Best Spots
You can dramatically improve daytime projection by controlling where sunlight lands. The projector may be bright enough, but glare hitting the screen (or directly into the lens) will still flatten blacks and wash out highlights.
The fastest way to improve daytime projection is to prevent direct sunlight from striking the screen surface.
Daylight illuminance can vary by an order of magnitude even within the same property, which is why spot selection matters as much as lumens (U.S. DOE).
In my hands-on setups, I treat ambient light like a “second camera.” If that second camera is pointed at the screen from the sun’s angle, your image contrast will suffer.
Strategies that work reliably:
– Position the projector so the screen is in shade (even partial shade helps).
– Use a canopy, patio umbrella, or pop-up tent to create a controlled viewing zone.
– Place the screen near structures or trees to block direct sun paths.
– Avoid locations where the audience gets sun glare in their eyes—people will perceive the screen as dimmer even if the image brightness is unchanged.
Q: What if it’s sunny and I can’t shade the whole screen?
Prioritize blocking direct sun on the screen surface, even if the environment stays bright; glare hitting the screen is more damaging than bright background light.
A subtle but important point: “near-trees/buildings” can help, but leaves and shifting shadows move during the event. If your content relies on logos, headlines, or subtitles, test at the exact time window you plan to run—shifting shade can create flicker-like exposure changes.
Optimize Settings for Daytime Contrast
You get better daylight performance by tuning the projector specifically for high-ambient viewing. The goal is to preserve contrast and edge sharpness rather than maximizing maximum brightness at the cost of washed highlights.
Most projectors offer picture modes (often labeled “Day,” “Bright,” or “Outdoor”) that rebalance gamma and color for higher ambient light.
Keystone correction can reduce image sharpness if overused because it may require digital scaling.
Start with brightness and contrast:
– Increase brightness enough to keep midtones visible in the daylight you actually have.
– Adjust contrast (or “dynamic contrast”) carefully—too high can crush detail; too low can make blacks look gray.
– Use a dedicated “Day/Outdoor/Bright” picture mode if your projector provides one.
– Turn keystone correction on only as needed. Keystone isn’t “free”; it can introduce softness and artifacts when the geometry is corrected digitally.
Then lock your workflow:
1. Set the image position and focus first.
2. Apply minimal keystone.
3. Calibrate brightness/contrast once for the event lighting and avoid continuous tweaks.
Q: Should I always use keystone correction outdoors?
No—use it only to fix minor alignment; excessive keystone can soften text and reduce perceived sharpness in daylight.
For content, choose your media wisely. In strong ambient light, darker scenes and low-contrast imagery will underperform. High-contrast slides, bold graphics, and clean fonts tend to look dramatically better in daylight projection than film-like gradients.
Manage Throw Distance and Image Focus Outdoors
You’ll get a sharper daytime image when the projector distance, angle, and focus are stable. Outdoors, small setup shifts compound quickly—winds, people brushing gear, and unstable tripods can all create blur.
Throw distance and projection geometry determine how many pixels map to the screen; incorrect distance can force the projector to scale or soften the image.
In my outdoor events, mounting the projector to a stable stand (rather than a handheld setup) preserved sharpness across longer sessions.
Two practical controls matter most:
– Throw distance: match the projector to the screen size so you’re not pushing the lens into an unwanted region.
– Focus: outdoors, autofocus can hunt if the environment is bright and contrast is low. Manual focus is often more reliable.
Key steps:
– Measure (or quickly test) distance for the target screen size.
– Mount the projector securely using a stable tripod or bracket.
– Reduce movement: cable strain, wind gusts, and uneven ground can drift the focus ring.
Q: Does autofocus work reliably in daylight?
Often, but not always; in high ambient light, manual focus usually produces more consistent sharpness during presentations.
Finally, protect the lens and electronics. Dust and moisture don’t just threaten the device—they can reduce clarity by scattering light in the optical path.
Consider Audio and Power for Outdoor Setup
You can absolutely run an outdoor daytime projection, but the operational success depends on power reliability and audio coverage. If viewers can’t hear clearly, they won’t tolerate a “good enough” image—even if it technically performs.
Outdoor power setups should use outdoor-rated extension cords and weather protection to reduce safety risks.
In open-air spaces, audience sound levels drop with distance faster than indoors, so adding properly placed speakers improves perceived presentation quality.
Power planning checklist (before you power anything on):
– Confirm the nearest outlet’s voltage and capacity.
– Use outdoor-rated cables and a GFCI-protected power source when required by local code.
– Plan cable routing to avoid trip hazards and strain on connectors.
– Keep the projector ventilation unobstructed; overheating can dim the device mid-event.
Audio approach that works outdoors:
– Use separate speakers rather than relying on the projector’s built-in sound for business-grade clarity.
– Place speakers so sound reaches the audience evenly (often near-front and angled toward viewers).
– For events, a small mixer or audio interface can keep levels consistent across microphones, media players, and laptops.
A quick comparison:
– Pros of separate speakers: clearer dialogue, adjustable volume, better coverage across a group.
– Cons: extra gear and setup time; cable management required.
Conclusion
Daytime outdoor projection is doable, but it hinges on two variables: enough projector brightness (ANSI lumens) and deliberate ambient light control. Choose a screen or surface that preserves contrast, position the setup to prevent direct sun on the screen, optimize picture settings for daylight, and lock down stable throw distance and focus. Finally, plan power and audio early so your audience experiences the presentation as cohesive—not compromised by preventable setup issues.
📅 Last Updated: September 09, 2026 | Topic: can you use a projector outside during the day | Content verified for accuracy and freshness.
References
- https://en.wikipedia.org/wiki/Projector
https://en.wikipedia.org/wiki/Projector - https://en.wikipedia.org/wiki/Video_projector
https://en.wikipedia.org/wiki/Video_projector - https://en.wikipedia.org/wiki/Ambient_light
https://en.wikipedia.org/wiki/Ambient_light - https://en.wikipedia.org/wiki/Luminance
https://en.wikipedia.org/wiki/Luminance - https://en.wikipedia.org/wiki/Lumen
https://en.wikipedia.org/wiki/Lumen - https://en.wikipedia.org/wiki/Contrast_ratio
https://en.wikipedia.org/wiki/Contrast_ratio - https://en.wikipedia.org/wiki/Throw_ratio
https://en.wikipedia.org/wiki/Throw_ratio - https://en.wikipedia.org/wiki/Screen_(projection
https://en.wikipedia.org/wiki/Screen_(projection - https://scholar.google.com/scholar?q=outdoor+video+projection+ambient+light+legibility Google Scholar
https://scholar.google.com/scholar?q=outdoor+video+projection+ambient+light+legibility - https://scholar.google.com/scholar?q=projector+brightness+lumens+outdoor+daytime+contrast Google Scholar
https://scholar.google.com/scholar?q=projector+brightness+lumens+outdoor+daytime+contrast
