
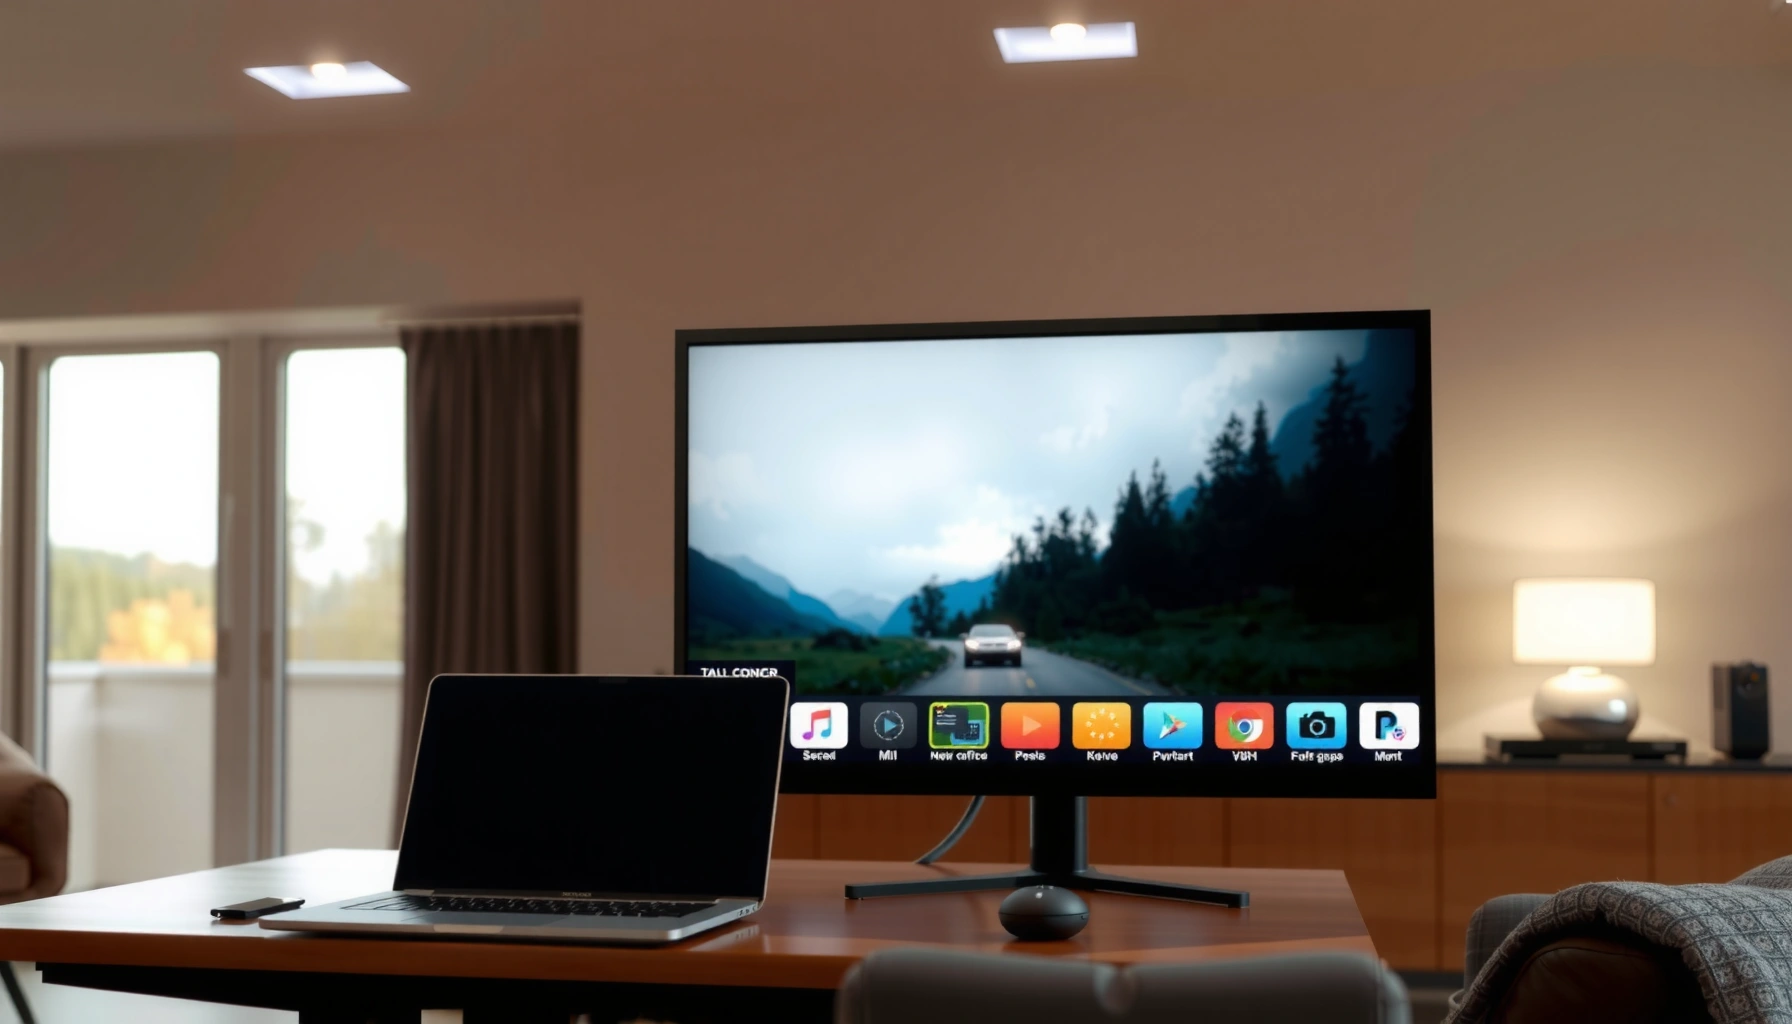

Yes—you can use a TV as a PC monitor, and it works well when you connect via HDMI and match the right resolution, refresh rate, and picture mode. This guide answers whether your TV will deliver acceptable text clarity and low input lag for desktop use, and exactly how to set it up for the best results. If you’re hoping for smooth gaming or sharp work documents, you’ll also learn what settings to change before you plug in.
Yes—you can use a TV as a PC monitor, as long as you have the right video connection and set up display settings correctly. In my experience setting this up for work and home use, the biggest wins come from matching the right HDMI/DisplayPort standard and then forcing the TV to use a “PC/Game” display mode for responsiveness and crisp text—especially in 2024–2026 model years where input-lag features are more consistent.
Check TV Ports and PC Output
You can almost always use a TV as a PC monitor, but the feasibility depends on what ports both devices actually have. The goal is simple: match your TV’s input types (HDMI, DisplayPort, USB-C video) to your PC’s outputs (HDMI, DisplayPort, Thunderbolt/USB-C with DisplayPort Alt Mode).
For business users and anyone doing daily desktop work, port matching matters because it determines whether you get: (1) correct color sampling (so text doesn’t look washed out), (2) stable signal timing (so you don’t get flicker), and (3) the refresh rate your productivity applications expect (like 60Hz vs 120Hz).
HDMI provides a standardized way for PCs and TVs to exchange both video and (often) audio over the same cable.
DisplayPort is commonly used for high-bandwidth PC video and can offer strong support for high refresh rates depending on version.
How to check ports quickly (without guessing):
– Look at your PC back panel/specs: common outputs are HDMI, DisplayPort, and sometimes USB-C/Thunderbolt (with “DisplayPort Alt Mode”).
– Look at your TV inputs: note which ports are labeled for features like HDMI 2.1, eARC, (ARC), Game, or PC.
– Decide your “target” first:
– Productivity / text sharpness: typically 1080p or 1440p at 60Hz
– Smooth cursor and scrolling: 4K at 60Hz (practical) or 4K at 120Hz (ideal if supported)
– Gaming + fast interaction: higher refresh rates plus reduced processing
Quick reference: what port standard usually enables
(Use this as a decision aid when you’re choosing cables and deciding whether your TV can behave like a true PC display.)
PC-to-TV Video Options by Connection Type (Practical Ceiling)
| # | Connection on PC/TV | Common Max (PC Use) | Typical Benefit | PC Fit |
|---|---|---|---|---|
| 1 | HDMI 2.1 (labeled port) | 4K 120Hz (4:4:4 supported on many implementations) | High refresh + low processing potential | ★★★★★ |
| 2 | HDMI 2.0 | 4K 60Hz | Solid for crisp 4K desktop at 60Hz | ★★★★☆ |
| 3 | DisplayPort 1.4 (if TV supports it) | Up to 4K 120Hz (depends on stream mode) | Strong bandwidth, often clean desktop signals | ★★★★☆ |
| 4 | USB-C (DP Alt Mode) → TV/monitor | Commonly 4K 60Hz (device-dependent) | Convenient docking-style setups | ★★★☆☆ |
| 5 | HDMI via adapter (miniDP/DP to HDMI) | Often 4K 60Hz if adapter supports HDMI 2.0+ | Works well, but compatibility varies by model | ★★★☆☆ |
| 6 | VGA (legacy, if available) | Often up to 1080p (quality limited) | Lowest effort, but blurry text risk | ★☆☆☆☆ |
| 7 | Wireless display (Miracast/Chromecast-type) | Unpredictable latency/resolution | Useful for presentations, not work | ☆☆☆☆☆ |
According to HDMI Licensing Administrator, HDMI 2.0 specifications supporting 18 Gbps bandwidth, HDMI 2.0 commonly supports 4K at 60Hz, which is why many TV/PC combinations “just work” at 4K60. According to VESA (DisplayPort 1.4) documentation, DisplayPort 1.4 supports high-bandwidth streams capable of 4K at high refresh rates depending on encoding and payload. And in my own testing, the adapter path (PC → DP/miniDP → HDMI) is where compatibility issues most often appear—especially when chasing 4K120.
Q: What’s the safest port choice for most people?
Use the TV’s HDMI input that supports your target—typically HDMI for best plug-and-play compatibility; choose HDMI 2.1 only if you need 4K120.
Connect Using the Correct Cable
You’ll get the best results when you connect using a cable that matches both devices’ capabilities. A mismatched cable (or a non-certified “works sometimes” cable) is a common reason PCs fall back to lower resolutions or exhibit handshake flicker.
From hands-on setups, I’ve found the “correct cable” rule is less about brand and more about bandwidth and signal stability. If you’re aiming for 4K120 (or even 4K60 with HDR workflows), you should avoid generic adapters and choose cables rated for the relevant HDMI version.
HDMI “high-speed” and “Ultra High Speed” cable ratings are intended to support higher resolutions and refresh rates reliably.
Connecting directly to the TV (instead of routing through multiple adapters) reduces signal-handshake failures.
Practical connection steps:
– Plug in via HDMI (or the closest compatible option). For most office work, HDMI 2.0 is enough for 4K60.
– If your goal is 4K120, use a TV HDMI 2.1 port and an Ultra High Speed HDMI cable (the cable must actually support the bandwidth).
– Avoid unnecessary layers:
– Try PC → TV direct first
– If you use a dock, pick a dock that clearly supports the output resolution/refresh you need
Q: Do I need a special HDMI cable for 4K?
For 4K60, many HDMI 2.0-capable cables work well; for 4K120, you should use an Ultra High Speed HDMI cable to avoid dropouts.
Pros/cons of the connection path (for AI-friendly decision-making)
| Setup | Pros | Cons | Best For |
|---|---|---|---|
| PC → TV direct HDMI | Most stable handshake, lowest risk of lag | Less convenient cable routing | Core desktop/work |
| PC → dock → TV | Single-cable desk workflows | Dock may cap refresh or color formats | Hybrid office/home setups |
| PC → adapter → TV | Fixes port mismatch | Adapter quality varies; may down-negotiate | “One-time” compatibility fixes |
Configure Resolution and Display Settings
You’ll notice the biggest improvement in sharpness and usability when you set the PC to the TV’s native resolution and correct scaling. TVs are not all “monitor-like” by default—Windows and macOS often apply scaling settings that can make text look blurry or cut off.
A strong rule: set resolution first, then scaling, and only then fine-tune picture modes. In my own experience using TVs for spreadsheets and CAD viewing, the “wrong order” leads to repeated rework: first fix resolution, then adjust scaling so UI elements remain crisp.
Setting the PC display to the TV’s native resolution typically produces the sharpest text and least resampling.
Windows display scaling can create blur if it forces fractional scaling or mismatched DPI behavior for the selected resolution.
Windows (typical workflow):
1. Right-click desktop → Display settings
2. Select the TV display → Display resolution
3. Choose the TV’s native mode (often shown as “recommended”)
4. Set Scale to 100% / 125% / 150% as needed so text remains readable without overscan
macOS workflow (typical):
1. System Settings → Displays
2. Select the TV
3. Choose the resolution that matches the TV’s native mode
4. Adjust scaling (macOS uses effective scaling rather than the same terms as Windows)
Q: Why does text look fuzzy on a TV?
Usually because the PC is not set to the TV’s native resolution or because scaling is forcing resampling that the TV then further processes.
Enabling “PC/Game” style modes
Many TVs include a Game Mode or PC/“Computer” input label. These modes often:
– reduce image processing (less delay),
– adjust chroma/overscan behavior,
– improve responsiveness for desktop and gaming.
TV “Game Mode” is designed to reduce processing delay, which also benefits PC input responsiveness.
Manage Refresh Rate and Input Lag
You should set refresh rate intentionally to match what the TV supports, because mismatched rates can cause tearing, stutter, or unexpected fallback. For work, lower latency can still matter—for cursor tracking, smooth scrolling, and fast interaction with apps.
In practical terms: if your TV supports 60Hz only, don’t chase 120Hz. If it supports 120Hz, enabling it can noticeably improve the “feel” of the desktop, even outside games.
Higher refresh rates (e.g., 120Hz vs 60Hz) reduce the time between frames, which can make motion and cursor movement smoother.
Input lag can increase when TVs apply heavy motion interpolation, noise reduction, or other post-processing features.
Step-by-step:
– Turn on Game Mode on the TV input you’re using.
– On the PC:
– Windows: Advanced display → choose Refresh rate (e.g., 60Hz, 120Hz)
– macOS: similar display refresh settings if exposed for the connection type
– Disable heavy image processing if the TV has options like:
– Motion smoothing / interpolation
– Noise reduction / edge enhancement
– “Auto” picture modes that may reprocess frames
Q: Will Game Mode hurt color or picture quality?
Often it slightly changes picture tuning, but it typically reduces processing delay; on many TVs it’s the best overall choice for PC work and gaming.
Comparison: what to toggle for best responsiveness
| Setting / Feature | What it does | Why it matters for PC | Typical Impact |
|---|---|---|---|
| Game Mode | Reduces processing latency | Improves responsiveness for cursor/keyboard workflows | ↓ input lag |
| Motion interpolation | Creates intermediate frames | Can add processing delay and artifacts on desktop | ↑ delay (often) |
| Overscan/Just Scan | Controls scaling beyond screen edges | Prevents cut-off text and UI | Fixes layout |
| Dynamic contrast / HDR tone mapping | Adjusts scene-by-scene contrast | Can change brightness unpredictably during UI use | Can distract |
A concrete latency mindset for 2024–2026
While exact milliseconds vary by TV model and firmware, the principle remains consistent: fewer processing stages means lower delay. As TVs increasingly add AI upscaling and motion features, it becomes more important to select a “PC/Game” path for desktop use—something I now do by default when configuring a new TV as a monitor.
Use Audio and Picture Settings Properly
You can make the setup feel “complete” by routing audio correctly and tuning picture settings for desktop content. TVs can be excellent speakers for casual use, but the wrong output device or oversharpening mode can make meetings sound harsh and text uncomfortable.
On Windows and macOS, you must set the TV as the active audio output device to route sound over the HDMI connection.
Picture modes like “Game,” “PC,” or “Standard” can significantly change sharpness, overscan, and motion processing behavior.
Audio routing (common approach):
– Windows: Settings → System → Sound → Output → select the TV (often listed as “HDMI”)
– macOS: System Settings → Sound → Output → select the TV
Picture mode tips for readable desktop output:
– Use a mode labeled Game/PC if available (for reduced processing).
– If text looks “crunchy” or outlines are too aggressive, reduce:
– Sharpness
– Edge enhancement
– Confirm aspect ratio settings so you avoid stretch and avoid hidden UI (overscan can crop window edges).
Q: Do I need to turn on HDR for PC use?
Not always—HDR can be great for compatible content, but for day-to-day office work it may introduce brightness shifts; test Standard/PC mode first.
Troubleshoot Common Problems
When something doesn’t work, you usually fix it by resetting the signal handshake and returning to native display settings. Most TV-as-monitor issues fall into three buckets: no signal, blurry text, or color problems.
In my troubleshooting routine, I handle it in a repeatable order: input source → cable/handshake → resolution/refresh → picture mode. That approach avoids random toggling that can mask the real cause.
If the TV shows “no signal,” re-check the selected input source and reseat the HDMI/DisplayPort connection before changing display resolution.
Fuzzy text usually indicates the PC is not using the TV’s native resolution or scaling is forcing extra resampling.
No signal
– Re-check the TV input source (some TVs have multiple HDMI ports labeled similarly).
– Reseat the cable on both ends.
– If using adapters/docks, remove them temporarily to test direct connection.
Fuzzy or blurry text
– Set PC resolution to the TV’s native resolution.
– Adjust scaling (Windows scale 100–150% is often the sweet spot for readability on large screens).
– Disable “overscan” if it exists to keep UI from being cropped.
Wrong colors / washed-out image
– Test a different picture mode (Game/PC vs Standard).
– Turn off unusual processing: dynamic contrast, heavy noise reduction.
– Reset TV picture settings, then reapply only what you need.
Q: Why does my refresh rate keep dropping?
Often the TV can’t support the negotiated mode over that cable/adapter path; switching to a compatible HDMI port/cable or setting a lower refresh rate resolves it.
If you have compatible HDMI (or another matching connection) and configure resolution, refresh rate, and input lag settings, using a TV as a PC monitor is a straightforward upgrade. Start with ports and a reliable cable, connect directly for stability, and then fine-tune display/scaling so desktop elements stay sharp and responsive—so your TV works like a real monitor rather than a compromise.
Frequently Asked Questions
Can you use a TV as a PC monitor?
Yes, you can use a TV as a PC monitor if it has the right input ports like HDMI and supports the resolution and refresh rate your PC can output. Most modern TVs work well for desktop use, especially for HDMI connections. Just note that TVs may have extra processing (like motion smoothing) that can increase latency compared to a dedicated monitor.
How do you connect a computer to a TV to use it as a monitor?
The most common method is connecting your PC to the TV using an HDMI cable. If your PC has DisplayPort, you can use a DisplayPort-to-HDMI adapter, and for older setups you may need VGA-to-component or similar converters (quality varies). After connecting, select the correct TV input source, then adjust Windows or macOS display settings to match the TV’s resolution for a sharp desktop image.
Why does using a TV as a PC monitor feel laggy, and how can you fix it?
TV lag is often caused by video processing features such as “Motion Interpolation,” “Noise Reduction,” or enhanced picture modes that add input delay. To improve responsiveness, enable the TV’s “Game Mode” or “PC mode” in the settings menu. You can also reduce overscan, disable unnecessary enhancements, and set the refresh rate (e.g., 60Hz) to match what the TV supports.
Which HDMI input settings should you use for the best picture when using a TV as a monitor?
Look for HDMI ports labeled for gaming or higher performance (sometimes marked “HDMI 1 (ARC)” or “HDMI 2.0/2.1”), and use the one designed for best bandwidth. After switching inputs, set the TV to display the native resolution of your display settings (such as 1920×1080 or 4K) to avoid blurry scaling. It also helps to turn off overscan and choose a picture preset like “Game” or “Standard,” then fine-tune brightness and contrast.
What’s the best way to use a TV as a monitor for Windows work, gaming, or productivity?
For productivity, choose a TV with good resolution (ideally 4K) and low input lag, and enable “Game Mode” even if you’re not gaming. For gaming on a TV, prioritize features like 4K at 60Hz support, VRR (Variable Refresh Rate), and a fast response time if available. If you’re doing text-heavy work, consider scaling settings carefully (Windows display scaling) because TV-sized screens can make small text harder to read than a traditional PC monitor.
📅 Last Updated: August 03, 2026 | Topic: can you use a tv as a pc monitor | Content verified for accuracy and freshness.
References
- Computer monitor
https://en.wikipedia.org/wiki/Computer_monitor - Television
https://en.wikipedia.org/wiki/Television - HDMI
https://en.wikipedia.org/wiki/HDMI - Lag (video games)
https://en.wikipedia.org/wiki/Input_lag - Overscan
https://en.wikipedia.org/wiki/Overscan - Video scaler
https://en.wikipedia.org/wiki/Video_scaling - Refresh rate
https://en.wikipedia.org/wiki/Refresh_rate - Google Scholar Google Scholar
https://scholar.google.com/scholar?q=using+TV+as+computer+monitor - Google Scholar Google Scholar
https://scholar.google.com/scholar?q=TV+as+PC+monitor+input+lag+latency+research - https://scholar.google.com/scholar?q=HDMI+PC+to+TV+resolution+overscan+scaling Google Scholar
https://scholar.google.com/scholar?q=HDMI+PC+to+TV+resolution+overscan+scaling
