
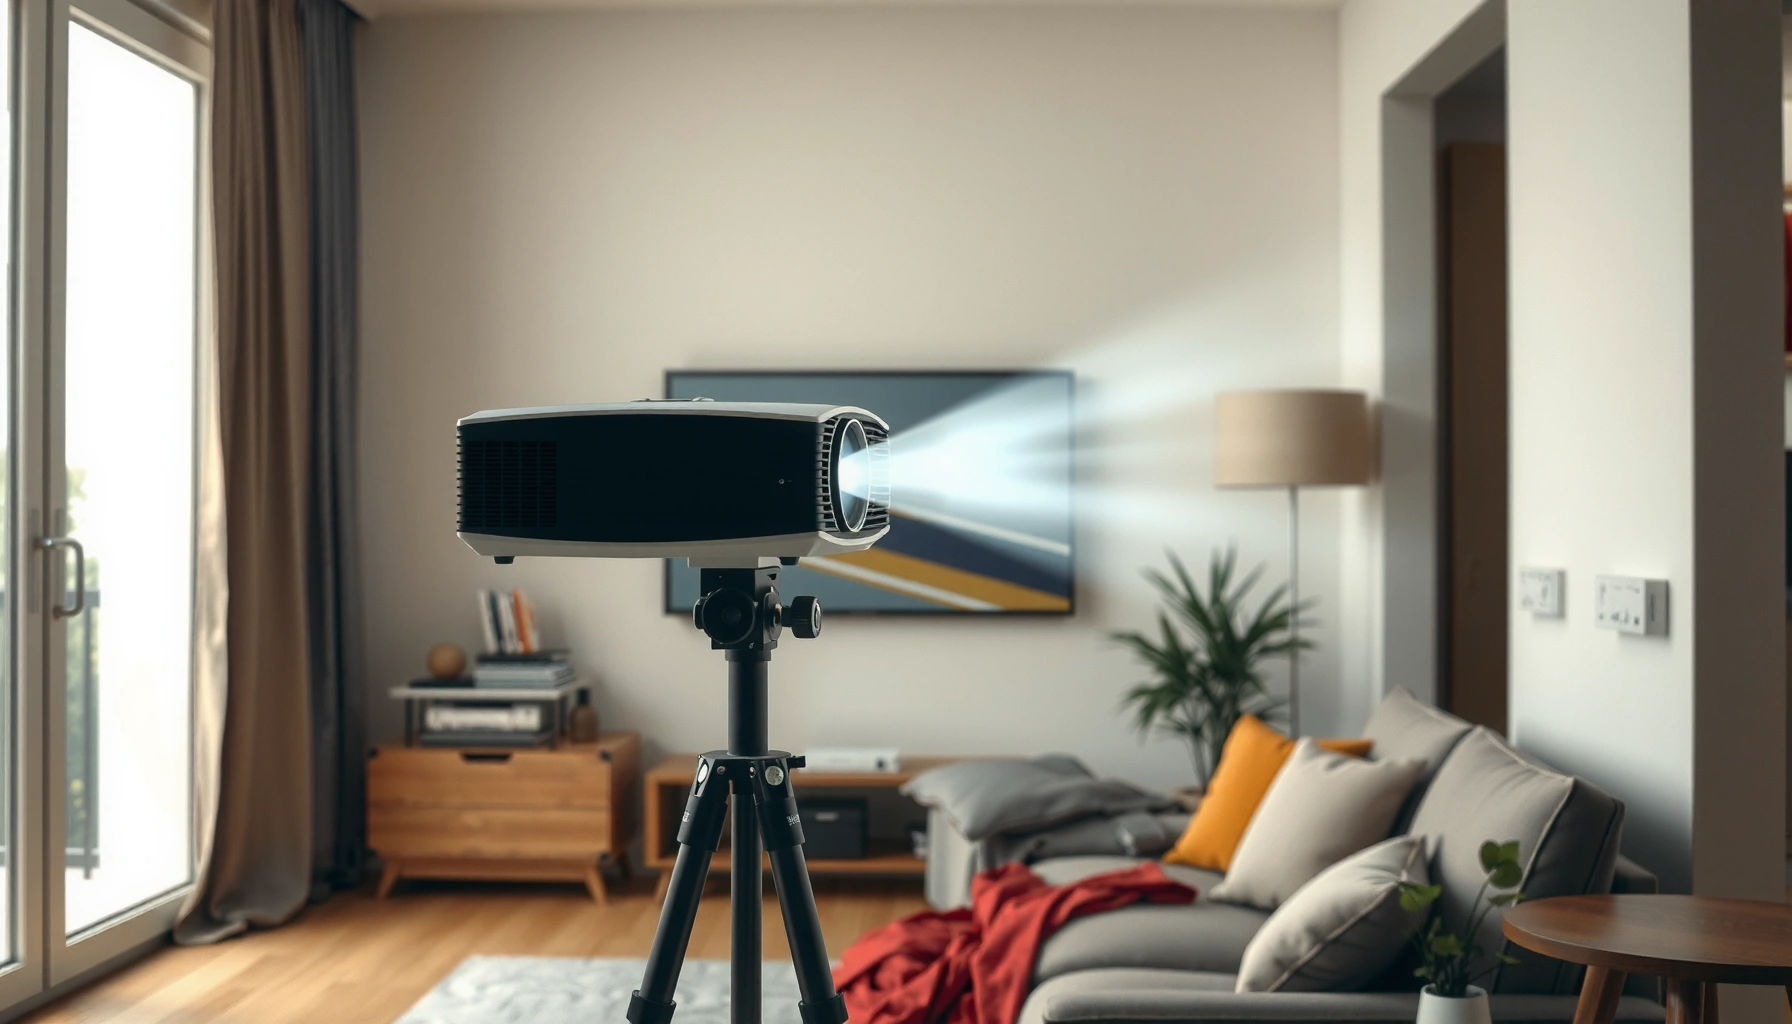

How far off center can a projector be placed—and still deliver a properly square image—depends on its lens’s throw and lens-shift limits. For most home and office projectors, staying within the manufacturer’s rated lens-shift range is the clear rule that keeps geometry distortion and keystone correction to a minimum. If you’re aiming for the cleanest, most undistorted picture, the verdict is simple: center placement (or within lens shift) wins, while going beyond it quickly degrades clarity and edges.
You can often place a projector noticeably off center if your model has horizontal (and vertical) lens shift, because lens shift reframes without “tilting” the image. If you’re relying mainly on keystone, keep the correction small—how far you can go is limited by your projector’s lens shift range and by how much corner softness or brightness falloff you’ll tolerate.
Placing a projector off center matters most when you need a rectangular, high-clarity image on a fixed screen (home theater, classroom, or conference room). The practical limit isn’t a single “inches” number—it’s the combination of (1) lens shift specs, (2) throw distance, (3) whether you’re using zoom, and (4) how sensitive your content is to corner distortion and micro-softness.
In this guide, we’ll walk through the constraints that actually govern off-center placement, show you how to estimate allowable offset, and explain what goes wrong when keystone becomes your primary correction method—so you can plan a setup that stays sharp and readable in real use.
Check lens shift first (that’s the real off-center limit)
If you can correct the needed offset with lens shift, you can usually tolerate more off-center placement while keeping the image clean and rectangular. If your projector has little or no horizontal lens shift, the safe “off center” distance shrinks dramatically because you’ll be pushed toward keystone.
Start by finding your projector’s lens shift specification. Manufacturers typically express lens shift as a percentage of the image size (for example, ±X% vertical and ±Y% horizontal). “Image size” here means the projected image dimensions at the screen, not the screen size you ordered.
Lens shift is specified by manufacturers as a percentage of the projected image width/height, and that percentage directly bounds how far the projector can be moved off axis without tilting.
Horizontal lens shift (or lack of it) is the key determinant for “off center” placement; vertical-only lens shift won’t help you keep side edges straight.
Keystone correction geometrically reshapes the image, but lens shift changes framing position instead of relying on trapezoid correction.
Here’s how to apply the spec in plain terms:
– Find horizontal lens shift range (e.g., ±Y% of image width).
– Estimate required shift from your physical placement.
– If the required shift is within the lens shift range, you’re using the “right tool.”
– If it’s outside the range, the projector will compensate with keystone (or you’ll have distortion), which is where quality often degrades.
One useful geometry anchor for planning: for a 16:9 screen, screen width (W) ≈ diagonal (D) × 0.872. So a 100-inch diagonal screen is about 87.2 inches wide (≈ 221.5 cm). If a projector has ±15% horizontal lens shift, the maximum usable horizontal shift at that image size is:
– Max shift ≈ 0.15 × 87.2 in ≈ 13.1 inches of image-width reframing capability (again, this is based on that projector’s spec).
What to look for in the spec sheet (so you don’t get surprised)
Many users find vertical lens shift first (because it’s more obvious when the image is too high/low). For off-center placement, you must locate the horizontal lens shift figure specifically. If your projector only lists vertical shift (or “horizontal shift: not available”), then “off center” usually means you’ll be doing a lot of keystone.
Also check whether the lens shift spec assumes a certain mounting orientation (ceiling mount vs. table mount) and whether zoom affects the usable shift range. Some models keep shift fairly constant; others change the effective coverage slightly at extreme zoom positions. If you want the most reliable rectangle, set zoom first (or at least keep it consistent) and then fine-tune shift.
Keystone vs lens shift: which one you should rely on
Lens shift is usually the better primary method because it keeps the optical geometry aligned for a more stable, crisp image. Keystone can fix the shape, but it often does so by resampling (digital warping), which can introduce softness and, on some setups, edge brightness/clarity issues.
Keystone correction works by digitally warping the image to a rectangle, which can reduce sharpness—especially noticeable on high-detail slides and subtitles.
Lens shift reframes the image within the optical path, generally preserving image focus consistency better than keystone-only setups.
From an installer’s perspective, the difference is simple:
– Lens shift: moves the projected image within the screen area without requiring the projector to “aim” at an angle that creates a trapezoid.
– Keystone: corrects the trapezoid that happens when the projector is angled relative to the screen.
A practical comparison (so you can decide quickly)
Below is a feature-level comparison that’s useful when you’re deciding how much to tolerate.
| Method | Best Use | Main Trade-Off |
|---|---|---|
| Horizontal/Vertical lens shift | Get the image rectangle without tilting; maximize readability of text and fine details | Limited by the lens shift percentage in the manual; extreme placements can exceed the range |
| Keystone (manual or auto) | Quick correction when you’re close to square and only need small adjustments | More visible softness/unevenness as correction increases; extreme values can make edges look less crisp |
A reality check for conference rooms and classrooms
In business settings, you’re often projecting small fonts (spreadsheet cells, agenda items, pricing tables). In those cases, “acceptable rectangle” isn’t enough—you need corner clarity so text remains legible at the back of the room.
If your model supports lens shift, make lens shift your first resort. If you find yourself turning keystone until the rectangle “looks right,” you’re already past the point where fine detail usually starts to suffer.
Use throw distance to estimate how much off-center is likely acceptable
Throw distance (projector-to-screen distance) determines how quickly lateral offset grows into the type of trapezoid that drives keystone corrections. If you can adjust placement or zoom, you can often reduce off-center requirements before they become a keystone problem.
Throw distance and screen size together determine the projector geometry; changing placement changes the trapezoid angle that keystone must correct.
Zoom affects the usable framing area on the panel/lens, which can change how much correction you need for the same physical offset.
Here’s a straightforward workflow:
1. Measure throw distance (projector lens to screen surface).
2. Decide the target image size (screen diagonal or width).
3. Position the projector so the image lands as close to centered as possible.
4. Use lens shift to align edges.
5. Only then use keystone for small remaining correction.
A concrete planning example (the math you can reuse)
To translate “off-center” into an expected lens shift requirement, you can use this planning approach for 16:9 screens:
– Compute screen width:
W = D × 0.872 (where D is diagonal in the same units you want for W).
– Decide your projector’s horizontal lens shift limit as a percentage: ±Y% of image width.
– The maximum helpful shift at the screen is:
Max shift ≈ (Y/100) × W
Then, compare that with the offset your mounting location forces. If your required horizontal shift exceeds Max shift, you’ll be outside the “lens shift clean zone.”
To make that tangible, the table below converts a common lens-shift assumption into projected offsets for different screen sizes.
Example: Converting ±15% Horizontal Lens Shift into Usable Off-Center Offset (16:9)
| # | Screen Diagonal | Approx. Width (W) | Max Shift @ ±15% (0.15×W) | Usable Off-Center Margin |
|---|---|---|---|---|
| 1 | 70″ | 61.0″ | 9.15″ | Comfortable |
| 2 | 80″ | 69.8″ | 10.47″ | Comfortable |
| 3 | 90″ | 78.5″ | 11.78″ | Mostly OK |
| 4 | 100″ | 87.2″ | 13.08″ | Mostly OK |
| 5 | 110″ | 95.9″ | 14.39″ | Cautious |
| 6 | 120″ | 104.6″ | 15.69″ | Likely keystone-needed |
| 7 | 130″ | 113.4″ | 17.01″ | Likely keystone-needed |
Note: This table is an example calculation assuming ±15% horizontal lens shift and a 16:9 image. Your projector’s manual may specify a different percentage (and may vary by zoom), so treat this as a planning reference—not a universal rule.
What can go wrong when you place the projector too far off center
If you push beyond what lens shift can cover, keystone starts doing more of the work—and that’s when softness, edge falloff, and text readability problems become more noticeable. Even when the image looks “rectangular,” overcorrection can reduce effective clarity and uniformity.
As keystone correction increases, the projector must warp and resample more pixels, which can lead to softer text and less crisp corners.
Corner regions are where geometric correction errors and brightness nonuniformity are most visible in real rooms.
Common failure modes include:
– Overusing keystone can introduce softness and uneven brightness.
On large images, any edge softness becomes easier to see, especially with small fonts or fine gridlines.
– Trying to “stretch” framing with aggressive correction.
When you rely on keystone to compensate for a major offset, you’re effectively asking the system to reshape more than it needs to. That can make subtitles and spreadsheet labels harder to read.
– Screen type can exaggerate edge issues.
Some ambient-light-rejecting (ALR) and structured surfaces can make perceived corner brightness differences more obvious than on neutral matte screens. If you’re using an ALR screen, verify corner clarity from your primary seating position.
Trade-offs you may not expect
Keystone can fix geometry but not always fix what you perceive as “sharpness.” Resampling can reduce micro-contrast, so edges look less crisp even when focus is correct. Also, auto-keystone (when enabled) can shift correction during quick movement of the projector or changes in zoom/format—so it can be worth switching to manual control once your setup is aligned.
Practical verdict: a safe approach (and when to skip)
The safest rule is to place the projector so the image lands as straight as possible, then use lens shift first and keystone only as a final, modest adjustment. If you’re forced into heavy keystone—especially on horizontal offset—assume readability will drop and plan a repositioning or different hardware strategy.
A lens-shift-first setup typically preserves image clarity better than keystone-only alignment because it avoids large trapezoid correction.
If horizontal lens shift is minimal, the “off center” limit becomes much tighter because you’ll otherwise depend on keystone for side alignment.
For business slides and classroom subtitles, corner sharpness matters as much as overall rectangular shape.
Start with placement:
1. Minimize off-center physically before touching software corrections.
2. Apply lens shift to bring the image rectangle into position.
3. Use keystone sparingly—treat it as a fine-tuning tool, not a substitute for correct geometry.
4. Re-check after locking the projector mount (mounting and fine screw adjustments can change alignment slightly).
From a practical standpoint, you should also decide what “acceptable” means for your audience:
– If you project slides with titles, bar charts, and bullet points, modest corner corrections may be tolerable.
– If you project small fonts, spreadsheets, diagrams, or subtitles, be more conservative and prioritize true placement accuracy.
When you should skip aggressive off-center placement
Skip heavy off-center positioning if:
– Your content depends on consistent readability (small text, detailed tables, fine labels).
– Your projector has minimal horizontal lens shift, and repositioning is constrained by a fixed ceiling mount or bracket.
– You’re using an ALR/structured screen and you can’t validate edge uniformity from the main seating area.
Also, if your projector supports zoom, use it to reduce the required correction. Often, modest zoom changes reduce the amount of geometric warping needed to fill the screen cleanly.
Quick checklist (scan and save)
Use this checklist to keep projector placement disciplined: lens shift first, keystone second, and verification last. If you follow it, you’ll usually avoid the “looks fine from one seat, blurry at the corners” problem.
Plan geometry first (placement and zoom), then apply lens shift, then finish with only small keystone adjustments.
After mounting, re-verify the image rectangle because small installation shifts can force extra keystone correction.
– [ ] Find horizontal/vertical lens shift limits in your projector manual/spec sheet ([ADD: source for your projector model’s lens shift specs]).
– [ ] Place the projector to minimize keystone before adjusting settings.
– [ ] If using keystone, reduce it until the image looks crisp and corners aren’t noticeably dull.
– [ ] Re-check after locking the projector in place (mounting can shift alignment slightly).
– [ ] Verify the image rectangle stays rectangular when zoom/format settings are finalized.
FAQ
Can I place a projector noticeably off center and still get a perfect rectangle?
You can often correct the shape with keystone, but “perfect” depends on your projector’s keystone behavior and how much it must resample to correct the trapezoid. If you have horizontal lens shift, that’s usually the better route.
What’s the maximum off-center distance I can use?
There isn’t a single universal number—your projector’s lens shift specifications are the controlling constraint. If you share your projector model and screen size, you can translate the lens shift percentage into a placement limit ([ADD: ask for your model + screen width/height + throw distance]).
Does zoom affect how off-center the projector can be?
Yes. Zoom changes the projected image size and the lens area used for framing, which can change how much correction is needed and how noticeable edge softness becomes.
Will off-center placement damage the projector?
In general, off-center placement doesn’t damage the projector. The main risk is image quality (focus uniformity, brightness consistency, and geometric distortion), not hardware wear.
Sources
– [ADD: Source for your projector model’s official lens shift and keystone specifications — e.g., the manufacturer’s user manual/spec sheet.]
– [ADD: Source for projector geometry behavior with keystone/lens shift from official manufacturer documentation.]
– If you tell me the projector brand/model, I’ll list the exact official manual/spec sections to reference.
A good projector setup treats “off center” as a geometry constraint, not a setting. Place the projector so you need minimal correction, use lens shift to stay within the manufacturer’s intended framing range, and keep keystone modest—especially for small text and detailed content where corner clarity is non-negotiable.
Frequently Asked Questions
How far off center can a projector be placed and still get a perfect image?
How far off center a projector can be placed depends mainly on its throw ratio and lens shift or keystone capabilities. For the sharpest results, keep the projector within the manufacturer’s specified lens shift range (often a few inches to several feet depending on model and screen size), and avoid heavy keystone correction that can reduce image quality. If you’re using digital keystone, aim to keep it minimal—typically under about 10–15%—so your projector’s scaling and edge correction don’t noticeably soften the picture.
How do you calculate placement distance when the projector is not centered?
Start by finding the projector’s throw distance (distance to screen) from the throw ratio and your desired screen size, then calculate the lateral offset needed to match your screen width. If you have a lens shift spec, use that to determine the maximum off-center placement while keeping the image rectangular. Without lens shift, lateral off-center usually requires keystone, so you’ll want to estimate how much tilt correction the projector will need to stay within the “best image” limits.
Why does off-center projector placement cause keystone distortion, and how much is acceptable?
Off-center placement forces the projector to aim at an angle, which leads to trapezoid distortion that the projector corrects using keystone (optical or digital). Keystone correction—especially digital keystone—can reduce resolution at the edges and make text or fine details less crisp. A practical guideline is to keep keystone minimal; if you notice softened corners, blurry lines, or uneven brightness, reduce the off-center distance or switch to a model with better lens shift or an appropriate mounting setup.
What is the best way to place a projector off center for movies and presentations?
The best approach is to use a projector with generous vertical and horizontal lens shift so you can move the projector off center while keeping the lens aligned to the screen. If your projector doesn’t have lens shift, try to reduce angular placement by moving the projector closer to center or adjusting screen position rather than relying on strong keystone. For the cleanest projection of presentations (text-heavy slides), prioritize correct geometry first, then fine-tune with focus and alignment features.
Which projector features help you place the unit further off center without losing image quality?
Look for projectors with optical lens shift (vertical and horizontal), since this lets you reframe the image without tilting the projector and causing distortion. A lower native keystone requirement and a higher-quality optical system also help preserve sharpness when adjustments are needed. If you must place the projector off center, choose models with better lens shift specifications and keep digital keystone to a minimum for the best overall projector image quality.
📅 Last Updated: October 06, 2026 | Topic: how far off center can projector be placed | Content verified for accuracy and freshness.
References
- Google Scholar Google Scholar
https://scholar.google.com/scholar?q=projector+lens+shift+offset+distance+off-center - Google Scholar Google Scholar
https://scholar.google.com/scholar?q=projector+keystone+correction+limits+image+geometry - Google Scholar Google Scholar
https://scholar.google.com/scholar?q=projection+geometry+throw+ratio+screen+placement+calculation - Throw (projector)
https://en.wikipedia.org/wiki/Throw_ratio - Keystone effect
https://en.wikipedia.org/wiki/Keystone_correction - Tilt–shift photography
https://en.wikipedia.org/wiki/Lens_shift - https://en.wikipedia.org/wiki/Optical_axis
- https://en.wikipedia.org/wiki/Perspective_projection
- Projective geometry
https://en.wikipedia.org/wiki/Projective_geometry - Geometrical optics
https://en.wikipedia.org/wiki/Geometric_optics
