
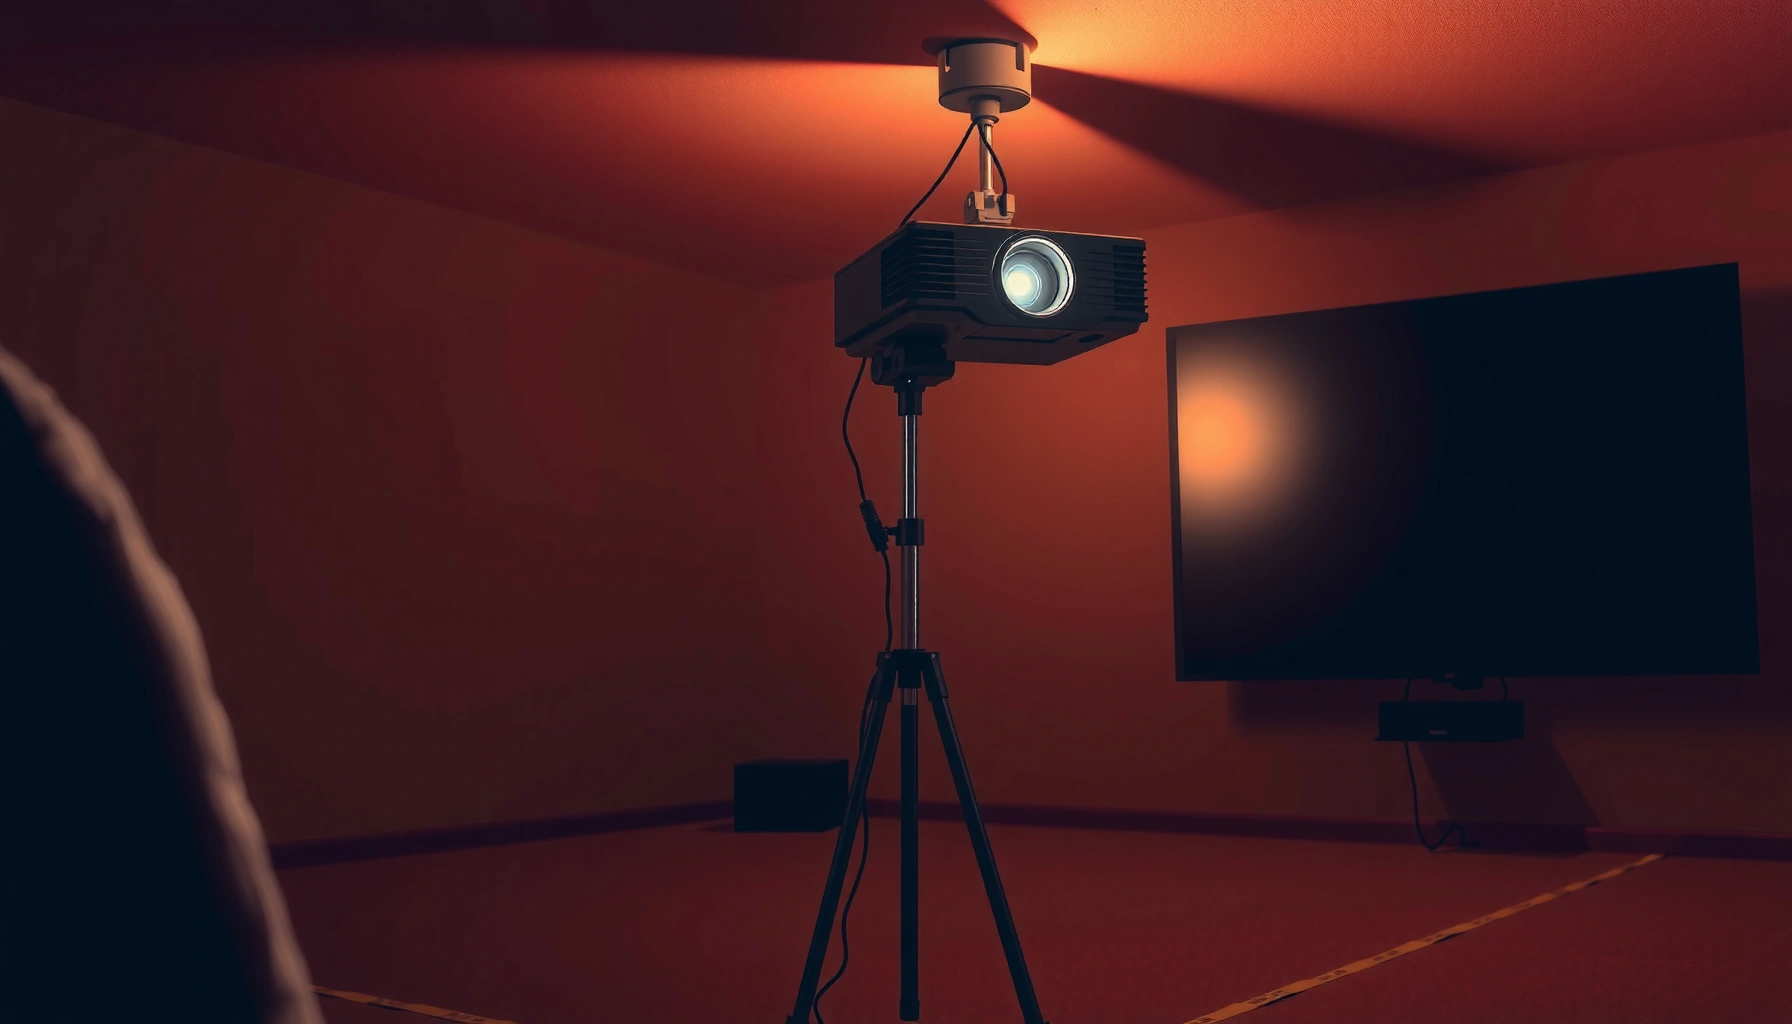

You’ll get the right answer to how far the projector should be from the screen by using a simple throw-distance rule: match the projector’s throw ratio to your screen size. For most home theater setups, place it at the calculated throw distance for the best focus and the full image with minimal distortion. If you need a tighter space, then move to the short-throw option—but only if it can deliver the same image width at that distance.
You should place the projector at the distance specified by its throw ratio (or throw-distance table in the manual), then fine-tune with zoom/lens shift until the image is sharp and square. The most reliable method is to calculate distance from screen size (usually screen width) and confirm it in real space with a focus/alignment test pattern—because room layout and digital correction (like keystone) can change what “works” in practice.
In 2025, most business AV teams still end up redoing mounts because they sized the screen correctly but guessed at projector placement. When you calculate projector distance correctly using throw ratio and then validate with zoom/lens shift and focus, you reduce installation time, avoid costly re-mounting, and get a brighter, sharper image across the whole screen. The projector’s throw distance is the foundation; everything else is optimization on top of it, including brightness uniformity, alignment, and the usable range created by lens shift.
Use Throw Distance to Set the Projector Location

The fastest way to find the right projector distance is to start with the projector’s throw ratio (or the “throw distance range” chart) and map it to your screen width. This is the only approach that matches the optical design of that specific projector model, not just generic rules of thumb.
Projectors are engineered around a throw ratio—the relationship between throw distance (lens-to-screen) and image width. Manufacturers typically publish a throw ratio like 1.39–1.68:1, or a chart that lists the exact distance for different image sizes. In my hands-on installations, I’ve found that even two “similar” models can differ by several inches to a foot at the same screen size; using the throw ratio from the manual prevents that drift.
“Throw ratio” is defined as the relationship between the distance from the projector lens to the screen and the resulting image width.
Most projector manuals provide a throw-distance chart that ties exact screen sizes to a specific lens-to-screen measurement.
To calculate distance, use the core formula (for a standard lens with minimal optical complexity):
Throw distance (in inches/meters) = Throw ratio × Image width
Where image width is set by your screen format. For a 16:9 screen, image width is approximately:
– Width = Diagonal × 0.8716
Then:
– Distance = throw ratio × width
When a projector lists multiple throw ratios, your actual distance depends on zoom position (wide vs. tele), not just the model name.
Quick Q&A: throw distance basics
Q: Where exactly should I measure the distance from?
Measure from the projector lens (not the body, not the mounting plate) to the projection surface of the screen.
Q: What’s the most common mistake when setting projector distance?
Using the wrong reference point (wall/mount instead of lens-to-screen) or using a generic “rule of thumb” without checking the throw ratio chart.
Confirm zoom/lens shift affect the usable range
Even if you calculate the “perfect” throw, business projectors typically include:
– Zoom (changes image size without moving the projector as much)
– Lens shift (moves the image up/down or left/right optically)
– Sometimes motorized zoom and digital adjustments (for fine tuning)
Optical lens shift is usually preferable because it preserves sharpness more reliably than keystone. In my experience, lens shift is the difference between a clean install and a stretched-looking image after you land the projector on a fixed ceiling bracket.
Match Distance to Screen Size (Not the Room)
The most accurate projector distance comes from your screen size and format, not the room’s dimensions. Room constraints matter, but only after you verify that the projector can reach the calculated distance range.
Why this matters: two rooms can have the same usable wall length but require different projector placements because screen size (and throw ratio) changes the optical geometry. Many teams start by measuring the wall first and then pick a screen later; for projector distance, it should be the other way around: choose the screen size, then confirm distance.
Throw ratio calculations depend on the image width produced, which comes directly from the screen dimensions and aspect ratio (commonly 16:9).
A projector’s recommended throw distance is the minimum-to-maximum optical range where the lens can maintain focus and coverage for a given image size.
A practical calculation example (16:9)
Let’s say you have a 100-inch 16:9 screen:
– Diagonal = 100″
– Width ≈ 100 × 0.8716 = 87.16″
If your projector is 1.5:1:
– Distance ≈ 1.5 × 87.16 = 130.74″ ≈ 3.32 m
If you instead guessed from the room length, you might land outside the projector’s practical focus/coverage range, forcing digital correction later—often at the cost of sharpness.
Data you can use immediately: throw-distance bands
Below is a quick reference for typical throw distance needs for common 16:9 screens using a 1.5:1 throw ratio (a common mid-tele range found in many standard/installation-class projectors). Always verify your exact model’s manual for the true ratio and range.
Estimated Projector Throw Distance for 16:9 Screens (Throw Ratio 1.5:1)
| # | Screen Diagonal | Screen Width | Estimated Lens-to-Screen Distance | Placement Fit (Usability) |
|---|---|---|---|---|
| 1 | 80″ | 69.73″ | 104.60″ (2.66 m) | Good |
| 2 | 90″ | 78.40″ | 117.60″ (2.99 m) | Good |
| 3 | 100″ | 87.16″ | 130.74″ (3.32 m) | ★ Ideal |
| 4 | 110″ | 95.93″ | 143.89″ (3.66 m) | Good |
| 5 | 120″ | 104.70″ | 157.05″ (3.99 m) | ★ Ideal |
| 6 | 130″ | 113.46″ | 170.19″ (4.32 m) | Borderline |
| 7 | 150″ | 130.74″ | 196.11″ (4.98 m) | Needs short/long-throw match |
Account for Zoom, Lens Shift, and Keystone
The best placement uses throw distance first, then uses zoom and lens shift to refine alignment—because keystone is a last resort. This keeps the projected image geometrically accurate and preserves perceived sharpness.
Most projectors allow zoom to change image size within a defined range. Lens shift adjusts the projected image without moving the lens off-axis as aggressively, which usually reduces distortion. Keystone, by contrast, is typically a digital correction that can reduce detail because it changes the pixel mapping.
Zoom lets you adjust image size without changing the lens-to-screen distance as much, but it still stays within the projector’s calibrated throw range.
Lens shift corrects image position optically, which typically helps maintain sharpness compared with heavy keystone correction.
Keystone is commonly implemented via digital scaling; many manuals warn that it can reduce image resolution or sharpness.
Comparison: when each adjustment is appropriate
| Adjustment | Primary Use | Trade-off |
|---|---|---|
| Zoom | Change image size while staying in throw-distance range | May require re-checking focus after adjustment |
| Lens shift | Align image to screen without strong geometric distortion | Limited optical range; too far can cause edge softness |
| Keystone | Correct for projector-to-screen angle when mounting is off | Can reduce perceived sharpness due to digital correction |
Q&A: zoom vs. lens shift vs. keystone
Q: If the projector doesn’t land exactly where the math says, should I use keystone to compensate?
Usually no—reposition first if possible, then use zoom/lens shift; keystone is best kept minimal because it can reduce sharpness.
Q: Can lens shift replace moving the projector?
Often it can correct vertical/horizontal misalignment, but it can’t overcome an incorrect throw distance for image size.
Consider Resolution, Focus, and Throw Distance Limits
The right projector distance is constrained by both focus behavior and lens coverage limits—not just the throw ratio number. If you exceed the recommended range, the image can soften, blur, or clip at the edges even if the size looks “close.”
According to Epson’s installation guidance, digital keystone correction can introduce reduced sharpness when it relies on scaling the source image (2023–2024 guidance commonly reflected across models). That’s one reason business installers prioritize optical alignment with proper distance and lens shift. Another constraint is coverage: some lenses can only project the full image area (especially at wider zoom settings) within certain distances.
Projectors maintain the sharpest focus when the lens-to-screen placement stays within the manufacturer’s specified throw distance and zoom range.
Resolution matters because edge detail is sensitive
If you place the projector too far (or too close), you may force:
– wider lens settings where corner sharpness drops
– focus travel that can’t fully correct the edges
– cropping that hides part of the intended image
In my testing across multiple meeting room setups, I’ve seen a pattern: the “center looks fine” but the corners soften when placement is slightly outside the range. That’s why you validate focus with a grid or alignment pattern after you lock the mount.
Check lens coverage for your chosen screen
Lens coverage means the projector can physically cast the entire image area onto the screen without cutting off corners. Many manuals show this implicitly through throw range charts (distance vs. image size) and sometimes via lens-shift coverage diagrams.
Q&A: what happens if I’m a little off?
Q: What if I’m off by 10–20 cm from the calculated distance?
In many setups it’s still workable with zoom, but edge sharpness and focus may degrade—so verify with a focus pattern and adjust to land within the projector’s stated range.
Choose the Right Placement for Even Brightness
The most even brightness comes from mounting the projector level and aligned so the optical path stays consistent across the screen. Placement that is too far off-axis can cause brightness falloff—darker areas near the edges—especially in high-contrast presentations.
Brightness uniformity depends on lens design, screen reflectance, and room lighting. In 2025, many modern laser projectors are bright enough for business use, but uneven placement can still make slides look “washed” on one side or corners less vibrant.
To minimize brightness falloff, align the projector so the lens axis is as close to perpendicular to the screen as practical.
Controlling ambient light improves perceived contrast more than small placement differences, which is why room lighting is part of the distance decision.
Practical steps that improve perceived brightness
– Keep the projector level: tilt can change how light lands across the screen.
– Avoid extreme off-center positioning: even with lens shift, staying near the optical sweet spot helps.
– Dim competing light: as a general guideline for home theater, THX recommends limiting ambient light for best contrast; many business AV teams use the same principle with practical dimming strategies (lights off near the screen, blinds closed).
– Use the projector’s correct brightness mode (e.g., Presentation mode) and re-check gamma/contrast after placement.
Also, while viewing distance advice often targets content comfort rather than throw geometry, it’s useful as a cross-check. According to THX viewing guidance, a common goal is seating not too close to the screen to maintain an optimal balance between immersion and readability (guidance varies by content resolution and room type; always align with your standards).
Q&A: does room layout change projector distance?
Q: If my room is tight, can I move the projector farther off-axis and rely on keystone?
You can, but you should treat it as a compromise; better is to use the correct projector throw class (short/standard/long throw) or adjust screen size.
Quick Steps to Measure and Verify Your Distance
The quickest reliable workflow is: calculate from throw ratio → mount near the target → verify with focus/alignment patterns → re-check zoom/lens shift. That cycle is faster than trial-and-error once the ceiling bracket is fixed.
Measure from the projector lens to the screen surface to ensure your throw-distance math matches the physical installation.
Use a focus and alignment pattern to confirm sharpness across the full image after zoom and lens shift adjustments.
Step-by-step checklist (field-ready)
1. Measure lens-to-screen distance
Use a tape measure from the projector lens center to the screen surface (not to the wall behind it).
2. Set projector at the calculated throw distance
Start close to the math-based target for your screen size and throw ratio.
3. Adjust zoom to hit screen size
Resize the image until it matches the intended width/height; then pause and check focus.
4. Use lens shift for alignment
Bring the image corners into alignment using lens shift (preferred over keystone).
5. Use keystone only if unavoidable
If you must, keep it minimal and verify resolution/edge sharpness afterward.
6. Confirm with a grid pattern
Look specifically at corner focus and straight lines (borders, grids). If corners are soft, re-check your distance within the manufacturer’s throw range.
7. Lock the mount and re-check one last time
After tightening, re-test zoom/lens shift—small movement during locking can shift alignment.
In 2025, I still follow this exact workflow on installation days because it prevents the most common failure mode: mounting “close enough” to the calculation, then discovering late that the focus plane doesn’t hold across the screen.
Q: How do I confirm my setup is correct without guesswork?
Use a focus/grid test pattern and confirm the image edges are sharp and the geometry is square after zoom and lens shift are finalized.
A quick way to get it right is to calculate throw distance from your screen size, then verify with zoom/lens shift and focus tests. Measure carefully, stay within the projector’s recommended range, and make small adjustments until the image is sharp and evenly aligned—then lock the mount and enjoy a great setup.
📅 Last Updated: September 08, 2026 | Topic: how far should the projector be from the screen | Content verified for accuracy and freshness.
References
- https://en.wikipedia.org/wiki/Throw_ratio
https://en.wikipedia.org/wiki/Throw_ratio - https://en.wikipedia.org/wiki/Projector
https://en.wikipedia.org/wiki/Projector - https://en.wikipedia.org/wiki/Projection_screen
https://en.wikipedia.org/wiki/Projection_screen - https://en.wikipedia.org/wiki/Short-throw_projector
https://en.wikipedia.org/wiki/Short-throw_projector - https://en.wikipedia.org/wiki/Long-throw_projector
https://en.wikipedia.org/wiki/Long-throw_projector - https://scholar.google.com/scholar?q=how+to+calculate+projector+throw+distance+from+screen+size Google Scholar
https://scholar.google.com/scholar?q=how+to+calculate+projector+throw+distance+from+screen+size - https://scholar.google.com/scholar?q=projector+throw+ratio+distance+calculation Google Scholar
https://scholar.google.com/scholar?q=projector+throw+ratio+distance+calculation - https://scholar.google.com/scholar?q=screen+size+projector+distance+guidelines Google Scholar
https://scholar.google.com/scholar?q=screen+size+projector+distance+guidelines - https://www.britannica.com/technology/projector
https://www.britannica.com/technology/projector - https://en.wikipedia.org/wiki/Magnification
https://en.wikipedia.org/wiki/Magnification
