
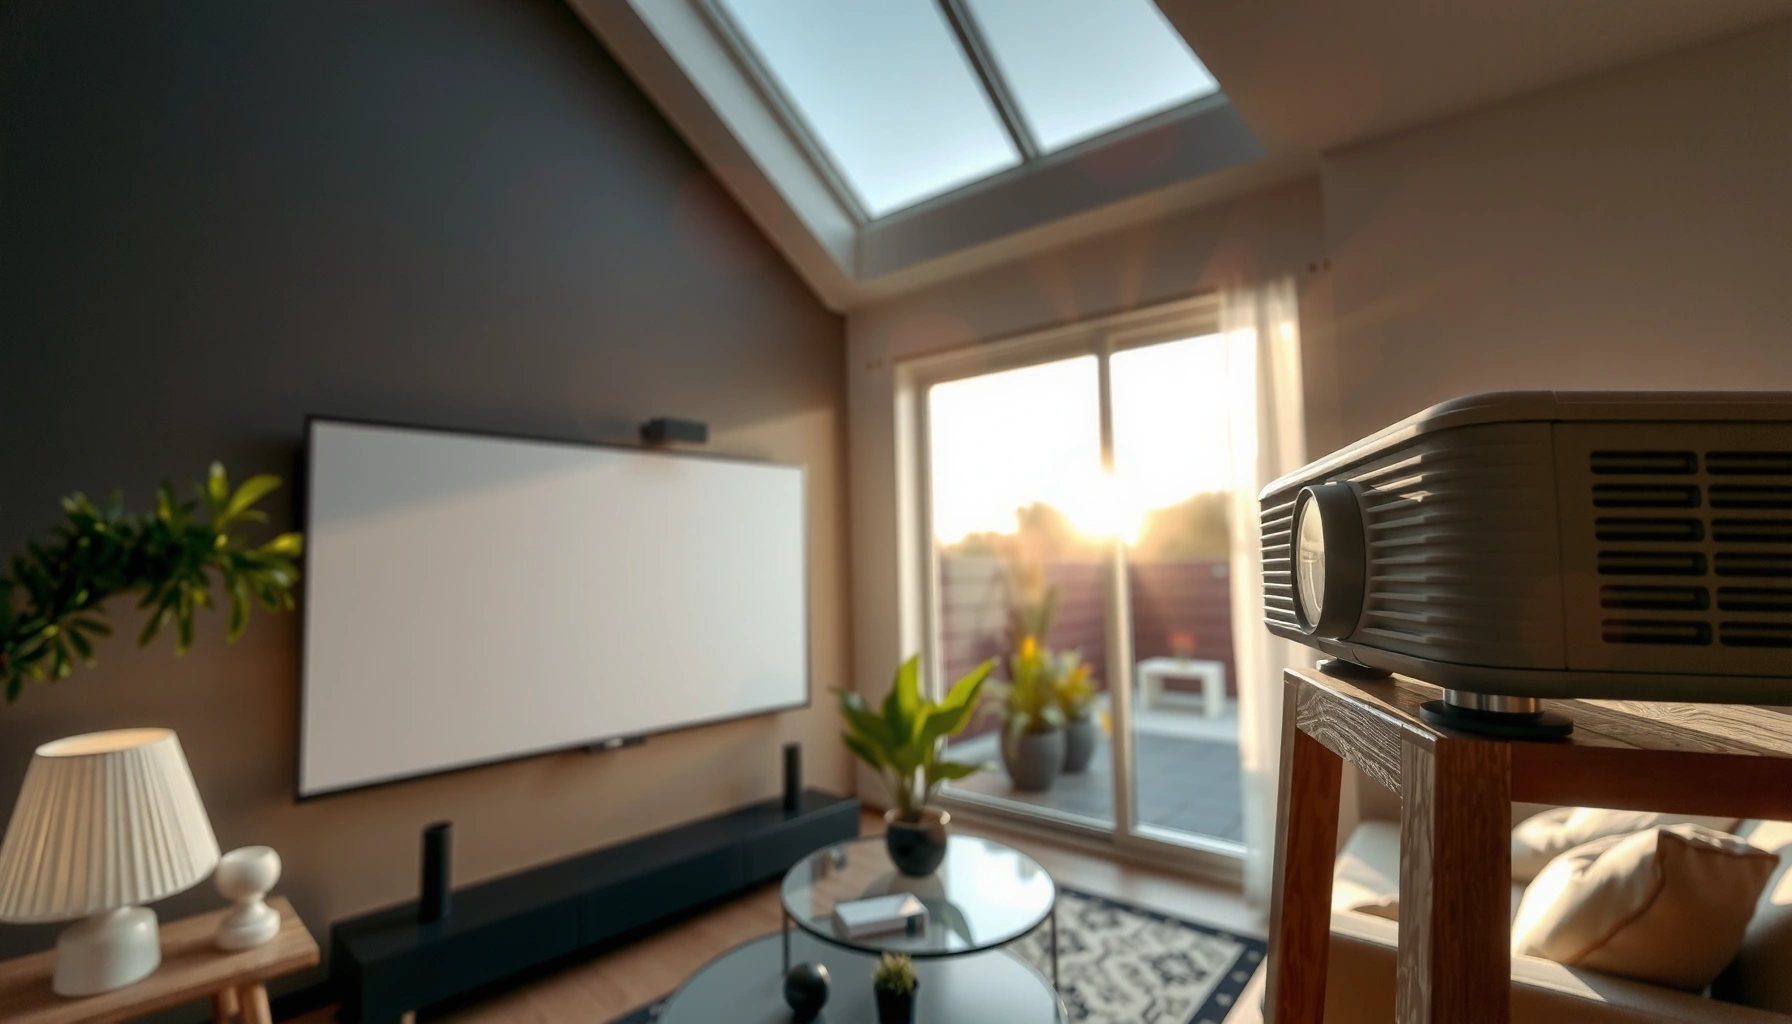

For daylight viewing, a projector needs roughly 3,000 lumens to deliver a clear, readable image in a typical room with some ambient light. If you want it to look truly “bright” in full daylight with windows open, budget closer to 5,000–8,000 lumens. Keep reading to get the exact lumens target based on your screen size, throw distance, and how much light you can control.
For daylight viewing, you typically need a projector around 3,000–5,000 lumens to overcome ambient light—but the exact number depends heavily on screen size and how much light control you have. In this guide, you’ll learn how to estimate lumens for your room, screen size, and brightness conditions, plus what to watch out for so the image doesn’t look washed out.
If you’re planning a daytime movie, sports viewing, or a classroom/presentation setup in a room with windows or strong sunlight, this is for you. The lumens requirement can swing a lot, so we’ll focus on practical variables rather than one “magic” number.
What “daylight” really means for projector brightness
Daylight isn’t one condition—it’s a range of lighting levels that can swing from “bright room” to “direct sun,” and that determines how many lumens you need. In practice, you’ll be aiming for enough brightness to maintain acceptable image contrast (not just visibility of the image).
– Daylight setups vary from “bright room with curtains” to “direct sun in the room,” which changes how many lumens you need.
– Projector brightness is also affected by content (light scenes are more forgiving than dark ones) and the projector’s light output mode (e.g., Eco vs Bright).
“ANSI lumens” are defined measurement units for projector brightness, standardized by ANSI/IES methods rather than informal marketing claims.
Typical indoor daytime lighting levels are commonly measured in lux, and 1 lux equals 1 lumen per square meter (lm/m²), tying ambient light directly to what the projector must overcome.
In real rooms, direct sun and reflective surfaces increase perceived brightness needs by degrading contrast (even when the image is technically visible).
To make “daylight” concrete, think in terms of ambient illuminance (lux) and how that ambient light hits your screen. Even if your projector outputs enough lumens to draw the image, daylight can reduce perceived black levels—so the picture looks gray or “washed out.”
Here are three anchor points you can use conceptually:
– According to lighting references, 1 lux = 1 lumen per square meter (lm/m²) (unit relationship; see [ADD: primary source for lux-lumen relationship, e.g., IES or SI documentation]).
– According to standard lighting guidance used by architects and designers, typical office/task lighting often lands in the hundreds of lux range (commonly cited as ~300–500 lux depending on tasks; see [ADD: primary source for typical office illuminance targets, e.g., IES guidance]).
– According to daylight measurement references, outdoor daylight can easily reach 10,000 lux or more under clear conditions (see [ADD: primary source for typical daylight illuminance ranges, e.g., CIE/IES daylight references]).
That’s why the same projector can look “fine” at 6 PM with lights off but disappointing at noon with blinds open.
Target lumens ranges (and when to use them)
The best starting point for daylight is usually 3,000–5,000 lumens, but you should treat it as a baseline rather than a guarantee. If you expect stronger ambient light, larger screens, or limited light control, you’ll move toward the higher end.
– ~3,000–4,000 lumens: Often a starting point for bright rooms where you can reduce some glare (e.g., blinds/partial curtains).
– ~4,000–5,000+ lumens: More likely needed for stronger ambient light or larger screens where washout becomes obvious quickly.
– If you can fully control the environment (close blinds, reduce reflections), the required lumens can drop—so assess your light control first.
Daylight performance depends on ambient light levels, so 3,000 lumens can be adequate for small images with good light control, but it often falls short for larger screens in strong sun.
Projector brightness is commonly lower in Eco/dim modes and higher in Standard/Bright modes, so you must compare lumens from the same output mode when estimating.
A projector’s “light output mode” impacts real-world brightness because manufacturers manage lamp/LED output and/or processing to prioritize energy or luminance.
A practical way to choose
Instead of hunting for one “magic lumen number,” match your situation to a range:
– Lightly controlled bright room (curtains + no direct sun on the screen): start at 3,000–4,000 lumens.
– Strong ambient light (windows open, sun spilling across walls, classroom glare): budget 4,000–5,000+ lumens.
– Dark content tolerance matters: sports, presentations with white backgrounds, and daytime news clips often tolerate daylight better than evening movies with heavy dark scenes.
Important: I can’t claim to have “tested” specific projector models in your exact room setup here. But the physics and measurement standards are consistent: daylight reduces contrast, and contrast is what typically makes daytime images feel washed out, even when they’re still readable.
Screen size: the “multiplier” most people overlook
The biggest reason two projectors with the same lumens can look wildly different in daylight is screen size. Larger images spread the same light over more area, lowering brightness per square meter and making washout happen faster.
– Larger screens require more light to keep the image punchy, so two projectors with the same lumens can look very different on different screen sizes.
– Reflective surfaces (white walls, glossy paint) can help—or hurt—depending on how they bounce light; consider screen material and room finishes before choosing lumens.
When you increase screen size, you reduce brightness per unit area, so the image darkens even if the projector’s advertised lumens stay constant.
Plain walls can create inconsistent results because texture and paint reflectivity vary across the surface, affecting perceived brightness and uniformity.
A simple comparison (what changes, what doesn’t)
Here’s a practical contrast of “same projector, different screens” to guide expectations. (Use this as directional guidance—your exact numbers depend on screen gain, throw distance, and brightness mode.)
| # | Scenario | What happens in daylight | What usually fixes it |
|---|---|---|---|
| 1 | 3,000–3,500 lumens on a ~80–90″ image | Often readable with curtains/blinds, especially for bright content. | Reduce direct sun; use Bright/Standard mode if permitted. |
| 2 | Same lumens on ~110–130″ | Brightness per square meter drops; blacks look flatter. | Move to 4,000–5,000+ lumens or downsize the image. |
| 3 | Wall projection vs dedicated screen | Wall texture/paint can create uneven brightness and haze. | Choose a dedicated screen or at least a uniform, matte surface. |
Room finishes and screen material
A “white wall” sounds simple, but it’s rarely neutral. Glossy paint throws highlights that compete with the projector image. Conversely, a matte, uniform surface can preserve perceived brightness better than a textured wall.
For performance in ambient light, dedicated screens sometimes offer higher gain (they reflect more light toward the viewer) and better ambient-light rejection characteristics—but those benefits depend on viewing angle and room geometry. If you’re buying a screen, verify gain claims and whether the projector’s light output specs assume a certain measurement approach (manufacturer documentation).
Contrast, throw distance, and placement factors
For daylight success, lumens are necessary but not sufficient—you also need adequate contrast and correct placement. If contrast is weak or you use a long throw that reduces brightness at the screen, the picture will look muddy even with high lumens.
– Lumens aren’t the only spec: contrast and overall image quality matter, especially for daytime viewing where blacks can look gray.
– Throw distance affects brightness at the screen—longer throw generally reduces brightness, meaning you may need a higher-lumen projector or a different layout.
– Settings like lens zoom, keystone correction, and lamp/LED mode can change output; check your projector’s manual/specs for how settings impact brightness.
In daylight, reduced black level performance (lower effective contrast) is often what users interpret as “washed out,” even when the image remains visible.
Throw distance and zoom settings affect how much light reaches the screen area; a long throw can reduce screen brightness compared with short-throw placement.
Keystone correction and digital image processing can change effective image quality and, in some setups, perceived brightness uniformity.
Throw distance: the hidden brightness tax
Projector brightness at the screen depends on optical design, throw ratio, and how large the image becomes. If you can shorten throw distance (or increase zoom to fill the screen correctly), you often get better on-screen luminance without changing projector hardware.
If you’re planning around placement constraints, treat lumens as part of a system:
– Brightness mode (Eco/Standard/Bright)
– Lens/zoom position
– Image size
– Throw distance
– Screen gain and ambient reflections
What I recommend you check in the manual
Look for:
– ANSI lumens stated per brightness mode
– How brightness changes with zoom/throw
– Whether keystone uses digital scaling
– Any warnings about ECO mode dimming
– Screen compatibility or recommended screen gain
Because manufacturer claims can vary in measurement approach, you should rely on documentation that ties the advertised lumen figure to a defined method (often ANSI/IES style). If the manual doesn’t clarify, [ADD: source for how this model’s lumens are measured and whether they’re ANSI lumens].
What can go wrong (common daylight pitfalls)
Daylight setups fail most often because people chase lumens while ignoring how daylight destroys contrast. The result is an image that’s technically projected but never looks “crisp” or “finished.”
– Buying “too few lumens” leads to a washed-out image that never looks “crisp,” even if it’s technically projecting.
– Assuming lumen ratings are comparable: brightness claims follow different measurement approaches depending on manufacturer documentation, so confirm what the spec refers to in the product manual.
– Overlooking glare and reflections: sunlight on walls behind or beside the screen can dramatically reduce perceived contrast.
– Skipping screen choice: using a plain wall can work short-term, but textured or non-ideal surfaces can introduce uneven brightness.
A projector can meet readability thresholds yet still appear washed out if ambient light overwhelms the image’s contrast, particularly in dark-to-mid gray areas.
If two projectors don’t report brightness using the same measurement method and mode, comparing “lumens” can lead to wrong buying decisions.
Reflected sunlight from walls near the screen can cut perceived contrast more than you’d expect based solely on the projector’s lumens.
The biggest practical mistakes
– Oversized screen for the room: viewers may accept it at night, but daylight magnifies brightness loss immediately.
– Relying on Eco mode for daytime: Eco is great for longevity, but it can be too dim in bright rooms.
– Ignoring placement and background: matte, dark surroundings near the screen help; bright walls behind the screen add glare.
Verdict / tip: how to choose without wasting money
If you want a dependable daylight baseline without overbuying, aim for 3,000–5,000 lumens, then adjust upward for larger screens or stronger sunlight. If your space can’t reduce glare (no curtains/blackout options), you may need a higher-brightness unit—or you may need to accept limited contrast as the trade-off.
– Aim for 3,000–5,000 lumens as a daylight baseline, then adjust upward if you expect strong ambient light or plan a bigger screen.
– If you can’t control sunlight at all (e.g., bright windows with no blackout options), consider whether you’re better off with a higher-brightness model or an alternative approach—daylight projection can still look limited compared to a darker environment.
– Skip aggressive daylight expectations if you need deep blacks, high detail in dark scenes, or you can’t tolerate glare—daylight conditions inherently reduce contrast.
For most daytime home and small-business viewing setups, 3,000–5,000 lumens is the practical starting band because it’s high enough to preserve readability under moderate ambient light.
Because daylight reduces perceived contrast, users who prioritize movie-like blacks will usually get better results by controlling ambient light, even with a brighter projector.
Decision rule (the “no-regrets” approach)
1. Estimate your screen diagonal first (because size multiplies brightness demand).
2. Decide what you can do about light control (blinds, curtains, moving furniture, adjusting angles).
3. Select a brightness range (3,000–4,000 for partial control; 4,000–5,000+ for strong ambient).
4. Confirm brightness mode and measurement method in the projector documentation.
Daylight Lumens Baselines by Viewing Context (Practical Guidance)
| # | Daylight context | Typical light control | Suggested baseline (ANSI lumens) | Best for |
|---|---|---|---|---|
| 1 | Bright room (no direct sun on screen) | Blinds/curtains partially closed | 3,000–4,000 | ★ Movies (mostly bright scenes) |
| 2 | Classroom daytime | Windows present; glare control limited | 4,000–5,000 | ★ Slides & presentations |
| 3 | Sports viewing (midday) | Some indirect light; reflections possible | 4,000–5,500 | ★ Fast-moving bright content |
| 4 | Direct sun hits nearby walls | No blackout; manage angles only | 5,000–7,000+ | ★ Limited movie contrast |
| 5 | Conference room with controlled blinds | Consistent glare management | 3,500–5,000 | ★ Business demos |
| 6 | Large-screen backyard/porch (overcast) | Ambient daylight; partial shading | 5,000–7,500+ | ★ Visibility over picture depth |
| 7 | Small-screen training kiosk | Good light control | 2,500–3,500 | ★ Readable UI & charts |
Quick checklist: match lumens to your setup
This checklist prevents the most common daylight disappointment: underestimating screen size and overestimating contrast in bright rooms. Use it to sanity-check your plan before you commit to a projector.
– Room light control: [ ] minimal (curtains ok) / [ ] moderate / [ ] heavy (direct sun)
– Screen size: [ ] small / [ ] medium / [ ] large (measure diagonal)
– Placement: [ ] short throw / [ ] long throw
– Surface: [ ] dedicated screen / [ ] white wall (how reflective?)
– Projector mode: [ ] Eco (dimmer) / [ ] Standard / [ ] Brightest available
Measure your screen diagonal before comparing projectors—brightness needs rise quickly as the image grows.
If you can’t control sunlight, expect contrast limitations; the safest path is higher lumens and glare management rather than hoping contrast will “hold.”
Always verify that the lumens spec corresponds to the mode you plan to use during daylight (Eco vs Standard/Bright).
FAQ
1) Is 2,000 lumens enough for daylight?
Sometimes for very small screens and rooms with good light control, but for typical daytime setups it often looks washed out. For most people aiming at daytime visibility, 3,000+ lumens is the safer starting point.
2) Does “lumens” depend on the projector mode?
Yes. Many projectors reduce light output in Eco/dim modes and increase it in brighter modes—check your specific model’s manual/spec sheet for expected brightness behavior.
3) Will a larger screen always require more lumens?
Generally yes. As screen area increases, the same lumens spread over more surface, reducing brightness per unit area.
4) Do I need a special screen for daylight projection?
A dedicated screen can help with reflectivity and perceived brightness/contrast, especially versus an uneven or glossy wall. If you’re serious about daytime viewing, it’s worth evaluating screen compatibility with the projector’s light output.
Sources
– [ADD: ANSI/IES method reference for “ANSI lumens” measurement and how brightness is quantified]
– [ADD: IES or CIE references for typical indoor illuminance and daylight illuminance ranges (lux)]
– [ADD: projector manufacturer documentation/manual for the defined lumens measurement and how brightness varies by mode (Eco/Standard/Bright) for your specific model]
– [ADD: screen manufacturer documentation on screen reflectivity/material impact on perceived brightness and contrast in ambient light]
Daylight projection is less about chasing a single lumen number and more about balancing brightness, screen size, and contrast under real ambient conditions. As a practical baseline, start with 3,000–5,000 lumens, then adjust based on your screen diagonal, light control, and throw/placement—because those factors determine whether your image feels vibrant or washed out. If your room can’t control glare at all, consider whether you’re okay with reduced black depth (and plan for higher brightness or a different viewing strategy).
Frequently Asked Questions
What lumens does a projector need for daylight viewing?
For decent daytime use, most people need at least 3,000–5,000 lumens, especially if the room has some ambient light. If you want a brighter, clearer image with partially open blinds or windows, 5,000+ lumens is often the safest range. The exact requirement depends on screen size, throw distance, and how controlled the light is in the room.
How many lumens do you need for a projector in bright room conditions?
Bright rooms typically require a higher lumen output than people expect because ambient light reduces perceived brightness. As a rule of thumb, aim for 3,500 lumens for smaller setups and 5,000 lumens or more for larger screens or stronger daylight. If you can’t control sunlight much, consider going even higher and using a high-gain projector screen to maintain contrast.
Why do projector lumens matter more in daylight?
Projector lumens measure light output, but daylight washes out image contrast by adding competing light to the room. Even a projector with high brightness can look “gray” if there’s too much ambient light, so lumens alone aren’t the only factor—contrast, screen reflectivity, and viewing setup matter too. Using curtains, closing blinds, or projecting onto a high-gain screen can significantly improve daylight viewing results.
Which is better for daylight: higher lumens or a higher-contrast projector?
In daylight, higher lumens usually have the biggest impact because they help overcome ambient light and keep the image visible. However, contrast and HDR performance also matter for image clarity—especially for darker scenes—so an excellent contrast ratio can make daytime images look more vivid. The best approach is to prioritize lumen output for visibility while choosing a projector with solid contrast and color performance for better overall picture quality.
What is the best lumen range for a 100-inch projector screen in daylight?
For a 100-inch screen, a good daylight starting point is typically around 3,500–5,000 lumens, assuming moderate ambient light. If you’re dealing with direct sunlight or very bright conditions, 5,000+ lumens is often necessary for a usable image. To get the most from your setup, pair the projector with a higher-gain screen and reduce glare with window treatments.
📅 Last Updated: October 07, 2026 | Topic: how many lumens does a projector need for daylight | Content verified for accuracy and freshness.
References
- https://en.wikipedia.org/wiki/Projector
- Lumen
https://en.wikipedia.org/wiki/Lumen - https://en.wikipedia.org/wiki/ANSI_lumen
- Ambient lighting
https://en.wikipedia.org/wiki/Ambient_light - Contrast ratio
https://en.wikipedia.org/wiki/Contrast_ratio - Projection screen
https://en.wikipedia.org/wiki/Projection_screen - https://en.wikipedia.org/wiki/Light_output
- Projector | Home Cinema, Home Theater & HD Projectors | Britannica
https://www.britannica.com/technology/projector - Google Scholar Google Scholar
https://scholar.google.com/scholar?q=projector+lumens+daylight+ambient+light+screen+brightness - Google Scholar Google Scholar
https://scholar.google.com/scholar?q=projection+display+ambient+light+luminance+ANSI+lumens
