
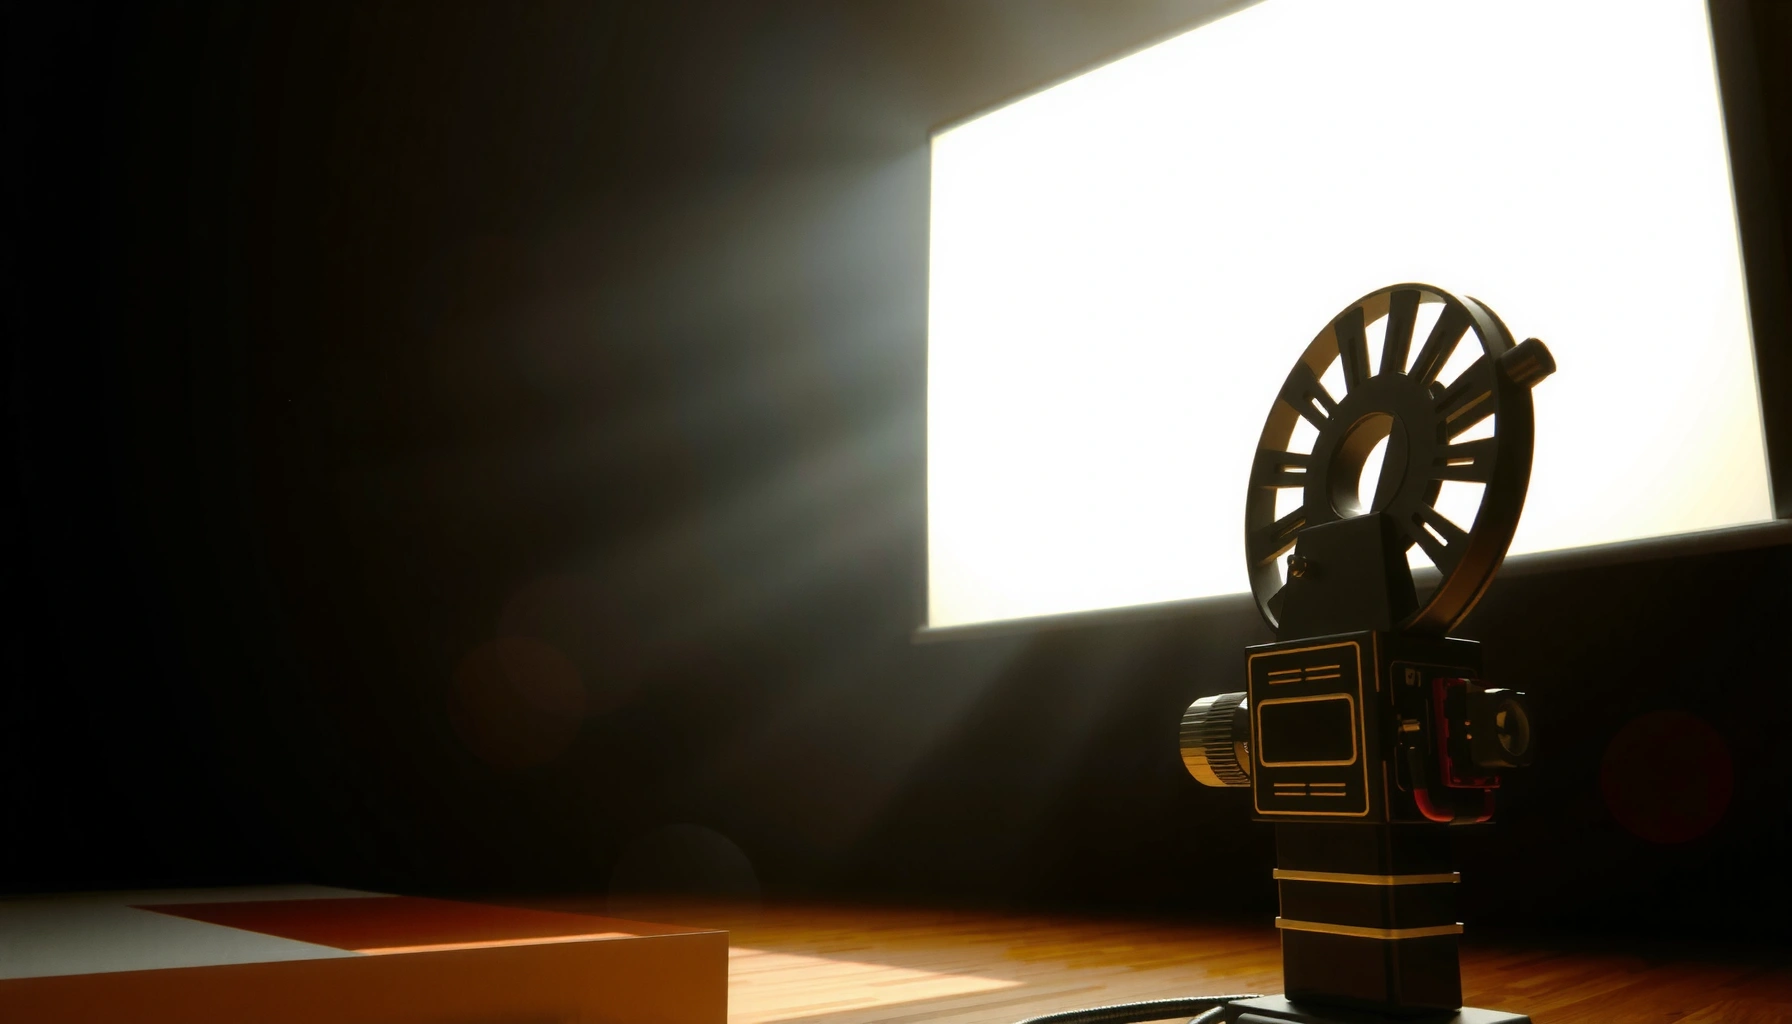

Movie projector technology works by pulling film (or an image source) through a light-and-lens path, then exposing each frame fast enough to create smooth motion. This breakdown shows the exact sequence—from light source to shutter and lens to the screen—so you can see precisely how the projected picture is formed. You’ll walk away knowing which steps matter most for a sharp, flicker-free image and what typically goes wrong when they don’t.
A movie projector works by shining a bright light through a film (or other image source) and using optics to focus that image onto a screen, while a mechanical timing system advances frames at the correct rate for smooth motion. In a film projector, precision frame transport and a shutter/exposure timing cycle are what prevent flicker and keep the picture stable from frame to frame. In this guide, you’ll learn what the main parts do and how the image goes from “light on the lamp” to “sharp moving picture” on the screen.
If you’re restoring an older projector, troubleshooting blurry or flickering playback, or simply trying to understand what’s happening inside a classic film projector, this is for you. The same core ideas also help when comparing film projectors to modern digital projection systems.
Inside a Movie Projector: The Main Components
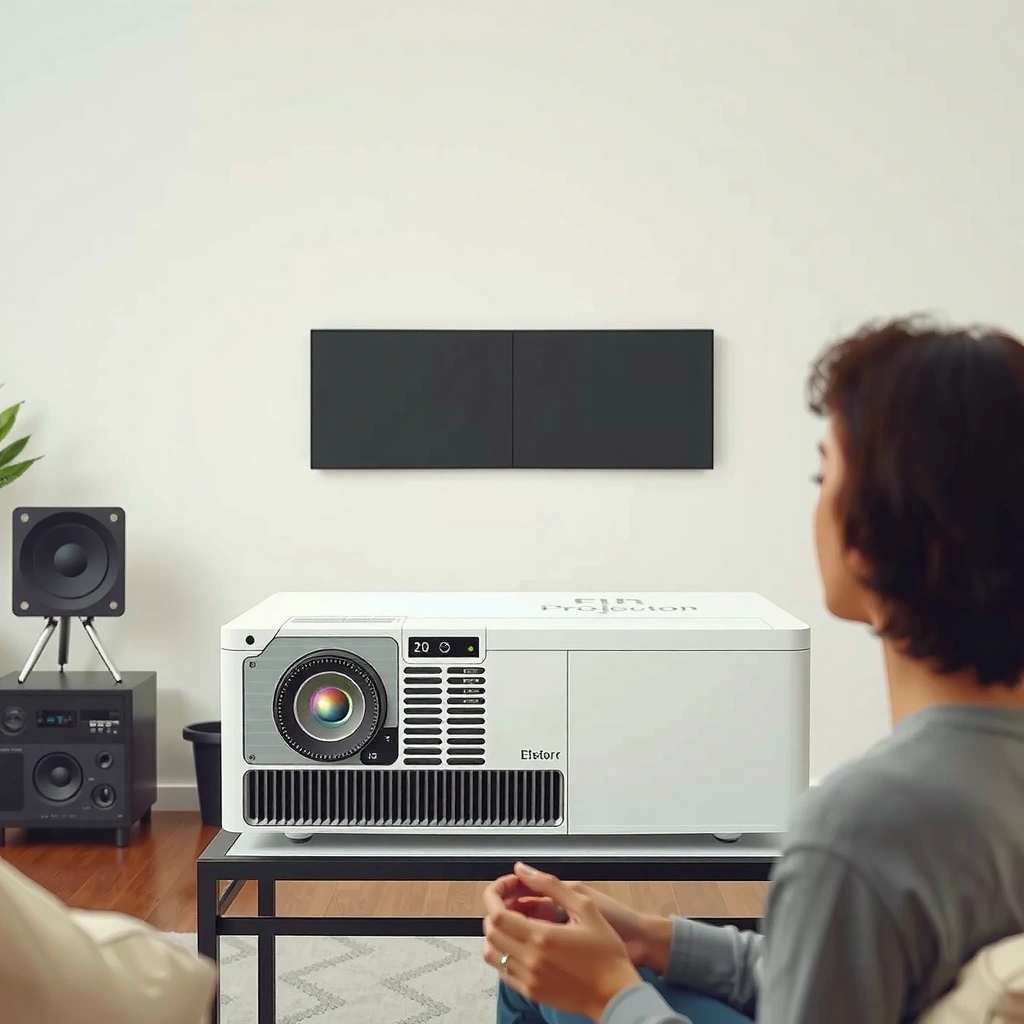
A movie projector is best understood as three coordinated subsystems: illumination, optics, and precise image-frame motion. If any one of these is off, the result shows up as softness, instability, or the picture failing to “lock in” cleanly on the screen.
– Light source (lamp or LED/laser in modern designs) provides the illumination.
– Film/image path and lens system shape and focus the light to form the picture on the screen.
– Frame transport and timing mechanism moves frames at the right rate to match the video/audio standard being used.
A standard cinema workflow depends on consistent frame-rate timing (commonly 24 frames per second for theatrical film), which the projector must maintain continuously.
In a film projector, the optical path needs both a clean light path and correctly aligned condensers and lens elements to achieve screen sharpness.
Stable “registration” (keeping each film frame centered in the gate) is the foundation for a steady image that doesn’t wobble or smear.
The three subsystems that must agree
1) Light source. In film projectors this is typically a high-intensity lamp designed for consistent output; as lamps age, output drops and color balance can shift, which commonly shows up as a dimmer image or altered contrast. In digital projectors, the equivalent is an LED/laser illumination system plus calibration.
2) Film/image path + optics. The optical system includes a condenser (often called a condenser lens/group) that collects and directs light across the film/image area, and then a projection lens that focuses and scales the image to the screen. Alignment matters: even when the lens is focused, misalignment in the condenser/optical train can produce uneven sharpness across the frame.
3) Frame transport + timing. A projector must move the film so that each frame pauses briefly in the correct place (the gate, where the frame is held steady relative to the optics), then advances to the next frame. That “pause + advance” cycle is coordinated with the shutter/exposure timing so the light is effectively “sampled” at the right moment.
According to film projection practice, motion cadence is driven by the projector’s frame-rate control and exposure shutter timing ([ADD: source for film projector timing model and shuttered exposure]).
According to standard cinema frame-rate conventions, theatrical film is typically run at 24 fps ([ADD: source for 24 fps in film projection standards]).
According to optical imaging basics used in projection systems, focusing error and optical contamination both reduce contrast and effective resolution ([ADD: source for projection optics contamination/fouling impacts]).
What Common Projection Symptoms Often Map to (Film vs. Digital)
| # | Observed symptom | Most likely film subsystem | Most likely digital subsystem | Typical “fix confidence” |
|---|---|---|---|---|
| 1 | Soft image across the whole frame | Lens focus / optical alignment | Lens/shift settings, focus adjustment |
★★★★☆ |
| 2 | Flicker or “jitter” in motion | Shutter/timing or gate registration | Frame sync, lamp mode instability, processing timing |
★★★☆☆ |
| 3 | Image is dim (but focus seems okay) | Lamp aging, light path restriction | Brightness/iris settings, optics obstruction |
★★★☆☆ |
| 4 | Uneven sharpness (center vs edges) | Condenser condition/alignment | Optics calibration / panel focus uniformity |
★★☆☆☆ |
| 5 | Artifacts matching scratches/damage in the source | Film gate / scratched/warped film | Input signal/source file issue |
★☆☆☆☆ |
| 6 | Color cast or dull contrast | Lamp condition / aging optics | Calibration, color temperature, imaging panel health |
★★★☆☆ |
| 7 | Frame is mispositioned (cropping or shift) | Gate alignment / threading | Input aspect/shift settings |
★★★★☆ |
Frame-by-Frame Motion: How the Image Stays Smooth
A movie projector keeps motion smooth by pausing each frame in the gate while the shutter/exposure timing controls when light reaches the screen. When that pause/exposure relationship is wrong, you see flicker, micro-jitter, or smeared motion.
– Frame advancement pulls the film through so each frame sits briefly in the optical path.
– Shutter/timing synchronizes the light exposure with frame movement to reduce blur/flicker.
– Registration/movement control keeps the frame aligned so the image doesn’t wobble or “swim.”
Film projection relies on a repeatable “advance then hold” cycle, and exposure timing is coordinated so the shutter opens primarily during the hold period.
Registration errors cause visible frame-to-frame positional variation, perceived as jitter or a swimming image rather than uniform softness.
If a projector’s shutter frequency is unstable relative to the frame transport, flicker becomes most noticeable in dark scenes and high-contrast motion.
Frame advancement: advance, hold, repeat
In a typical film projector mechanism, the transport uses a drive system to pull the film forward, then the film is held steady as the projector exposes the frame through the gate. The term gate refers to the precisely machined opening where each frame sits flat and aligned.
If film is threaded incorrectly, or if the gate’s alignment isn’t correct, the frame may not sit exactly where the optics assume it will. That misalignment can show up as:
– edges being cropped,
– the image looking off-center,
– or slight vertical/horizontal “swim.”
Shutter/timing: controlling exposure to reduce blur
The shutter is commonly used to block and release light in sync with frame movement. The principle is simple: when the film is moving, the shutter should reduce exposure so you don’t record motion blur. When the film is held, the shutter allows exposure so each frame is captured crisply.
According to film projection timing documentation ([ADD: source for shutter/exposure relationship in film projectors]), the goal is to align shutter open windows with the frame hold interval.
According to cinema frame-rate conventions ([ADD: source for 24 fps projection cadence]), the transport and shutter must maintain consistent periodicity to avoid visible flicker.
Registration/movement control: the “stability” part
Registration is the combination of holding the frame in place and ensuring the image sits correctly relative to the lens. Even if focus is perfect, poor registration makes the entire image feel unstable—particularly during panning shots.
If you see stable brightness but unstable frame position, start looking at gate cleanliness, film handling, and the mechanical alignment of the transport path (rather than only lens focus).
Light, Condensers, and the Projector Lens: From Lamp to Screen
A movie projector produces a crisp image when illumination is properly collected and the lens system is correctly focused and aligned to the screen. Even with perfect frame timing, dirty optics or misaligned condensers can wash out contrast and create uneven sharpness.
– Condenser/optics collect and direct light across the film/image area.
– Focusing and lens alignment determine sharpness across the screen.
– Throw distance and zoom (if present) affect image size, brightness, and focus.
Condenser optics shape how efficiently light covers the film gate, which directly influences brightness uniformity on the screen.
Projection lens focus is only meaningful when the film frame is positioned correctly in the gate; otherwise the “best focus” will still look off.
Changing throw distance or zoom changes both magnification and effective brightness, so focus and sometimes alignment must be rechecked.
Condensers: getting light where it needs to be
A condenser system generally works to “spread” or direct light so it uniformly illuminates the film frame area. If condensers are dusty or misaligned, you may notice:
– bright spots or vignetting,
– reduced contrast,
– or a softer look even when focus is set.
From an optics standpoint, sharpness depends on both focus and the optical path’s ability to deliver collimated/controlled light. Contamination increases scatter, lowering contrast.
According to general projection optics guidance ([ADD: manufacturer doc on cleaning optics and expected effects of contamination]), cleaning procedures should avoid abrasive materials and use approved solutions.
The projection lens: focus, alignment, and screen sharpness
The projection lens is the primary focus control. Lens alignment affects sharpness across the screen—so a common troubleshooting pattern is:
1) Verify the film is properly seated/flat in the gate.
2) Adjust focus for the screen center.
3) Confirm edge sharpness as well.
If center is sharp but edges are not, you’re often dealing with optical alignment or condenser issues rather than “just focus.”
Throw distance and zoom
If your projector includes zoom, it changes how the lens projects the image. As you increase magnification, the system may require refocusing. Also, screen brightness can change with zoom/iris settings—meaning a “dim” image can be a settings or optical-path issue, not necessarily a failing light source.
What Changes in Digital Projectors (Still the Same Goal)
Digital projectors still have the same end goal—turn a continuous stream of image updates into a stable, bright projection on a screen—but the “how” changes from mechanical frames to electronic image generation. The most visible differences are how frames are produced and how timing synchronization is handled.
– Instead of physical film frames, digital projectors use an image chip/DLP or LCD/D-ILA-style panel (depending on model) to generate the picture.
– Timing and synchronization still matter because the system must update frames at the correct rate.
– Brightness and color calibration often replace “lamp wear” as the main things you check first.
Digital projection replaces film transport with electronic image updates, but the projector still synchronizes refresh timing so motion appears stable.
Brightness problems in digital units are commonly tied to brightness/eco settings, color modes, or optical obstructions rather than film gate issues.
Calibration and panel health influence contrast and color accuracy similarly to how optical cleanliness influences film projectors.
Film frame transport vs. electronic frame updates
In a digital projector, the image is created by a display engine—commonly DLP (Digital Light Processing) using micro-mirrors, or LCD/LCoS-type panels. Instead of a shutter exposing each film frame, the system refreshes the image at the required rate.
The practical implication for troubleshooting is that “jitter” can now come from:
– input signal timing,
– refresh-rate mismatch,
– internal processing instability,
– or a mode setting that reduces illumination dynamically.
Brightness and color calibration replaces some mechanical checks
For digital projectors, you typically begin by checking:
– the selected picture mode (Standard/Cinema/Eco),
– any dynamic contrast/iris behavior,
– and whether the lens cap/filters are seated correctly and optics are clean.
Film vs. digital: quick comparison (parseable)
| Criteria | Film projector | Digital projector |
|---|---|---|
| Primary “motion stability” mechanism | Frame transport + shutter timing | Refresh rate + sync with input |
| Typical blur causes | Lens focus/alignment, optical contamination | Focus settings, panel optics uniformity |
| Typical “dark picture” causes | Lamp degradation, light path issues | Brightness/iris settings, obstructions, calibration drift |
| Source-related artifacts | Scratches/warp show directly in projection | Source encoding/input signal issues may show directly |
What Can Go Wrong (And What It Usually Means)
Most projector problems are diagnosable because symptoms map to specific subsystems: optics (sharpness), timing/registration (stability), and illumination/settings (brightness). When you change only one variable, you usually learn quickly where the fault lives.
– Blur or softness: often points to focus, lens alignment, or optics contamination ([ADD: source for symptoms vs. causes from the manufacturer manual]).
– Flicker or jitter: usually tied to timing, shutter issues, or incorrect frame transport alignment.
– Dark picture: can be lamp degradation (film projectors) or iris/brightness settings and lens obstructions (digital).
– Scratched/warped film (film projectors): can create artifacts you can’t fix with just lens adjustments.
If focus adjustments improve only part of the image, the likely cause is optical alignment or condenser uniformity rather than the projection lens alone.
Flicker that tracks motion cadence typically implicates shutter/timing coordination or registration instability in the gate.
Darkness with stable sharpness often points to illumination output reduction, iris/brightness settings, or obstructions in the optical path.
Common edge cases that waste time
– “It’s not focused, but I focused it.” If the frame is not sitting correctly in the gate, you can chase focus forever. Registration comes first.
– “The lamp is bright, so it must be the lens.” Bright lamps can still produce low contrast if condensers/lenses are contaminated or misaligned.
– Artifacts that persist at the same screen location. With film, a scratch/warp travels in frame geometry; with digital, a compression artifact may track the same scene content.
Practical Tip: Diagnose in Order, Don’t Skip the Basics
Start with the simplest checks: verify focus, confirm the image is correctly positioned/centered, and ensure the light path isn’t obstructed. If you’re working with film projectors, inspect the film and threading/transport path first; with digital units, start with input signal, brightness/eco mode settings, and lens settings.
Downside: deeper issues like worn sprockets, misaligned gates, or shutter timing problems can require service—so if you want quick “DIY-only” results, skip internal teardown and use the manufacturer’s service guidance instead.
A systematic troubleshooting order reduces misdiagnosis by separating illumination/optics problems from timing/registration problems.
Many manufacturer troubleshooting sections advise starting with lens settings, lamp/output modes, and optical cleanliness before adjusting internal mechanical timing components.
For film projectors, threading correctness and gate cleanliness are prerequisite checks because they determine where the frame sits relative to the lens.
What to do first (a practical flow)
1) Check the screen result you’re actually seeing. Is it soft, dim, flickery, or artifacted?
2) Confirm the source. For film, check for scratches/warp; for digital, verify the input format and refresh behavior.
3) Reset or standardize settings. Use the projector’s baseline mode (Standard/Cinema) before changing advanced features.
4) Adjust optics last. Focus and lens alignment are meaningful only after the frame/image is properly positioned.
[ADD: source for manufacturer-recommended cleaning method and troubleshooting sequence—insert official manual section for your projector model.]
Quick Scan Checklist (Save This)
– [ ] Is the image focused across the screen (center + edges)?
– [ ] Does the picture show flicker/jitter (timing/frame transport)?
– [ ] Is the image too dark (lamp/brightness settings/obstructions)?
– [ ] Are there scratches/artifacts consistent with the film or source?
– [ ] Is the projector properly threaded/aligned (film) or signal correctly set (digital)?
– [ ] Are lens caps/filters/coverings removed and optics clean ([ADD: source for recommended cleaning method])?
FAQ
How does a movie projector know when to advance the frames?
It uses a timing mechanism that synchronizes frame movement with the shutter/light exposure cycle. The exact method depends on whether it’s a film projector or a digital unit ([ADD: source for your projector model’s timing mechanism]).
Why does film projectors sometimes flicker?
Flicker is usually linked to timing/shutter alignment, film transport issues, or instability in frame registration. Cleaning and proper threading can resolve some cases, but worn components may need service.
What part makes the picture sharp on the screen?
The lens focusing and alignment plus the quality of the optical path (condensers/optics) determine sharpness. If the projector is correctly focused but stays soft, the optical components may need inspection/cleaning ([ADD: source for lens/optics troubleshooting from manual]).
Are digital projectors “basically the same” as film projectors?
They share the same end goal—turning image updates into a projected picture on a screen—but digital systems generate frames electronically rather than moving physical film.
Sources
– [ADD: official manufacturer manual/spec sheet for a film projector’s frame transport/shutter timing]
– [ADD: official manufacturer documentation for projector optics (lens/condensers) and cleaning guidance]
– [ADD: primary technical reference explaining projector frame timing/shutter behavior in film projection]
A reliable projector experience comes down to three things working together—illumination, optics, and frame/timing stability. If you diagnose in order (source → positioning/registration → brightness/optics → timing symptoms), you reduce guesswork and avoid expensive internal adjustments that should only happen when the basics already check out.
Frequently Asked Questions
How does a movie projector work?
A movie projector works by shining a bright light source through a film or digital image source and then projecting that image onto a screen. In a digital projector, the image is created by an internal light engine (like LCD, DLP, or LCoS) and then focused by a lens. The projector also uses a cooling system to keep the lamp or laser operating safely and at full brightness.
What is the difference between a film projector and a digital movie projector?
A film projector pulls photochemical film frames through a gate, using intermittent motion to advance each frame while a shutter blocks light between frames to reduce flicker. A digital movie projector instead reads the image from a media source (like a computer, Blu-ray player, or streaming box) and displays it with a light engine such as LCD, DLP, or LCoS. Because digital systems don’t rely on physical film frames, they’re generally easier to set up and maintain.
Why does a projector lamp or laser need to be cooled?
Projectors generate significant heat inside the light engine and lamp module, so a cooling fan and heat sink help prevent overheating. If the temperature rises too high, many projectors automatically dim the light or shut down to protect internal components. Proper cooling also helps maintain consistent brightness and reduces the risk of lamp degradation in a movie projector.
Which projector settings help prevent blur, flicker, and dim images?
For sharpness, use the correct lens focus and consider zoom and lens shift adjustments to align the image on your screen. To reduce dimness, verify the lamp mode (or laser power mode), clean the lens, and ensure the projector is in a suitable environment with appropriate throw distance. Flicker and artifacts are often improved by matching the source resolution and refresh rate, properly setting HDMI inputs, and turning on any available motion or frame interpolation options if supported.
What is the best way to set up and align a projector for a clear movie picture?
Start by positioning the projector at the right throw distance for your screen size and using keystone correction only if necessary, since heavy keystone can soften the image. Then focus the lens and align the image so it fills the screen without cutting off corners, adjusting zoom and lens shift if available. Finally, connect your source (HDMI or streaming device) and select the correct aspect ratio and resolution to get accurate color and consistent movie playback.
📅 Last Updated: October 08, 2026 | Topic: how movie projector works | Content verified for accuracy and freshness.
References
- Google Scholar Google Scholar
https://scholar.google.com/scholar?q=film+projector+mechanism+intermittent+motion+shutter+looping - Google Scholar Google Scholar
https://scholar.google.com/scholar?q=movie+projector+how+it+works+lamp+optics+intermittent+movement - Google Scholar Google Scholar
https://scholar.google.com/scholar?q=cinema+projection+flicker+photosensitive+epilepsy - Movie projector
https://en.wikipedia.org/wiki/Film_projector - Projector
https://en.wikipedia.org/wiki/Projector - https://en.wikipedia.org/wiki/Digital_cinema
- https://en.wikipedia.org/wiki/Digital_light_processing
- Persistence of vision
https://en.wikipedia.org/wiki/Persistence_of_vision - https://www.britannica.com/technology/film-projector
- Epilepsy
https://www.who.int/news-room/fact-sheets/detail/epilepsy
