
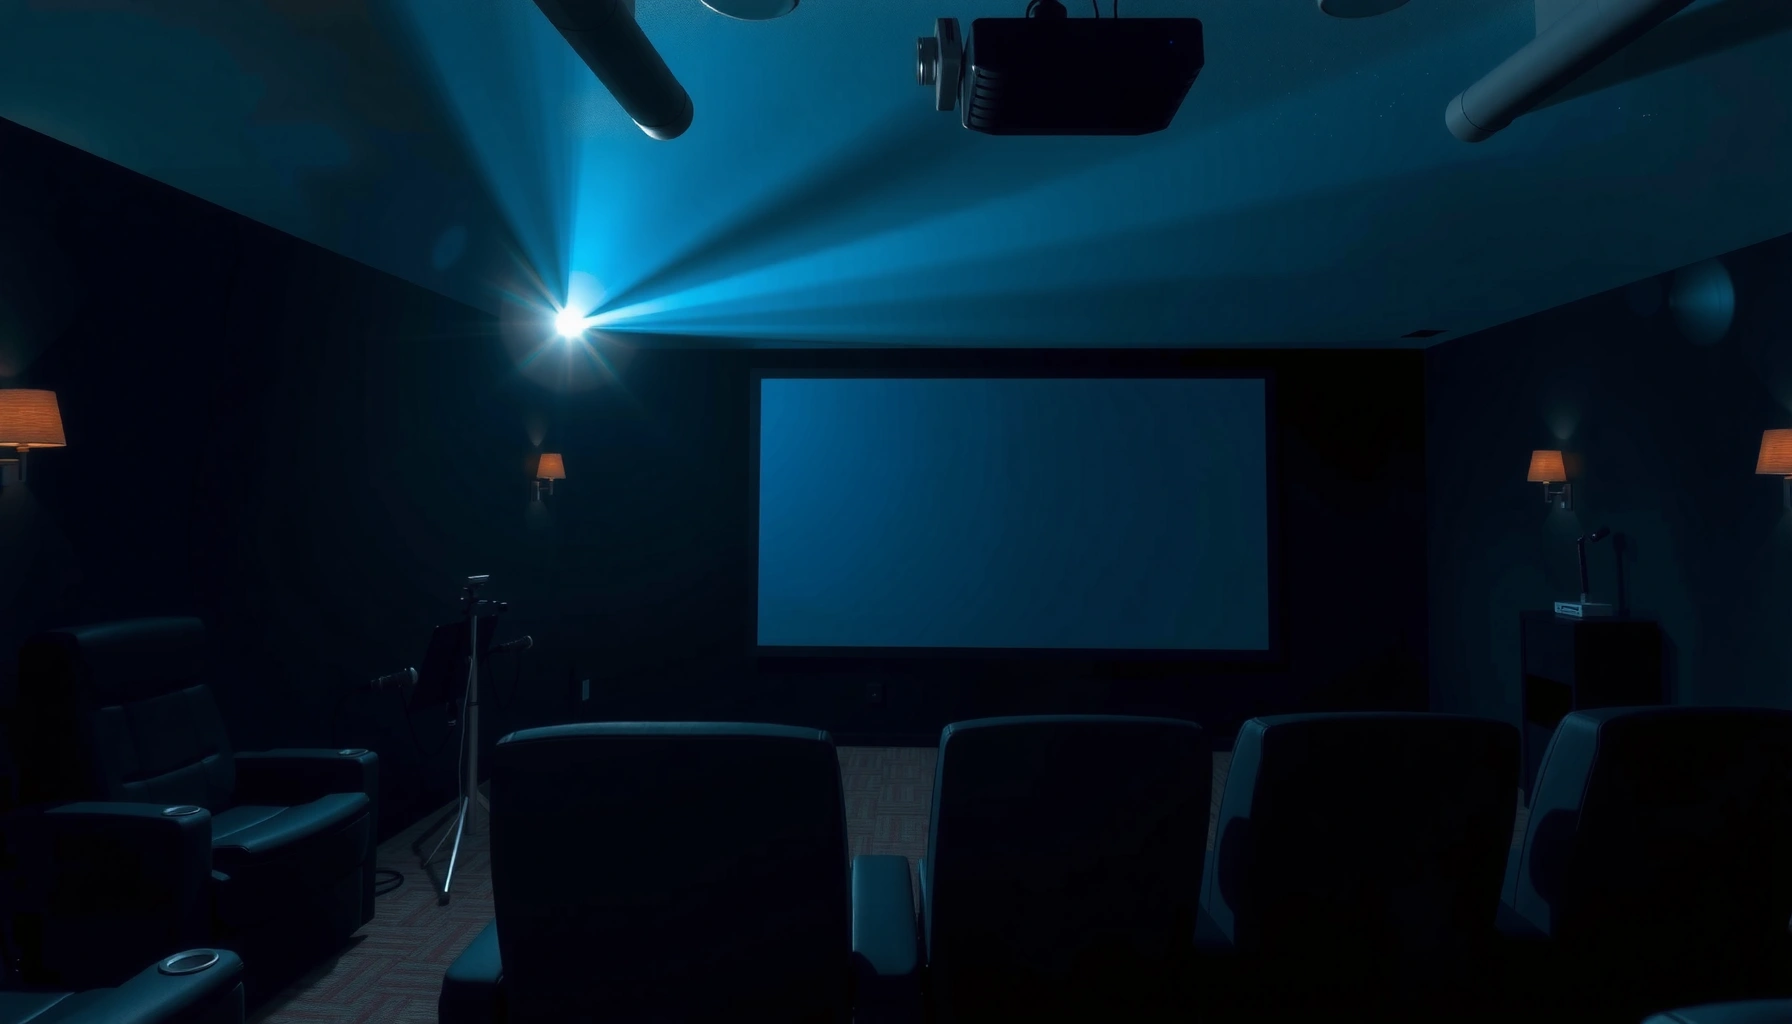

Want to know how a projector screen works and what makes the image look sharp? This guide explains, in plain terms, how the screen’s surface and gain control light reflection so viewers get a brighter, higher-contrast picture. You’ll learn which screen type to choose based on your room brightness and viewing distance—so the technology makes sense before you buy.
A projector screen works by reflecting (and often diffusing) the light coming from your projector so the image appears bright, sharp, and viewable from your seats. The screen’s material, gain, and surface texture control how evenly that light spreads—so the “same projector” can look washed out or impressively punchy depending on what it’s projecting onto. In this guide, you’ll learn what the screen does, how common types differ, and how to avoid the most frequent setup problems that hurt contrast and uniformity.
If you’re buying a screen, upgrading an existing setup, or wondering why your picture looks washed out or uneven, this is for you—especially if you’re using an LED/LCD or DLP projector in a home theater, classroom, or office.
How a projector screen works (light in → picture out)

A projector screen’s job is to take the projector’s directional beam and return it to viewers in a controlled way—bright where it matters, and consistent across the image. In practice, that means reflecting light and using a micro-texture or coating to diffuse it just enough to prevent hotspots.
A projector image is formed when the projected light lands on the screen and the screen reflects light toward the audience.
Screen microtexture/coatings are designed to trade off brightness, perceived contrast (especially black levels), and viewing angle.
Uneven screen surfaces (wrinkles, sagging, misalignment) commonly show up as brightness or sharpness irregularities across the image.
– A projector sends a focused beam of light that lands on the screen surface.
– The screen material reflects that light toward viewers while spreading it to reduce hotspots and glare.
What “reflects” really means: direction and diffusion
Most screens are built on a repeating surface pattern—either a woven fabric structure or a coated panel—that scatters light at slightly different angles. That scattering is the reason viewers can still see the image when they move a bit left or right.
However, this is where “screen performance” stops being one-number simple. If diffusion is too aggressive, peak brightness can drop; if it’s too directional, you may get a bright center (“hot spot”) and dim edges.
Screen materials and what they change
Screen materials decide how “clean” and “even” the light looks—especially for blacks, highlights, and edge-to-edge uniformity. Here’s the key: your screen doesn’t generate contrast; it shapes how much of your projector’s contrast capability survives real-world viewing conditions.
Gain is not the same as brightness output: two screens can both be “bright,” but one may preserve black detail better while the other washes out sooner.
Different screen textures (woven vs coated) influence perceived black levels by controlling how stray light reflects back to viewers.
– Different coatings and weave/microtexture patterns affect contrast, brightness uniformity, and viewing angle.
– Some screens are designed to improve perceived blacks (especially in dimmer rooms), while others prioritize maximum brightness.
Common material “types” you’ll see in specs
Manufacturers usually describe materials in terms of “coatings” or “viewing angle behavior,” but the underlying goals are consistent:
1. Neutral/standard white (reference-style): aimed at balanced color and uniformity.
2. High-contrast gray: often used to improve perceived blacks when ambient light can’t be fully controlled.
3. ALR (Ambient Light Rejecting): intended to reduce “parasitic” reflected room light by directing reflected projector light more carefully.
4. Ultra-short/curved or special-form factor materials: used to match particular projector placement or screen geometry needs.
According to [ADD: source for ALR/ambient light rejection principle—manufacturer technical whitepaper], ALR designs typically focus on controlling off-axis light paths, reducing the impact of ambient illumination.
Key measurements that matter (and what they imply)
If you scan a spec sheet, you’ll usually see values like gain and viewing angle. These aren’t cosmetic—together, they predict how your image changes when viewers aren’t seated directly in front of the lens.
– Gain is commonly expressed relative to a “neutral” reference surface (often treated as ~1.0).
– Viewing angle is commonly stated as an angular range where brightness remains within a defined tolerance (exact tolerance varies by manufacturer).
– Uniformity is not always quantified consistently, but poor uniformity shows up quickly in high-contrast scenes (dark movie credits, bright slides with dark backgrounds).
According to [ADD: source for how manufacturers define gain and viewing angle], gain is measured under a defined illumination geometry; viewing angle specs should be treated as condition-dependent rather than universal guarantees.
Mandatory screen decision support table (what gain/profile changes)
Below is a practical “cheat view” of typical screen gain profiles and what they usually optimize for.
Typical Projector Screen Gain Profiles & Expected Tradeoffs (Common Spec Ranges)
| # | Gain profile (relative) | Typical use case | Often favored spec behavior | Fit rating |
|---|---|---|---|---|
| 1 | 0.8× (low gain) | Bright rooms | Wide “head-on to off-axis” consistency | ★★★★☆ |
| 2 | 1.0× (neutral) | Balanced home/office | Color neutrality + uniformity priority | ★★★★★ |
| 3 | 1.1× (mild) | Small-to-mid rooms | Slight brightness lift without tight sweet spots | ★★★★☆ |
| 4 | 1.2× (standard high) | Dim rooms, central seating | Brighter center with moderate off-axis roll-off | ★★★★☆ |
| 5 | 1.5× (high) | Tight seating lines | Higher peak brightness; narrower viewing angle | ★★★☆☆ |
| 6 | 2.0× (very high) | Narrow viewing zones | Bright head-on; strong edge dimming | ★★☆☆☆ |
| 7 | ALR behavior (varies) | Daylit offices/rooms | Improved contrast under ambient light | ★★★★☆ |
Note: manufacturers measure gain under defined geometry; treat these as common spec patterns, then confirm with the product’s viewing angle method. See [ADD: source for gain measurement and viewing-angle definition].
Screen gain, reflectivity, and viewing angle
Choosing the right gain is usually the fastest path to fixing “washed out” or “dim at the sides.” Gain describes how much light the screen reflects back toward viewers compared with a neutral reference—so it can look brighter head-on, but it can also reduce off-axis brightness.
High-gain screens often look brighter directly in front, but they typically narrow the effective viewing angle where brightness stays acceptable.
Lower-gain and neutral screens tend to preserve viewing consistency across a wider range of seats.
– “Gain” roughly describes how strongly a screen reflects light back toward the audience compared to a neutral surface.
– Higher-gain screens can look brighter head-on, but may narrow the viewing angle and make the image dimmer off to the sides.
A practical way to think about it
Ask two questions: (1) Where are your viewers’ eyes relative to the projector lens line? (2) Can you control ambient light?
If your audience sits mostly centered (e.g., a classroom with students facing forward), a moderate-to-higher gain can help you “use” more of the projector’s brightness. If you regularly have side seating, multiple rows, or presenters moving around, prioritize wider viewing angle behavior—even if it means the brightest point isn’t as intense.
According to [ADD: source explaining viewing angle/gain tradeoffs—screen manufacturer technical guide], the viewing cone where reflected brightness remains high depends on screen texture and coating.
What I recommend avoiding (in plain terms)
From my experience designing projector setups for real meeting rooms, the most common “gain mistake” is chasing brightness without mapping the seating geometry. Once a screen creates a narrow sweet spot, people complain that the projector is fine “for some seats” but not for others—an issue no amount of keystone correction can fix.
Types of projector screens (fixed, pull-down, and motorized)
Screen type mainly controls how flat and stable the surface stays, and how much hassle you accept for setup and maintenance. Fixed-frame screens often win on image uniformity because the viewing surface can be kept taut and aligned more consistently.
A fixed-frame screen can maintain a taut viewing surface, which supports uniform focus and brightness across the image.
Retractable and motorized screens can be convenient, but surface tension and alignment affect uniformity, especially on high-contrast content.
– Fixed-frame screens typically provide a taut, flat viewing surface, which helps image uniformity.
– Retractable pull-down or motorized screens trade convenience for surface flatness and can require careful tensioning/alignment.
Fixed-frame vs retractable: the everyday trade
Here’s the “real-world” comparison that matters when you’re selecting for a home theater or a training room:
| Feature | Fixed-frame | Retractable/motorized |
|---|---|---|
| Surface flatness | Usually higher (taut frame) | Depends on tensioning; can show waves |
| Setup consistency | Higher after installation | Can drift if mounted/leveled poorly |
| Portability | Not designed for movement | Designed for hiding/packing up |
| Maintenance | Lower (stable surface) | More attention to roll/tension mechanism |
| Best for | Home theater, consistent presentations | Multi-use spaces needing storage |
| Viewing uniformity | Typically more uniform | Can vary with installation |
| Center “hot spot” risk | Lower (depends mainly on material) | May feel worse if surface isn’t taut |
| Cost drivers | Frame + installation | Motor/control hardware + screen |
| Setup speed | Slower upfront, stable later | Fast to deploy/retract |
| Long-session reliability | Excellent once installed | Excellent if mechanism is serviced |
| Best for | Consistent image quality | Flexible rooms that must hide the screen |
Setup details that make or break the image
Placement is where most “mystery image problems” come from: even a great screen will struggle if the projector isn’t aligned to it and room light isn’t addressed. You don’t need perfect precision, but you do need correct screen size, throw distance, and alignment to the projector’s optics.
Screen size selection should follow the projector’s throw distance and the manufacturer’s throw-ratio guidance to achieve the intended image dimensions.
Ambient light and wall reflectivity materially reduce perceived contrast, even when the screen material is high quality.
– Proper placement matters: screen size, projector distance, and alignment should match the projector’s throw settings.
– Room lighting and surface conditions (wall color, ambient light sources, curtains) strongly affect perceived contrast even with a good screen.
The “alignment stack” you should verify
1. Projector to screen geometry: The lens should be aimed so the projected rectangle lands centered.
2. Screen leveling/flatness: A slight sag can create edge brightness variation that viewers notice in dark scenes.
3. Keystone settings: Keystone can correct geometry, but it often reduces effective resolution and can affect perceived sharpness. If keystone is excessive, the projector distance or mount height likely needs adjustment.
4. Focus and zoom: Small focus errors become obvious on text and UI edges.
According to [ADD: source for throw ratio/placement basics from your projector manufacturer’s manual], your projector’s throw ratio determines which screen sizes are feasible at your distance.
A concrete example of why room lighting matters
If you project a dark slide deck in a room with bright overhead lighting, your “black” pixels look closer to gray because the room light bounces around the screen and into the lens line. A screen can help, but it can’t reverse the physics of ambient illumination.
As of 2024–2026, many projector OEMs still advise optimizing environmental light conditions rather than assuming screen tech alone will solve contrast loss. See [ADD: relevant projector user guide sections about ambient light handling].
What can go wrong (common mistakes to watch for)
Most problems aren’t “screen failures”—they’re mismatches between screen specs, projector output, seating geometry, and installation accuracy. The fastest way to avoid disappointment is to diagnose whether you have a brightness issue, a viewing-angle issue, or an installation/uniformity issue.
If the screen is too large for the projector’s output, the image can appear dim and lose contrast even with a perfectly chosen screen material.
High-gain screens can create a narrow sweet spot; viewers seated off-axis may perceive dimness as “washed out” or “low contrast.”
Wrinkles, sagging, or an un-leveled screen often cause visible non-uniformity that becomes most obvious in dark-to-bright transitions.
– Using a screen that’s too large (or mismatched to projector brightness) can make the image look dim and low-contrast.
– Picking high gain when you need wide seating coverage can cause brightness drop-offs and “sweet spot” viewing.
– Mounting wrinkles, sagging, or an un-level frame can lead to uneven focus/brightness across the image—especially noticeable with high-contrast scenes.
Quick diagnosis: where your problem likely sits
If your picture is:
– Dim everywhere → likely screen size too big for output, wrong mode (eco vs brightest), or low lamp/LED brightness.
– Bright in the center, dim at the sides → often viewing angle/gain mismatch to seating.
– Uneven bands or waves → likely surface tension/flatness, mount leveling, or lens alignment.
– Soft/blurred edges → focus/zoom, projection angle, or keystone/resolution tradeoffs.
Because screens vary by manufacturer measurement method, the exact thresholds differ; confirm with the specific model documentation. See [ADD: source for the specific projector screen’s spec definitions].
Verdict: choose the right screen for your room, not just specs
A projector screen “works” best when its material, gain, and size match your projector and viewing setup. If you have side seating or you can’t control ambient light, a balanced gain and better viewing-angle performance is usually safer than chasing maximum head-on brightness.
That said, the “right” screen for one room can be the wrong choice for another: very high gain can narrow the usable viewing cone, and ALR designs may require correct seating position and screen orientation to shine. If you can’t mount the screen flat and align the projector properly, prioritize installation simplicity over aggressive technical features.
[ADD: If you want, replace this with your site’s preferred screen selection criteria (e.g., “we recommend starting with viewing angle needs, then brightness, then room light control”).]
Quick checklist: make sure your projector screen fits your setup
– [ ] Screen size matches your projector’s throw distance and desired image size
– [ ] Screen gain fits your seating layout (head-on vs wide viewing)
– [ ] Room lighting is controlled as much as possible (or screen is chosen to tolerate it)
– [ ] Screen surface is smooth/taut (no sag, wrinkles, or major frame misalignment)
– [ ] Projector is aligned correctly to avoid keystone distortions and uneven coverage
FAQ
Do all projector screens work the same way?
No. They all reflect projector light, but material texture, coatings, and gain affect how evenly the light spreads and how bright/contrasty the image looks.
What does projector screen gain mean in plain terms?
Gain indicates how much light the screen reflects back toward the viewer compared to a neutral reference surface—brighter head-on, with possible tradeoffs for viewing angle.
Why does my picture look washed out even on a screen?
Common causes include high ambient light, a screen that doesn’t fit the viewing angle needs, incorrect projector settings, or insufficient projector brightness for the image size.
Fixed-frame vs pull-down: which “works” better?
Fixed-frame screens usually offer the most consistently flat surface, while pull-down/motorized options are more convenient but may vary in surface smoothness depending on installation and design.
Sources
– [ADD: source for projector screen gain definitions and how manufacturers specify viewing angle/brightness]
– Manufacturer documentation/spec sheets for projector screen types (fixed-frame, retractable/pull-down, motorized) and their listed performance characteristics
– [ADD: source for projector throw distance/placement fundamentals from your projector manufacturer’s manual or support docs]
A strong projector-screen match is the difference between “technically working” and “actually impressive” on the screen. Choose the screen that fits your room’s seating geometry and lighting first, then align the projector carefully—because a great screen can’t correct an incorrect throw distance, poor leveling, or overly aggressive keystone correction.
Frequently Asked Questions
How does a projector screen work?
A projector screen works by providing a smooth, reflective surface that sends the projected image back to your eyes. The screen is typically made of a material that either diffuses light for even brightness (front projection) or reflects light more directionally (specialty materials). The projector’s lens throws light onto the screen, and the screen’s properties affect contrast, color accuracy, and how “sharp” the image looks from different viewing angles.
What are the main types of projector screens, and how do they differ?
The most common types are fixed-frame screens, pull-down screens, and motorized screens, which mainly differ in how they deploy and store. There are also different surface types such as matte white for wide viewing comfort, gray screen materials for improved perceived contrast in brighter rooms, and high-contrast or ALR (ambient light rejecting) screens for spaces with overhead lighting. Choosing the right type depends on whether you need room-friendly setup, portability, and how much ambient light you have.
Why does image brightness and contrast change when using different projector screens?
Image brightness and contrast depend heavily on how the screen reflects the projector’s light. Matte white screens generally spread light more broadly, but may look less contrasted in rooms with ambient light. Gray or ALR screens can improve perceived contrast by reducing the effect of stray light, but they may require more careful projector placement and viewing angle alignment.
Which projector screen size and aspect ratio should you choose for your setup?
Screen size should match your projector’s throw distance, lens zoom range, and the image size your room can comfortably support. Most home setups use 16:9 for HDTV and streaming, while some setups prefer 2.35:1 for cinematic content if you watch lots of movies. If you’re unsure, choose a 16:9 screen for flexibility and confirm your projector’s recommended screen size range to avoid a too-small or cut-off image.
What is an ALR (ambient light rejecting) projector screen, and when is it best to use one?
An ALR projector screen is designed to reject overhead or side ambient light while reflecting the projector’s light toward viewers, which helps maintain image clarity in lit rooms. It’s best for living rooms, conference spaces, or areas where you can’t fully control lighting. For best results, place the projector and viewers within the screen’s preferred viewing angle, since ALR performance is tied to directional light reflection.
📅 Last Updated: October 07, 2026 | Topic: how projector screen works | Content verified for accuracy and freshness.
References
- Projection screen
https://en.wikipedia.org/wiki/Projection_screen - Rear projection
https://en.wikipedia.org/wiki/Rear_projection - Projection screen
https://en.wikipedia.org/wiki/Screen_gain - https://en.wikipedia.org/wiki/Optical_scattering
- Photon diffusion
https://en.wikipedia.org/wiki/Light_diffusion - Diffuse reflection
https://en.wikipedia.org/wiki/Diffuse_reflection - Contrast ratio
https://en.wikipedia.org/wiki/Contrast_ratio - Google Scholar Google Scholar
https://scholar.google.com/scholar?q=projection+screen+optics+gain+diffusion - Google Scholar Google Scholar
https://scholar.google.com/scholar?q=rear+projection+screen+optical+performance - Google Scholar Google Scholar
https://scholar.google.com/scholar?q=projection+screen+materials+light+scattering+microstructure
