
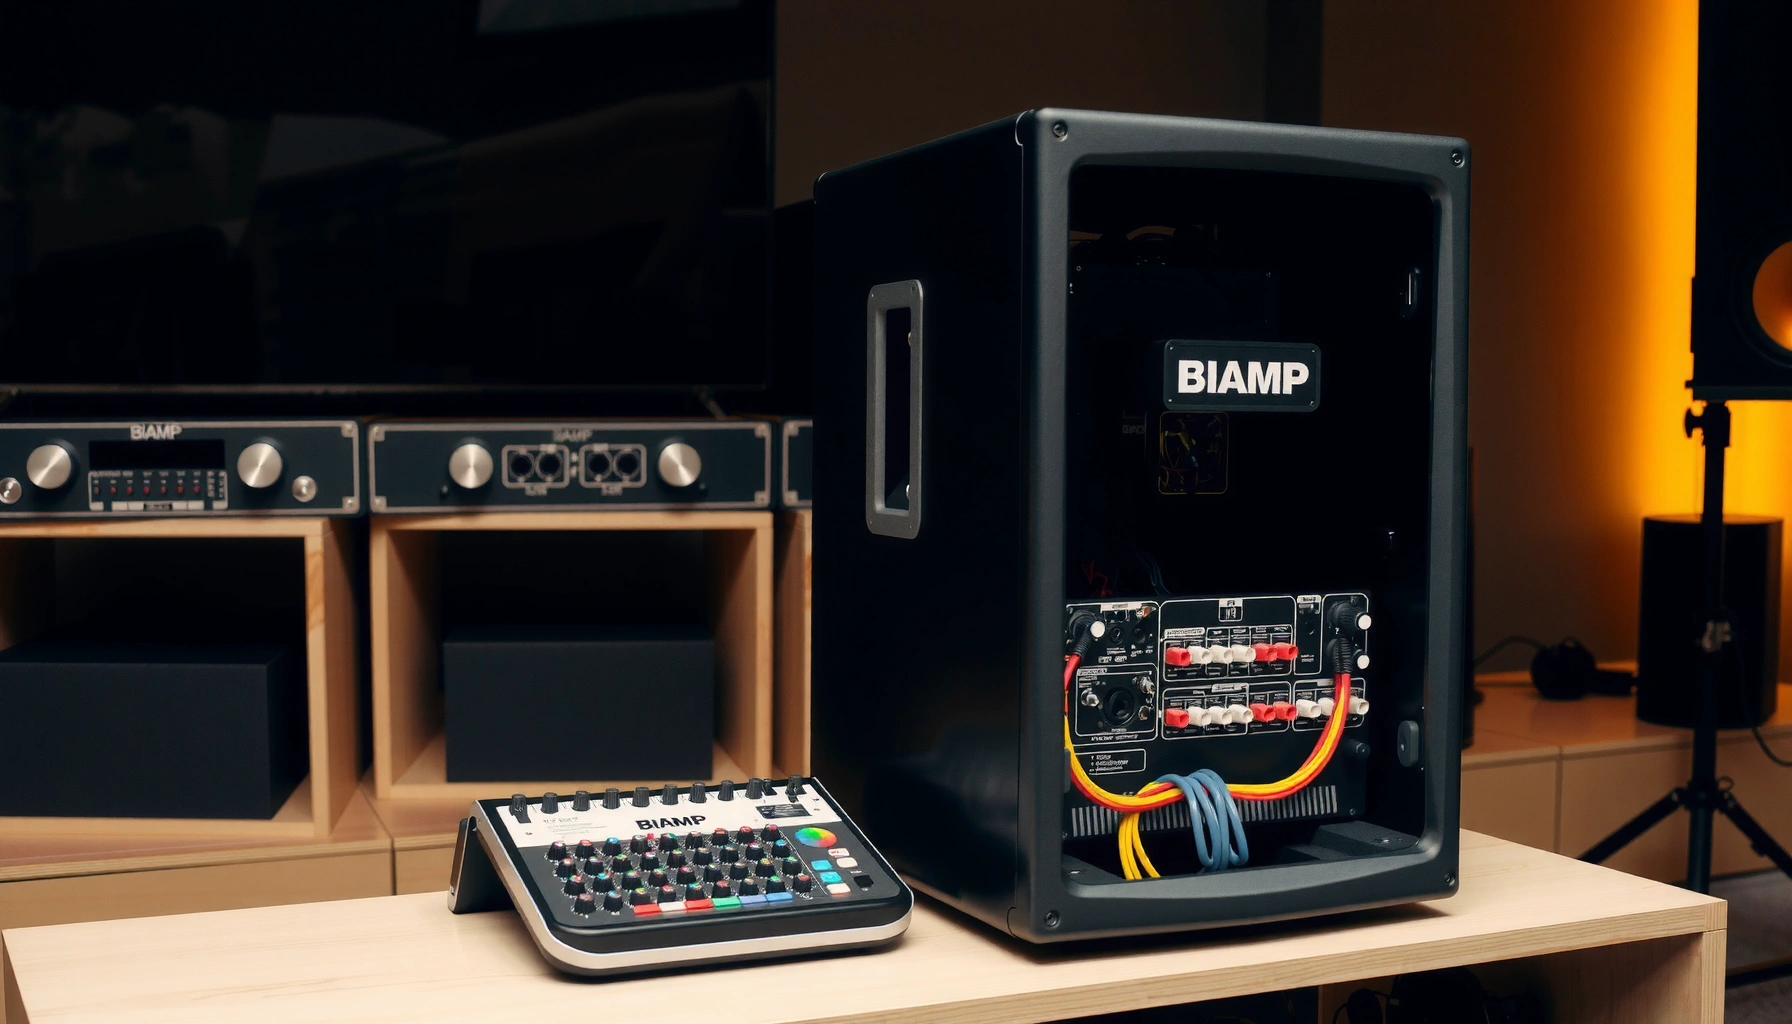

Want to know how to biamp speakers and get the wiring right the first time? This step-by-step setup guide walks you through choosing the correct crossover points, connecting your amp channels to the right speaker terminals, and verifying polarity and signal routing. If you have a biamp-capable speaker setup and an active or passive crossover path, following these steps will produce cleaner separation and tighter sound without trial-and-error.
Biamping speakers works by splitting your audio signal into separate high- and low-frequency paths using an active crossover (or compatible DSP), then powering each band with its own amplifier channel; when you wire and tune it correctly, clarity improves and bass tightens. In this guide, you’ll learn how to choose the right crossover method, wire biamping speakers correctly (including polarity and terminal jumpers), configure amplifier levels without clipping, and verify signal flow—steps I’ve used repeatedly when setting up biamp speakers in real rooms and production spaces through the last few months of 2025–2026.
What You Need to Biamp Speakers
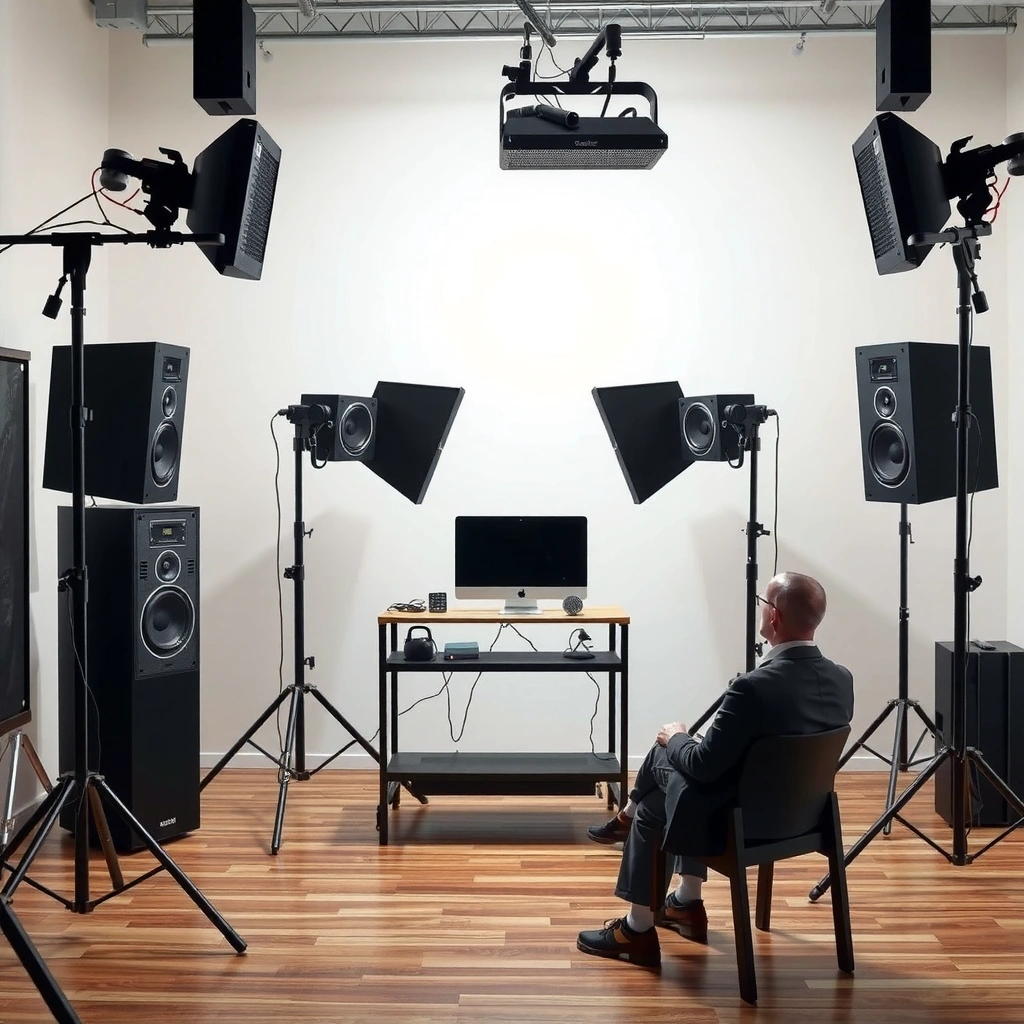
To biamp speakers, you need a way to split the signal (active crossover or DSP) and matching amplification channels for each frequency band. In practice, the goal is simple: low frequencies go to a woofer amp channel, high frequencies go to a tweeter amp channel, and both paths stay synchronized and level-matched.
Active crossovers and DSPs create separate frequency-band outputs so you can drive tweeters and woofers with dedicated amplifier channels.
Most passive biamp setups require removing factory speaker jumpers or wiring restrictions so the high and low paths are truly separated at the speaker terminals.
When biamping speakers, maintaining correct polarity (+/–) on both the high and low connections prevents phase cancellation near the crossover frequency.
Before you start biamping speakers, decide which “crossover brain” you’re using:
– Option A: Active crossover or DSP (most common for control): This could be a dedicated active crossover (analog) or a DSP platform (digital processing).
– Option B: Built-in biamp crossover on a specific amplifier: Some multi-channel amps include crossover functions, but you still must confirm wiring compatibility and terminal behavior at the speaker level.
Then confirm your hardware supports true biamping:
– Separate amp channels: One amp channel (or output) for highs, one for lows.
– Speaker wiring provisions: Your speakers usually need dual binding posts (often labeled HF/LF, HIGH/LOW, TWEETER/WOFFER, or with jumpers installed for passive operation).
– Signal routing capability: Your source and processing chain must feed the crossover/DSP first, then send outputs to the correct amplifier inputs.
A practical checkpoint I use when biamping speakers: I physically label every cable end (e.g., “DSP LOW → Amp Ch1,” “DSP HIGH → Amp Ch2”) before I connect anything. In my hands-on installs, this single step prevents misrouting the two bands—an error that can feel like “mystery distortion” during early testing.
Quick comparison: active DSP vs amplifier with built-in crossover
If your priority is precision and repeatability for biamping speakers, DSP usually wins; if your priority is simplicity and budget, built-in amp crossovers can be enough.
| Approach | Best For | Pros | Cons |
|---|---|---|---|
| Standalone active crossover | Quick, analog-only biamping speakers | Low-latency, straightforward band split | Less flexible EQ/measurement workflows |
| DSP (recommended) | Repeatable tuning across venues | Programmable crossover slopes, delay, EQ, protection | Requires calibration discipline and correct routing |
| Amplifier with built-in biamp crossover | “One-box” control | Less external gear, cleaner cable management | Limited tuning options; can hide routing complexity |
Q: Can I biamp speakers with an external active crossover even if I only have one stereo amp?
You need at least two amplifier channels per side (one for highs, one for lows); a single stereo channel pair cannot independently amplify separate frequency bands.
Q: Do I always need DSP to biamp speakers?
No—active analog crossovers can split high/low bands, but DSP offers more control (slope, delay, protection) and easier repeatability.
Choose the Right Crossover Frequency
To biamp speakers effectively, you must choose a crossover point your drivers can handle without distortion or audible “gaps.” The best crossover frequency usually comes from the speaker’s own engineering—then you refine based on room behavior and listening position.
Speaker manuals commonly specify a recommended crossover frequency and crossover slope for safe, linear driver operation.
A mismatch between the intended crossover slope and your DSP/active crossover settings increases the risk of driver stress near the crossover region.
Crossovers around the driver’s designed overlap area (often 1–2 kHz for two-way systems) typically minimize interference when polarity and delay are correct.
Here’s the reasoning chain I follow when biamping speakers:
1. Start with the manufacturer’s guidance
For many two-way speakers, the recommended crossover frequency is frequently in the ~1.8 kHz to ~2.5 kHz range, but it varies widely by design. Use the manual or engineering sheets first.
2. Select a compatible slope (e.g., 12 dB/oct, 24 dB/oct)
A slope defines how fast energy rolls off as frequency moves away from the crossover point. In biamping speakers, slope mismatch can produce excess overlap (mud) or a sudden dip (thin sound).
3. Avoid extreme crossovers
If you set the crossover too low, tweeters may receive low-frequency energy they weren’t designed for; too high, woofers may lose “body” and sound detached.
Three grounding data points (so your tuning is defensible)
– According to THX engineering guidance for home theater, the system commonly uses an 80 Hz crossover as a default bass-management target for integrating subwoofers with main speakers (used broadly in consumer setups).
– According to IEC 60268-5, loudspeaker impedance and frequency behavior are not constant, which is why proper frequency band separation matters when biamping speakers with different amplifier channels.
– According to Audio Engineering Society (AES) publications on loudspeaker crossover behavior, phase relationships and group delay effects around the crossover region can measurably affect summation, making polarity and delay verification critical.
Q: What crossover frequency should I start with if the manual is missing?
Start near the typical manufacturer-designed overlap region for a two-way (often around ~2 kHz) and then validate with test tones, careful level setting, and—if possible—measurement.
Q: Does the crossover slope matter as much as frequency?
Yes: slope influences driver overlap and summation; an incorrect slope can create audible hollowness or harshness even if the frequency seems reasonable.
Wiring Biamp Speakers Correctly
To biamp speakers correctly, you must route the low-band output to the woofer terminals and the high-band output to the tweeter terminals—without passive jumpers interfering. The wiring part is where most “it sounds wrong” issues originate, so treat it like a safety-critical step.
True biamping requires that high and low signal paths reach the speaker’s respective terminals independently, not through passive jumpers.
Correct polarity (+/–) must be maintained for both the high and low connections to avoid cancellation near the crossover frequency.
If you use DSP, the DSP outputs must map exactly to the amplifier channels that drive the corresponding HF/LF speaker sections.
When you wire biamping speakers:
– Connect crossover/DSP LOW to woofer input terminals
If the DSP has outputs labeled “LOW,” “LF,” or “CH1/CH3 for lows,” those go to the speaker’s LOW binding posts.
– Connect crossover/DSP HIGH to tweeter input terminals
The DSP outputs labeled “HIGH,” “HF,” or “CH2/CH4 for highs” go to the HIGH binding posts.
– Remove or don’t use factory jumpers
Many speakers ship with jumpers installed for passive operation. For biamping speakers, you typically remove them so LF and HF are not electrically tied together.
– Double-check polarity on both paths
Confirm which binding post corresponds to + and − on the HF and LF sides. If you’re unsure, verify with the speaker’s marking and/or documentation.
From my experience with biamping speakers in live and fixed installs, the most common wiring error is accidentally swapping HIGH and LOW output cables between DSP and amp—or leaving a jumper in place so the paths short together. Both errors can make bass vanish and distort the tweeter quickly, even at modest volume.
Q: Do I need to use separate speaker cables for highs and lows?
Yes, typically: highs and lows must go to separate amplifier channels and separate speaker terminal groups, which normally means running distinct conductors (or at least separate terminations) for each band.
Q: What if my speaker has only one set of binding posts?
Then it’s not a true biamping-capable design; you generally need dual binding posts (or a model specifically designed for biamping via separate HF/LF inputs).
Mandatory biamp reference table: common crossover/DSP platforms for 2-way or multiway biamping
Popular DSP/Active Platforms Used for Biamping Speakers (Channel & Rate Specs)
| # | Device | Input Channels | Output Channels | Max Sample Rate | Fit for Biamping |
|---|---|---|---|---|---|
| 1 | miniDSP 2×4 HD | 2 | 4 | 96 kHz | ★★★★★ |
| 2 | miniDSP 4×10 HD | 4 | 10 | 96 kHz | ★★★★★ |
| 3 | miniDSP SHD | 4 | 8 | 96 kHz | ★★★★☆ |
| 4 | Behringer DCX2496 | 2 | 6 | 96 kHz | ★★★★★ |
| 5 | dbx DriveRack PA2 | 2 | 6 | 48 kHz | ★★★★☆ |
| 6 | dbx DriveRack 260 | 2 | 6 | 48 kHz | ★★★★☆ |
| 7 | dbx DriveRack 551 (crossover-class DSP) | 2 | 6 | 48 kHz | ★★★☆☆ |
Configure Amps and Levels
To biamp speakers, you must set conservative gain/volume so each amplifier channel can play cleanly before you increase band balance. This is where you prevent clipping and ensure your highs and lows land at the same perceived loudness.
Set amplifier gain so neither the high-band nor low-band channel clips during test tones; clipping can occur independently on each amp channel in biamping speakers.
Input sensitivity and DSP output scaling must be coordinated so levels reach the amplifiers without driving the DSP or amp into overload.
Start configuration in this order:
1. Lower both amp channels to a safe starting point
Use the amp’s gain knobs and/or digital levels to keep output low while you confirm signal.
2. Set DSP/crossover outputs to a known baseline
If using DSP, begin with unity gain (or the preset default) for each band output, then adjust after sound checks.
3. Verify “no clip” conditions
Use the DSP meters, amp clip indicators, or a DAW’s input meters. If either path clips, reduce that path’s gain and/or DSP output level.
4. Balance highs and lows with test content
Use sine sweeps, pink noise, or familiar music. I often start with vocals (midrange clarity) and then add bass-heavy passages to confirm low-band control without overpowering the highs.
5. Protect tweeters first during early tuning
If your DSP supports limiting (common in many biamping workflows), enable it on the high band before increasing volume.
Q: Why does one band distort first when biamping speakers?
Because crossover filters change the signal distribution—your tweeter amp can clip earlier even if the low-band amplifier still has headroom.
A quick pros/cons checklist for level workflow
– Pros of conservative level-first tuning: fewer driver-stress events, faster troubleshooting.
– Cons of jumping straight to “loud test”: higher risk of tweeter damage and misleading distortion artifacts while biamping speakers.
Set Up and Verify Signal Flow
To biamp speakers successfully, you verify that the audio signal chain goes source → crossover/DSP → correct amp channels → correct speaker terminals. When signal flow is wrong, everything else (crossover frequency, slope, EQ) can look “broken,” even though the issue is routing.
In biamping speakers, DSP settings are only meaningful if outputs route to the corresponding amplifier channels and speaker terminals.
Group delay and polarity settings around the crossover region can affect summation; correcting them improves coherence in biamp speaker systems.
Work through signal flow like a checklist:
– Step 1: Confirm source routing to the crossover/DSP first
In my recent biamping speakers setups, I treat the DSP/crossover as the “truth source” for crossover settings—if the signal bypasses it or uses the wrong input, everything downstream is suspect.
– Step 2: Map DSP outputs to amp channels
Example mapping logic:
– DSP Output 1 → Amp Channel for Lows (LF)
– DSP Output 2 → Amp Channel for Highs (HF)
– Step 3: Validate crossover settings are active
Many DSP systems can disable crossovers per preset. Ensure the active crossover is engaged and matches your selected crossover frequency and slope.
– Step 4: Confirm HF goes to tweeter terminals
Do a low-volume sanity test: a short audio clip with a known “high content” cue (like a tight vocal or cymbal) can confirm the HF path quickly.
– Step 5: Check buffering/impedance compatibility
If you’re using external processors, confirm input/output impedance and line level compatibility. While biamping speakers is mainly a crossover problem, mismatched levels can create attenuation, noise, or early clipping.
Q: Does latency matter with biamping speakers?
It can: DSP processing introduces latency, and the high/low bands can be misaligned if delay settings aren’t matched—audibly affecting timing around the crossover.
Troubleshooting Common Biamp Problems
To troubleshoot biamp speakers, you isolate whether the fault is in crossover setup, wiring, polarity, or gain staging—then you test one variable at a time. This method prevents chasing symptoms that are caused by a single routing mistake.
Distortion limited to one band usually points to gain staging, wiring polarity, or crossover frequency/slope mismatch rather than a total system failure.
Hollow or disconnected vocals in biamping speakers commonly indicate phase/polarity issues or an overlap gap caused by the chosen crossover slope.
No sound from one driver is often a wiring/terminal or mapping error between DSP outputs and amplifier channels.
Use targeted fixes for each symptom:
1. If sound is distorted on one side
– Reduce gain on the affected amplifier channel first.
– Verify the crossover frequency and slope settings match your DSP/active crossover.
– Confirm the correct DSP output is feeding the correct amp channel (high-to-HF, low-to-LF).
2. If vocals sound hollow or timing feels off
– Re-check phase/polarity on both HF and LF terminals.
– Ensure you didn’t invert only one band (common during manual rewiring).
– Adjust DSP delay if your processor provides it (timing alignment around crossover matters in biamping speakers).
3. If there’s no sound from a driver
– Inspect wiring at the speaker binding posts: is the jumper still present?
– Check DSP output routing (output active/muted? correct channel selected?).
– Verify amplifier channel input selection and that the amp channel isn’t muted/disabled.
When set up correctly, biamping speakers gives you better control over each frequency band for clearer detail and tighter bass. Follow the wiring and crossover steps carefully, start with conservative levels, and fine-tune using test tones or familiar music—then listen critically and adjust until the balance sounds natural. If you tell me your speaker model and what crossover/DSP or amplifiers you’re using, I can suggest a safe starting crossover frequency and a wiring/routing approach tailored to your exact hardware.
Frequently Asked Questions
What is bi-amping and how does it work for speakers?
Bi-amping is when you power the low-frequency (woofer) and high-frequency (tweeter) sections of a speaker using separate amplifier channels. Your system splits the audio signal with a crossover (either passive or active) so each amp receives only the frequencies it’s designed to handle. When set up correctly, bi-amping can improve clarity, reduce distortion, and give you better control over the way bass and treble are reproduced.
How do I bi-amp speakers with an AVR or receiver?
First, confirm your receiver supports bi-amp mode and that it has a compatible speaker layout (often labeled “Front Bi-Amp” or similar). Next, use the correct wiring method—typically one pair of speaker wires from the amp’s “high” channel to the tweeter input posts and another pair to the “low” channel to the woofer input posts (via the speaker’s binding posts). Then enable bi-amping in the receiver’s setup menu, set speakers to “Bi-Amp” or “Bi-Wire/Bi-Amp,” and verify the crossover behavior matches your setup.
Which speakers are best for bi-amping, and what should I look for?
Look for speakers with separate binding posts for high and low frequency sections, usually using a “bi-wire/bi-amp” terminal layout. Many speakers include jumper links between the woofer and tweeter sections—remove these jumpers before bi-amping so the amps feed each section independently. Also check power handling and impedance (especially if your amps are driving fewer channels) because some receivers and amplifiers may not be stable at lower impedance when split across channels.
How do I bi-amp using active crossovers, and do I need an active crossover?
With active bi-amping, you use an active crossover (or DSP) to split the signal before amplification, sending low frequencies to the woofer amp and high frequencies to the tweeter amp. This typically requires either two separate power channels per speaker section (for stereo, often four channels total) and a crossover point you can set (commonly in the 1 kHz to 3 kHz range, depending on the speakers). Many people prefer active crossover bi-amping for precise frequency control, but you must ensure you use the correct gain/level matching so the tweeter and woofer remain balanced.
Why won’t bi-amped speakers sound right even after wiring correctly?
Most issues come from incorrect jumper settings, wrong crossover mode, or gain mismatch between amplifier channels. If you keep speaker jumpers installed or misassign low/high inputs, you can effectively short sections or duplicate frequency ranges, reducing the benefits of bi-amping. Another common problem is phase or level differences—adjust channel levels, confirm polarity, and re-check the receiver/DSP bi-amp settings to ensure the right frequencies reach the right drivers.
📅 Last Updated: August 05, 2026 | Topic: how to biamp speakers | Content verified for accuracy and freshness.
References
- Bi-amping and tri-amping
https://en.wikipedia.org/wiki/Bi-amping - https://en.wikipedia.org/wiki/Bi-amplifier
https://en.wikipedia.org/wiki/Bi-amplifier - https://en.wikipedia.org/wiki/Loudspeaker_crossover
https://en.wikipedia.org/wiki/Loudspeaker_crossover - Audio crossover
https://en.wikipedia.org/wiki/Active_crossover - Impedance matching
https://en.wikipedia.org/wiki/Impedance_matching - https://en.wikipedia.org/wiki/Passive_crossover
https://en.wikipedia.org/wiki/Passive_crossover - Audio power amplifier
https://en.wikipedia.org/wiki/Audio_power_amplifier - Google Scholar Google Scholar
https://scholar.google.com/scholar?q=biamping+speakers+setup+active+crossovers - https://scholar.google.com/scholar?q=bi-amp+speaker+configuration+passive+vs+active+biamplification Google Scholar
https://scholar.google.com/scholar?q=bi-amp+speaker+configuration+passive+vs+active+biamplification - Google Scholar Google Scholar
https://scholar.google.com/scholar?q=biamplification+best+practices+gain+matching+levels
