To change the monitor resolution on Windows 11, right-click on your desktop and select “Display settings.” Scroll to the “Scale and layout” section, then choose your desired resolution from the dropdown menu. Click “Keep Changes” to confirm. If the resolution isn’t suitable, you can revert within 15 seconds. For multiple monitors, you can adjust each display individually. There’s more to optimize your experience, so stay tuned for tips on enhancing your display settings further.
Understanding Monitor Resolution
Monitor resolution refers to the clarity and detail of the images displayed on your screen, measured by the number of pixels it can show horizontally and vertically. Higher pixel density results in sharper images, which enhances your viewing experience. When choosing a resolution, consider the aspect ratio, which is the ratio of width to height. Common aspect ratios include 16:9 and 4:3. A resolution that matches your screen’s aspect ratio guarantees that images appear correctly without distortion. If you’re aiming for freedom in how you enjoy media, understanding these concepts will help you select the best settings for gaming, streaming, or productivity. Ultimately, the right resolution can make all the difference in your display’s performance.
Accessing Display Settings
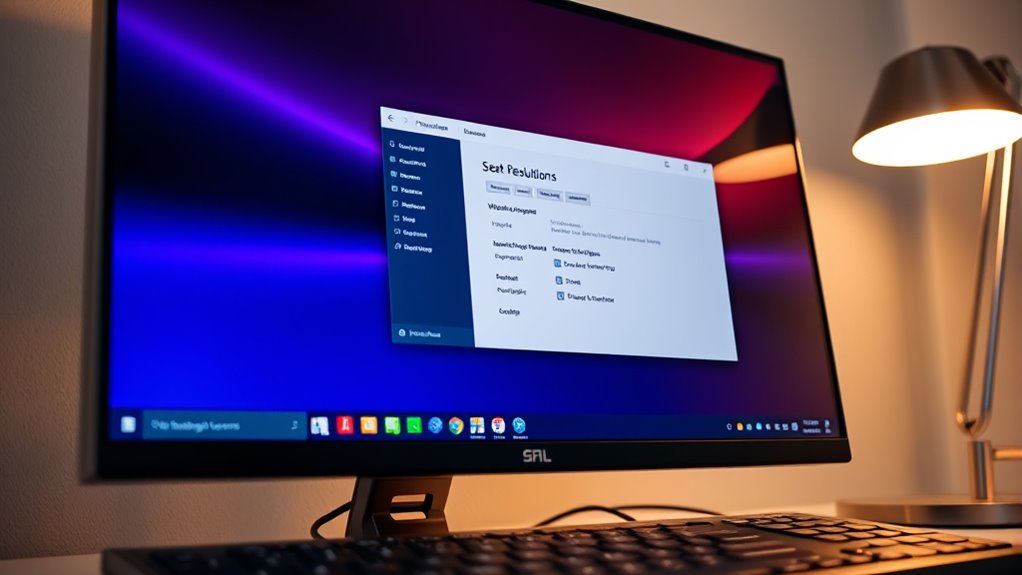
Accessing display settings in Windows 11 is straightforward and only takes a few clicks. To guarantee smooth settings navigation and display access, follow these simple steps:
- Right-click on your desktop background.
- Select Display settings from the context menu.
- In the settings window, scroll down to find the Scale and layout section.
- Here, you can adjust your resolution and other display preferences.
This process gives you the freedom to customize your screen according to your needs. Once you’re familiar with these steps, you’ll be able to quickly access and modify your display settings whenever necessary, ensuring ideal viewing conditions tailored just for you.
Choosing the Right Resolution
Selecting the right resolution for your display can greatly enhance your viewing experience. To find the ideal resolution, consider your monitor’s native settings, as this will guarantee the best display compatibility. Higher resolutions typically offer sharper images, but they can also demand more from your graphics card. If you’re using your monitor for gaming or graphic design, you might prefer a resolution that balances quality and performance. Generally, 1920×1080 (Full HD) is a great choice for most users, while 2560×1440 (QHD) offers more detail for advanced tasks. Remember, it’s important to adjust the resolution based on your specific needs and preferences, assuring you get the most out of your display without compromising functionality.
Applying the New Resolution
Once you’ve chosen your new resolution, you’ll see a prompt asking if you want to keep the changes. If you click “Keep changes,” your display settings will update accordingly. If something doesn’t look right, you can always adjust the settings again.
Save Changes Prompt
When you adjust your monitor’s resolution on Windows 11, you’ll encounter a “Save Changes” prompt that helps you confirm whether the new settings work for you. This prompt is essential for avoiding any resolution warning that could affect your display experience. Here’s what you need to know:
- Confirm Your Choice: Click “Keep Changes” if you like the new resolution.
- Return to Previous Settings: If the new resolution doesn’t suit you, click “Revert” within the time limit.
- Set a Default: You can choose to save the new resolution for future use.
- Act Quickly: You usually have 15 seconds to make your decision before it reverts automatically, ensuring you have a save confirmation.
Enjoy your freedom to customize!
Adjust Display Settings
After confirming your new resolution with the “Save Changes” prompt, it’s time to adjust your display settings for peak performance. Start by guiding yourself to the Display Settings menu. Here, you can explore various resolution types to find what works best for your eyes and tasks. Don’t forget to take into account display calibration; this guarantees colors and brightness are just right, enhancing your overall experience. Adjusting scaling can also help with readability, especially on higher resolutions. Take your time experimenting with each setting until you find the perfect combination that suits your needs. Remember, your display should feel comfortable and liberating, allowing you to enjoy your digital space without strain.
Adjusting Scaling Options
Now that you’ve applied your new resolution, it’s time to adjust the scaling options for better visibility. You can access the display settings to choose the scaling percentage that suits your needs or even apply custom scaling options. This guarantees everything on your screen appears clear and easy to read.
Accessing Display Settings
To adjust the scaling options on your Windows 11 display, you’ll first need to access the display settings. Here’s how you can do it:
- Right-click on the desktop.
- Select “Display settings” from the context menu.
- In the display settings window, you’ll find your display preferences.
- Scroll down to the “Scale and layout” section.
Here, you can adjust your resolution settings and scaling options to fit your preferences. Whether you want larger text or sharper images, accessing these settings is your first step. By customizing your display, you can guarantee a more comfortable and productive experience on your Windows 11 device. Enjoy the freedom to tailor your screen to your liking!
Choosing Scaling Percentage
Finding the right scaling percentage can greatly enhance your viewing experience on Windows 11. Adjusting scaling factors helps you strike a balance between display clarity and screen real estate. If text and icons seem too small or too large, it’s time to customize your scaling settings.
To do this, head to Display Settings, and under Scale, you’ll find preset options like 100%, 125%, or 150%. These options adjust the size of text, apps, and other elements. Experiment with different percentages until you find one that feels comfortable for your eyes and workflow. Remember, the goal is to achieve a clear, usable interface that suits your preferences while allowing you the freedom to navigate effortlessly.
Applying Custom Scaling Options
If you need more precise control over how things appear on your screen, applying custom scaling options can be a game changer. Custom scaling allows you to tailor your display to suit your needs perfectly. Here’s how to set it up:
- Right-click on your desktop and select “Display settings.”
- Scroll down to “Scale and layout.”
- Click on “Custom scaling” and enter a percentage that fits your preference.
- Restart your computer to apply the resolution adjustments.
With these steps, you can enjoy a personalized viewing experience. Whether you want bigger text or sharper images, custom scaling empowers you to make your display truly yours. Embrace the freedom to create your ideal workspace!
Troubleshooting Resolution Issues
While adjusting your monitor’s resolution on Windows 11 is usually straightforward, you might encounter some issues that prevent the desired changes from taking effect. Commonly, resolution conflicts arise when the display settings don’t match your monitor’s supported resolutions. To resolve this, make sure you’re selecting a compatible option from the resolution dropdown. Additionally, outdated drivers can cause problems; as a result, it’s essential to check for driver updates. You can do this by going to Device Manager, locating your display adapter, and selecting “Update driver.” If issues persist, consider running the Windows Troubleshooter to detect and resolve common problems. With patience and these steps, you can regain control over your display settings and enjoy a seamless experience.
Multiple Monitor Setup
After resolving any resolution issues, you might want to enhance your productivity with a multiple monitor setup. A dual display can greatly improve your workflow, allowing for better multitasking. Here are some monitor arrangements you can consider:
- Extended Display: Spread your desktop across both screens for a larger workspace.
- Mirrored Display: Show the same content on both monitors, great for presentations.
- Side-by-Side: Position monitors next to each other to easily drag and drop files.
- Stacked Setup: Place one monitor above the other, perfect for vertical tasks.
With the right configuration, a multiple monitor setup can offer you the freedom to work more efficiently and creatively. Experiment with these arrangements to find what suits you best!
Additional Tips for Optimal Display
To achieve the best display experience on Windows 11, consider a few essential tips. First, utilize color calibration techniques to guarantee your monitor displays accurate colors. You can do this through built-in Windows settings or specialized software, which can make a noticeable difference, especially for creative work. Next, don’t overlook refresh rate considerations; higher refresh rates result in smoother visuals and a more responsive experience. If your monitor supports it, set your refresh rate to the maximum allowed for your display. Finally, keep your graphics drivers updated to enhance performance and compatibility. By following these tips, you’ll enjoy a vibrant, fluid display tailored to your needs, giving you the freedom to work and play without limitations.
Frequently Asked Questions
Can I Set Different Resolutions for Each Monitor?
Yes, you can set different resolutions for each monitor. Just go to your display settings, select the monitor you want to adjust, and choose your preferred resolution. Enjoy the flexibility of multiple monitors!
Will Changing Resolution Affect Gaming Performance?
Changing resolution can greatly impact gaming performance; imagine vibrant landscapes turning dull. Lowering resolution might boost frame rates, while higher settings enhance detail. It’s a balance between stunning visuals and smooth gameplay you’re seeking.
How Do I Reset Resolution to Default Settings?
To reset resolution to default settings, right-click on your desktop, select Display settings, navigate to Display options, and choose the recommended resolution. This’ll restore your screen’s original resolution settings for ideal performance.
What if My Monitor Doesn’T Support the Selected Resolution?
If your monitor doesn’t support the selected resolution, you’re in a pixelated pickle! Check for monitor compatibility and resolution limitations. Lowering the resolution or updating drivers might just save your visual freedom!
Can I Save Custom Resolution Settings?
Yes, you can save custom resolution settings. Just go to your display settings, create a custom resolution, and apply it. Your system should remember these settings, allowing you to easily switch back whenever you need.
